-
wedding guest dresses
it’s wedding season! which means i start looking around obsessively at dresses, because i have a problem. once i wear a fancy dress, i don’t want to wear it ever again. this makes me sound so shallow or normal, but the time in between the time i wear a fancy dress to the next — i usually don’t really like it anymore. so i tend to buy inexpensive ones if i can.
here are some of my favorites, some casual + some more formal.
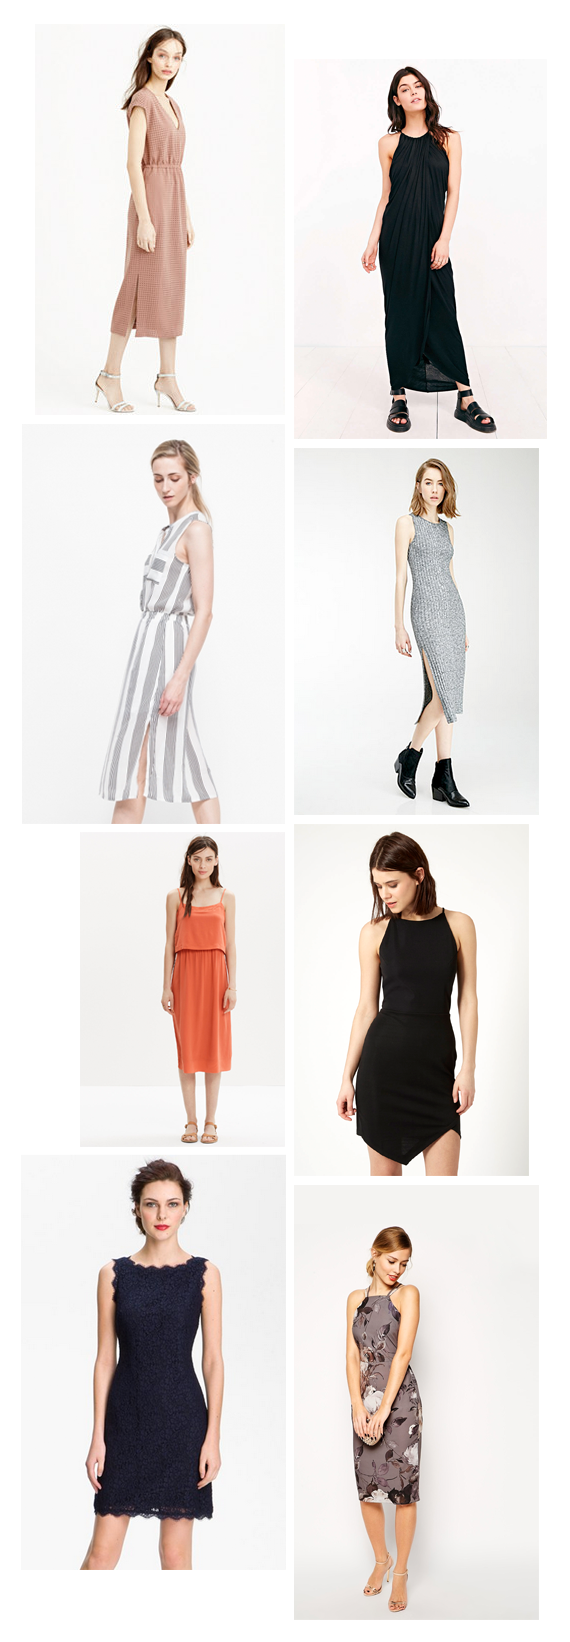
ONE / TWO / THREE / FOUR / FIVE / SIX / SEVEN / EIGHT

also, i have a question for you guys. you may or may not know i have a big thing for forever 21. i tried to cut it cold turkey, but i can’t seem to. i was thinking it could be fun to round up the good finds every so often – would you be into that? let me know.
-
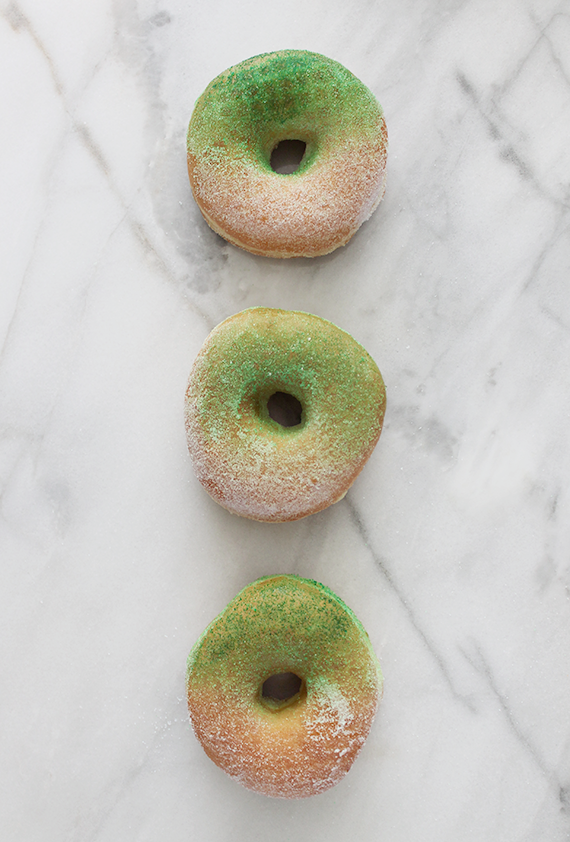
green donuts for st. patricks day
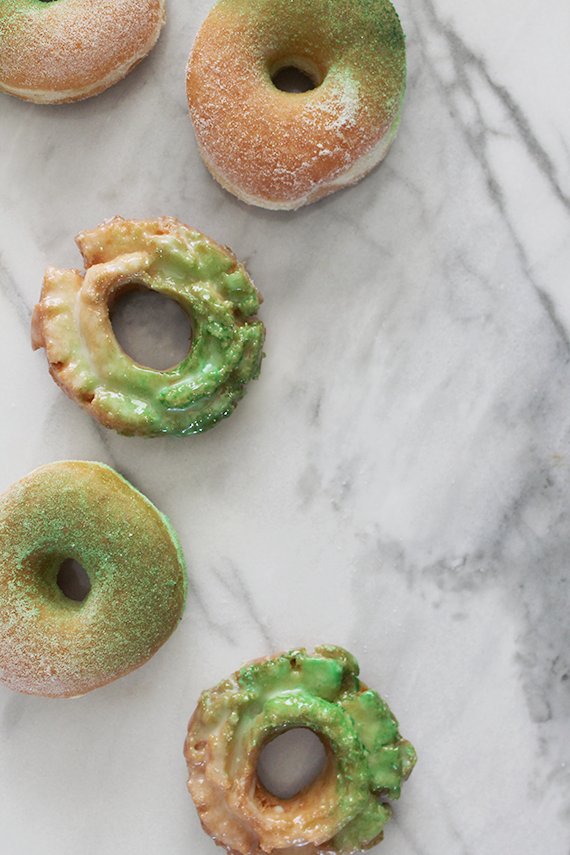
when i used to live in boston, st patricks day was a thing. as a kid, we were supposed to be home before it got dark, because that’s when the drunk people would get CRAY. living in la, st patricks day is way less of a thing. (fyi if you live in LA and you want to celebrate hard, go to sonny mclean’s in santa monica)
but for those of you that do want to get a little festive, i came up with an easy way to decorate donuts for you to bring into work.
this might constitute as a FAIL of a post. because green donuts aren’t exactly the most appetizing thing in the world, but i thought i’d post them anyway. because you win some / you lose some.
-
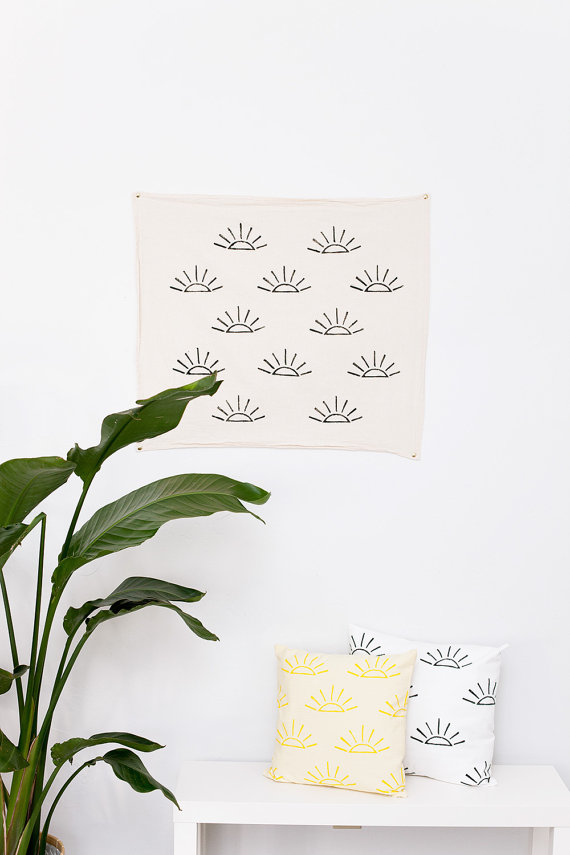
maker spotlight : confetti riot
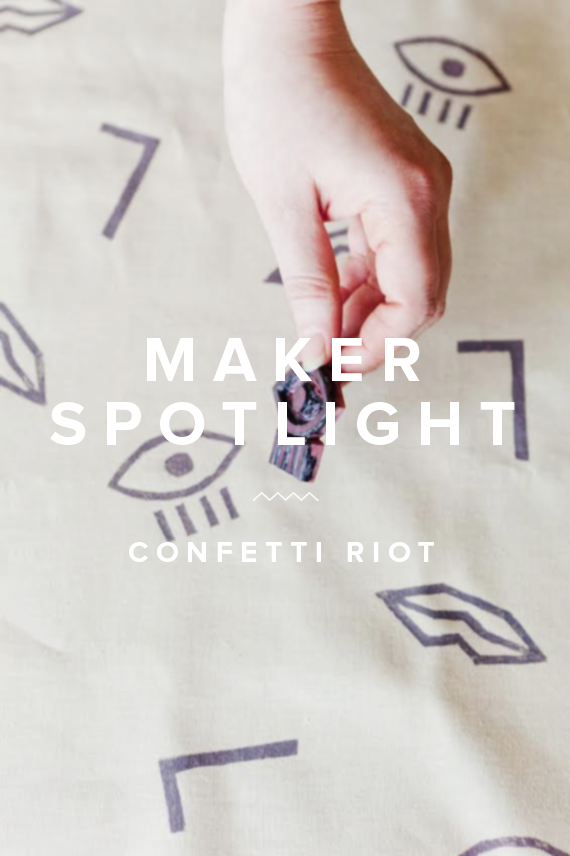
it’s a new column you guys! because of instagram and pinterest, i am so happy to be able to find amazing artisans and shop owners that totally wow me. so i decided like many before me, that it would be fun to get to know some of these talented people. blogging sometimes feels so narcissistic – so it’s nice to have posts besides ME ME ME.
first up is kathryn of confetti riot. i found her shop when i was looking for favors for my sister in laws bridal shower — we threw her a tea party so we thought cute tea towels would be the perfect gift for guests. and then i stumbled on kathryns shop and wanted EVERYTHING. she has such a good eye for pattern, and all of the prints and textiles she does are clean + modern + beautiful. she was also nice enough to do a custom order for us, we wanted her palm print on a tea towel with black ink — and now she’s added the product to the shop!
so i asked her some hard hitting questions…
-
happy weekend

today i’m off to palm springs until sunday — i’m the best man (yes, me!) in my brothers wedding, and we’re throwing them a joint bachelor/bachelorette party. i might share some details of what i’ve planned next week. hope you all have a fun weekend!
⋅ is this dress cute? i can’t tell if it’s really cute or if the models just skinny + it looks cute on her.
⋅ i love plywood, therefore i love this house.
⋅ but i love this one too.
⋅ these are the most gorgeous moon paintings ever.
⋅ GUH. want these hash browns right this instant.
⋅ so much want this.
⋅ x-files is leaving netflix, and i wanted to watch it! dammit.
⋅ some simple tips for making your instagram better.
⋅ if you haven’t yet voted for me in the BHG blogger awards, please do! (+ if you have, you can again!)PHOTO TAKEN AT THE PARKER PALM SPRINGS
-
diy triangle bookends
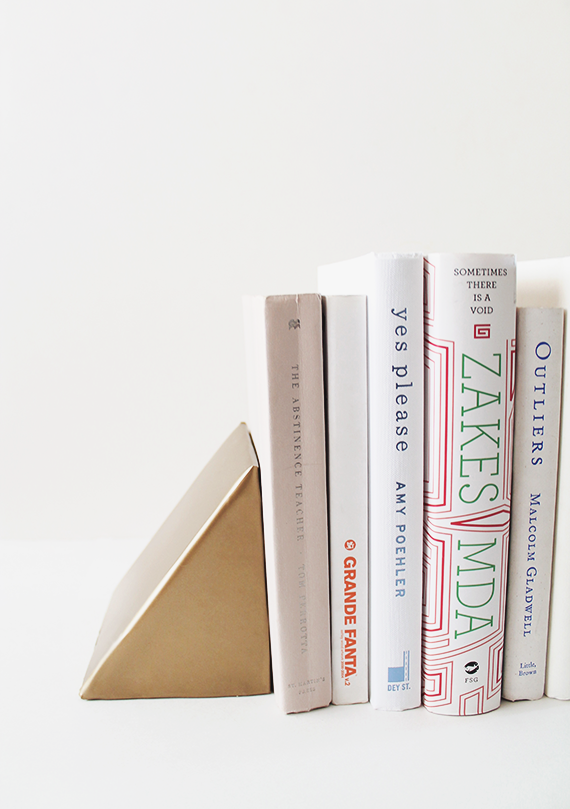

as you know, i love cardboard + contact paper DIYS. because you can make dope things and they don’t cost money.
this project requires a little patience and some cutting skills, but the cardboard is pretty forgiving, so you really can’t tell if the shapes are wonky.
-
BHG blogger awards
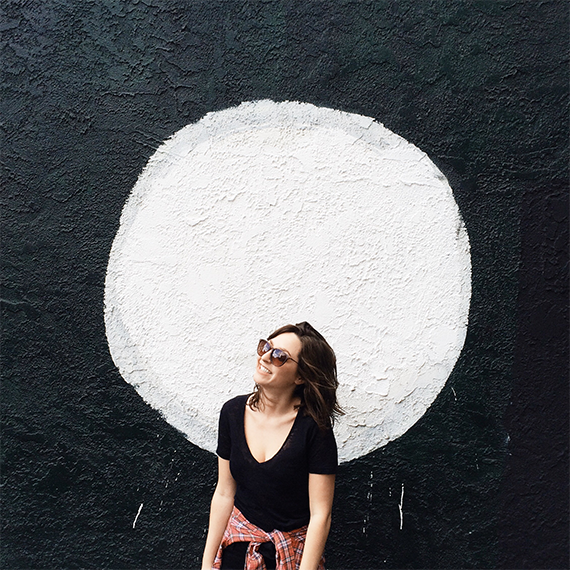
i am so happy and honored to announce that i’ve been nominated in the best DIY blog category in the better homes and gardens blogger awards! i’m nominated among some incredible [+ big-time] bloggers that i totally admire, so i feel really great just to be included.
as you know, i don’t post photos of myself often, but i thought reminding you that i’m just a dork, who can’t seem to stand up straight or pose like a human, who really appreciates votes, might urge you to vote for me.
i wouldn’t continue with this blog if it weren’t for the amazingly positive vibes and feedback i get from you guys, and you always encourage me to try harder on my next DIY — because inspiring you guys to be creative is the only reason i do this. whenever i do a good DIY that gets a lot of love, i always worry i can’t top it and i peaked out. this happens all the time. but i can honestly say the more often you use your creative juices the stronger they get. so thanks for continually inspiring me to inspire you.

-
5 minute diy raw crystal magnets
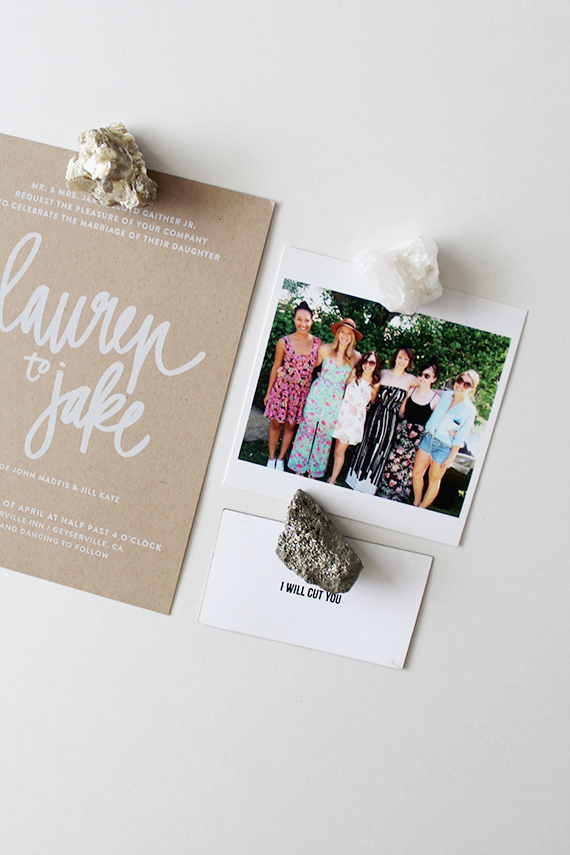
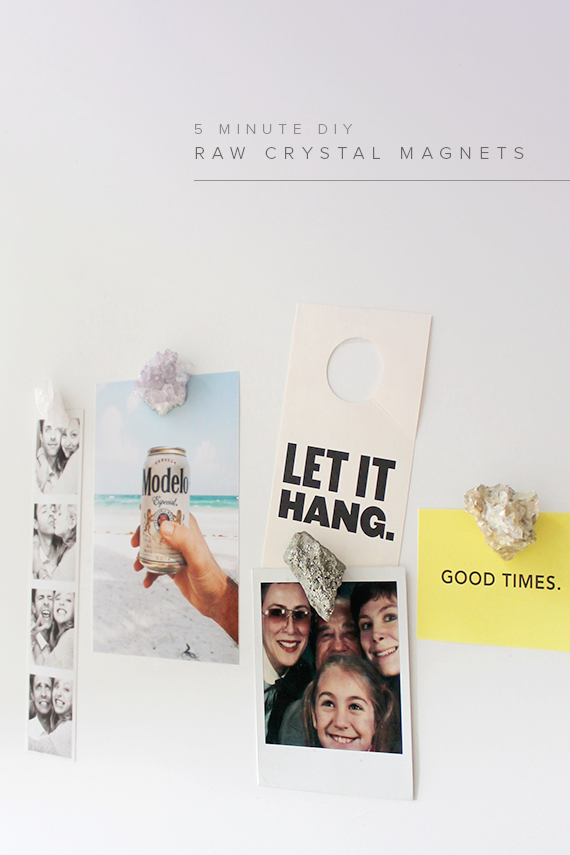
a few weeks ago i was roaming around my favorite craft store and i noticed they were selling raw crystals and minerals for like a buck each. so naturally i filled my basket with them and decided i could just scatter them on every table around the apartment. but when i got home, i decided i wanted to scatter them across my fridge too! so i made magnets. not the most inventive DIY, but these make the easiest inexpensive gifts and favors too!
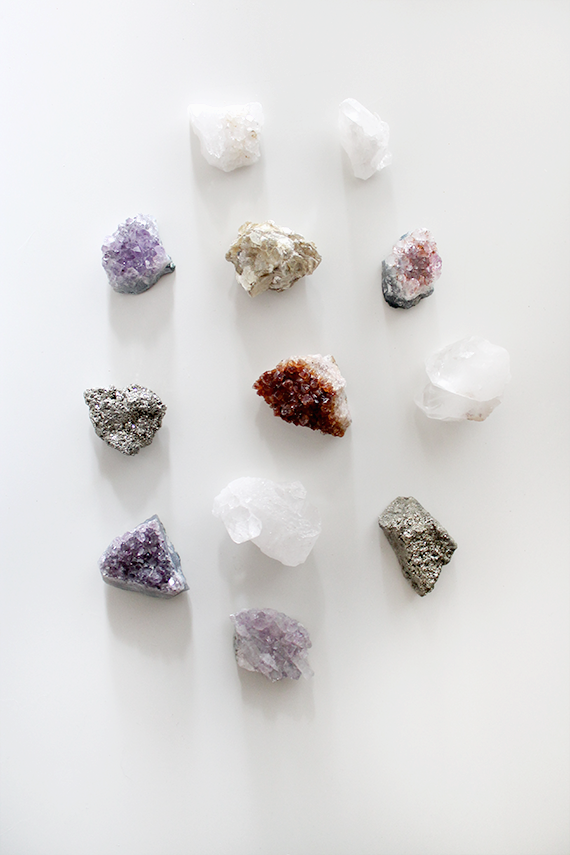
all you have to do is buy some dope crystals like mine (i’ve seen them pretty cheap on ebay), and some magnets (fyi i saw pretty much the same magnets for $12 at the container store and $3 at home depot).
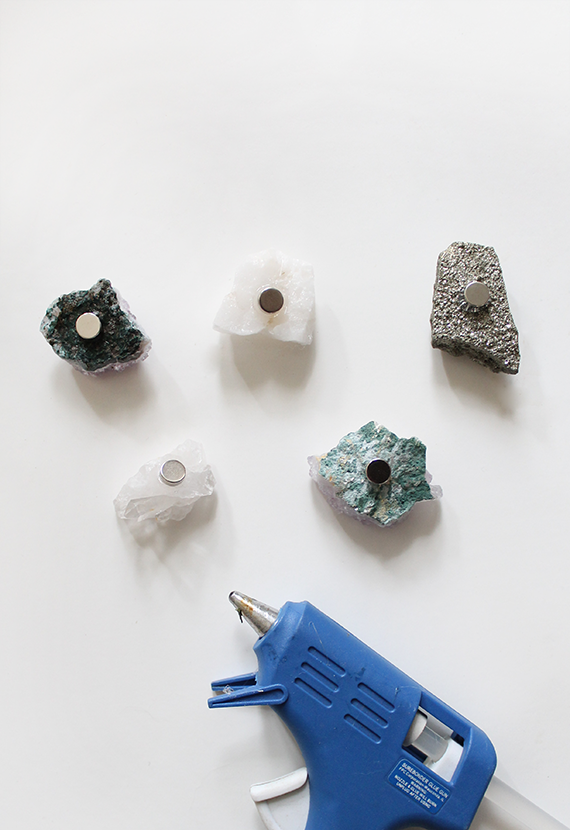
then you glue a magnet onto the flattest surface of your crystal. let dry for a few hours before magnetizing (not sure i’ve ever used the word magnetizing before).
i used a combo of hot glue and super glue to make the bond as secure as i could.
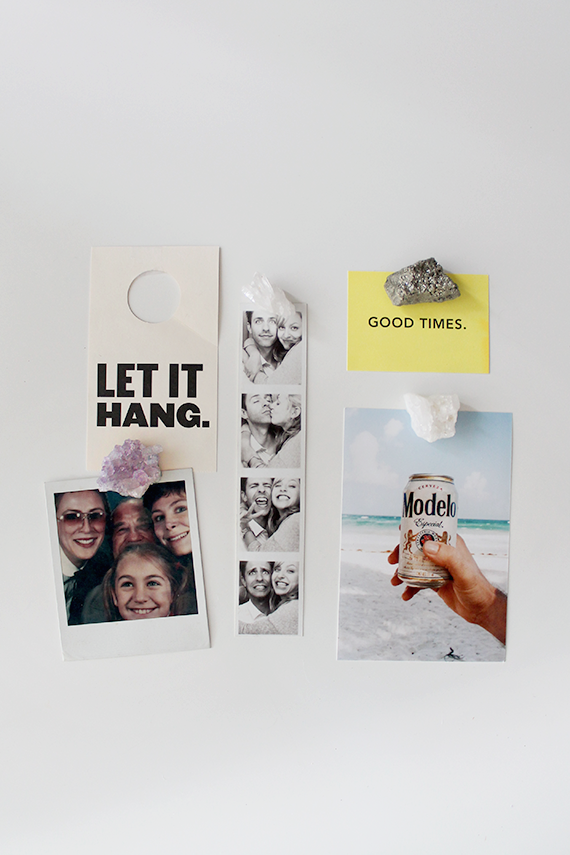
ps i love crystals.
-
happy weekend

oooooo yay it’s friday. have fun weekend plans? we’re seeing hannibal buress do comedy tonight! also have a few episodes of empire to catch up on. HAVE YOU WATCHED EMPIRE? i feel like i am now a spokesperson for the show, but dude. it is so fun to watch (as long as you embrace the cheesy-ness). here are some fun links to make your friday go by a little faster.
⋅ these DIY precious stone soaps are just so insanely good
⋅ $18 for molly jacques calligraphy? so in.
⋅ movie stars, they breath just like we do (maybe more)
⋅ love these minimal engagement shoots
⋅ really want to figure out a way to make a permanent one of these
⋅ people would think i was so fancy if i made this for a dinner party
⋅ better start watching before they go away
⋅ i cannot STOP listening to this song
⋅ and i cannot STOP watching this (and laughing hysterically)
-
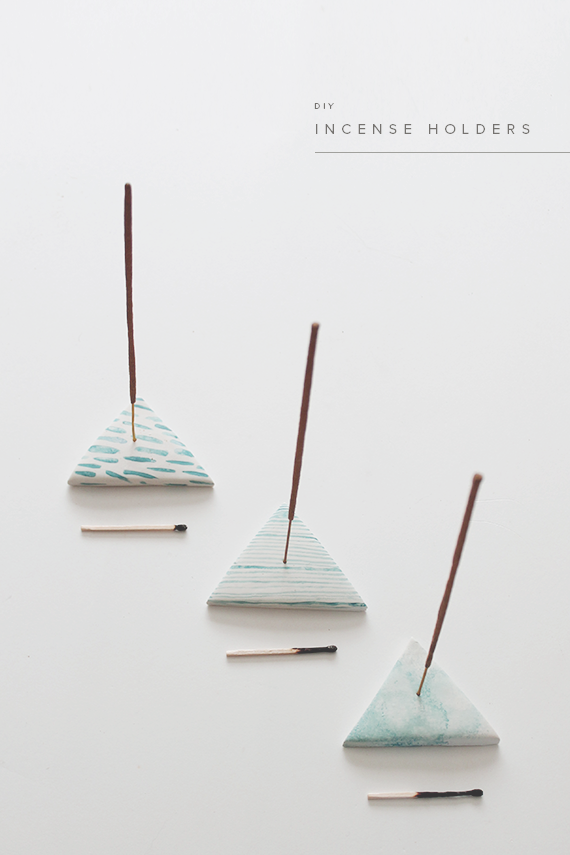
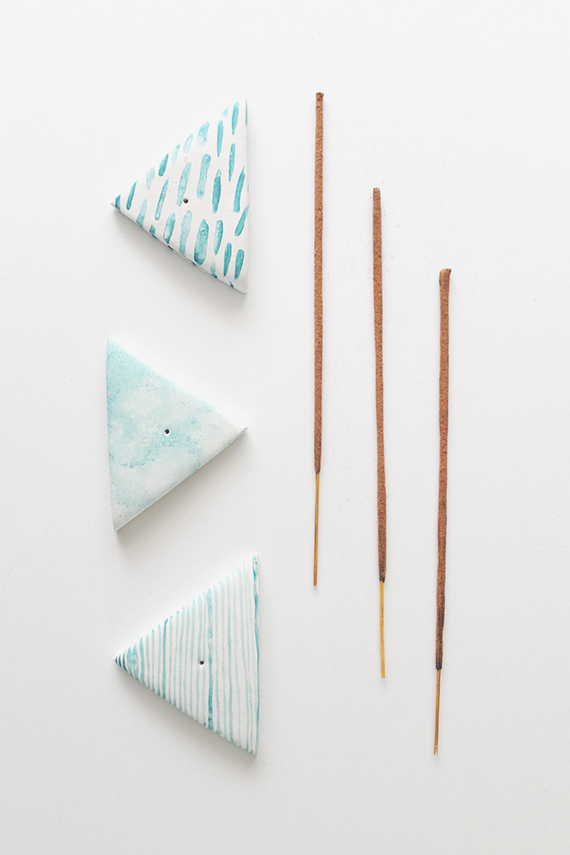
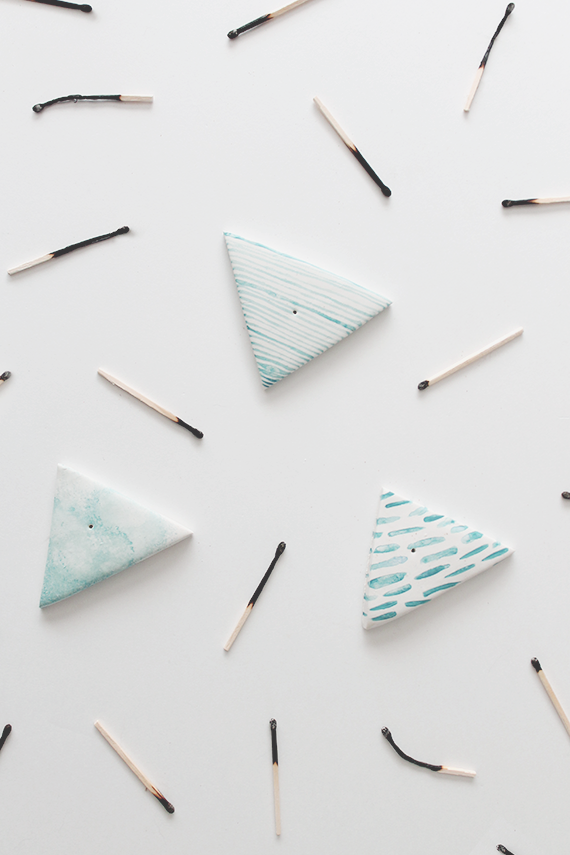
diy incense holders
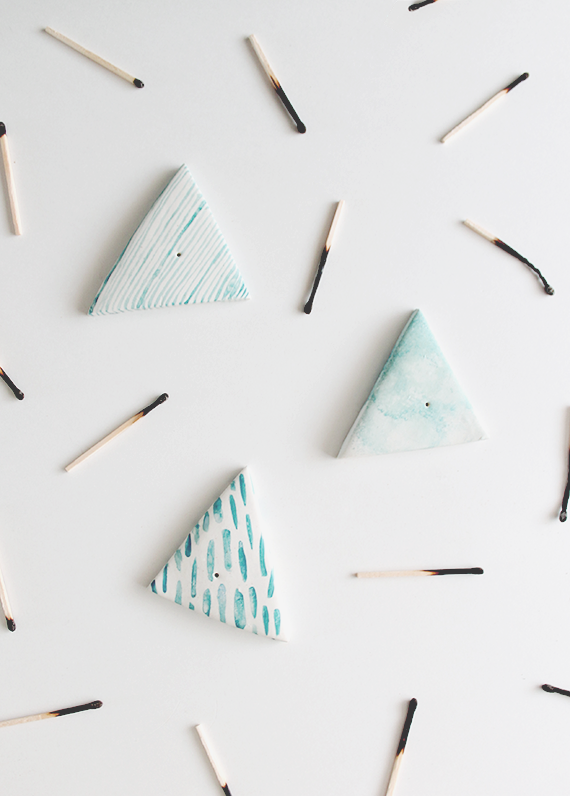
my home office is in the same room as my cats litter box. so we all work really hard in this room. and while i thought i had retired using nag champa in high school, g brought it back to mask the scent of lingering cat poop and it really does work. we’ve been using an old tea tin for years, so i decided to make a simple little holder for our incense sticks – and hey, you can too!
materials
- polymer clay
- rolling pin
- a clay blade
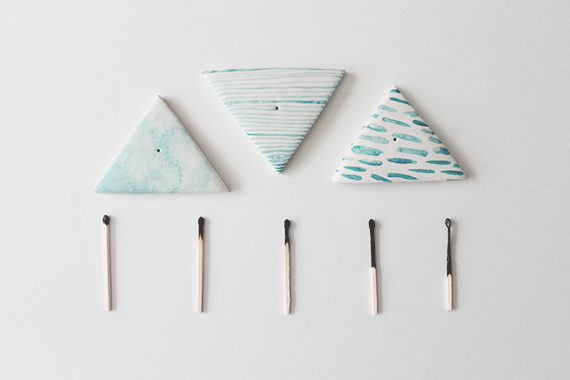
- acrylic paints
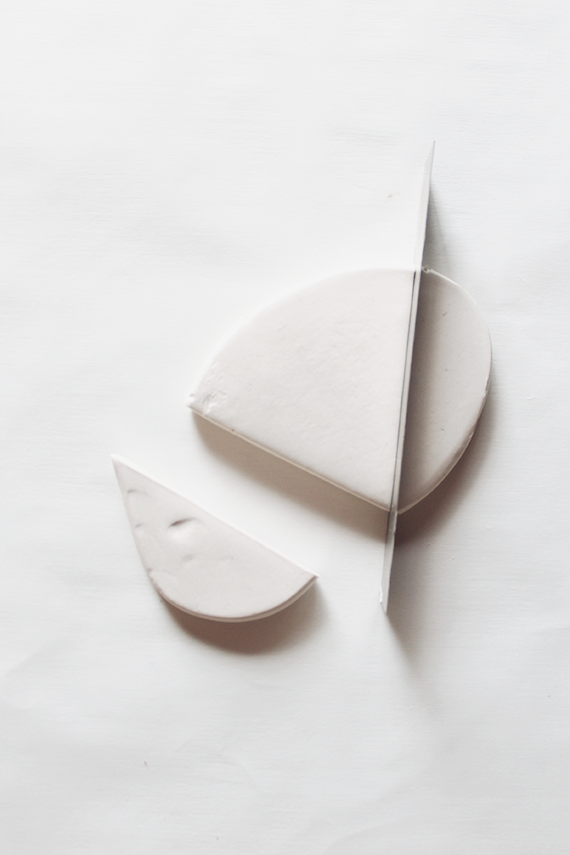
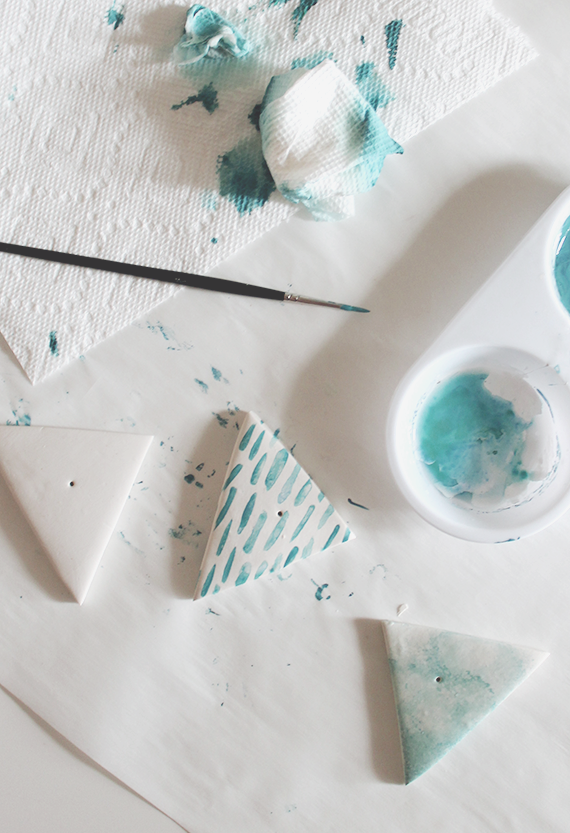
01. soften up the clay in your hands, roll a piece into a ball and roll it out flat.
02. use your blade to cut each side to form a triangle. using your incense stick, prick a hole in the center and wiggle it around just a little to give enough space for your incense. bake until hardened, let cool.
03. paint! i watered my acrylic paint to give it a watercolor look. if you mess up, you can use nail polish remover to fix your mistakes, although i’ve read it’s bad for the clay. also, don’t spill even a drop on your phone screen like i did. because it IS BAD i learned the hard way.
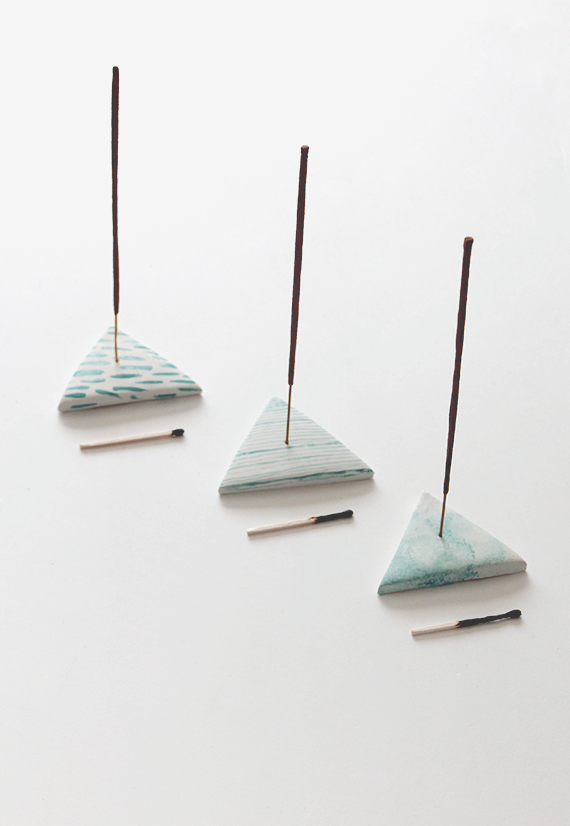
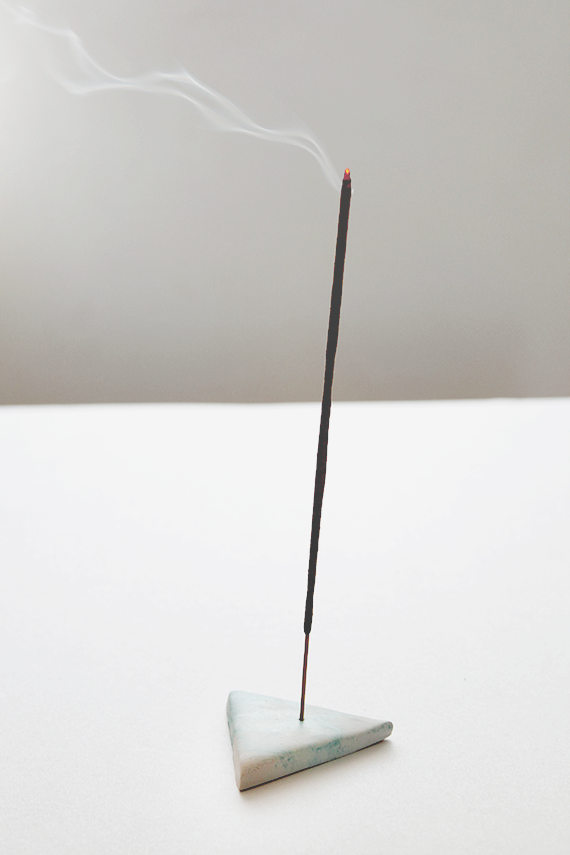
04. let dry! light incense! party!
+ if you’re wondering how messy this is versus using a “catch-all” for the incense ash, well my answer is that we are very frugal people and we’re also very sensitive to smells, so we only use a little of an incense stick at a time. ash may drop. but yolo.
-
our wedding invites
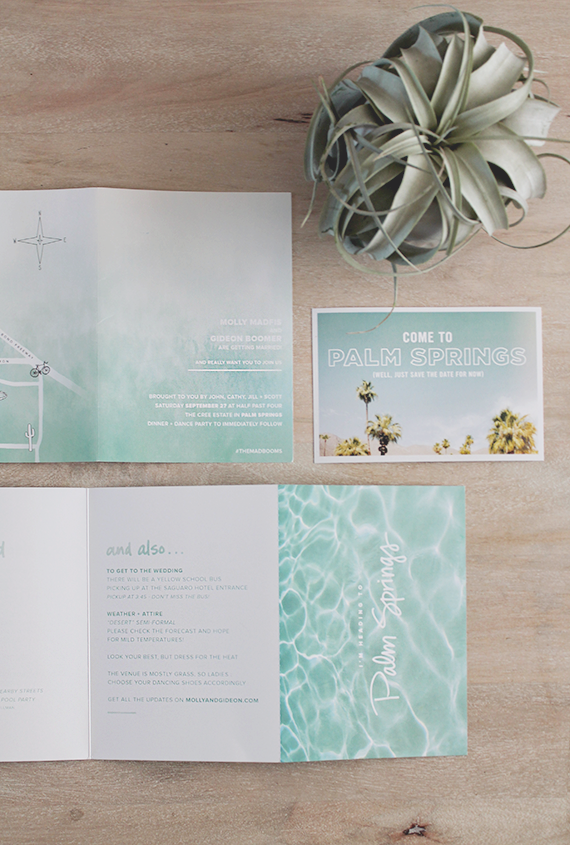
a few of you have asked to see more of our wedding, well — i still can’t show you yet because i’m excited to say that it’ll be featured on my favorite wedding blog fairly soon! but for now, you’ve also asked to see our wedding invites / aka the bane of our existence / aka one of the best things g and i have ever done together.

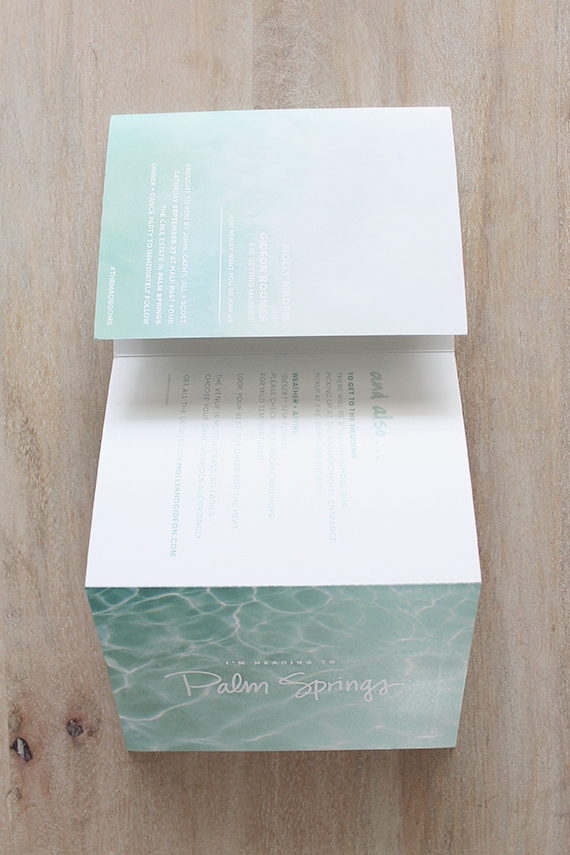
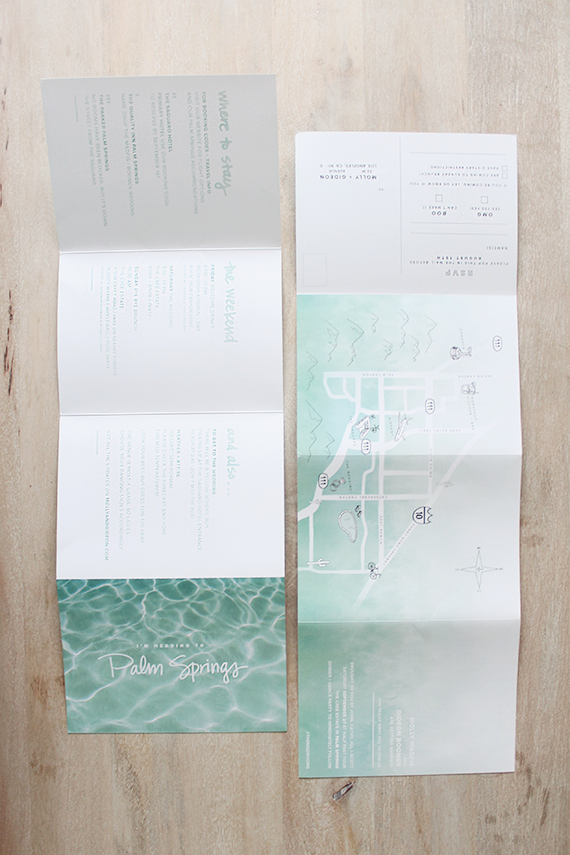
we decided to design our invites to be like a brochure, we wanted to try to convey the palm springs vacation feel to them (to really entice people to come). we stuck with same kind of vibe as our save the dates, but while they go together, they’re pretty different.
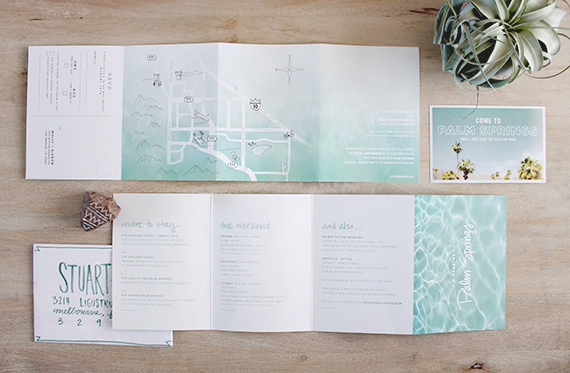
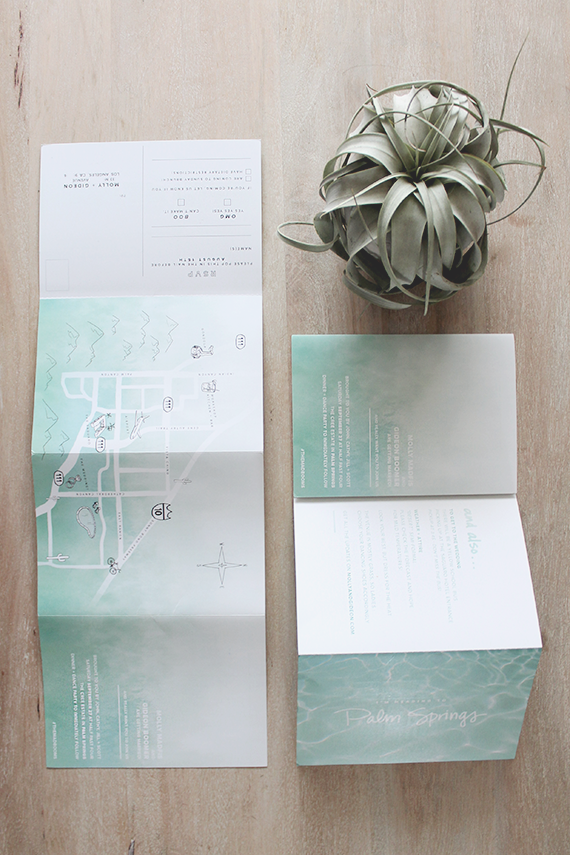
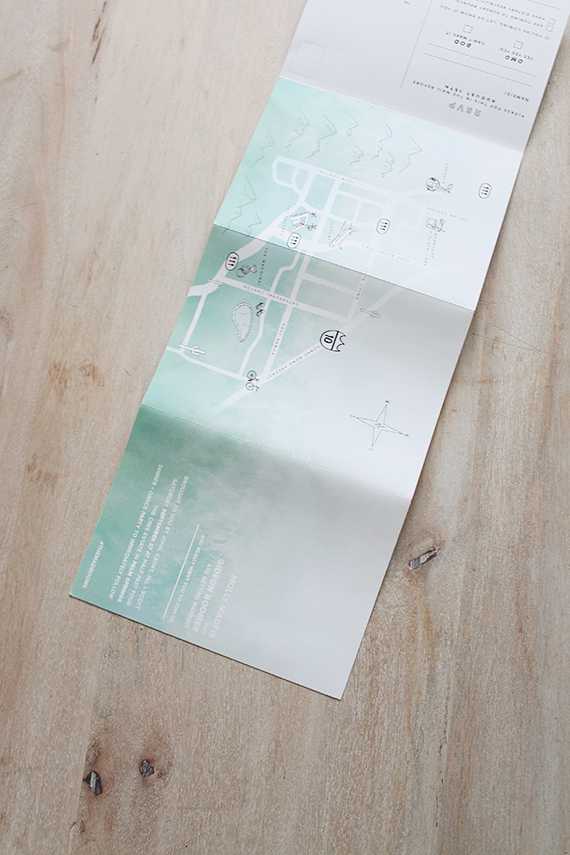
it was a little difficult + a lot tedious to design the accordion layout, because we had to figure out what configuration worked best, which we changed multiple times. when our guests received them, they’d see the front, which was essentially the “invitation”. they then would open to reveal all of the info laid out, as well as a map gideon illustrated on the back of palm springs. we included our RSVP postcard within the brochure, so we had that perforated for easy removal, but made sure the invite had three additional panels to keep it still pretty once they’d RSVP’d. we were really into the idea of postcards for the RSVPs because it’s so much easier to just drop ’em in the mail and we saved on additional envelopes. we went with smartpress for printing the invites, and they were super helpful every time i called to ask mundane questions about how to best design the layouts. (they were also super affordable)
because our wedding was pretty laid back, we made sure to use wording that still sounded like us. the most formal thing we did was including my parents name on the front, but we still made sure to keep that wording casual (by skipping their last names). i hand wrote the words and gid digitally painted the watercolor background. we also assembly-lined our envelopes with a marker that basically matched the invites. gid did the guests names and i did the addresses. that took forever.
i am so happy with how the invites turned out, it was a total labor of love + it was so fun for the two of us to collaborate on them together.


