-
six easter egg DIYS

i am not huge into easter for two reasons.
one : i am jewish. that’s the big one.
two : because there is no way i would ever consider making a perfectly perfect egg inedible. like no way. when i have kids, we’re using fake eggs. i refuse to not eat the egg.next week i’ll have one easter project for you guys, but it won’t be an egg project. don’t get me wrong though, i still admire beautiful easter egg projects, so here are my favorites!
-
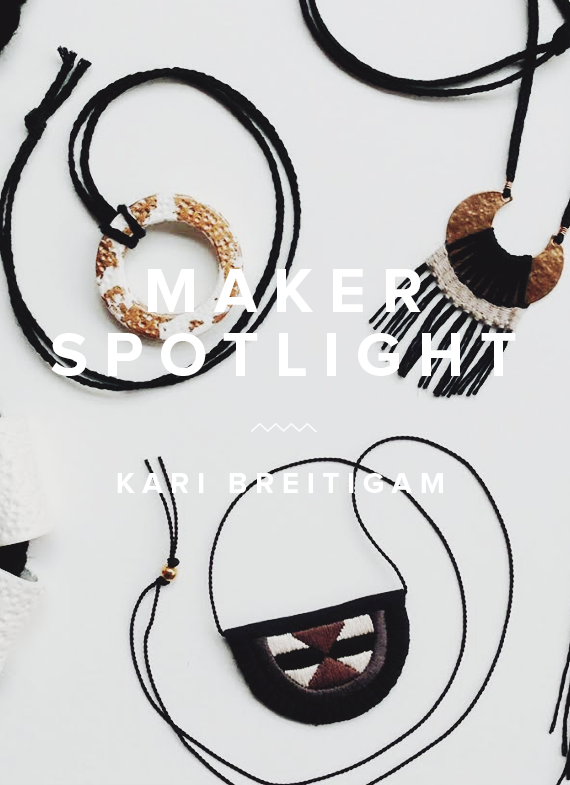
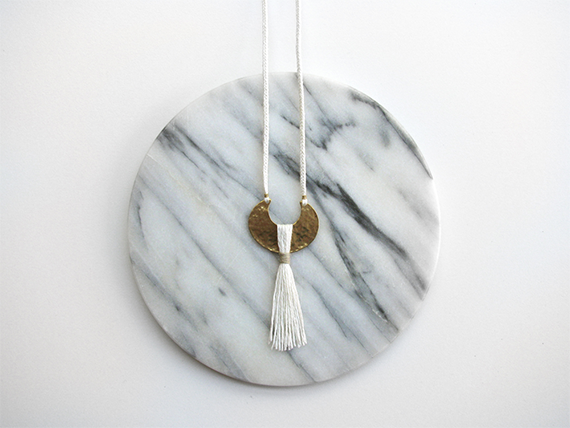
maker spotlight : kari breitigam
-
advertise on almost makes perfect

by now you guys are probably aware that i’ve been doing this blog for a few years now – with a couple of lulls where i’ve wanted to just give up. but it’s because of you guys that i want to keep on keeping on!
so i’ve decided to announce that i will now be selling ad space on the almost makes perfect sidebar! this will allow me to create more original content, while only introducing you guys to brands that are like-minded, so it’s like a win win for all of us. you might be thinking — what a sellout. but no, i promise i won’t be one. i just want to be able to keep this blog around!
i’ve decided to use passionfuit for selling ads – it’s an online marketplace for blogger ads, and it makes the process really streamlined and easy, like you can buy an ad right now and it goes up as soon as it’s approved. it also is all swapped out via the site, rather than me doing it manually — so the process should be really quick and painless. WOO. anyone else use passionfruit? would love to know how it’s been for you!
so if you’re a brand or blog or business that wants to partner up, i’m running a promo code for 15% off the first five ad spots! use promo code : AMP ADS 2015 at checkout.
-
diy faux ceramic ring cones
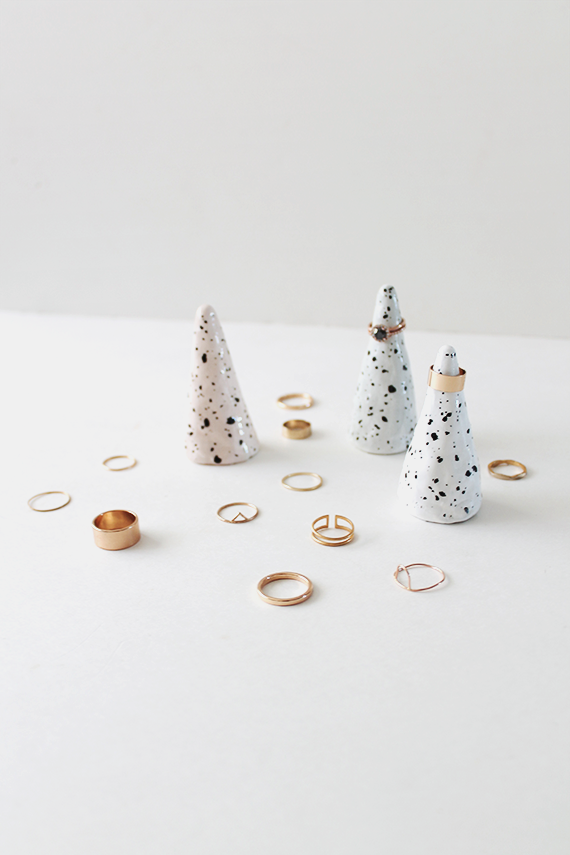
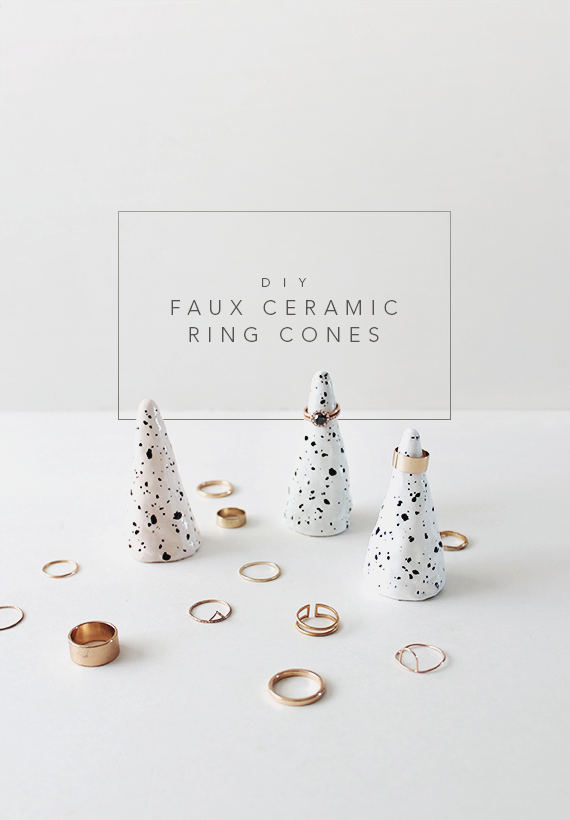
as you can tell from the photos, i have a lot of rings.
so making myself some ring cones seemed like the courteous thing to do for my husband who shares a bathroom with me. after doing the faux speckled candles, i knew i wanted to use that painting technique again soon — and well, here we are.
-
f21 faves

as promised, i’m going to start doing semi regular roundups of my favorite items at forever 21!
i want to start this column by saying i am not associated with the store, i just have an addiction. i also want to say that i am aware that there are many options for shopping small, sustainably + ethically. but i enjoy F21 and that’s about it. this blog is about fun + pretty things. and not much more than that. real talk!
SO HERE ARE SOME OF MY CURRENT FAVES!
muscle tank / sandals / sunglasses / denim shirt / overalls / boots / linen button down / maxi dress

-
happy weekend
happy friday! we just started watching the jinx so i want to finish it before everyones done talking about it. i’m also on a mission to switch mobile providers and get a new iphone. (!!) hope you guys have fun this weekend!
⋅ this is like, the prettiest thing i’ve ever seen.
⋅ love this for an easter table setting
⋅ apparently mark ruffalo was always cute
⋅ i could really go for one of these today
⋅ had no idea tarantino rewrote it’s pat (must be why i loved it)
⋅ definitely going to be doing this
⋅ this is the entryway of my dreams
⋅ have you seen this guys videos? my dad sent this to me with the subject line “AMAZING!” -
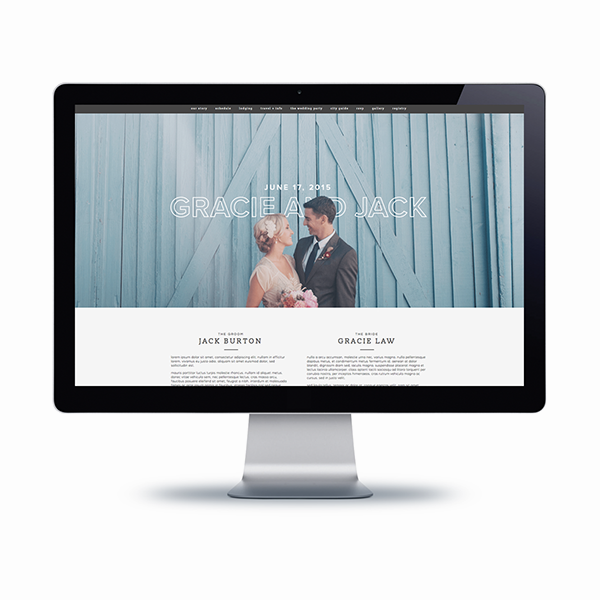
blogzilla studio wedding themes
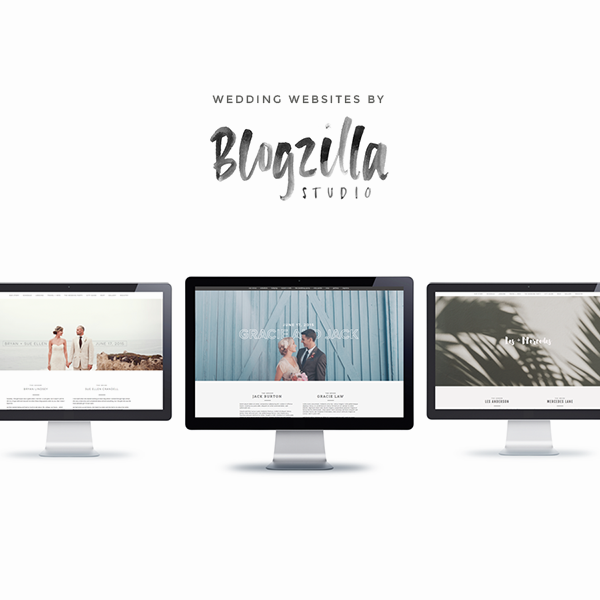
if you follow me on instagram or if you follow blogzilla studio, you already know that we launched wedding themes this week!
i am soooo excited about this — we’ve been working like maniacs on every little details of these themes for months now, and we’re so happy we can finally get our lives back to normal.
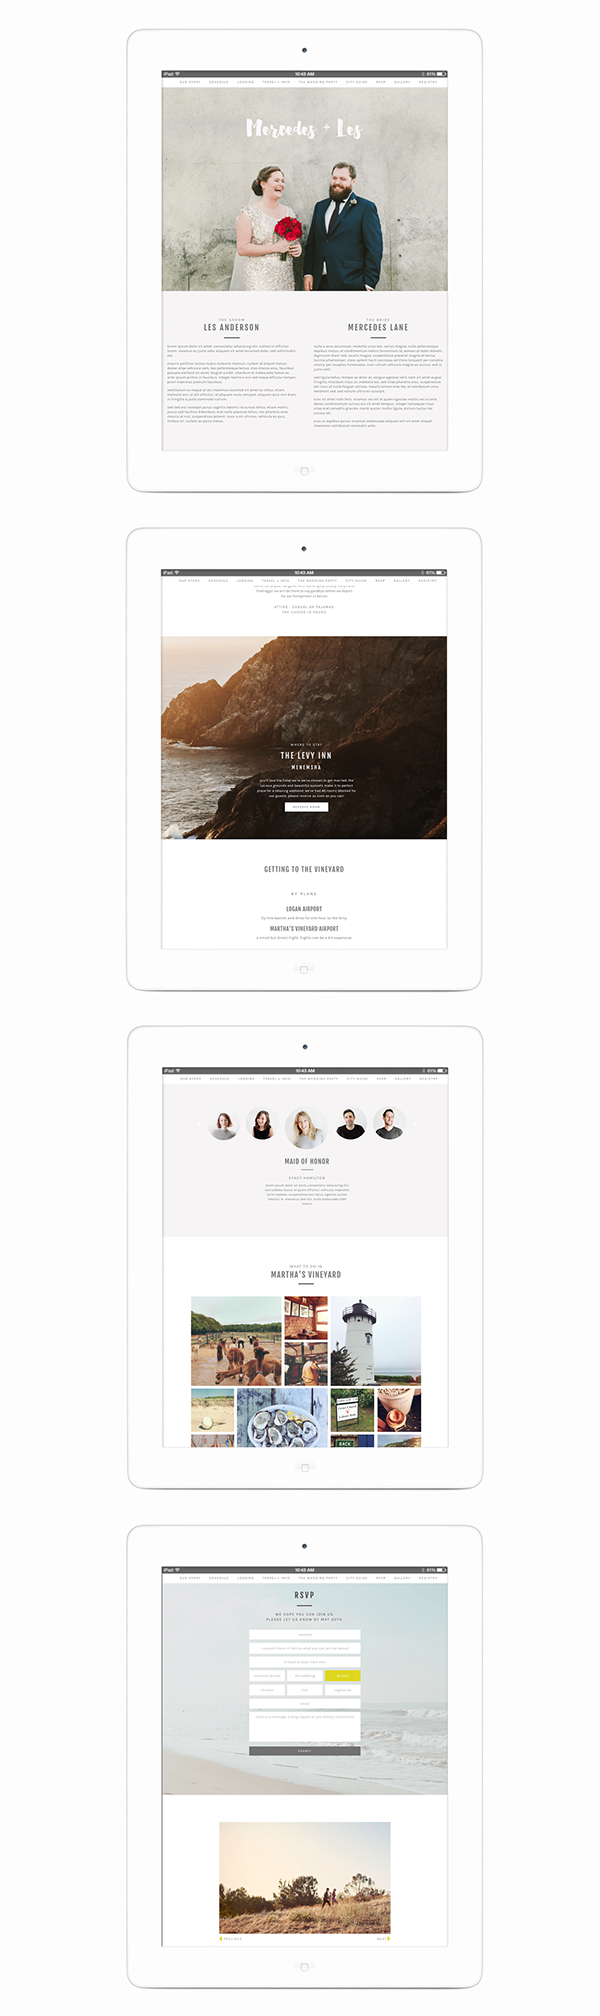
i came up with the idea of doing wedding websites when i was getting married and needed a website. i was looking around at my options, but i just really wasn’t a fan of what was out there. so we created my wedding website (which is now sadly expired because i didn’t want to pay to keep it up). after that, we worked forever to get it to the point that would work for all clientele and i think we accomplished that!
our three themes are clean + modern one page designs that include custom domains, custom splash pages, online RSVP + way more.
we really love these themes, and we hope you do too! if you’re engaged, come check us outtttt.
-
diy half glazed pots
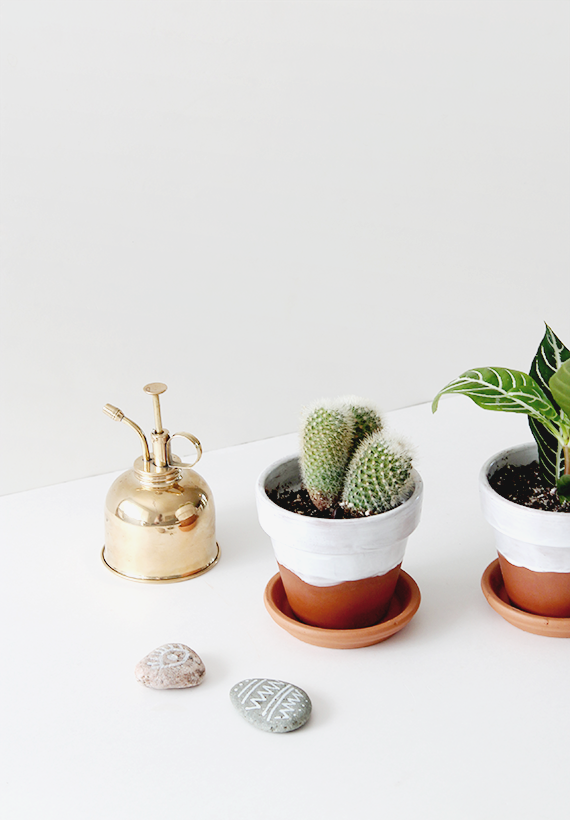
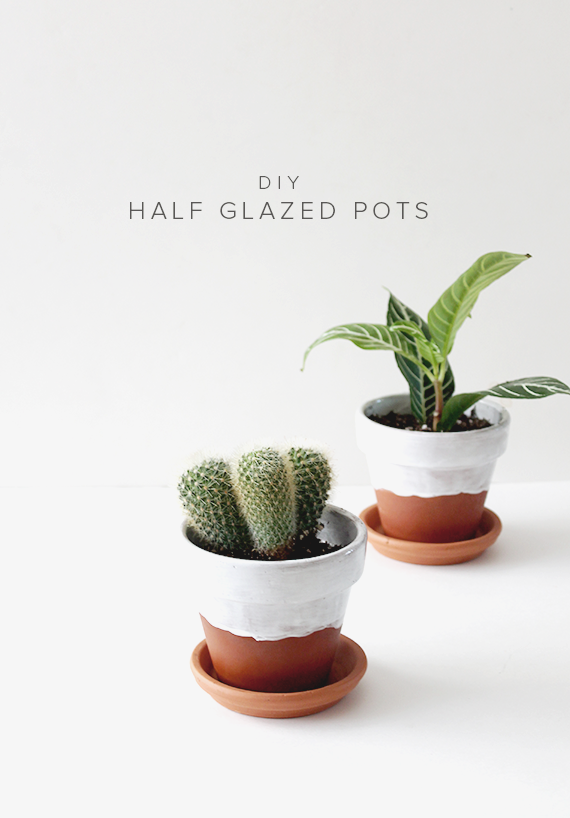
i’ve been so swamped trying to finish up blogzilla wedding themes that i haven’t really had a chance to work on DIYs, despite having like three half done prototypes of projects that i don’t like yet. but hey! we launched today!!!
i figured this was a supppper easy project that i could actually finish to post for you guys, so here it is!
-
almost makes mixtape ⋅ vol 15

blegh. it’s monday. let’s all be super monday-y and not take our headphones off all day. hope you enjoy the new mix!
-
happy weekend
i feel like i was a little MIA this week — not only are we launching wedding sites for blogzilla studio next week (!!) but i also became an aunt! we have a pretty free weekend which is always nice after a weekend away, so i want to eat and veg as much as i can. i downloaded this app which is amazing, but might be a little too tempting too often for me.
⋅ can’t believe how beautiful the results from a potato stamp can be
⋅ i want this book so bad
⋅ my favorite video of the week
⋅ love how relaxed this apartment feels
⋅ how to poach a dozen eggs at a time!
⋅ i’m so scared of concrete, but everyone is making such cute things
⋅ i want to stay here
⋅ you should never assume the dress will look like it does on the model
⋅ are we really still doing this? yes. please.
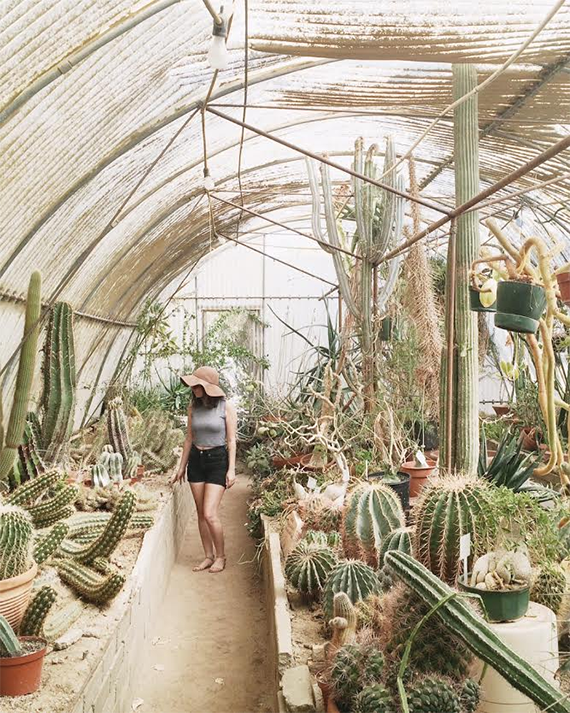
PHOTO TAKEN AT MOORTEN BOTANICAL GARDEN IN PALM SPRINGS