-
payday wishlist
did you know it’s friday?! i have about nothing planned for this weekend. it’s pretty nice when i don’t have to do 100 errands. hope yours is good!
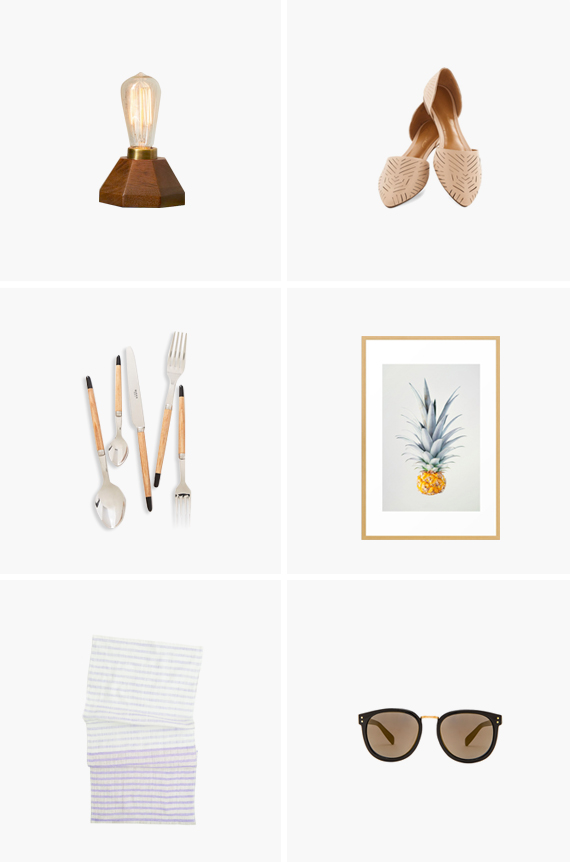
01. i HATE the amount of space a bedside lamp takes up. i would much rather fill it with empty glasses of water and controllers. get sconces you say? well, i haven’t. but this faceted wood bulb lamp seems pretty teeny tiny. and also amazing.
02. i just talked about only filling my closet with essentials, and that means a nice pair of nude flats.
03. i tried registering for this super lovely wood flatware set, gid say no go. GUH. pretty.
04. ez of creature comforts is selling this new pineapple print. also comes as an iphone case. almost put both on here.
05. guest towels is one of those things i always want a newer prettier version of.
06. my sunglasses hurt my head when i’m in traffic too long. seriously need a new pair. -
i link you

urban outfitters is now selling this huge woven wall hanging. the perfect headboard for those cat owners that never ever want to sleep again. ugh cats.
love love this simple diy palm frond garland – totally the right vibe for the wedding. (via a fabulous fete)
we’ve determined i am very into copper right now (apparently i like trends). so goes without saying i’m a huge fan of this cute copper necklace. (via the crafted life)
i’ve been wanting to diy a little shelf for a while now – how easy and cute is this raw edge one?! (via always rooney)
smoky oyster chowder with bacon, rosemary and fennel. like get real. dream. (via food & wine)
the only room i would ever wallpaper would be the guest bathroom. and even then i think i’d get sick of it in like 4 months. but this diy stenciled wall? so rad. (via a beautiful mess)
-
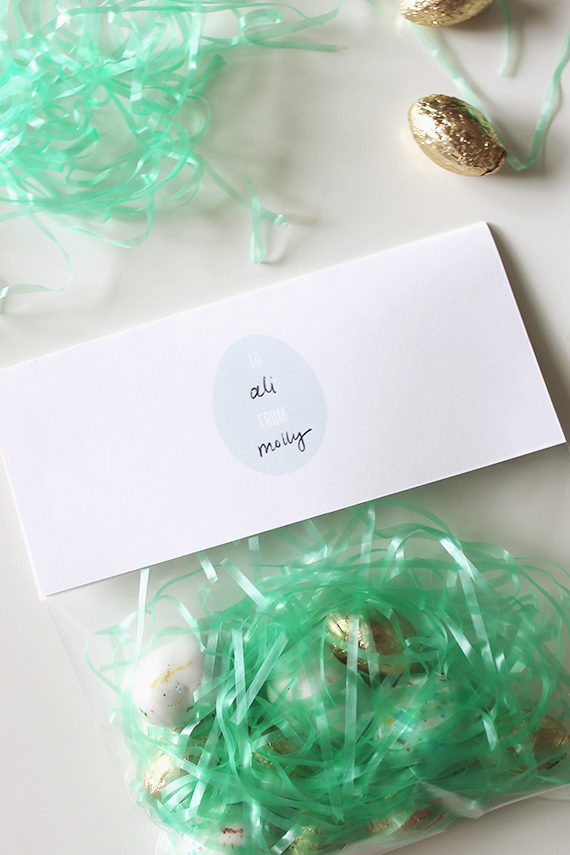
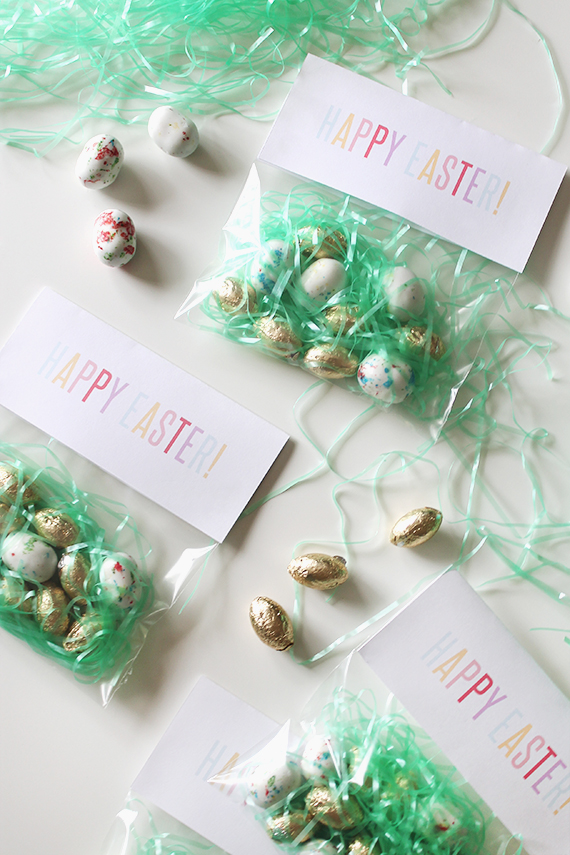
diy printable easter treat bags
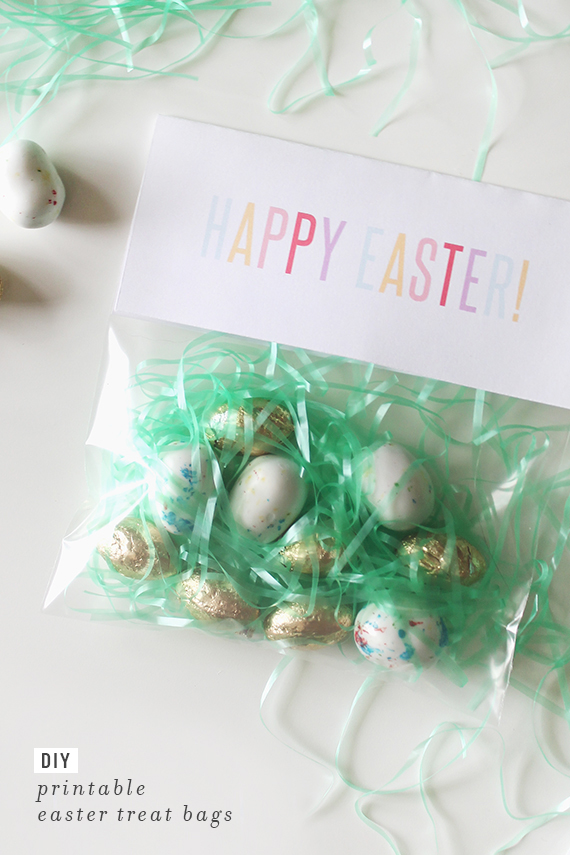
easter is still a little ways away – but wanted to share an easy way to present candy for the kids or candy loving adults in your life. as i’ve said before on here, i don’t celebrate easter, yknow – being jewish and all. but i do love eggs. and any holiday that has anything to do with eggs – i’m in. well ok… just for the egg part.
anyway! here are some super simple and pastel (easter = pastel, right?) bag toppers!
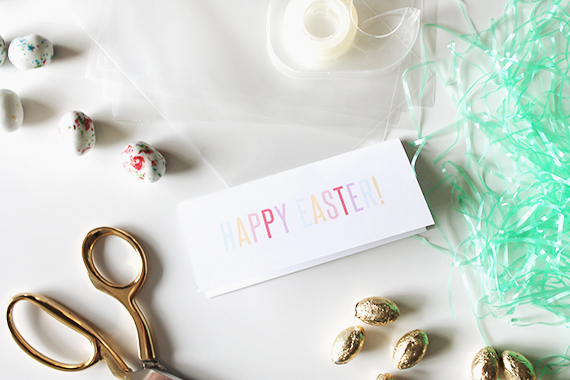
materials
8.5 x 11″ cardstock
scissors or xacto
double sided tape or stapler
5.75 x 5″ cellophane bags
lots of candy, lots of fake grass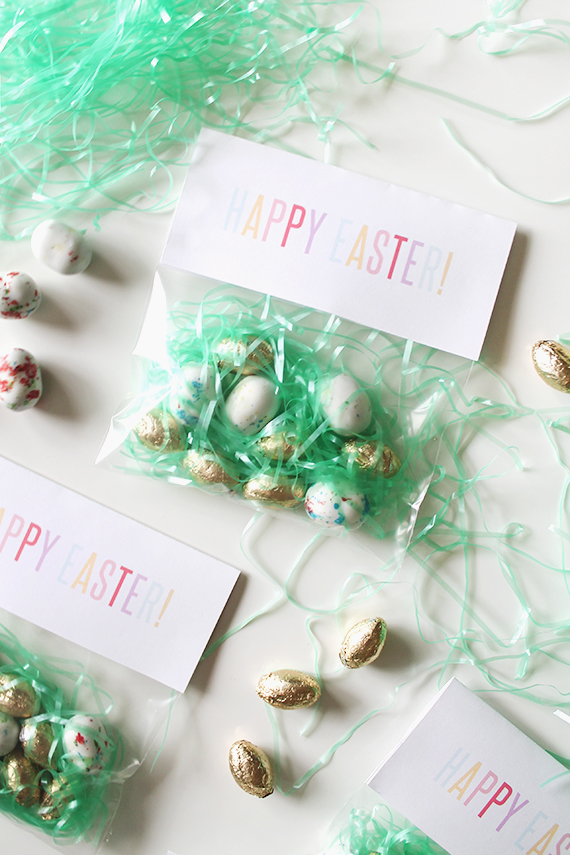
directions
print out the toppers (link below) and carefully cut along the edges. fold in half.
fill your bag with treats, and cut down in height if you’d like. i did.
staple or apply your double sided tape and attach.
write your very lucky recipients name on the back.

-
almost makes mixtape ⋅ vol 8
i feel like i’ve been completely swamped this past week. the wedding feels far away but at the same time i just am constantly feeling like i’m wasting the precious time i have to plan by not planning every chance i get. does pinterest count as planning? not sure. here’s what i’m listening to while keeping busy.
-
just essentials
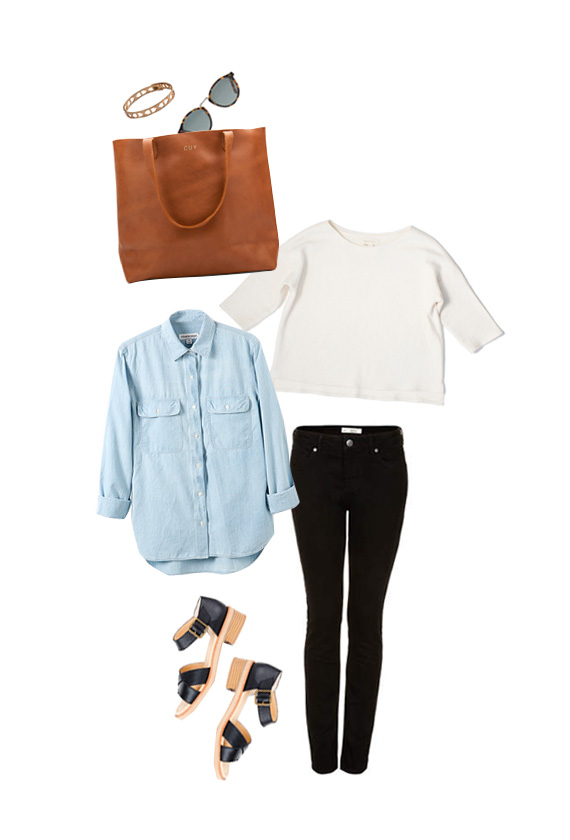
bracelet | sunglasses | tote | sweater | chambray | jeans | shoes
i have this horrible habit of shopping at forever 21. i’ve been addicted since high school. but the other day when we did a load of laundry and noticed just how many clothes sitting out that weren’t dryer safe — i decided to try to call it quits. i’m an adult.
i am no longer buying stuff at forever 21 and h&m … ok that’s a lie. i will probably still buy certain things for last minute occasions. but i have another bad habit of wearing the same thing over and over. back when i was really going hard on f21 – i was in my early 20s and went out all the time and cared about having new clothes. well i’m almost 30. i no longer need disposable clothes, right?
i’ve decided to purge hard and only buy items that i truly love and that i can hopefully wear for many years. that’s the only way i can reason with myself to spend the extra money. i’ve decided that if i have a steady rotation, i really only need like :— a half dozen nice tees
— 2 pairs of jeans
— a couple of button downs and sweaters
— a daytime bag
— a nighttime bag
— a couple of dresses (gonna just stick with black)
— a few favorite accessories that don’t turn my skin bluebtw – i bought that cuyana leather tote and am SO happy with it. i use it everyday. do you spend more on nicer items or buy disposables?
-
payday wishlist
YAY! it’s the first spring weekend! although that also makes me have a mini panic attack every time i think of how soon that is to the wedding – but whatever.
this weekend i’m doing some wedding stuff, i’m also having my portrait taken by kate miss! i am so excited to finally have a photo that i like of myself. get ready sidebar. you gons get updated. HOPE YOU HAVE A WARM WEEKEND!
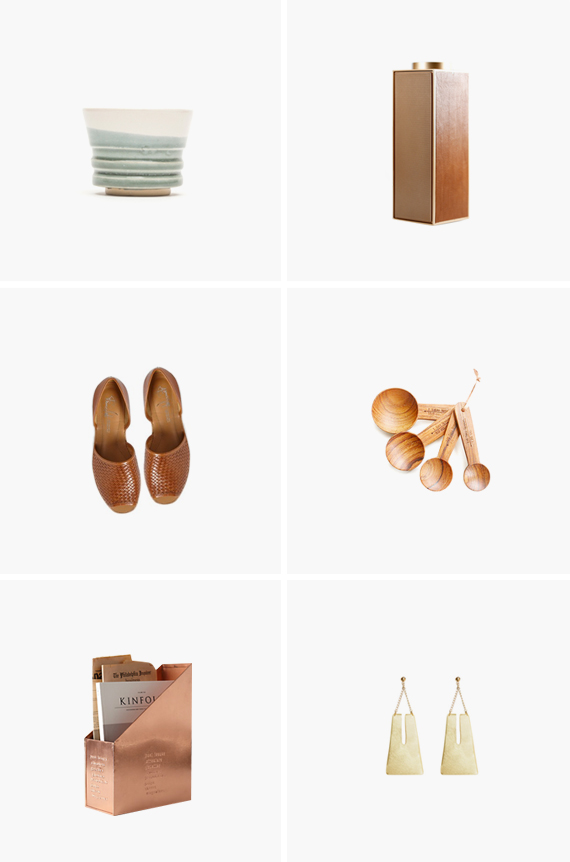
01. looove the colors of this simple little ceramic pot.
02. i kinda want a pretty portable speaker in every room of the apartment.
03. vintage fisherman sandals. GIMME.
04. measuring cups are one of those things i never end up updating. my plastic ones are shit.
05. enough with the copper already! i know. except oops — just planned two more copper DIYs. then i’ll be done.
06. love everything young frankk – these earrings are killer.OH! and check out this monday morning with me over on mint love social club.
-
i link you

DIYing your own beaded bridal sash is a LOTTT cheaper than buying one. have you seen how expensive those things are?! (via green wedding shoes)
love this april fools prank. now if only i had children to mess with. (via oh happy day)
neil degrasse tyson is awesome, but what’s really awesome is how stoned he sounds slowed down. (via sploid)
i love me some crystals. so naturally i love crystal projects too. (via design love fest)
this mid century plant stand DIY is so so rad. i want 10. (via a beautiful mess)
-
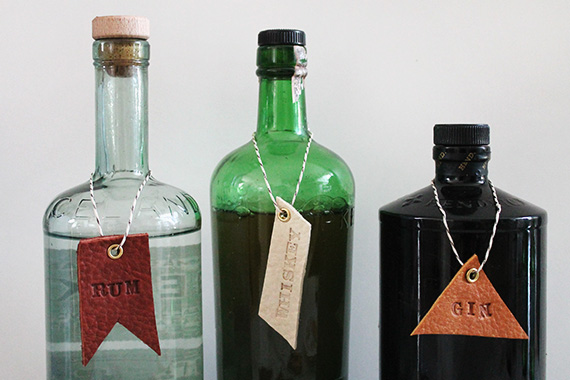
diy leather bar tags for sugar & cloth
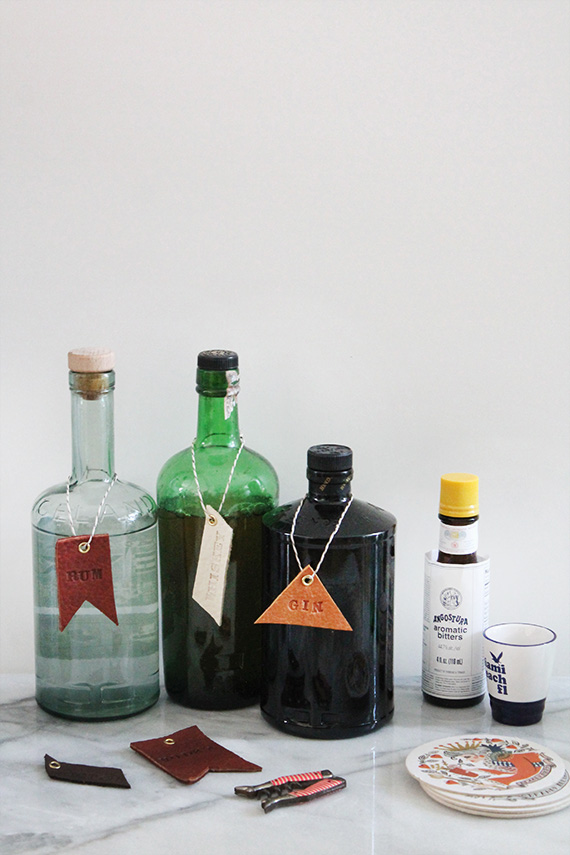
i made a fun diy gift for the guy in your life or the avid drinker over on sugar & cloth today!
these leather bar tags can be totally customized and are actually pretty fun to make because you can bust them out like a factory worker once you’re in the zone. they’d also make really special gift tags.
visit sugar & cloth for more photos and the full how-to tutorial!
-
diy copper + wood paper towel holder
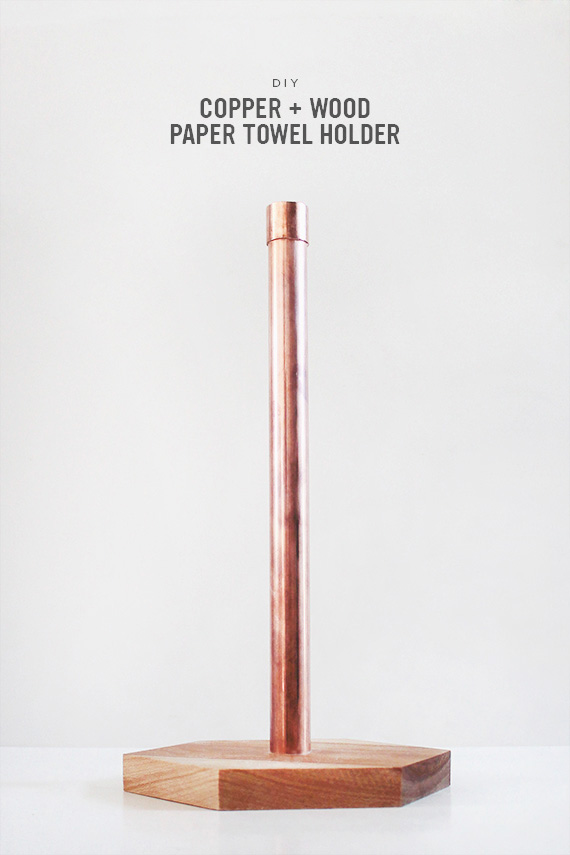
a paper towel holder is always an afterthought for me. case in point – i’ve been wanting to DIY one for a year now. but the other day when i deep cleaned the kitchen for the first time in months, i noticed how gross and rusty ours was – i headed out to the hardware store that day.
this project is SUPER easy to make, but you need some good tools and some arm strength or some boyfriend.
MATERIALS
a piece of wood (we got this birch in the precut section of the hardware store)
copper pipe
copper cap
industrial strength glue
drill spade bit (we used 7/8″)
miter box
hacksaw
wood conditioner (optional)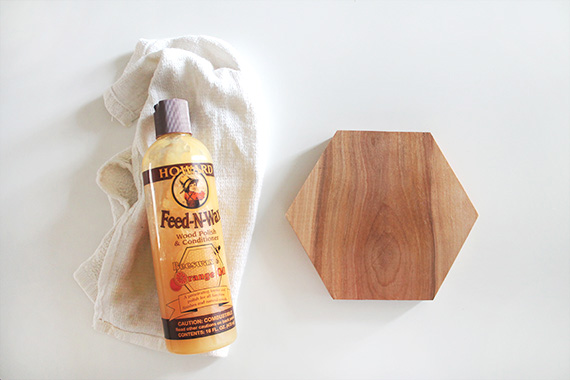
DIRECTIONS
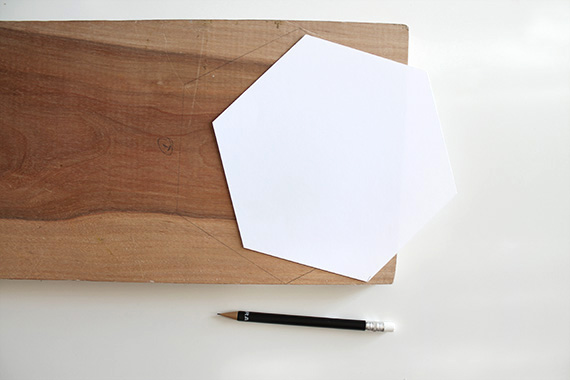
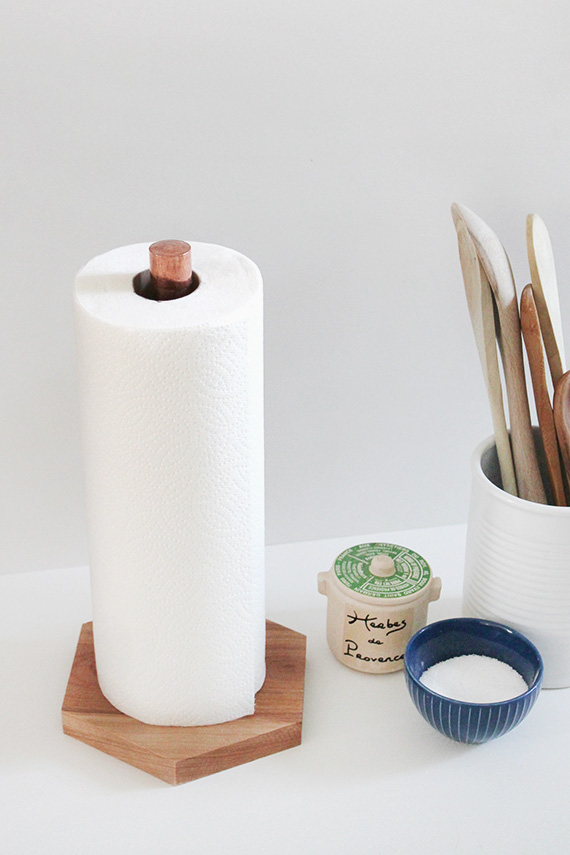
ONE // determine your shape and size. i simply used the hexagon shape tool in photoshop and printed it onto cardstock at around 7″ wide. you can also just draw it. carefully cut out your shape and trace it onto your wood with a pencil.
TWO // saw your shape, we used a miter box which helped a lot, and if you have some sort of jigsaw you’ll have a way easier time. once your base is cut, sand the edges without rounding them, and then if you’d like to, condition the wood. i used feed-n-wax which gave it a much richer color.
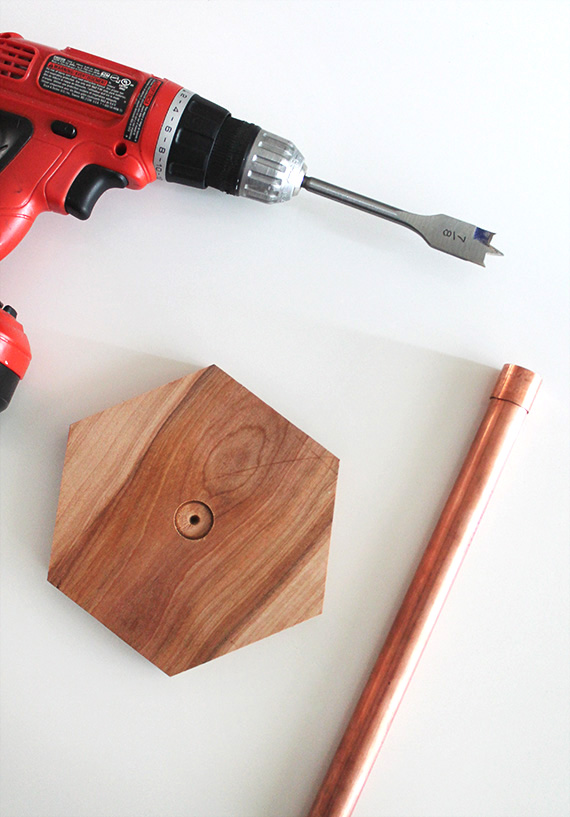
THREE // measure the exact center of your base. with your spade bit attached, drill a hole into the base. go as deep as you want to for how much of the pipe you want to show on top.
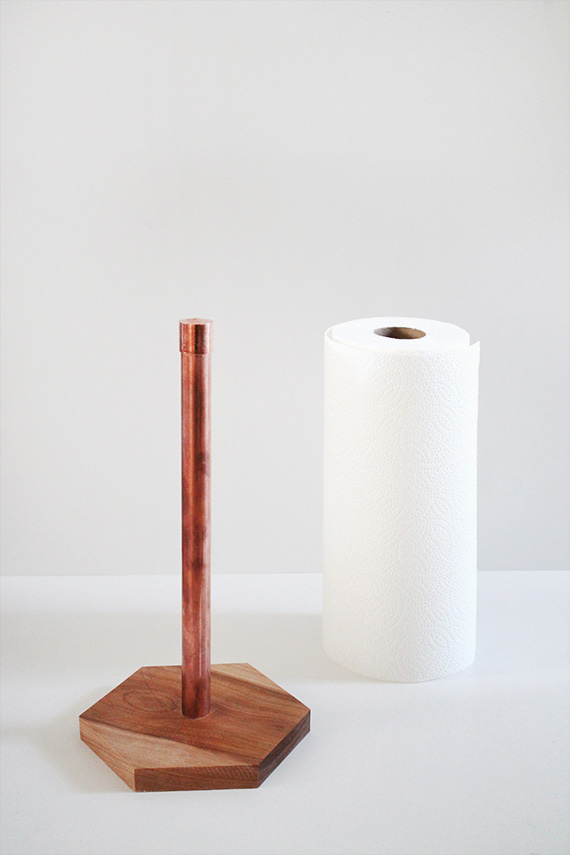
FOUR // using a paper towel roll as your measurement, cut down your copper pipe with your hacksaw. cap it off.
FIVE // make sure your copper pipe fits snugly in the hole, apply glue and let dry for a few hours!
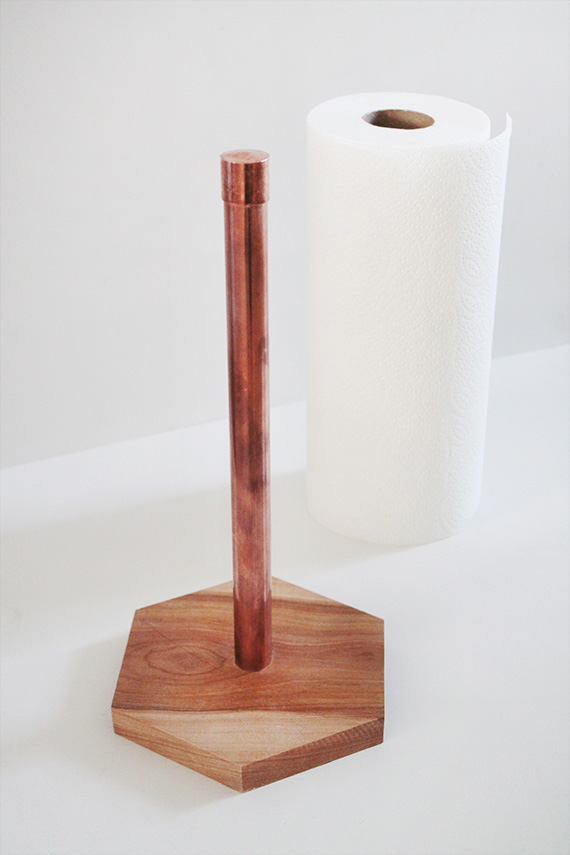
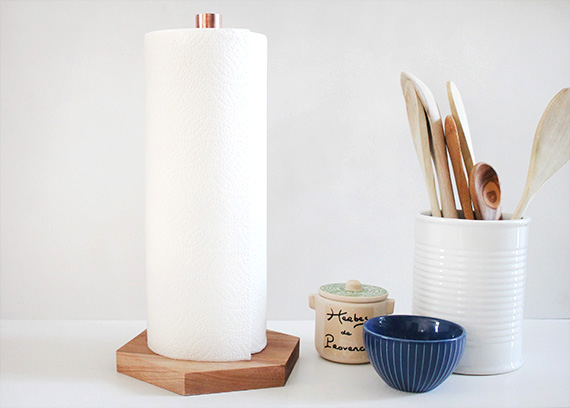
i am so so happy with the final result. and it makes such a difference when i am looking at our sink now!
-
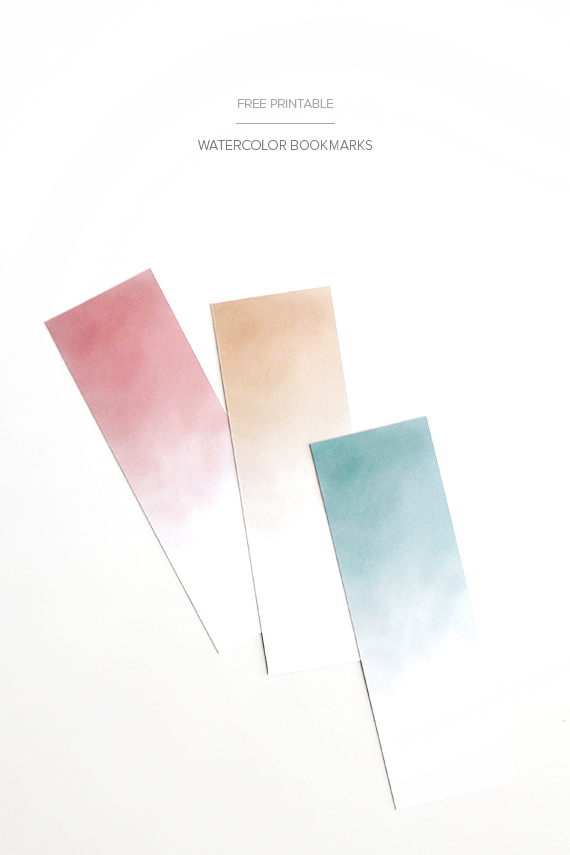
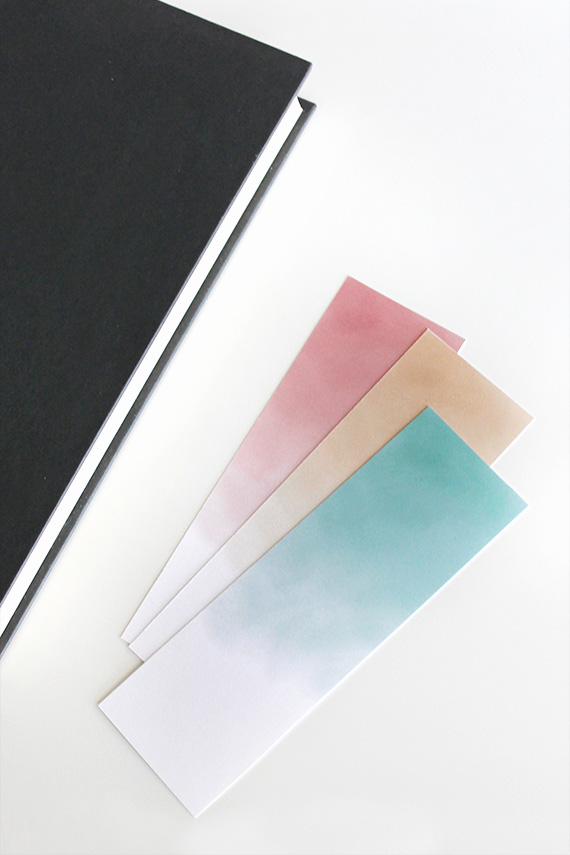
printable watercolor bookmarks
i’m going to cincinnati, ohio today until sunday — so i’m saying goodbye early this week. my cousins kids are having a b’nai mitzvah so it’ll be a weekend long family reunion / party. hoping my down parka that i keep in storage will keep me warm!
here’s a confession : i never read books. ever. EVER. i took a book to hawaii last year with me and got halfway through. that was huge for me! when i was in high school i read all the time, but then i just stopped. it’s really bad. and you’ve seen my shelving. i own about 17,000 books. anyway — i’m always hopeful when i’m on an airplane that i’ll have nothing else to do but actually read so in honor of the attempt, i made myself some simple watercolor ombre bookmarks and i wanted to share with you too!
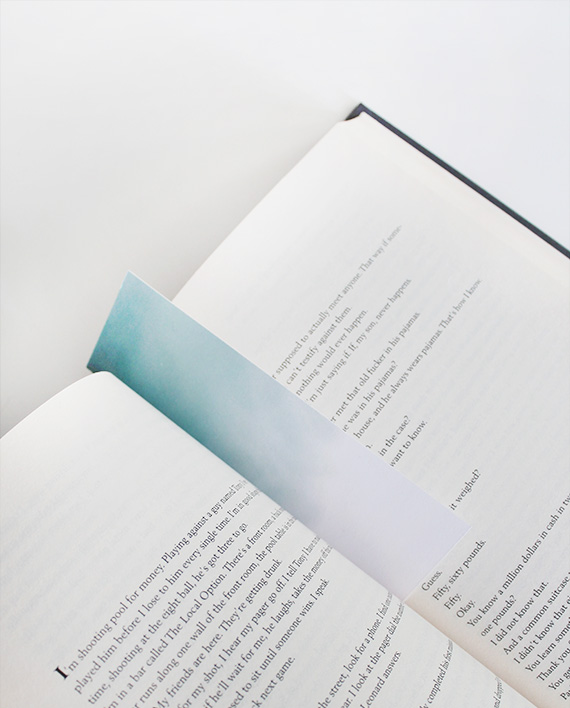
see that book right there? never read it. totally just a prop.
anyone have suggestions on books that are so good you can’t put them down — even if you’re a non-reader?
my favorites are (were) invisible monsters by chuck palahniuk, breakfast of champions by kurt vonnegut and heartburn by nora ephron. pretty much the only books i got through in the last ten years.


