-
payday wishlist
friday came fast for me this week, yesterday after our couples therapy (yep, we’re trying to be smart about getting married and going to couples therapy weekly) we were rear ended super hard while stopped at a light. so we’re taking it easy today to make sure our necks aren’t hurting too bad. it’s supposed to get warm this weekend, so we’re going to head down to the lake and take the pedal boats out! i’ve finally convinced the boy it will be fun. hope you have a great weekend!
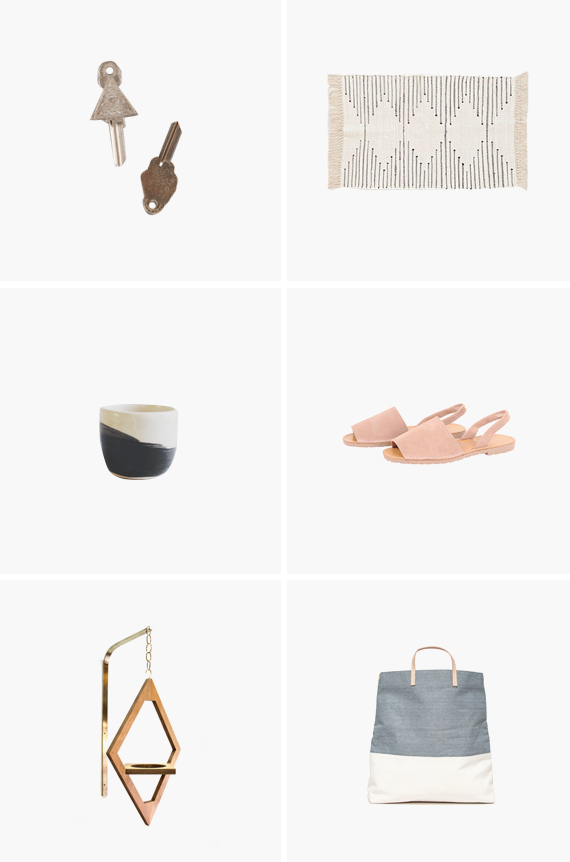
01. i’ve seen cheesy specialty keys i’ve wanted in hardware store, but i’ve never seen ones this rad.
02. i am SO getting this little rug for the bathroom.
03. a lovely little ceramic cup i want ten of.
04. ever seen france, i’ve been wanting a pair of these. almost every woman i saw was wearing them.
05. i saw this jungalow hanging planter yesterday at west elm (the local section) and it’s amazing.
06. this claire vivier tote would be the perfect work bag. -
i link you

such chic diy faux labradorite earrings (via fall for diy)
how stoked would you be to receive an adorable little bouquet like this (via paper & stitch)
shibori dyed easter eggs – maybe the best ever. (via tuts+)
my friend called the other day to say watch louis ck’s monologue on snl immediately. so i did. now i’m sharing it with you. (via digg)
would you be terrified if a turkey was chasing you? this woman is. so much. (via youtube / image via)
salted. chocolate. diablo. cookie. ice cream. sandwiches. ridic. (via the artful desperado)
-
diy jewelry display wall hanging for design*sponge
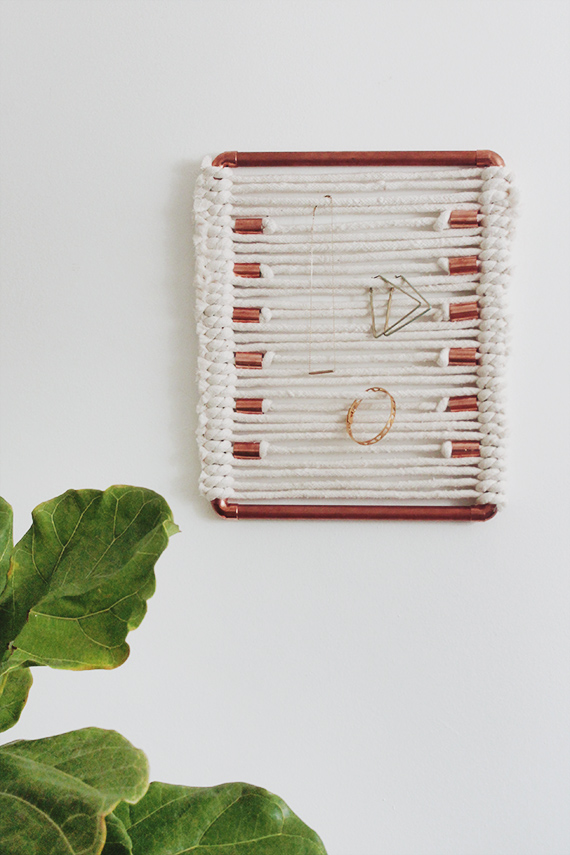
you always looking for a way to store your jewelry that isn’t wretched? then you can check out this diy copper + rope wall hanging i made for design*sponge. you could also use it for keys and outgoing mail at your front door — possibilities are just endless i tell you, endless!
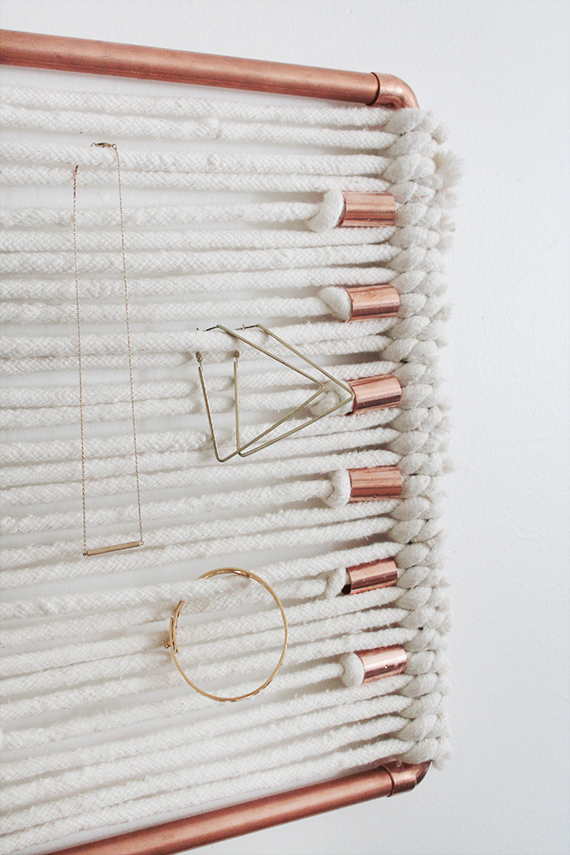
for more photos and the full tutorial – visit design*sponge.
-
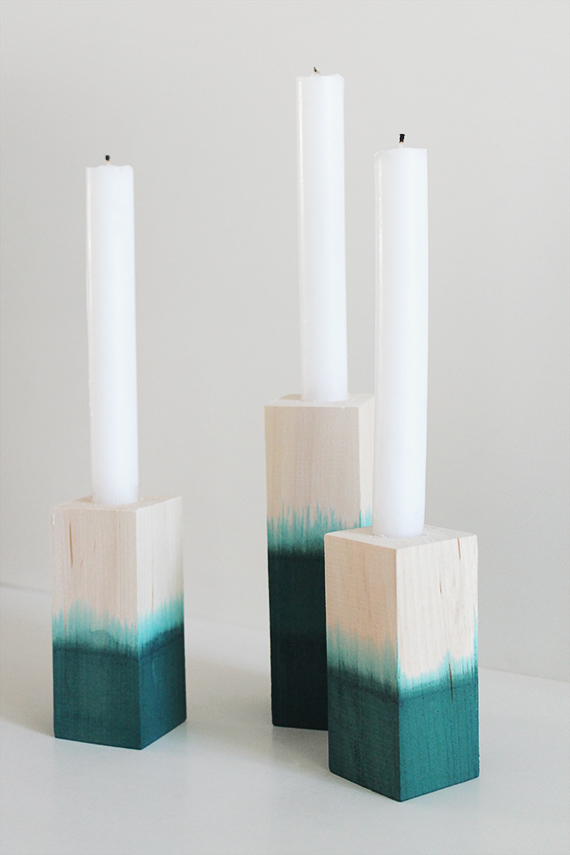
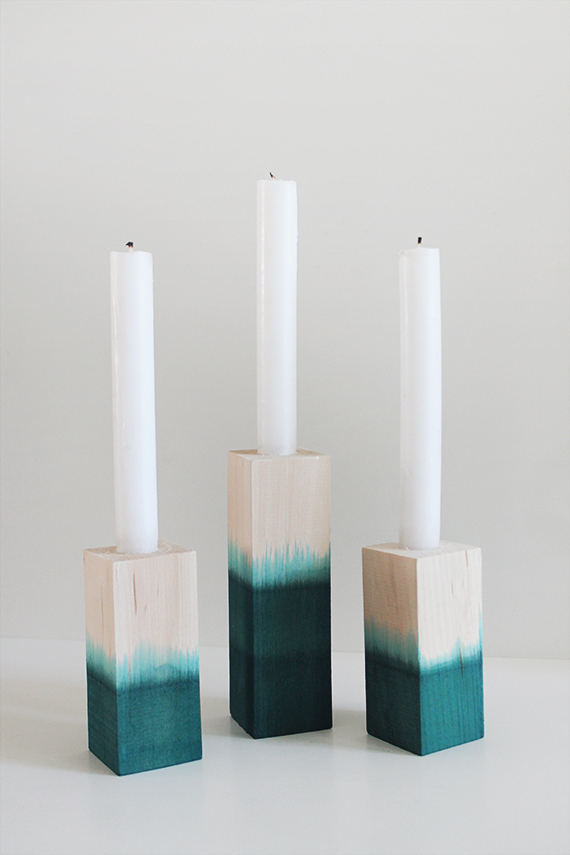
diy dip dyed candlesticks
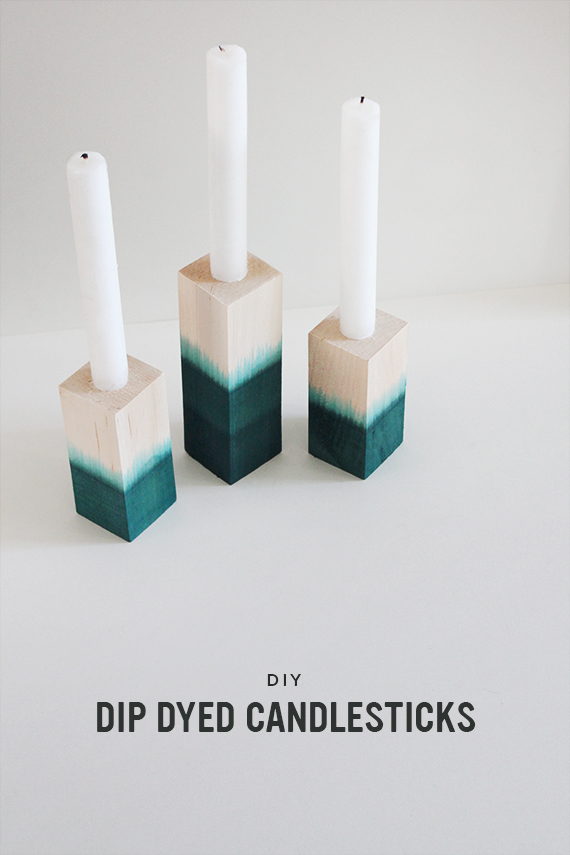
i’ve got wedding on the brain so i’ve been brainstorming easy little projects that could work for it. i definitely want to incorporate a bunch of wood and watercolor elements — so here we are. it takes about 15 mins hands on to make these, and you’ll be happy you did — they add so much to the table. passover and easter are coming up soon, you’re welcome!
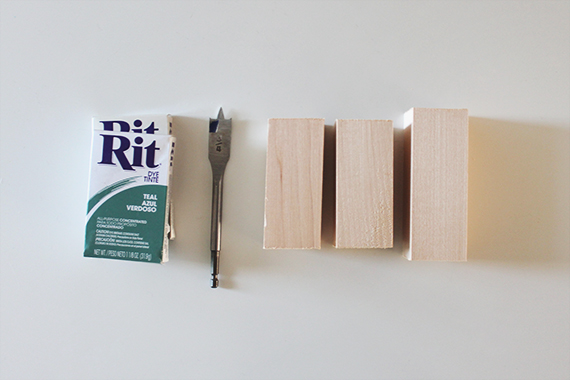
materials
whittling kit (available at any craft store)
drill & drill paddle bit in whatever size you’d like. we tried a few but i liked the snug fit of the 3/4″
dye (i used a combo of teal & royal blue)
bucket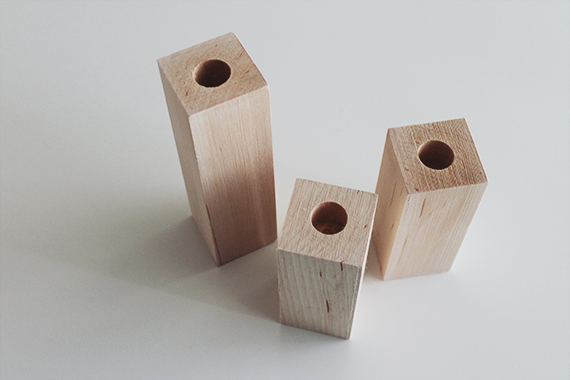
01. measure the center of your wood blocks and drill about an inch and a half down. we clamped ours to the door. sand the edges.
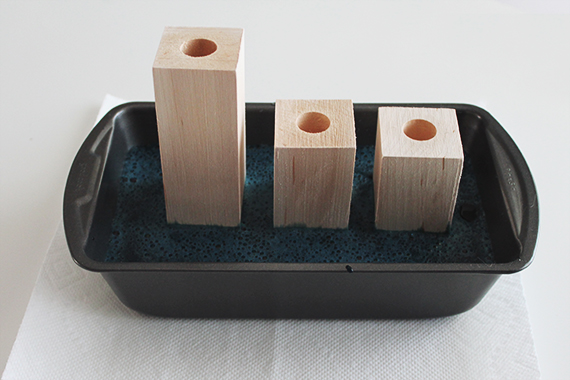
02. fill a non-food pan or bucket with warm water and your dye, and stir. i heavily saturated mine because i didn’t want to wait for very long. you can also add way less dye and have them marinade longer. i also decided i wanted the tallest block to have a higher dye, so i poured the remainder of dye into an empty tea can and dyed the tall one for about 7 more minutes. if you plan to do this too, think ahead unlike me and don’t dye it twice. i wasn’t planning on the dark ombre line.
03. take them out when you’re happy with them, let dry for a day.
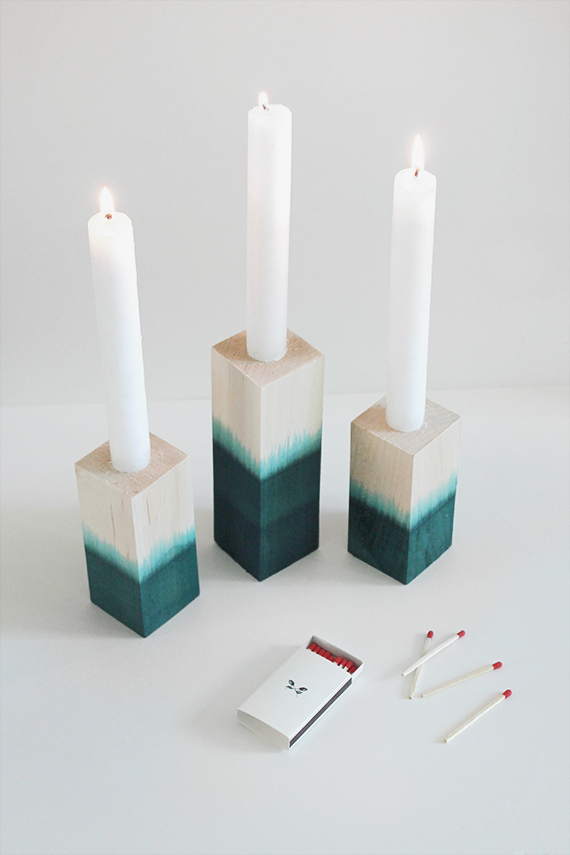
and that’s it. these would also be super fun in an array of colors, which if i do them for the wedding — i will most likely try some peaches and greys too.
-
honeymooning — i need help!

when’s a better time to do a wanderlust post than a monday!? we’re just starting to focus on just choosing a honeymoon destination and i seriously need advice. it’s just too hard to decide.
greece and paris were my top bucket list destinations and i luckily got to check them off the list with gideon, and while if i were honeymooning by myself, i’d go somewhere obvious like spain or italy. but the boy wants to do a “barefoot luxury” trip, where we don’t do a whole bunch of sightseeing and mostly focus on relaxing, swimming and eating. at first i said ugh, but then i decided i liked the idea — because we’ve done a lot of sightseeing, and we always spend all day out, and by nighttime i’m exhausted and we barely get… romantic. so i guess we should do a honeymoon where we have sex. right?
we’d love to find an amazing all-inclusive or a hotel with multiple restaurants, so we don’t have to worry about leaving and i can pig out the whole time. but we’re also pretty picky when it comes to hotels, we always prefer well designed boutique ones. finding both seems hard. we also talked about doing a week of relaxing somewhere like italy and then sightseeing for a week — but realized it’ll be a little cold for us in october.
click on the location for the image source.
bora bora // we would LOVE to stay on an overwater hut. doesn’t get more romantic than that — but it seems like all-inclusives don’t exist and prices are pretty high in tahiti
bali // while it looks amazing, i’ve spoken to two people who have spent time there and we’re not sure we want to deal with all the cons that come with traveling there – bugs, the water… have you heard of bali belly? is it worth dealing with all that?
fiji // dreams of going here bring up the memories of when i was a kid and i thought fiji water was the greatest thing on earth and i would tell my dad i was going to fiji someday. what a dork. it does seem like a more affordable version of bora bora, but we’ve had a hard time finding hotels that are actually affordable (we’ve been seeing prices like 2k/night!!) and also — they have sharks there i think. and i am afraid of sharks unfortunately. i don’t go in the ocean for the most part because of this but i wanted to on the honeymoon.
leeward islands // i’ve heard these are actually the most beautiful islands, but underrated compared to tahiti and fiji. anguilla looks amazing. anyone been!?
mexico // i’ve been to mexico a lot, so at first was against it. but it does seem like you get a lot more for your money. and we love mexican food.
costa rica // the only active things we’ve talked about doing are rafting, ziplining and snorkeling. we could do those so hard in costa rica.
thailand // of all the places we’ve chosen, thailand (and also vietnam) seem like the ones i’d be the most into sightseeing so i feel a tiny bit adamant that it would make a better trip later on. when i can GO HARD. but it does look spectacular and super romantic. i need advice on this one.
belize // i love the caves and the idea of rafting here, but have heard a lot less about it than the islands. they do have the over the water huts i love.
so, where did you honeymoon? or where did you travel that was the best ever? or which of these places sounds the best?!
we want to make a decision so we can check it off the list (just like everything else) so please advise! i’d love all the tips i can get.
(and sorry for the super long post – it seems i have a lot to say)
-
payday wishlist
did you know it’s friday?! i have about nothing planned for this weekend. it’s pretty nice when i don’t have to do 100 errands. hope yours is good!
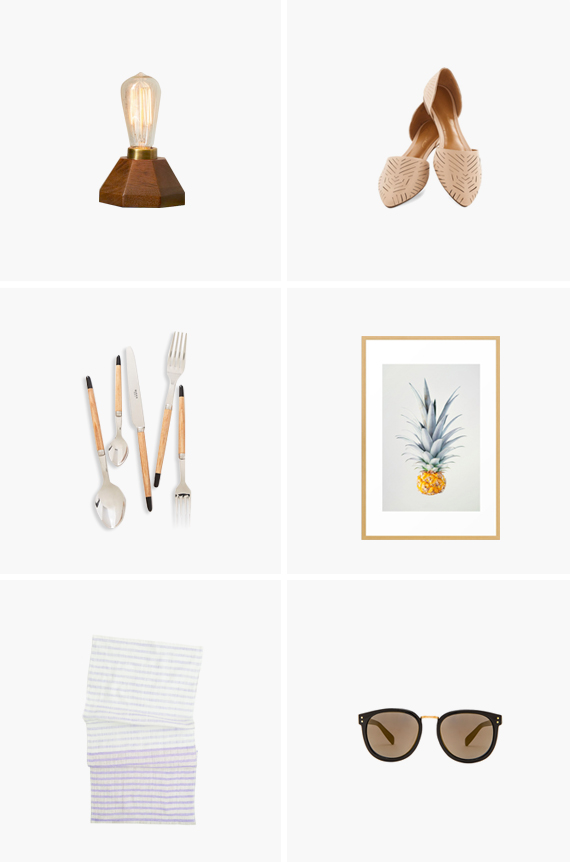
01. i HATE the amount of space a bedside lamp takes up. i would much rather fill it with empty glasses of water and controllers. get sconces you say? well, i haven’t. but this faceted wood bulb lamp seems pretty teeny tiny. and also amazing.
02. i just talked about only filling my closet with essentials, and that means a nice pair of nude flats.
03. i tried registering for this super lovely wood flatware set, gid say no go. GUH. pretty.
04. ez of creature comforts is selling this new pineapple print. also comes as an iphone case. almost put both on here.
05. guest towels is one of those things i always want a newer prettier version of.
06. my sunglasses hurt my head when i’m in traffic too long. seriously need a new pair. -
i link you

urban outfitters is now selling this huge woven wall hanging. the perfect headboard for those cat owners that never ever want to sleep again. ugh cats.
love love this simple diy palm frond garland – totally the right vibe for the wedding. (via a fabulous fete)
we’ve determined i am very into copper right now (apparently i like trends). so goes without saying i’m a huge fan of this cute copper necklace. (via the crafted life)
i’ve been wanting to diy a little shelf for a while now – how easy and cute is this raw edge one?! (via always rooney)
smoky oyster chowder with bacon, rosemary and fennel. like get real. dream. (via food & wine)
the only room i would ever wallpaper would be the guest bathroom. and even then i think i’d get sick of it in like 4 months. but this diy stenciled wall? so rad. (via a beautiful mess)
-
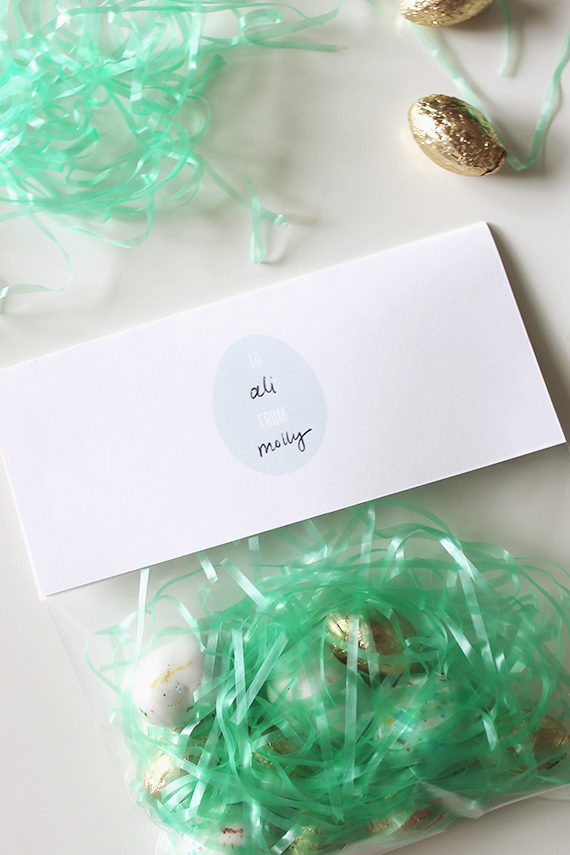
diy printable easter treat bags
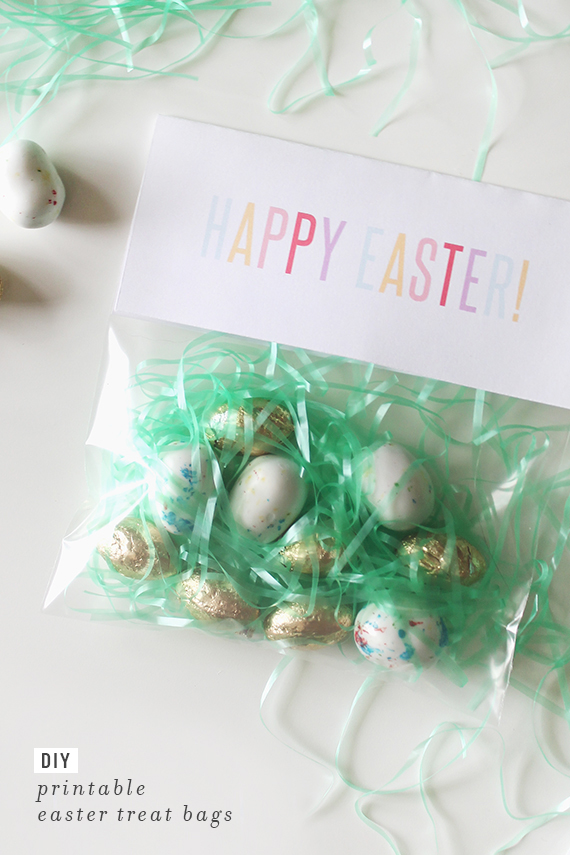
easter is still a little ways away – but wanted to share an easy way to present candy for the kids or candy loving adults in your life. as i’ve said before on here, i don’t celebrate easter, yknow – being jewish and all. but i do love eggs. and any holiday that has anything to do with eggs – i’m in. well ok… just for the egg part.
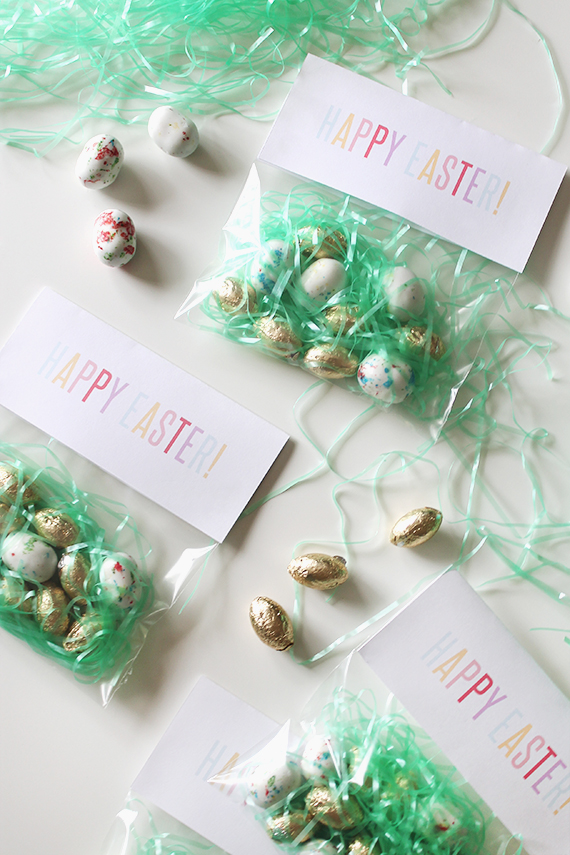
anyway! here are some super simple and pastel (easter = pastel, right?) bag toppers!
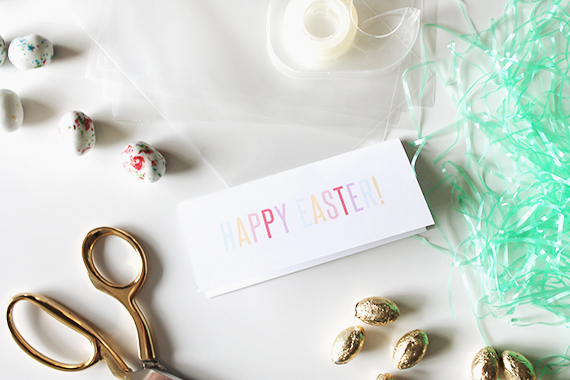
materials
8.5 x 11″ cardstock
scissors or xacto
double sided tape or stapler
5.75 x 5″ cellophane bags
lots of candy, lots of fake grass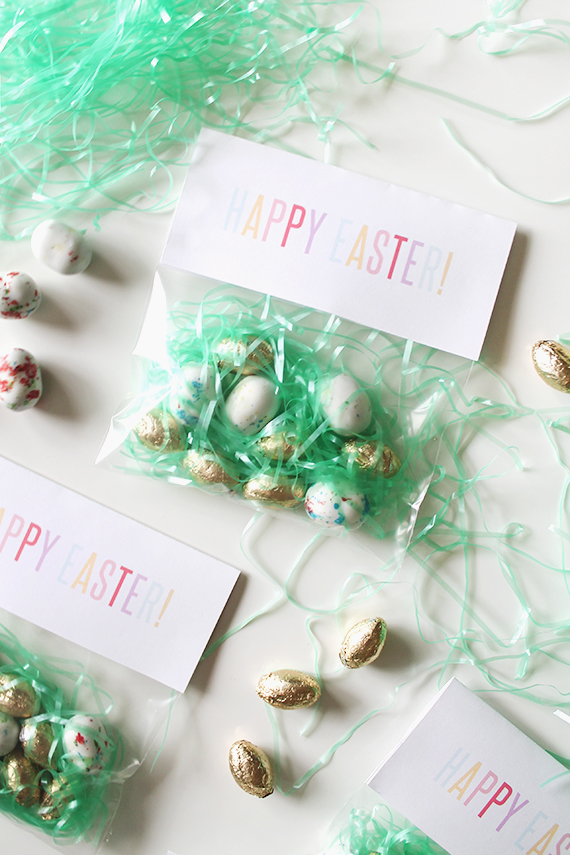
directions
print out the toppers (link below) and carefully cut along the edges. fold in half.
fill your bag with treats, and cut down in height if you’d like. i did.
staple or apply your double sided tape and attach.
write your very lucky recipients name on the back.
-
almost makes mixtape ⋅ vol 8
i feel like i’ve been completely swamped this past week. the wedding feels far away but at the same time i just am constantly feeling like i’m wasting the precious time i have to plan by not planning every chance i get. does pinterest count as planning? not sure. here’s what i’m listening to while keeping busy.
-
just essentials
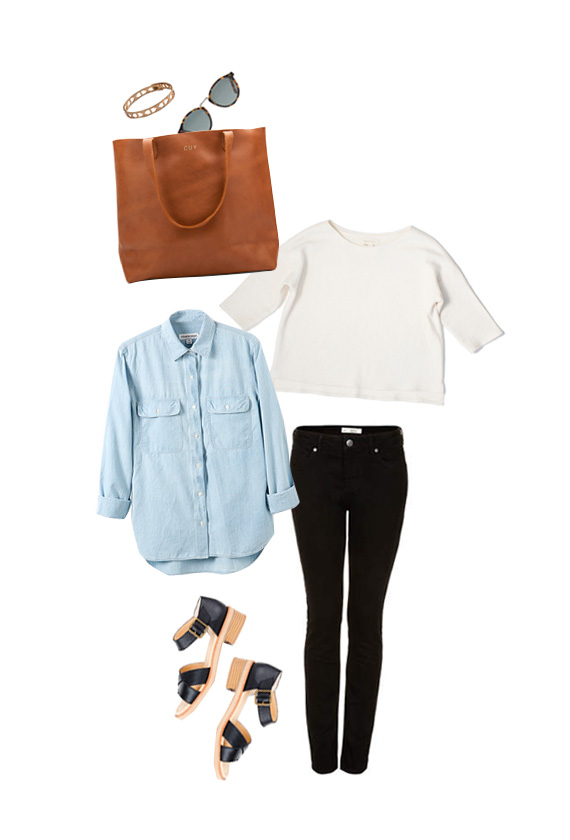
bracelet | sunglasses | tote | sweater | chambray | jeans | shoes
i have this horrible habit of shopping at forever 21. i’ve been addicted since high school. but the other day when we did a load of laundry and noticed just how many clothes sitting out that weren’t dryer safe — i decided to try to call it quits. i’m an adult.
i am no longer buying stuff at forever 21 and h&m … ok that’s a lie. i will probably still buy certain things for last minute occasions. but i have another bad habit of wearing the same thing over and over. back when i was really going hard on f21 – i was in my early 20s and went out all the time and cared about having new clothes. well i’m almost 30. i no longer need disposable clothes, right?
i’ve decided to purge hard and only buy items that i truly love and that i can hopefully wear for many years. that’s the only way i can reason with myself to spend the extra money. i’ve decided that if i have a steady rotation, i really only need like :— a half dozen nice tees
— 2 pairs of jeans
— a couple of button downs and sweaters
— a daytime bag
— a nighttime bag
— a couple of dresses (gonna just stick with black)
— a few favorite accessories that don’t turn my skin bluebtw – i bought that cuyana leather tote and am SO happy with it. i use it everyday. do you spend more on nicer items or buy disposables?

