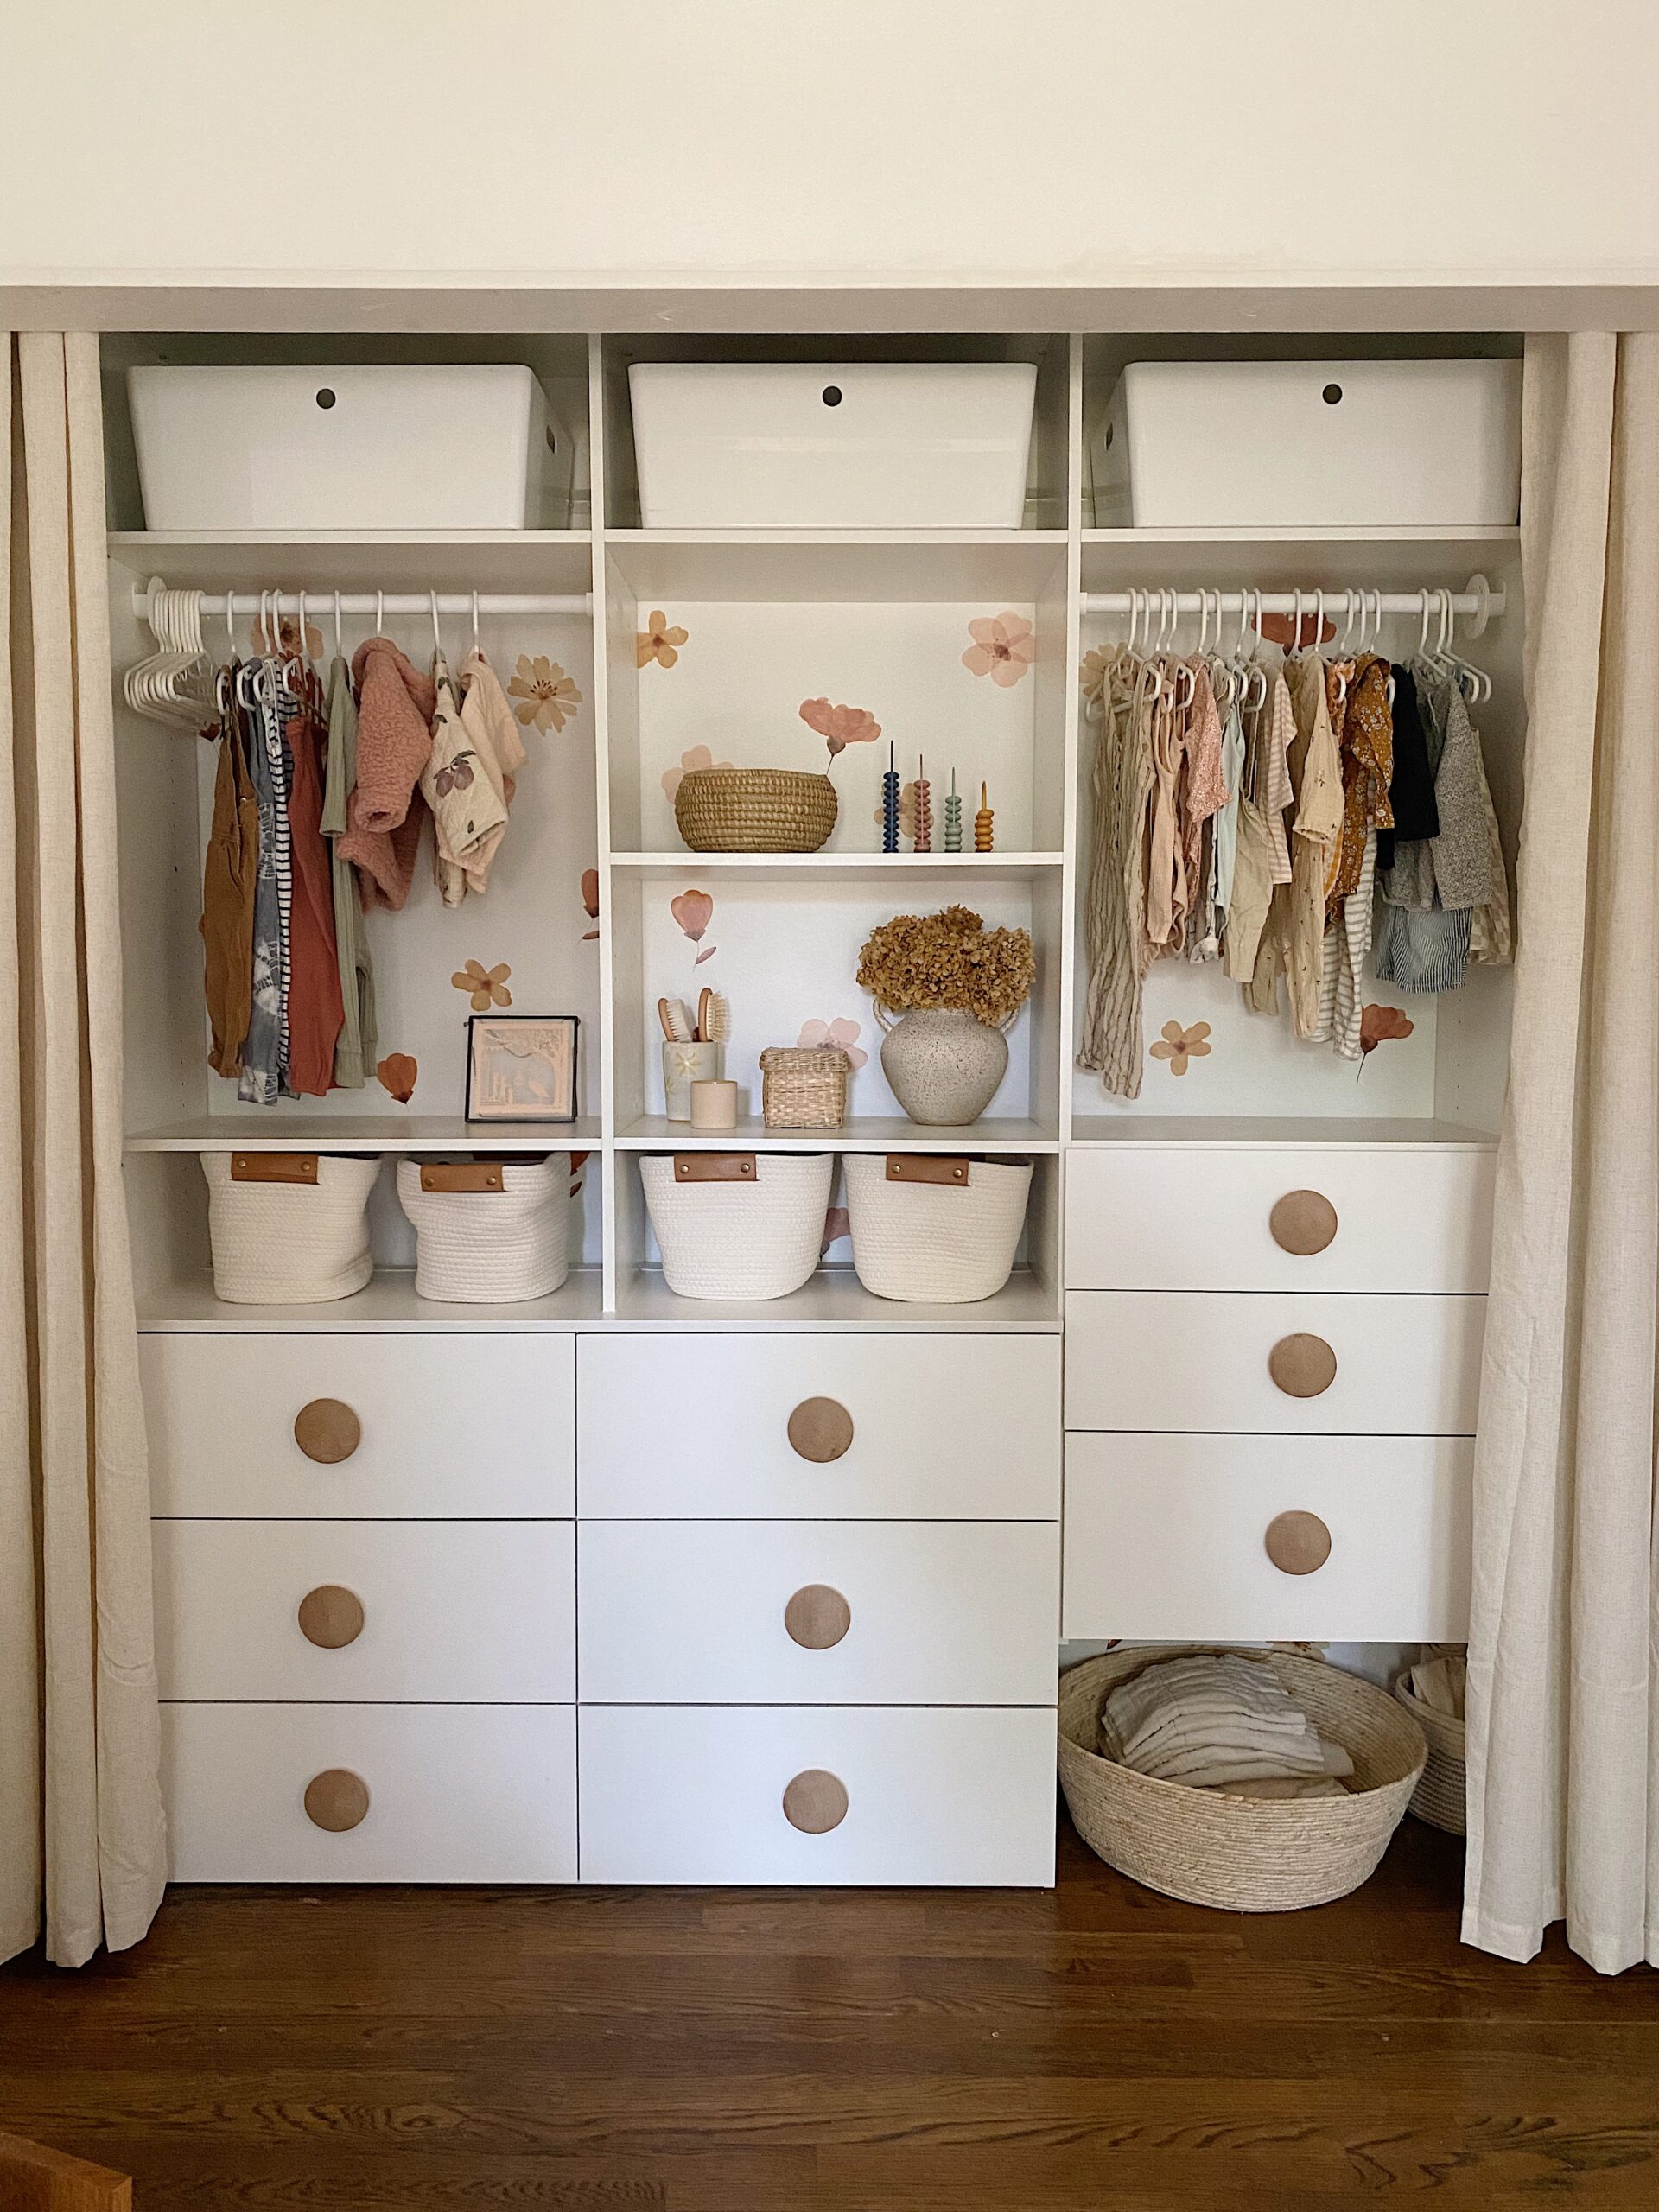
the nursery closet
ahhhh this was a long project and there were quite a few times i wish we’d just hired a custom closet company but i thought this way would be way cheaper (a few people told me that it definitely was which i needed to hear because there were quite a few hiccups!)
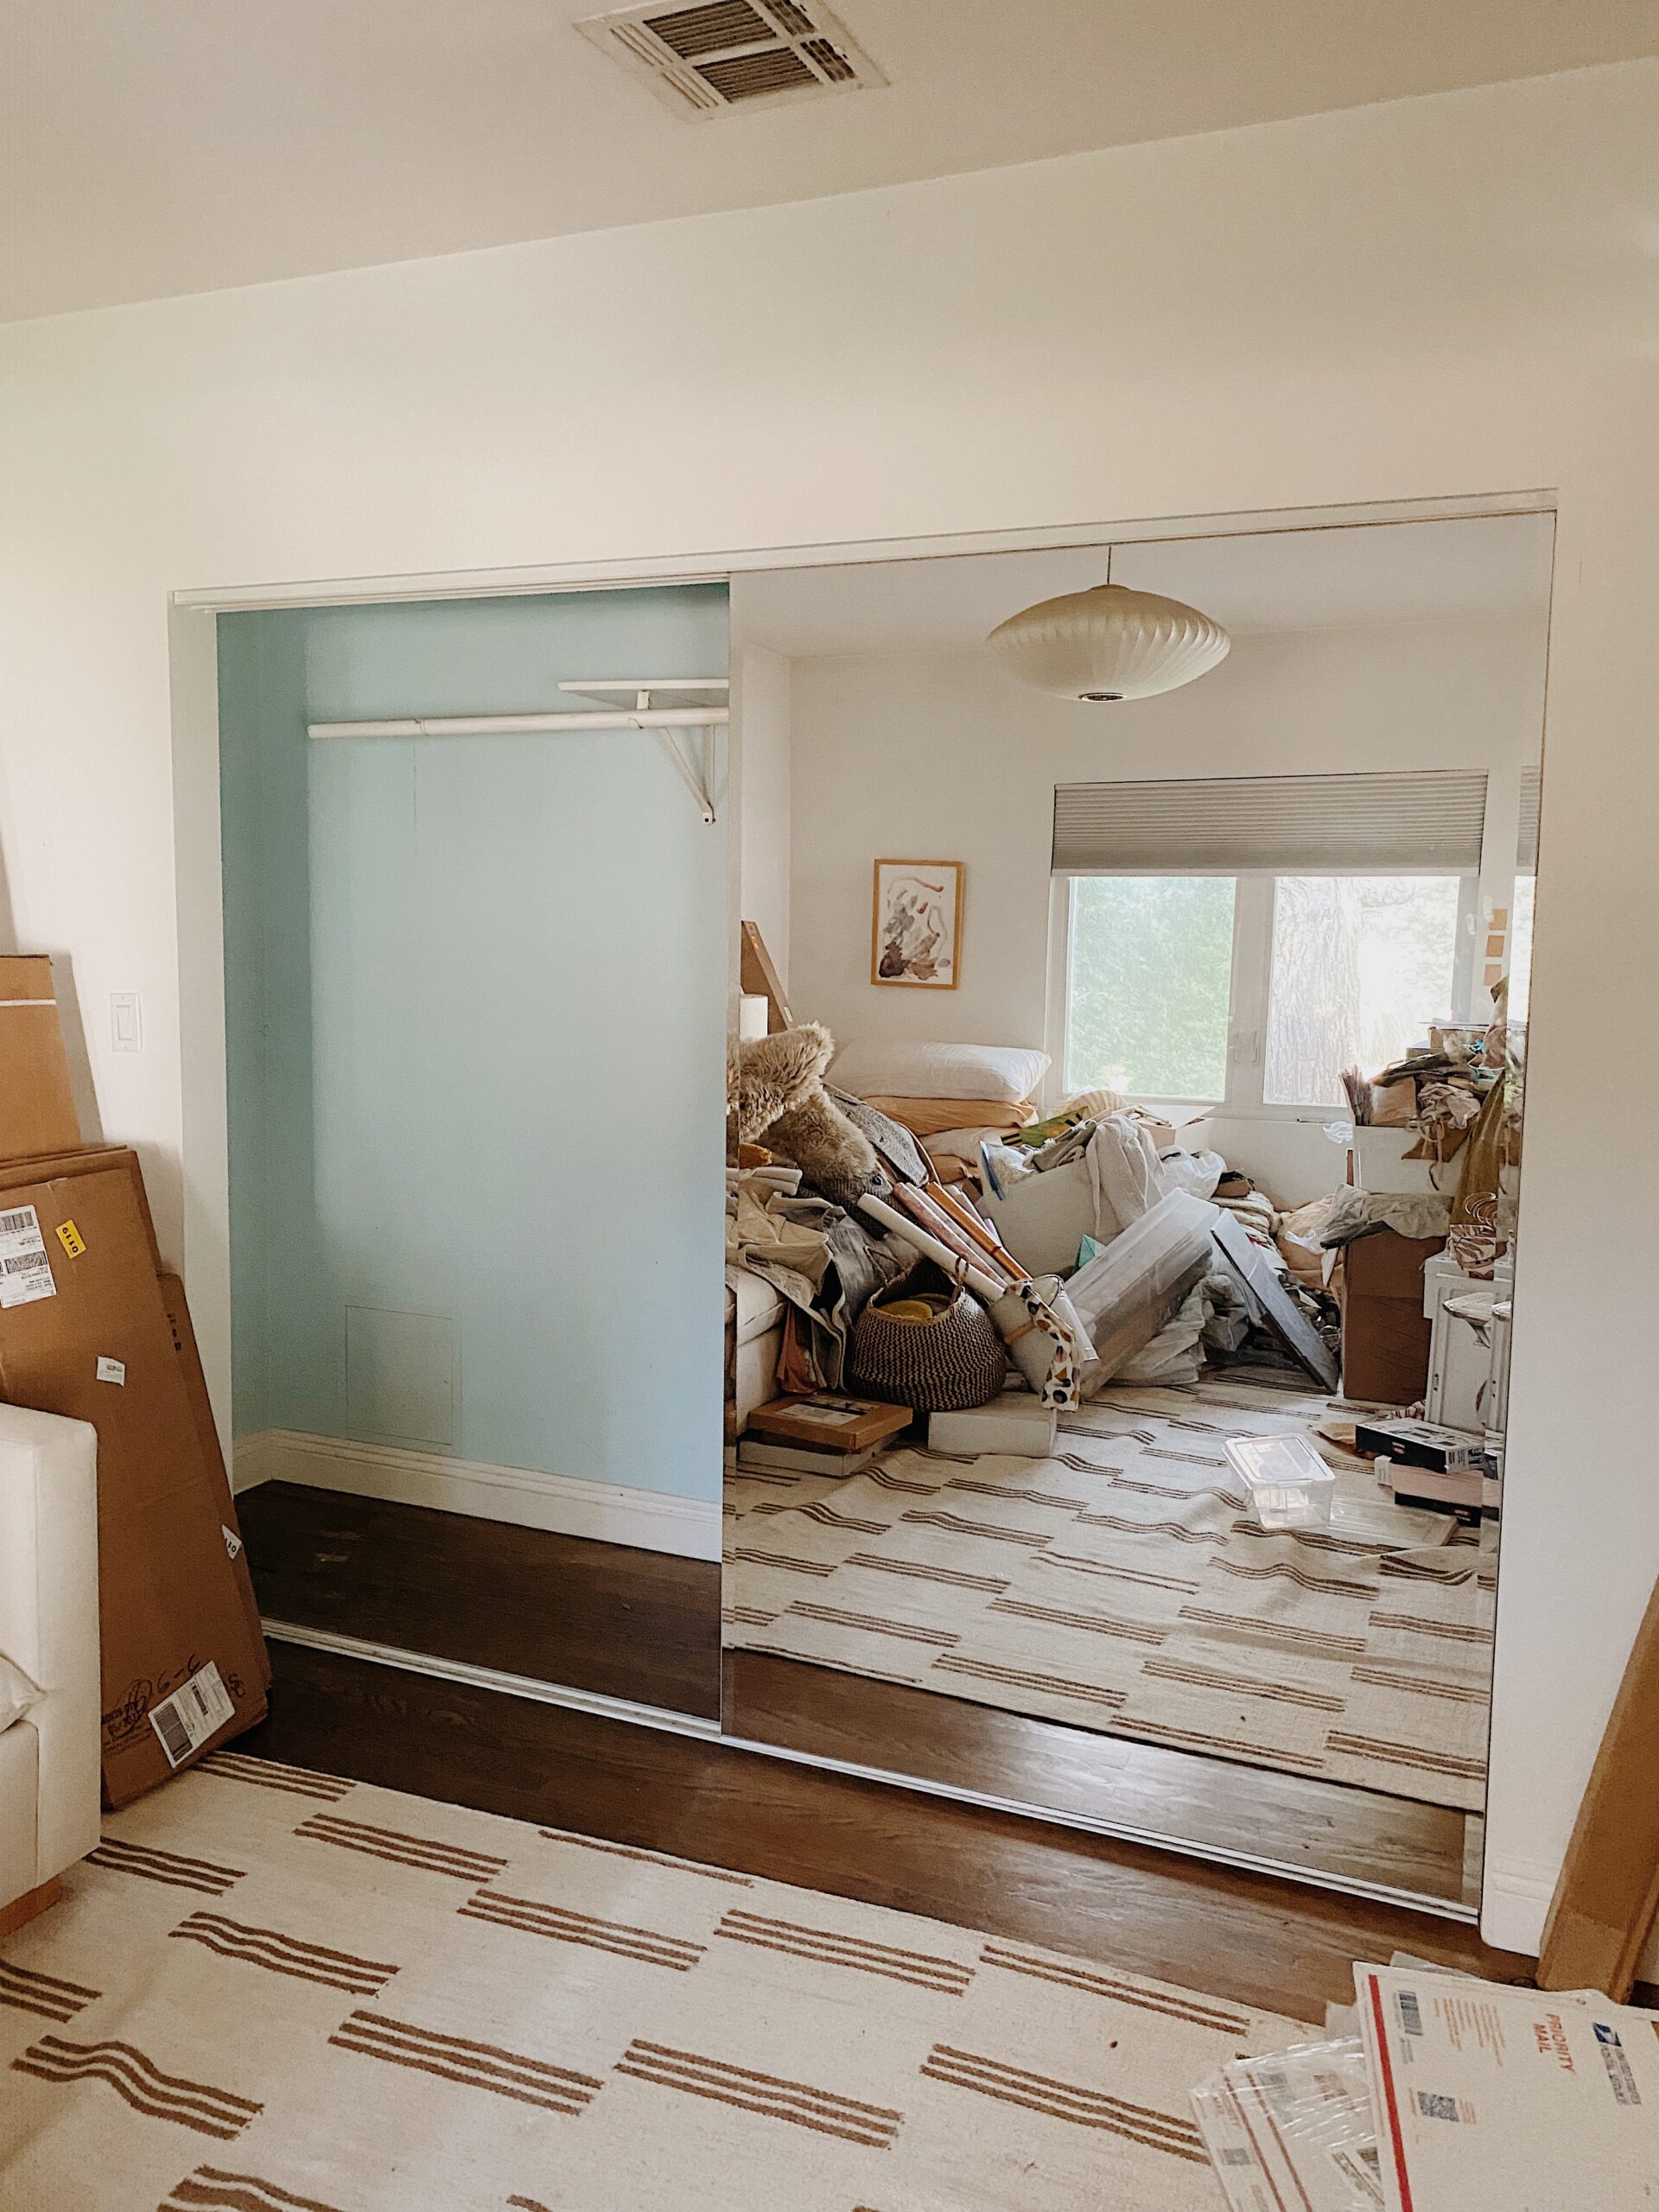
ok so first off i started with a closet kit i got on sale (it’s back to full price right now but it seems like it goes on sale kinda often)– this was the worst closet in the house and maybe ever? it had one shelf and one rod that didn’t extend the entire width of the closet for some reason and huge mirrored doors.
in arlo’s room we removed the mirrors but kept the sliding doors themselves, and it has since become his cute gallery wall but they’re still such a pain because you can’t really access the middle of the closet and the doors are so large they’re annoying to move from one side to the other.
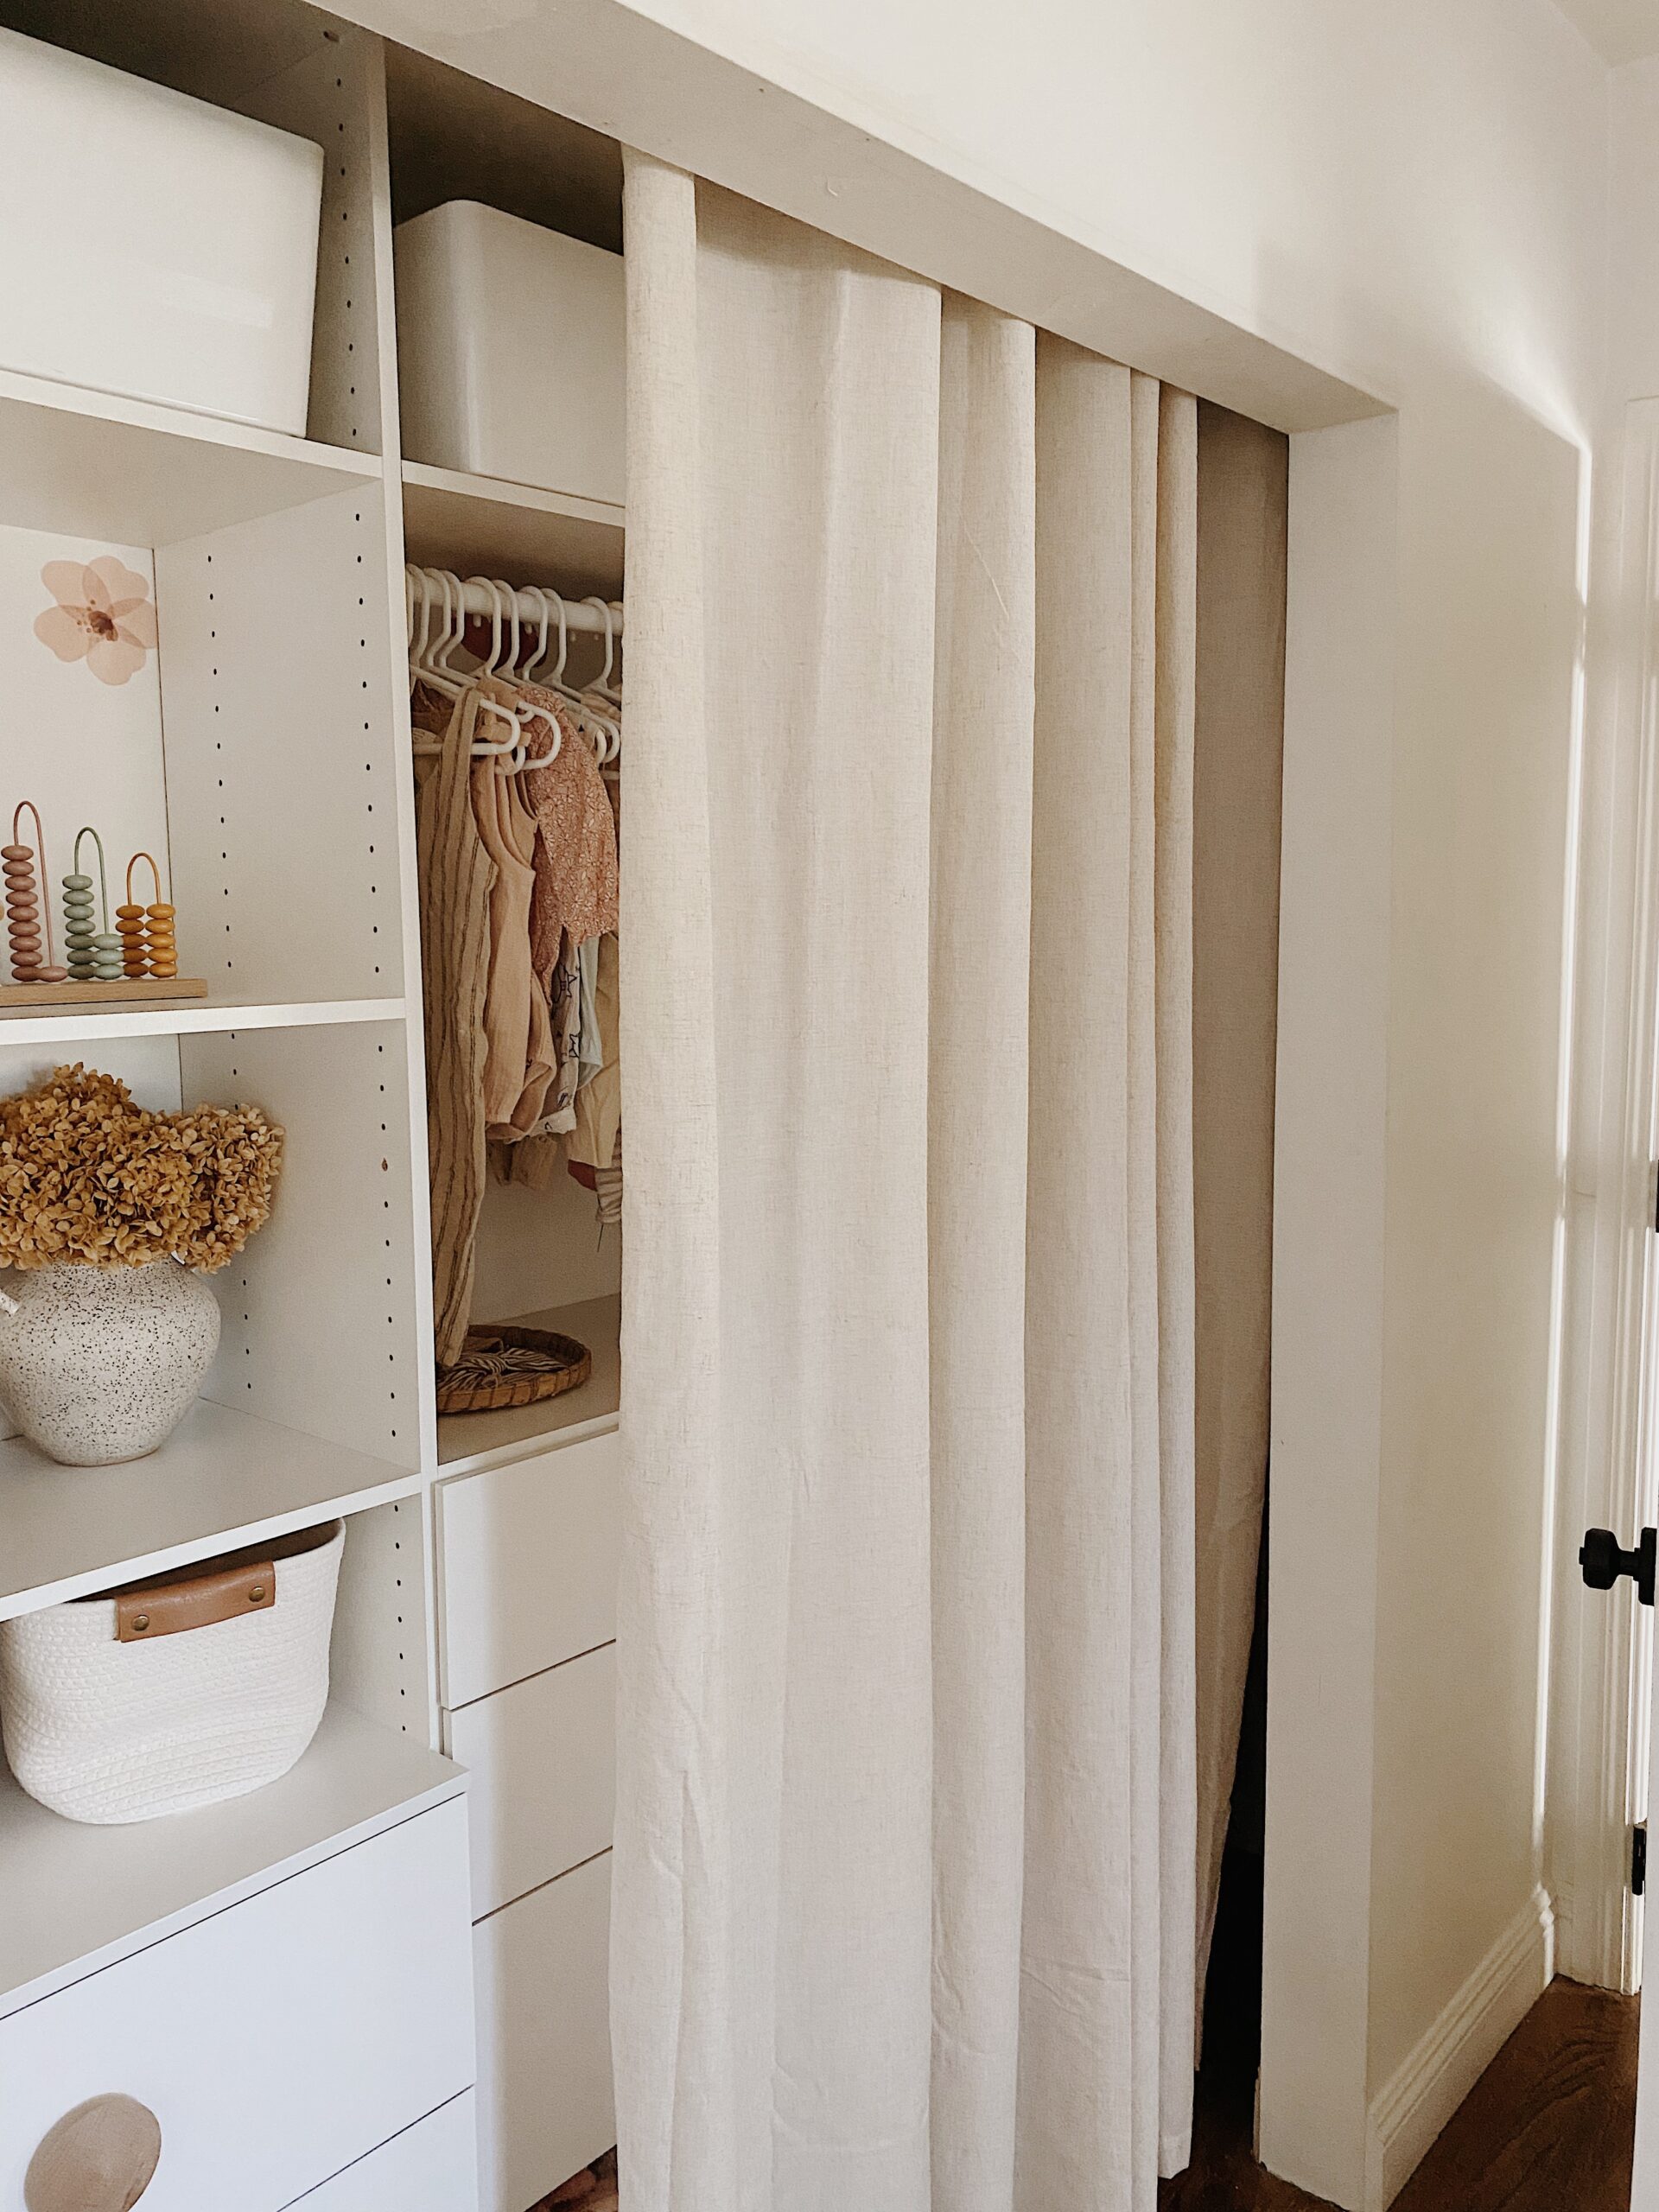
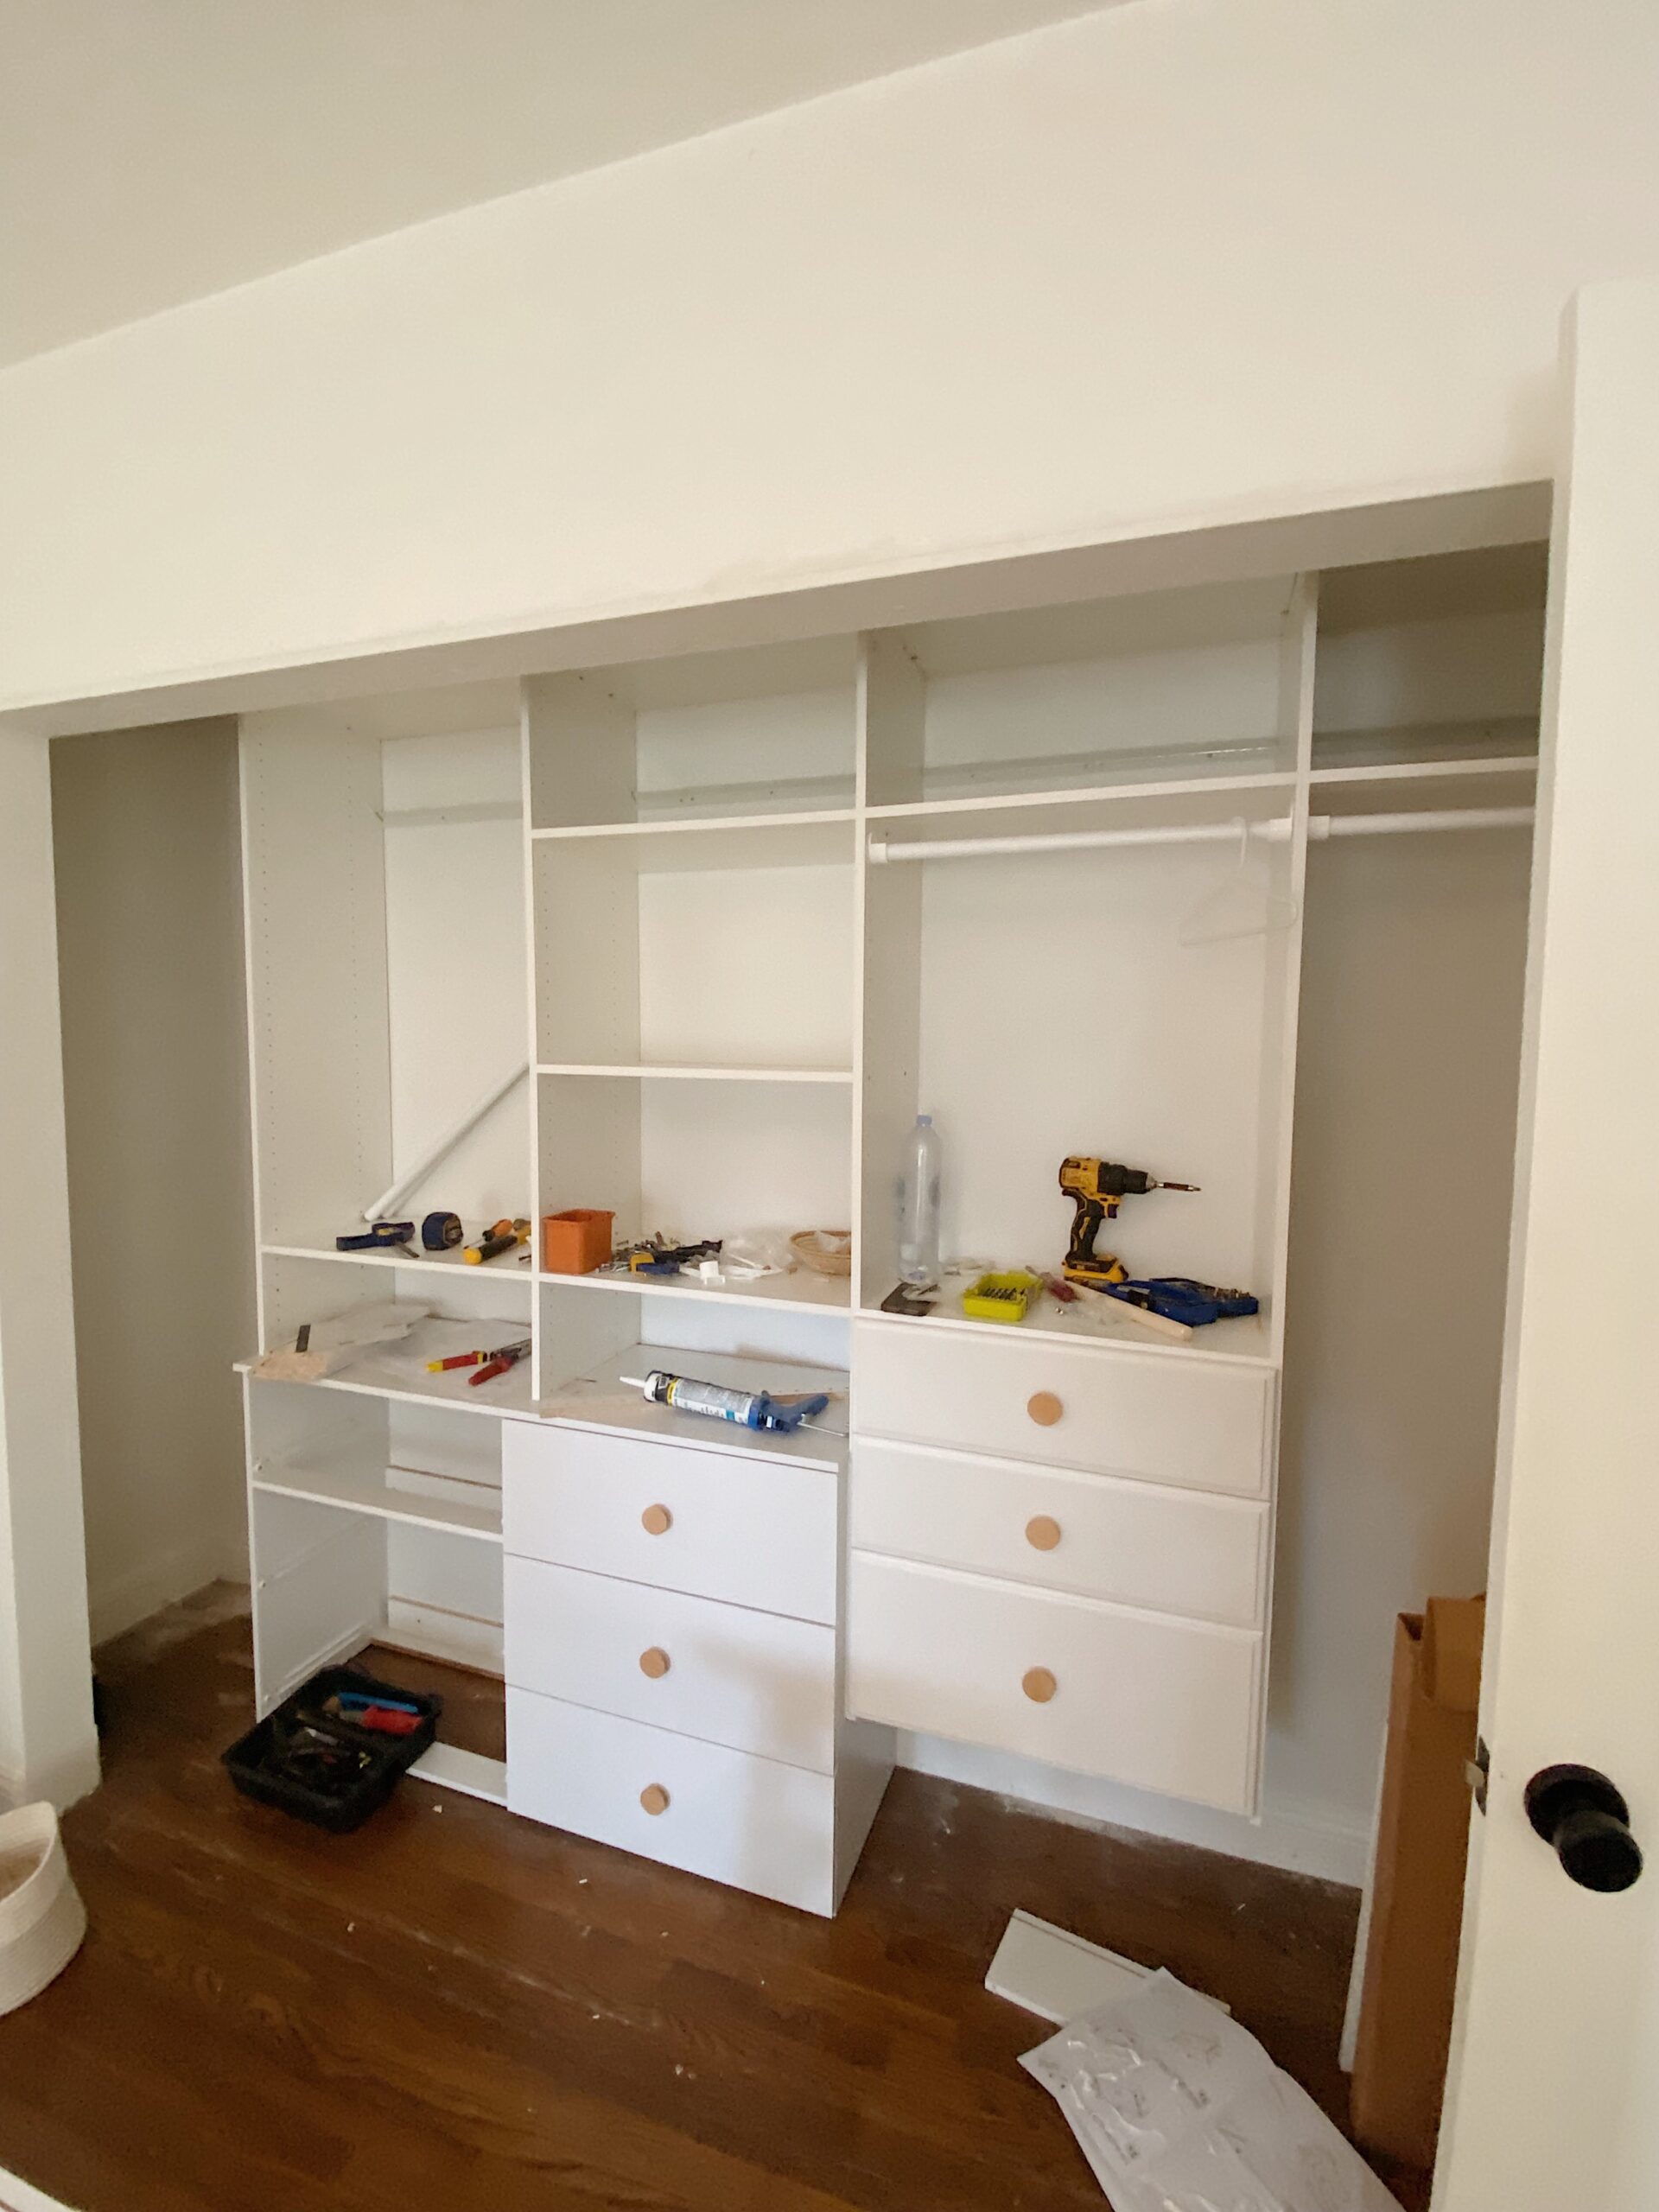
so this time i really liked the idea of just removing the doors altogether and replacing with curtain panels. i know this could be dangerous if the baby is rowdy but i did it anyway! here’s a look at what the closet looked like before starting.
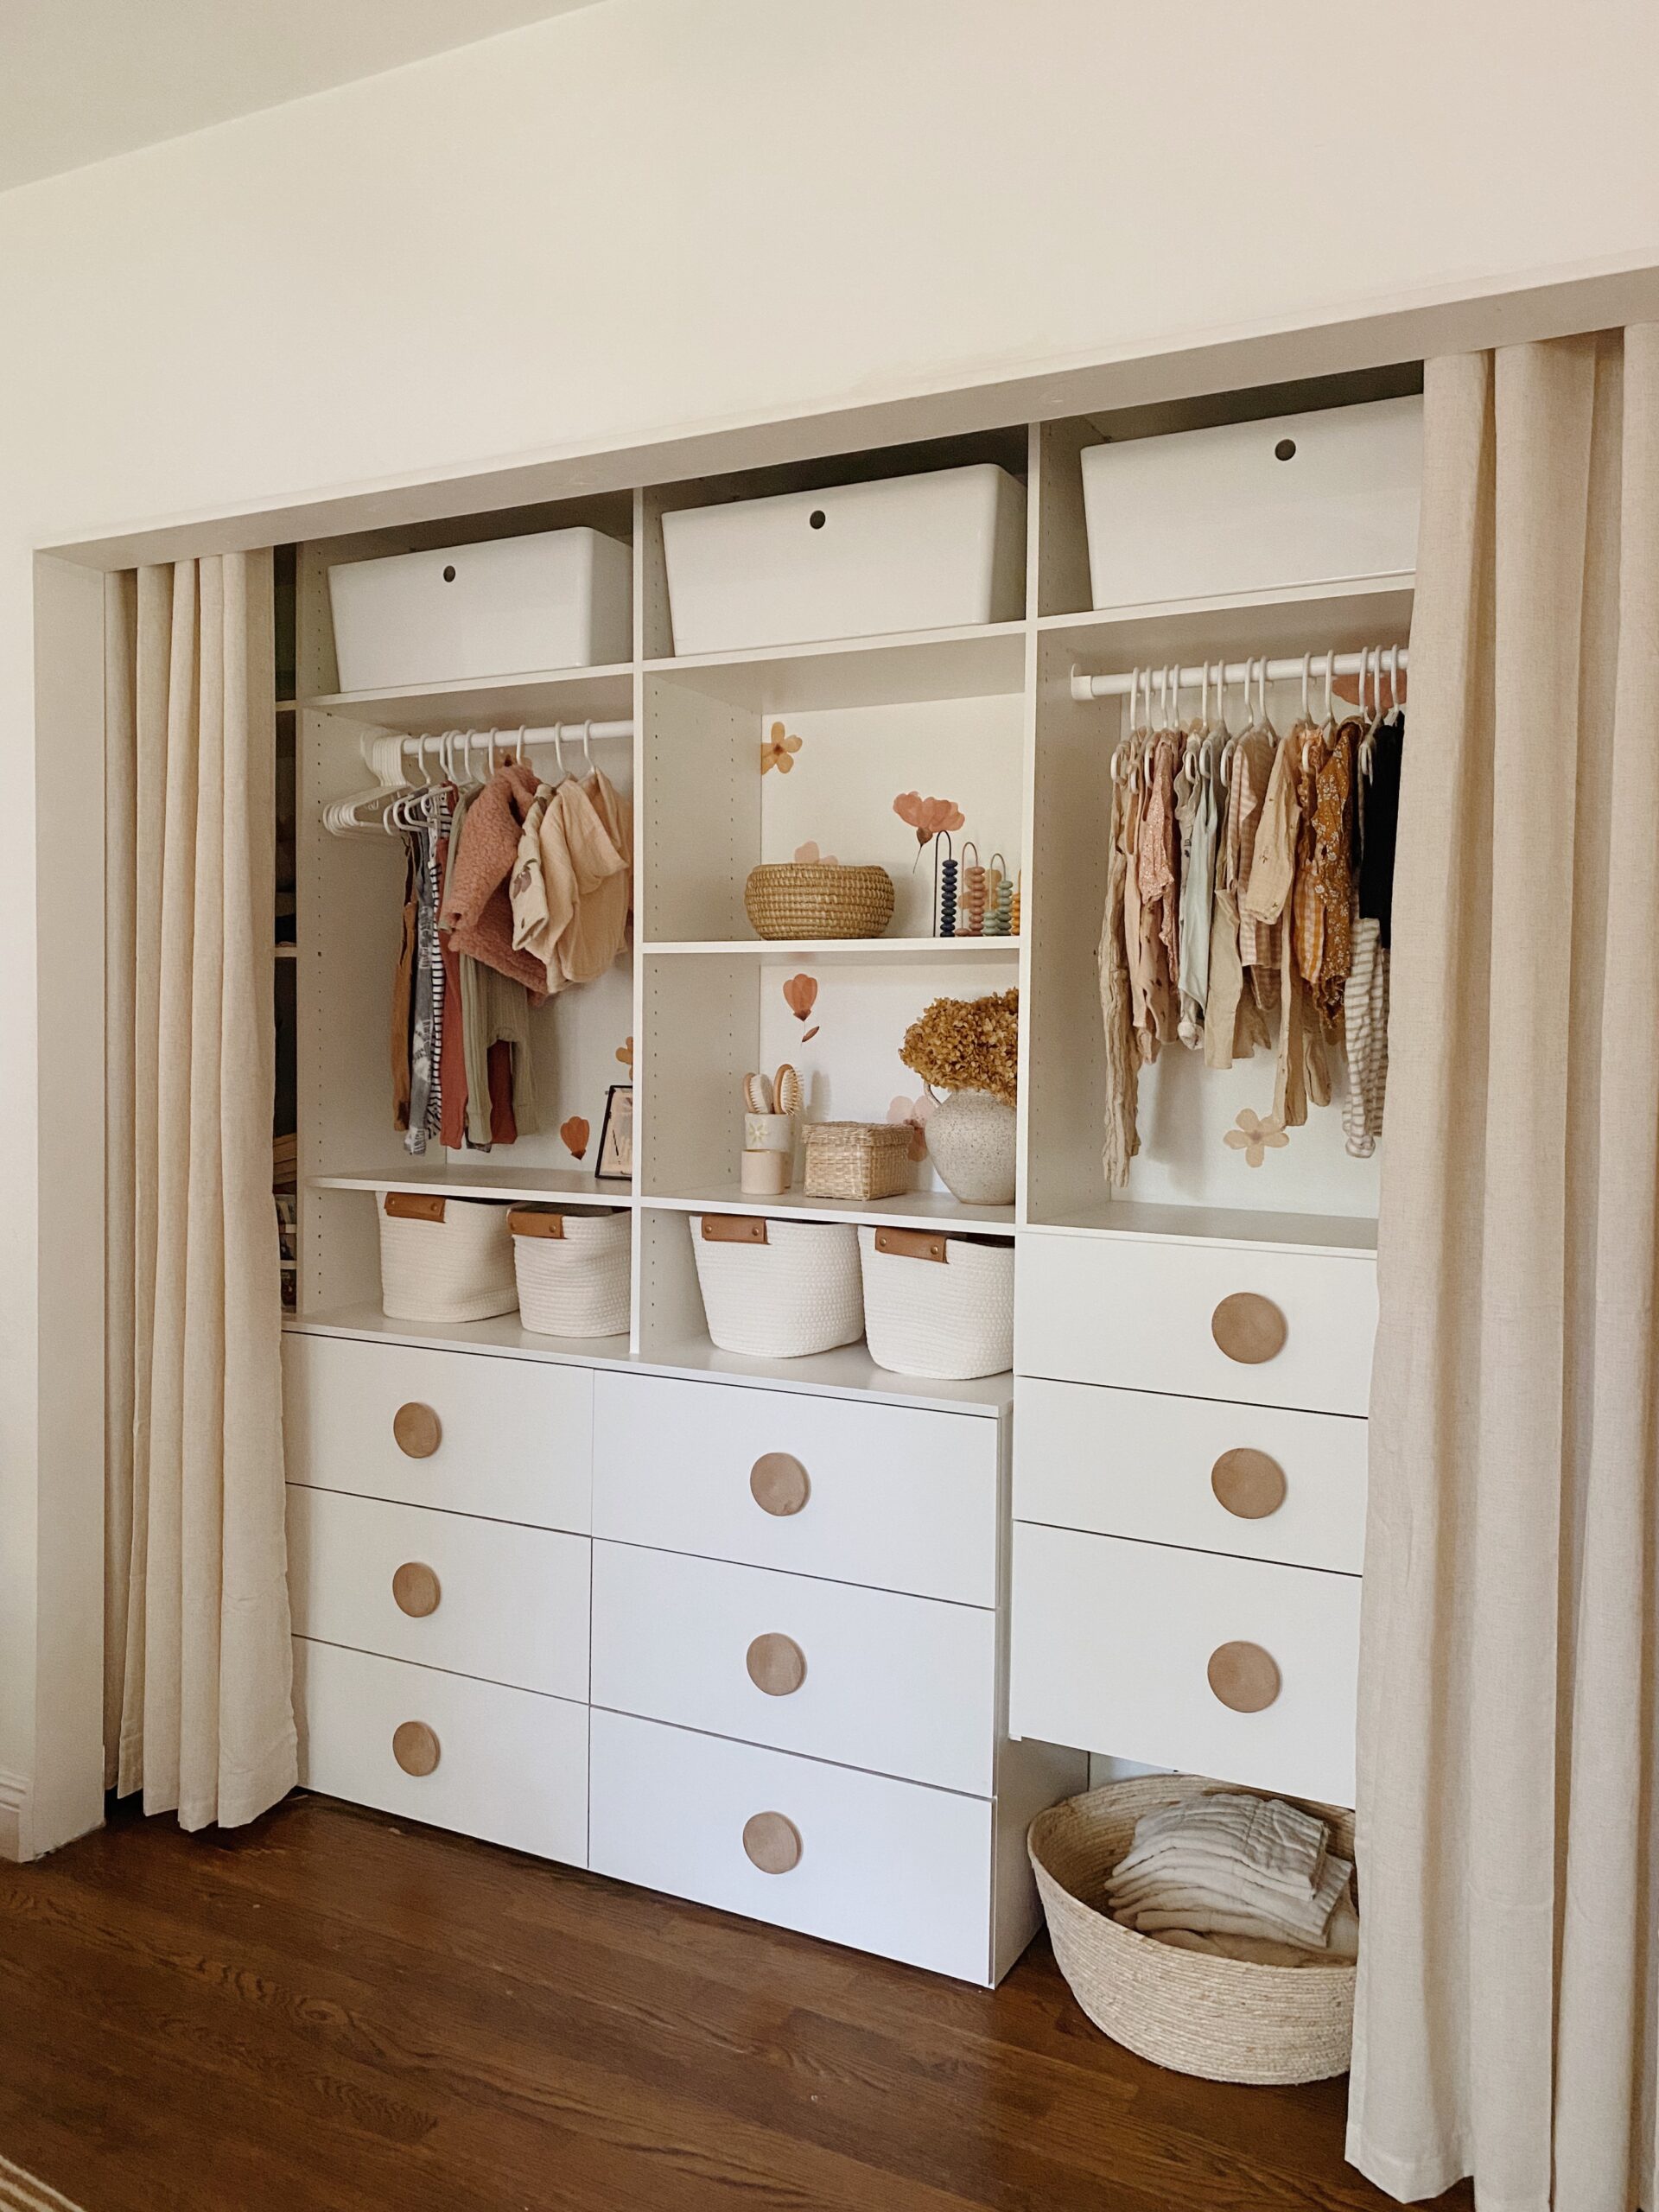
and then once the closet kit was being built out. i love drawers but i decided i wanted all the dresser drawers to be in the closet versus out in the room somewhere. with arlo’s nursery we put his changing table on a dresser and it worked fine but once we got rid of the dresser and put his clothes all inside his closet he had so much more room for his toys, so i decided to do that again.
instead of a dresser i got a low cabinet that can store baby stuff for now and toys later. and a portable changing table that we can keep in our room while she’s in there and move in here later.
therefore, i wanted a lot of drawers in the closet! the closet kit came with three but i decided to quickly buy a dresser to add in there as well. because i had my handyman carpenter working on it, he was able to make it look mostly built in which i’m really happy about.
it took a lot of decisions and changes and me scouring the internet desperately for a white dresser that wasn’t more than 63″ wide and i found this one that i linked at the end of the post. the drawer fronts are flat so we ended up being able to reverse the closet kit drawer fronts to match (the original drawer fronts are shown below!)
also little annoying things like the drawers on this dresser BARELY came out, so we spent more money on new drawer brackets that now allow the drawers to come out all the way — worth ittttt.
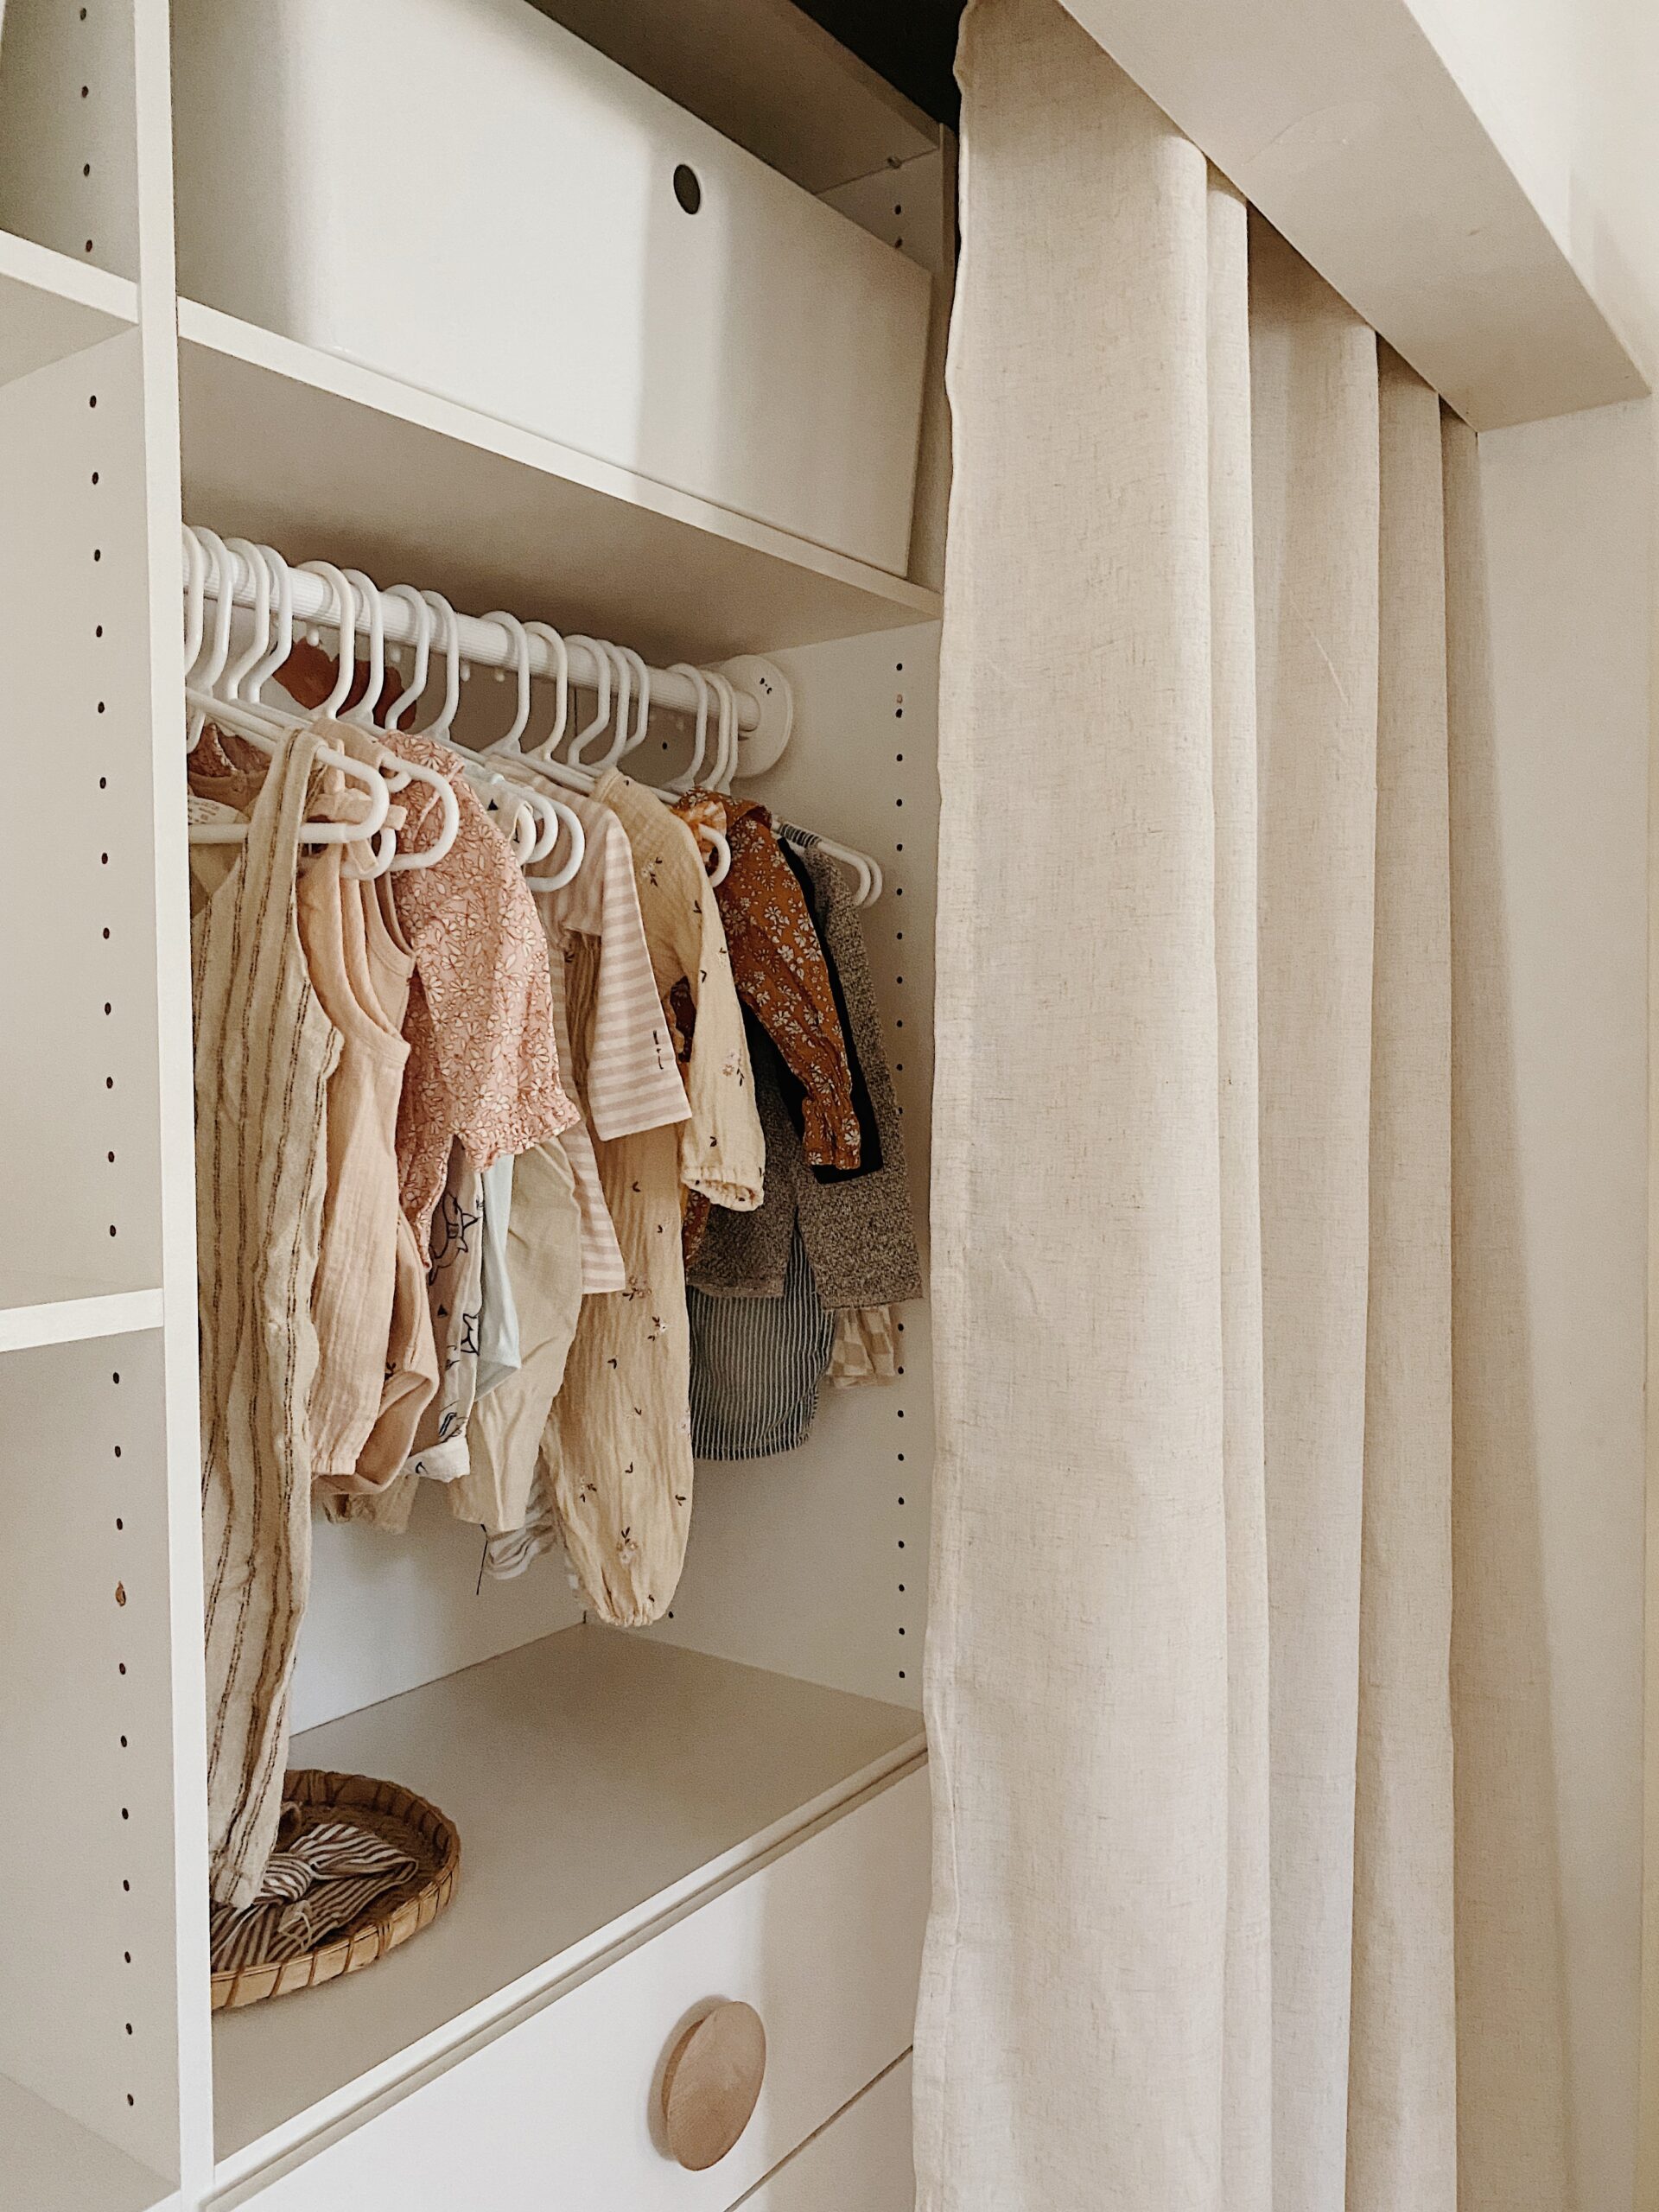
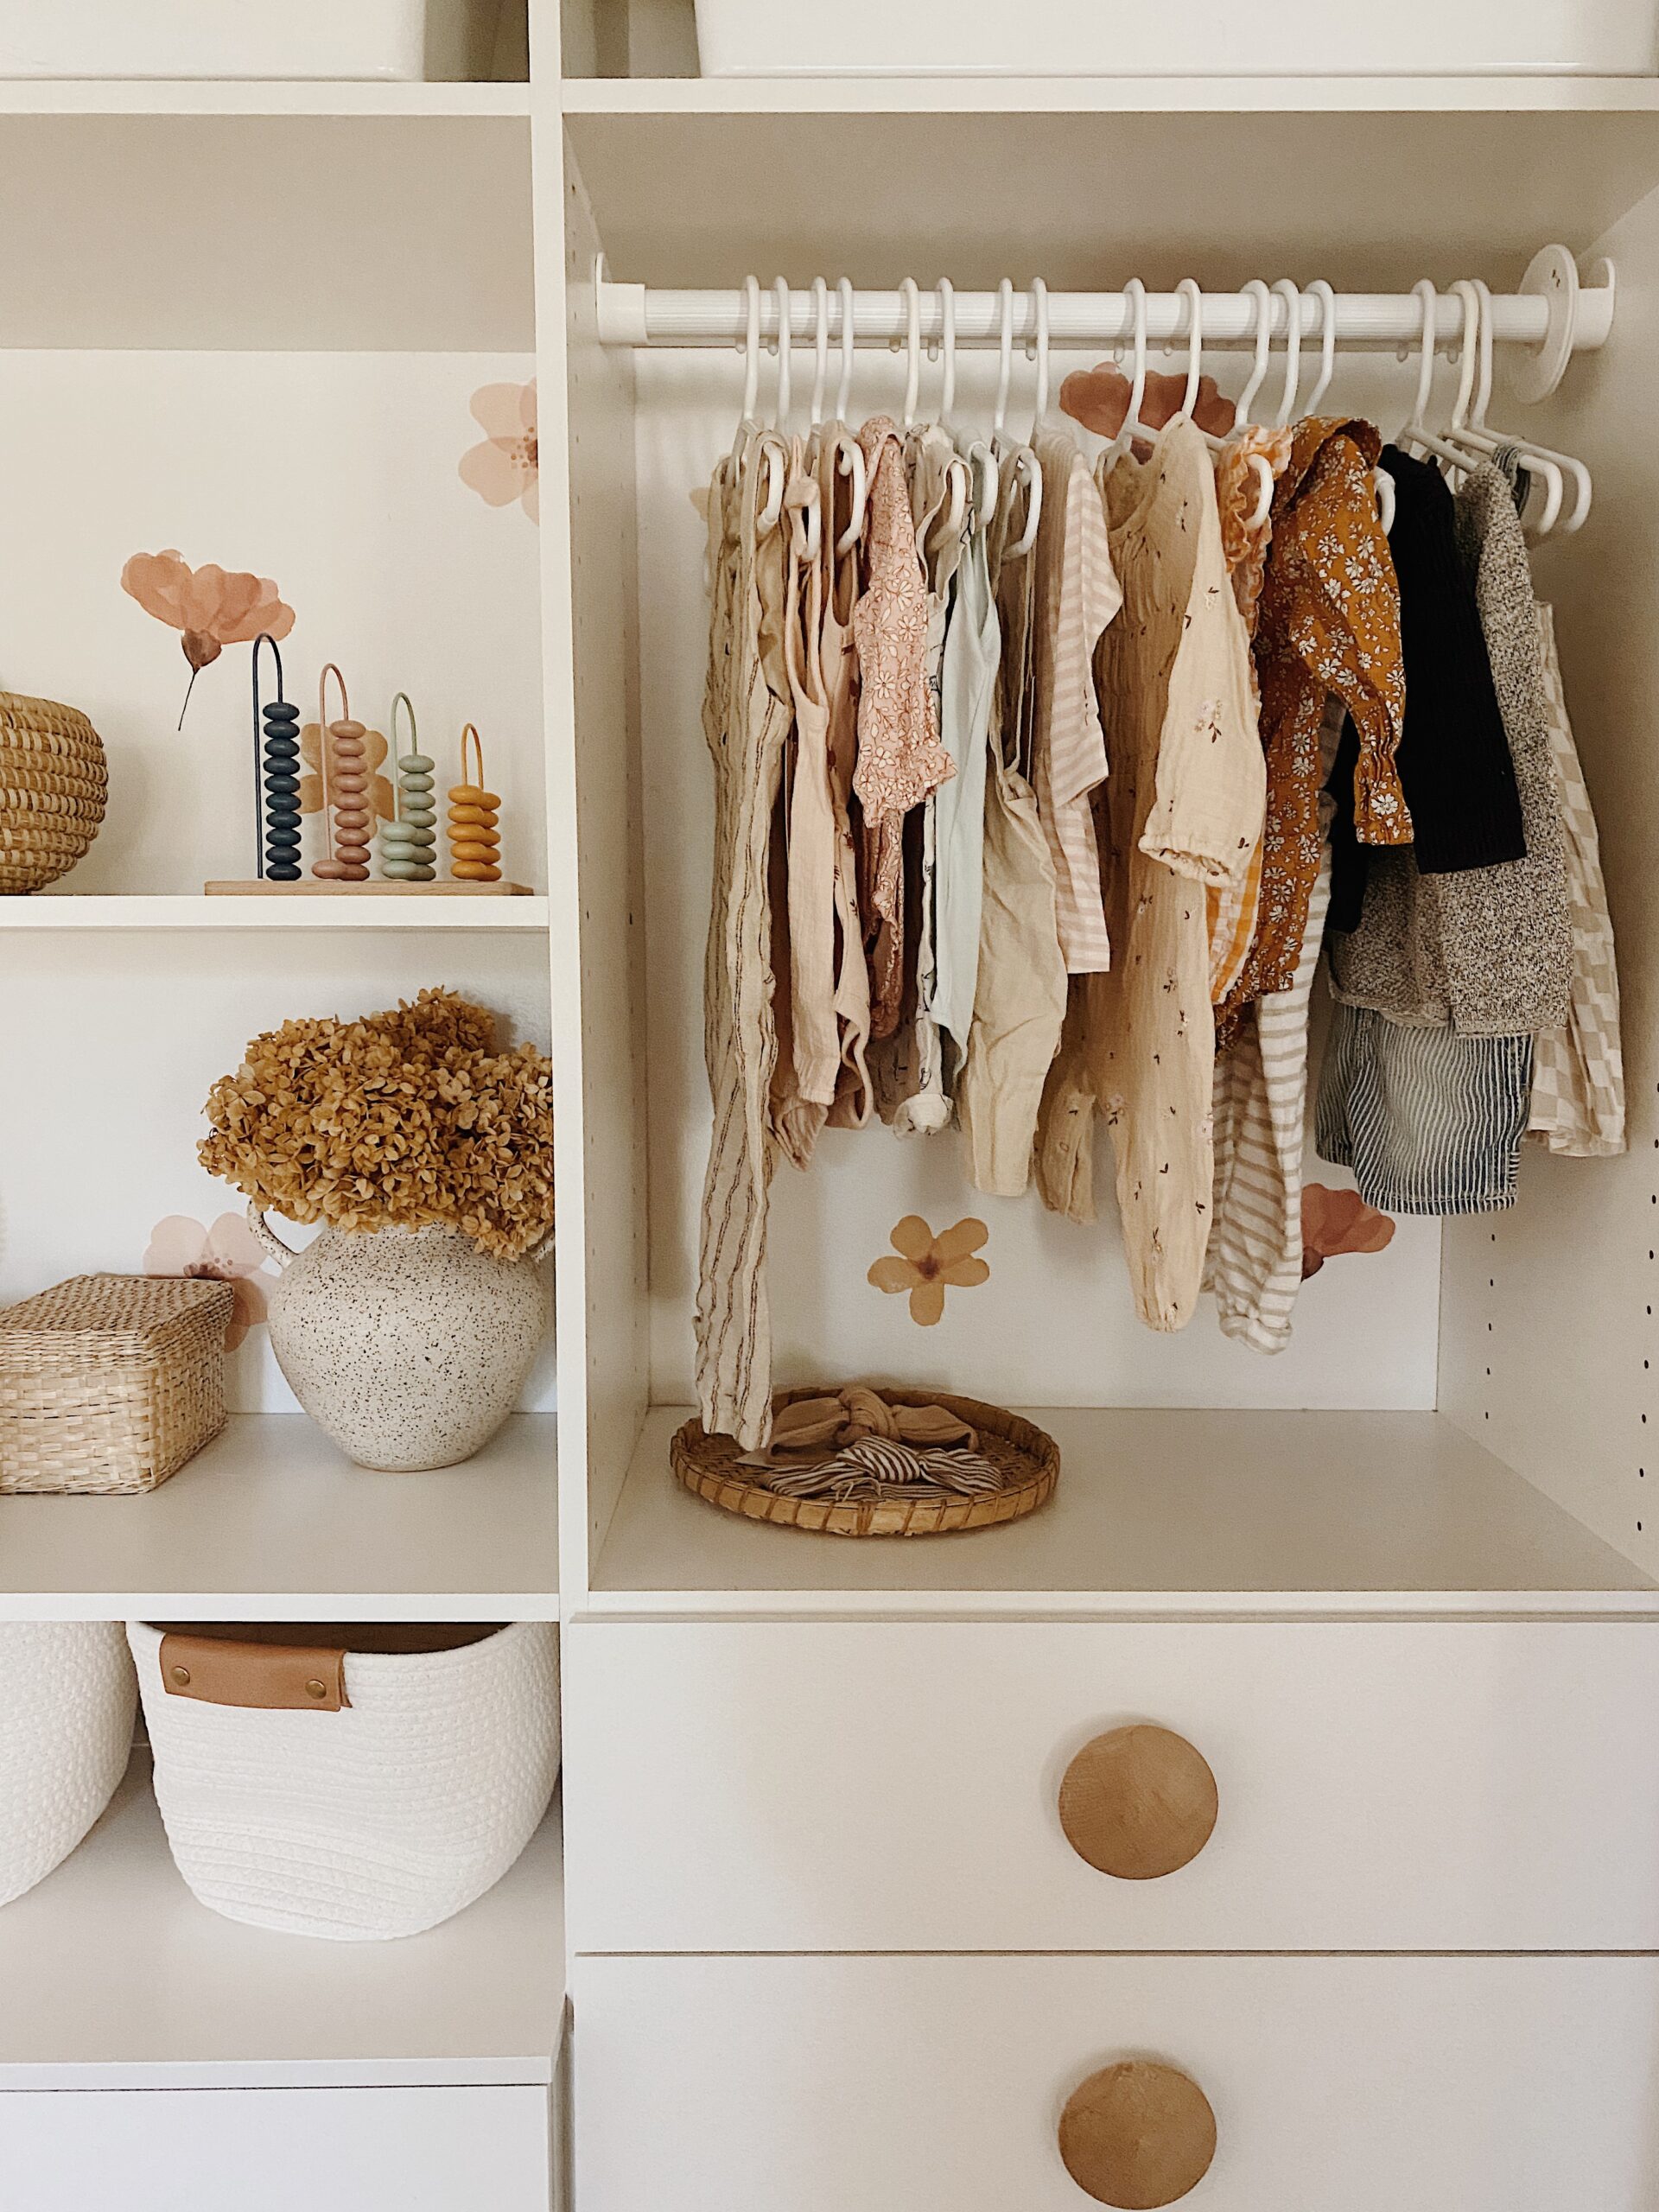
we also customized a lot of little things, rods in different places, swapping this for that etc, and on the very left side we added a bunch of shelves which has already proven to be super useful for all the baby things we’ve already got.
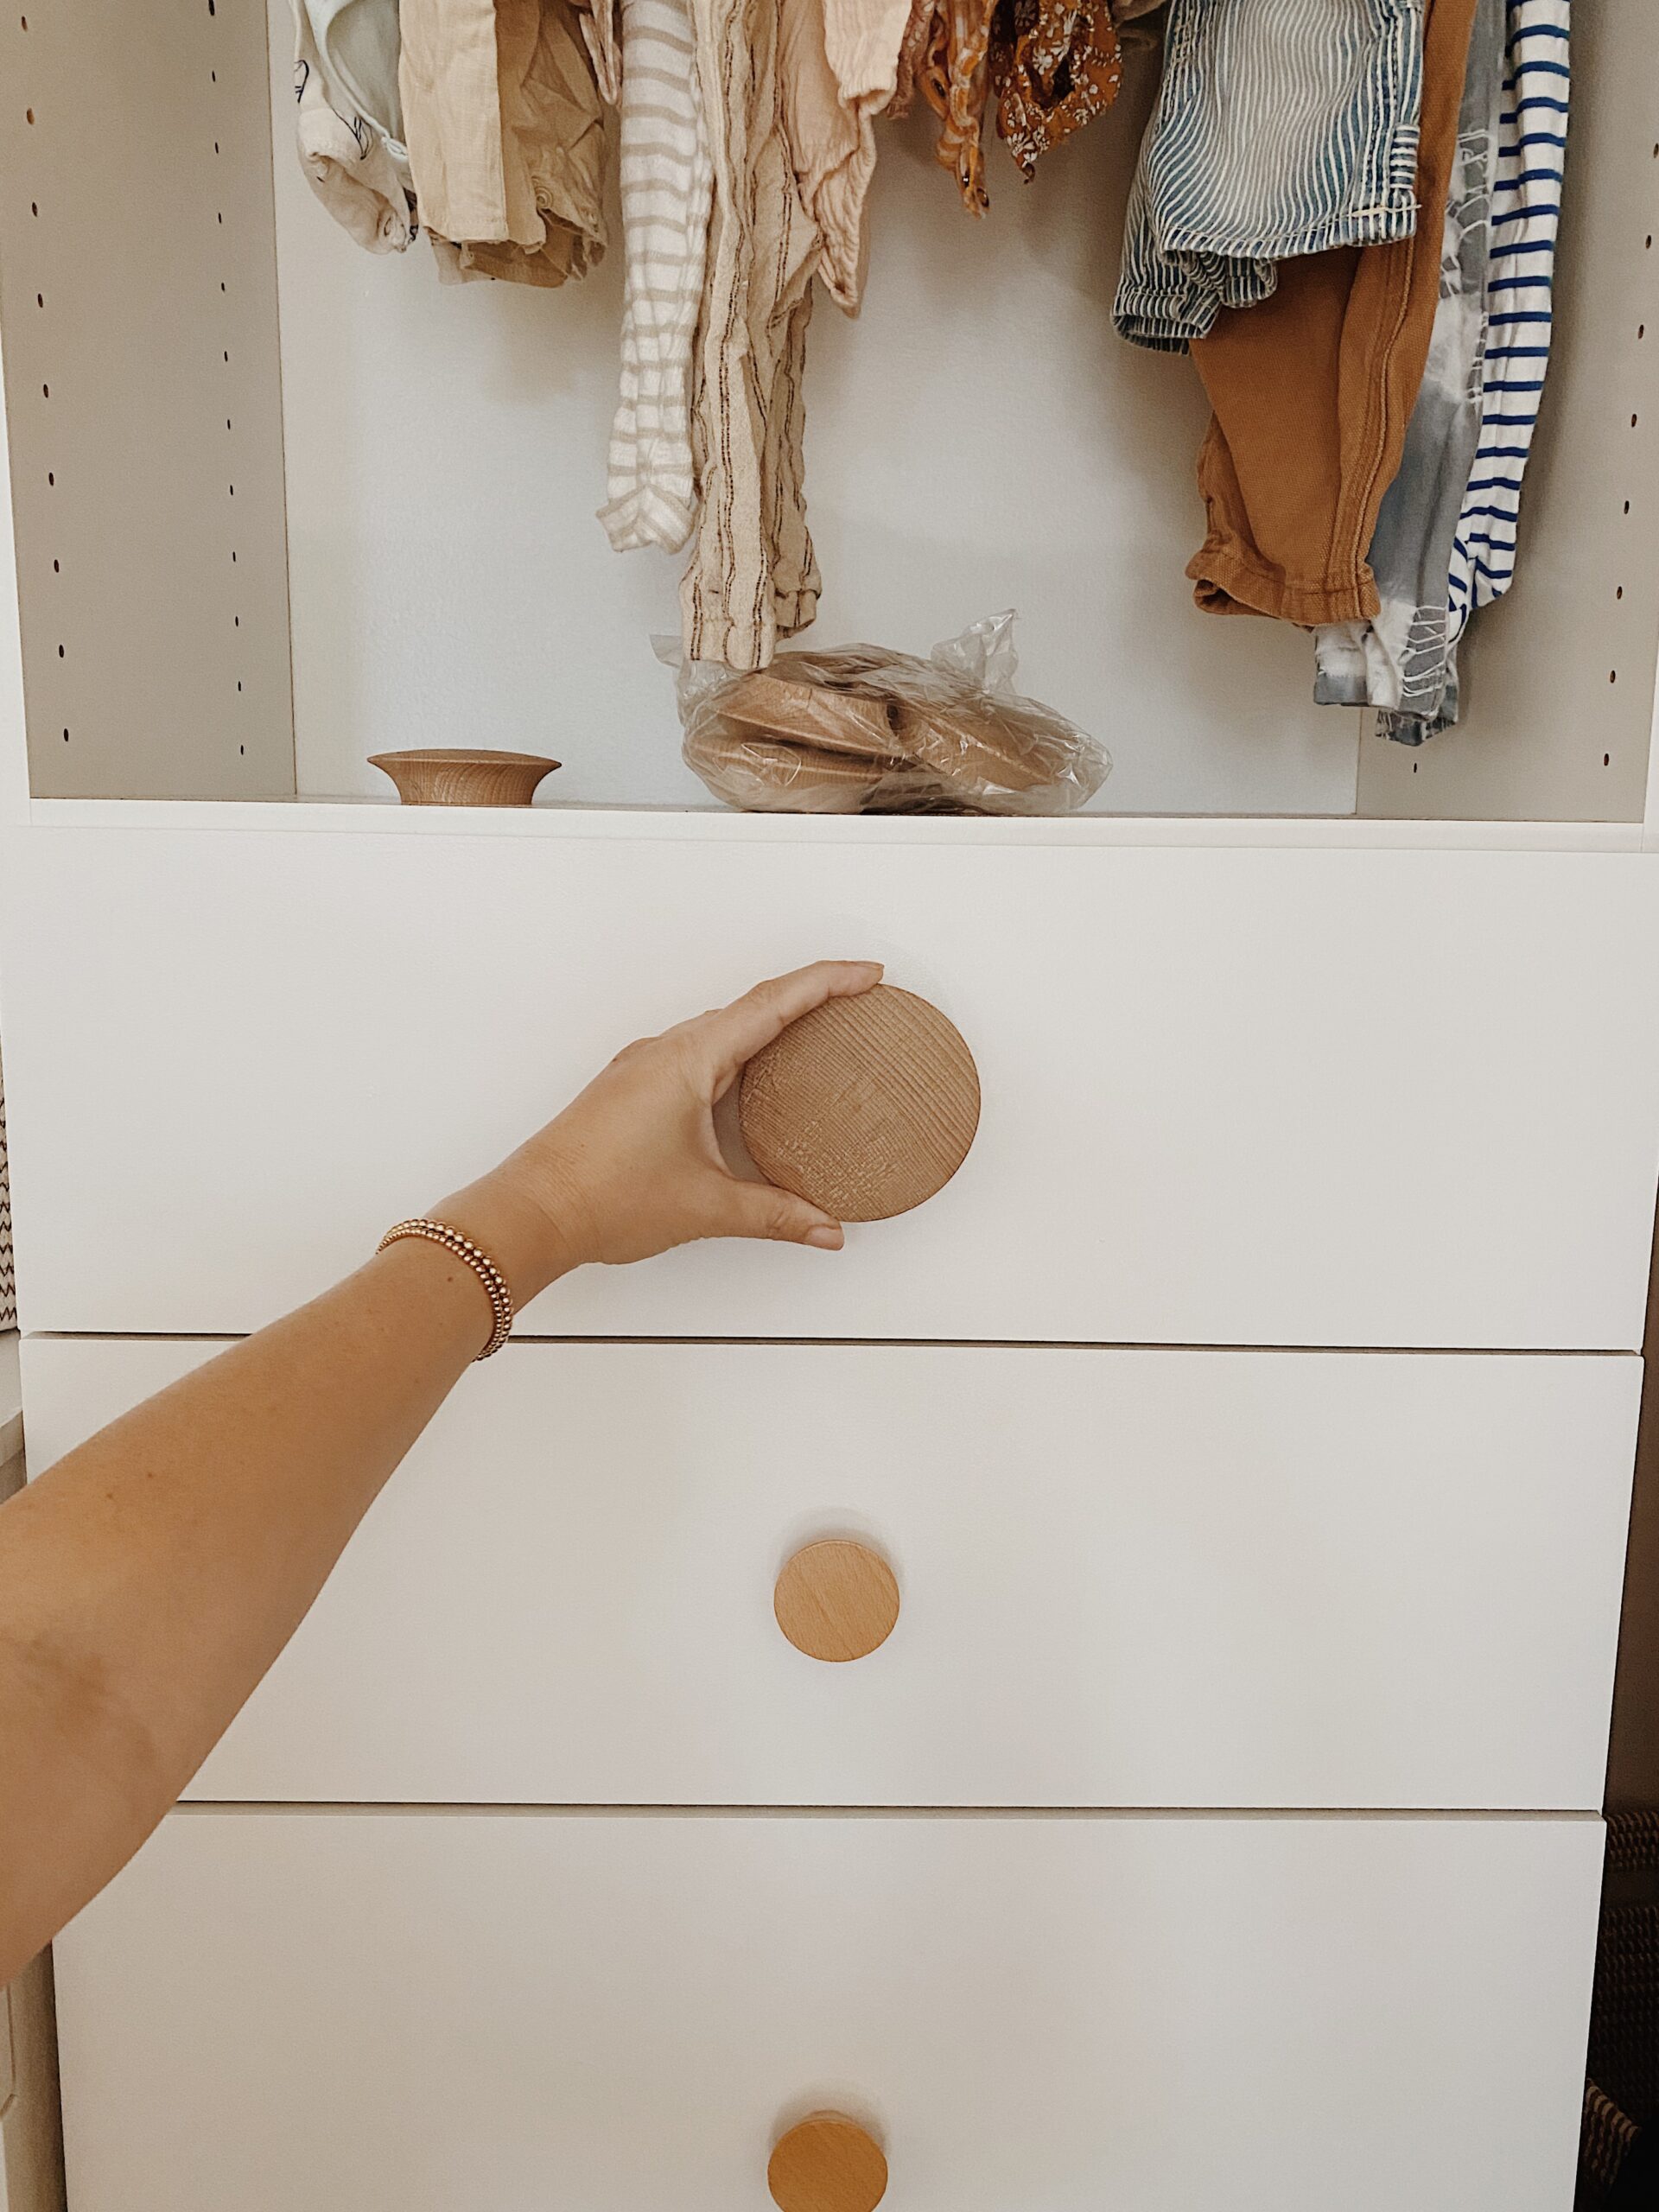
then i also decided the knobs should be LARGER so i ordered huge ones and many of you on instagram disagreed but i think they feel more fun and kid like! i was able to use the smaller ones in our hallway instead and they look so good there.
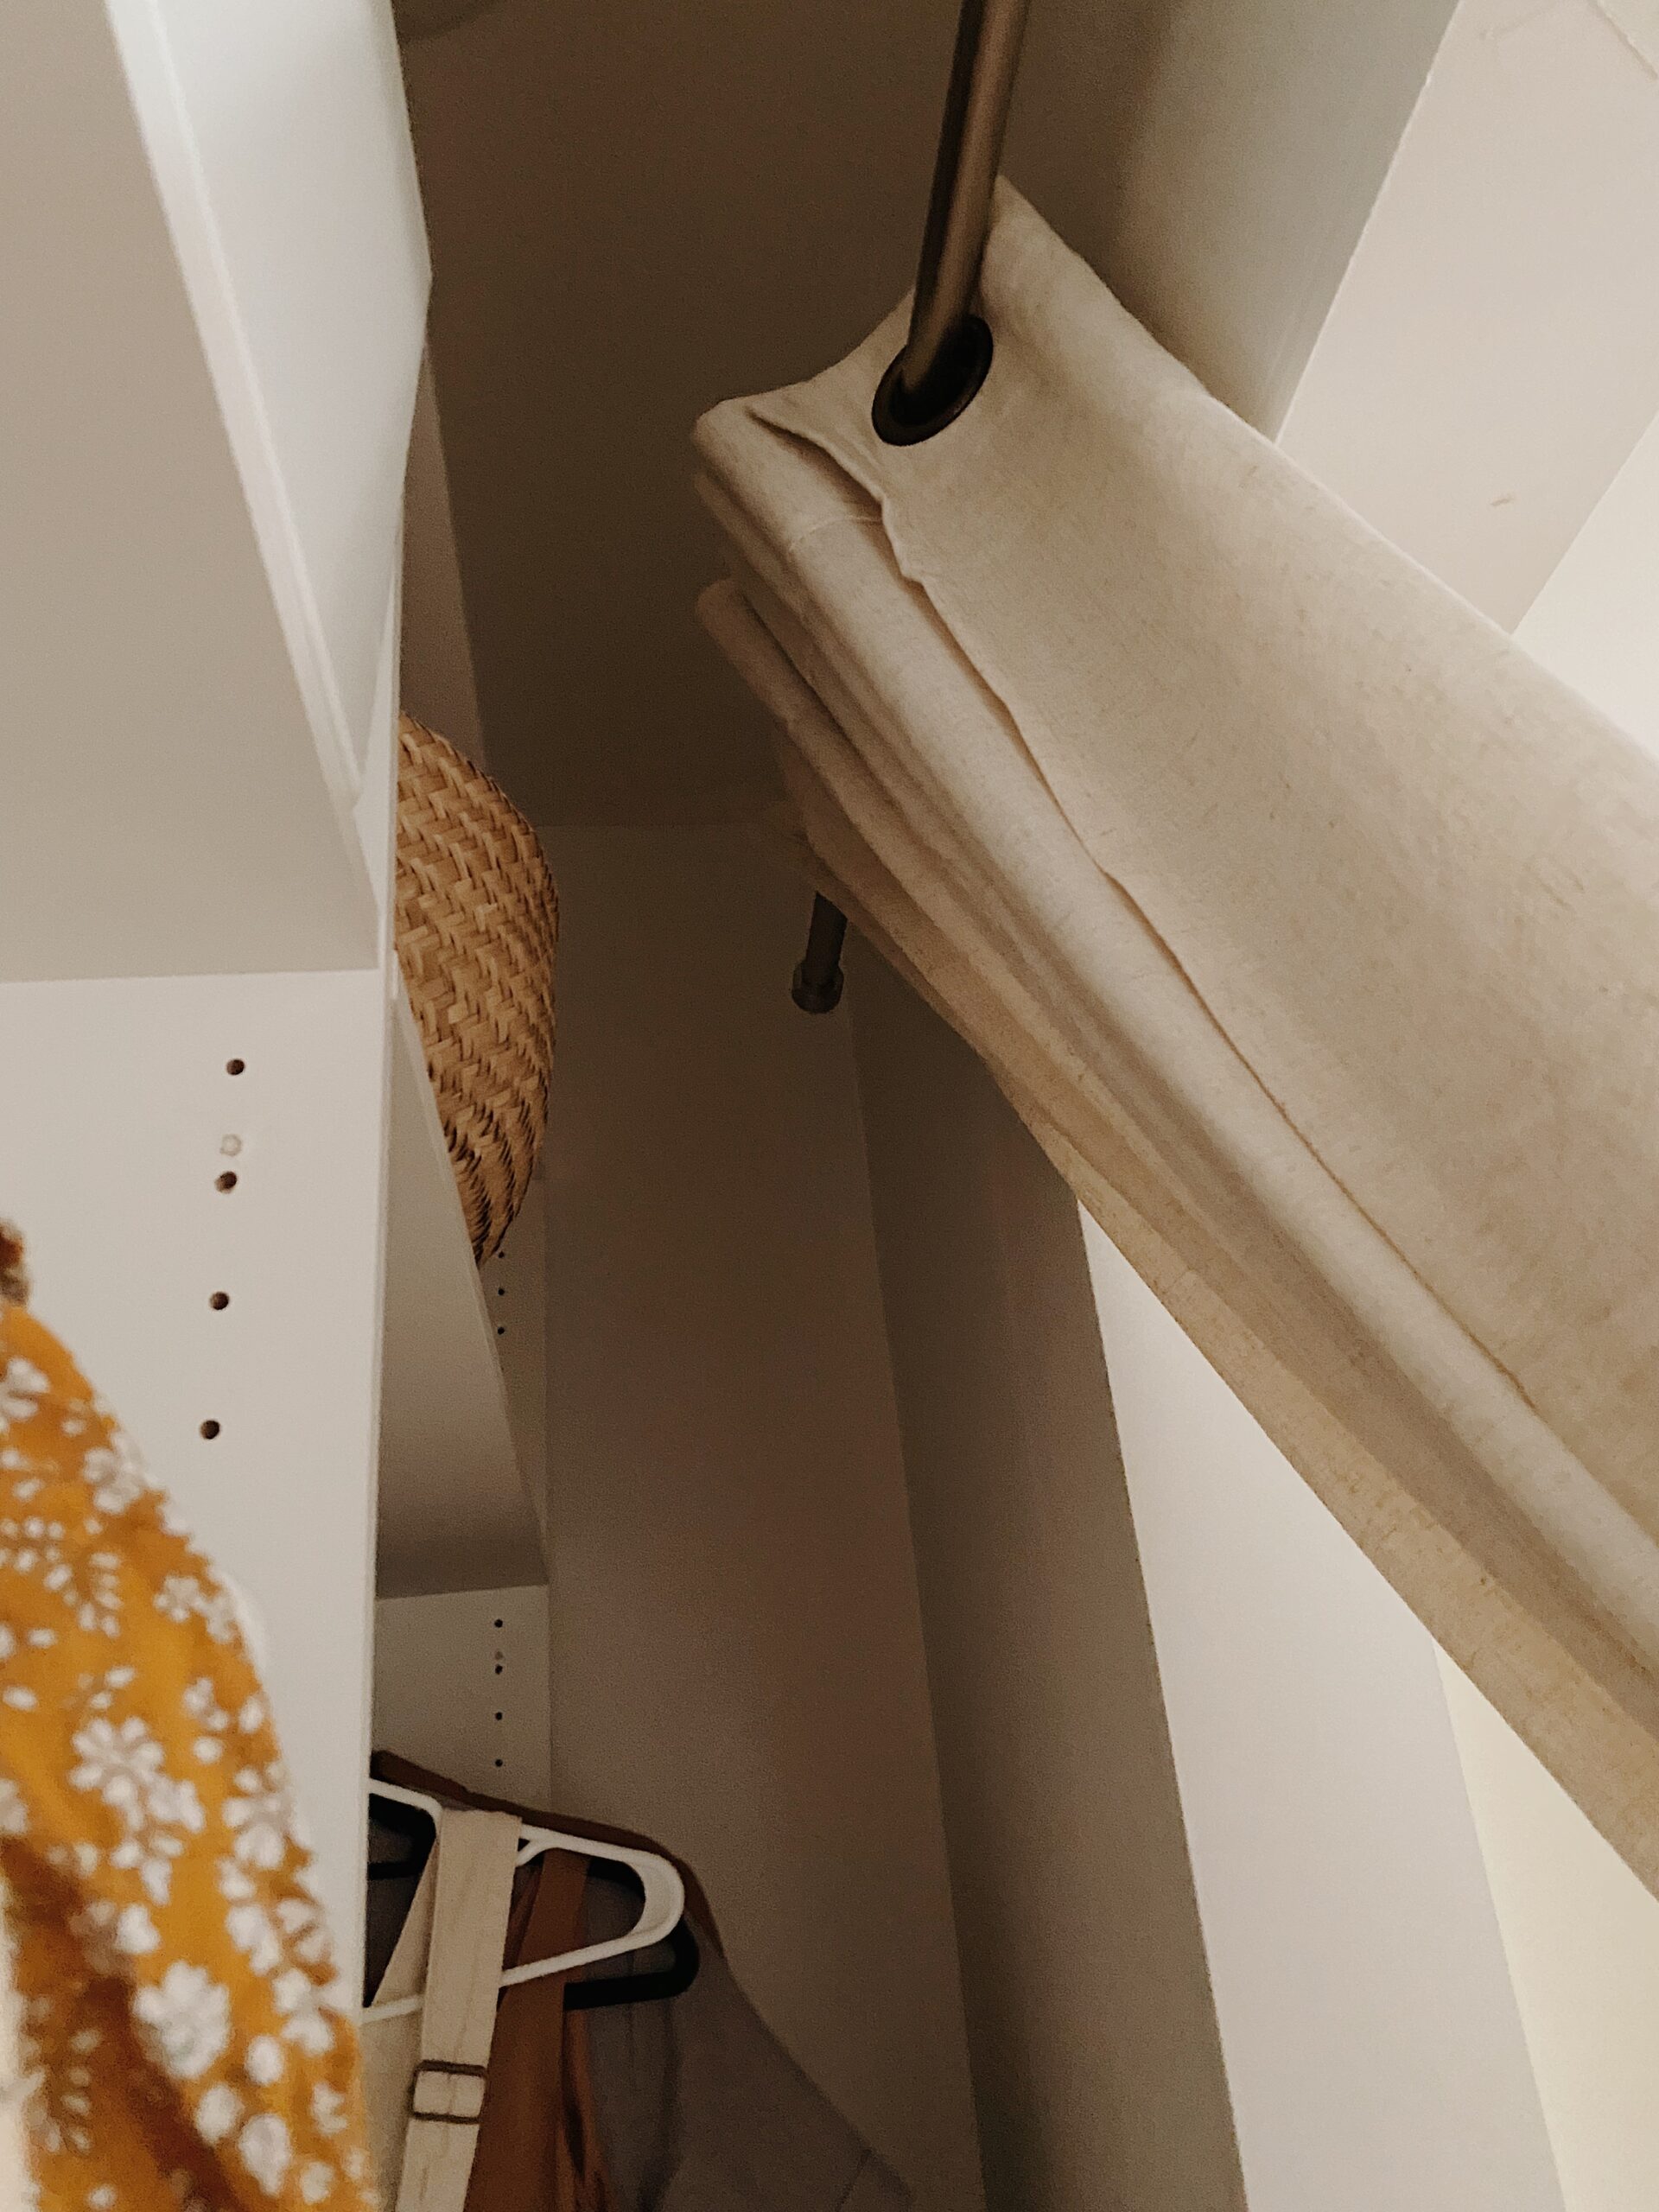
for the curtain install, i just got a simple rod that would extend past both sides of the closet opening. we hung it up high on the inside and now the curtains look so nice and inset! well, first i got smaller curtains and they didn’t look big enough, so i returned those and got huge ones instead. i was worried they’d look too big and that the grommets would show, but they look perfect!!!
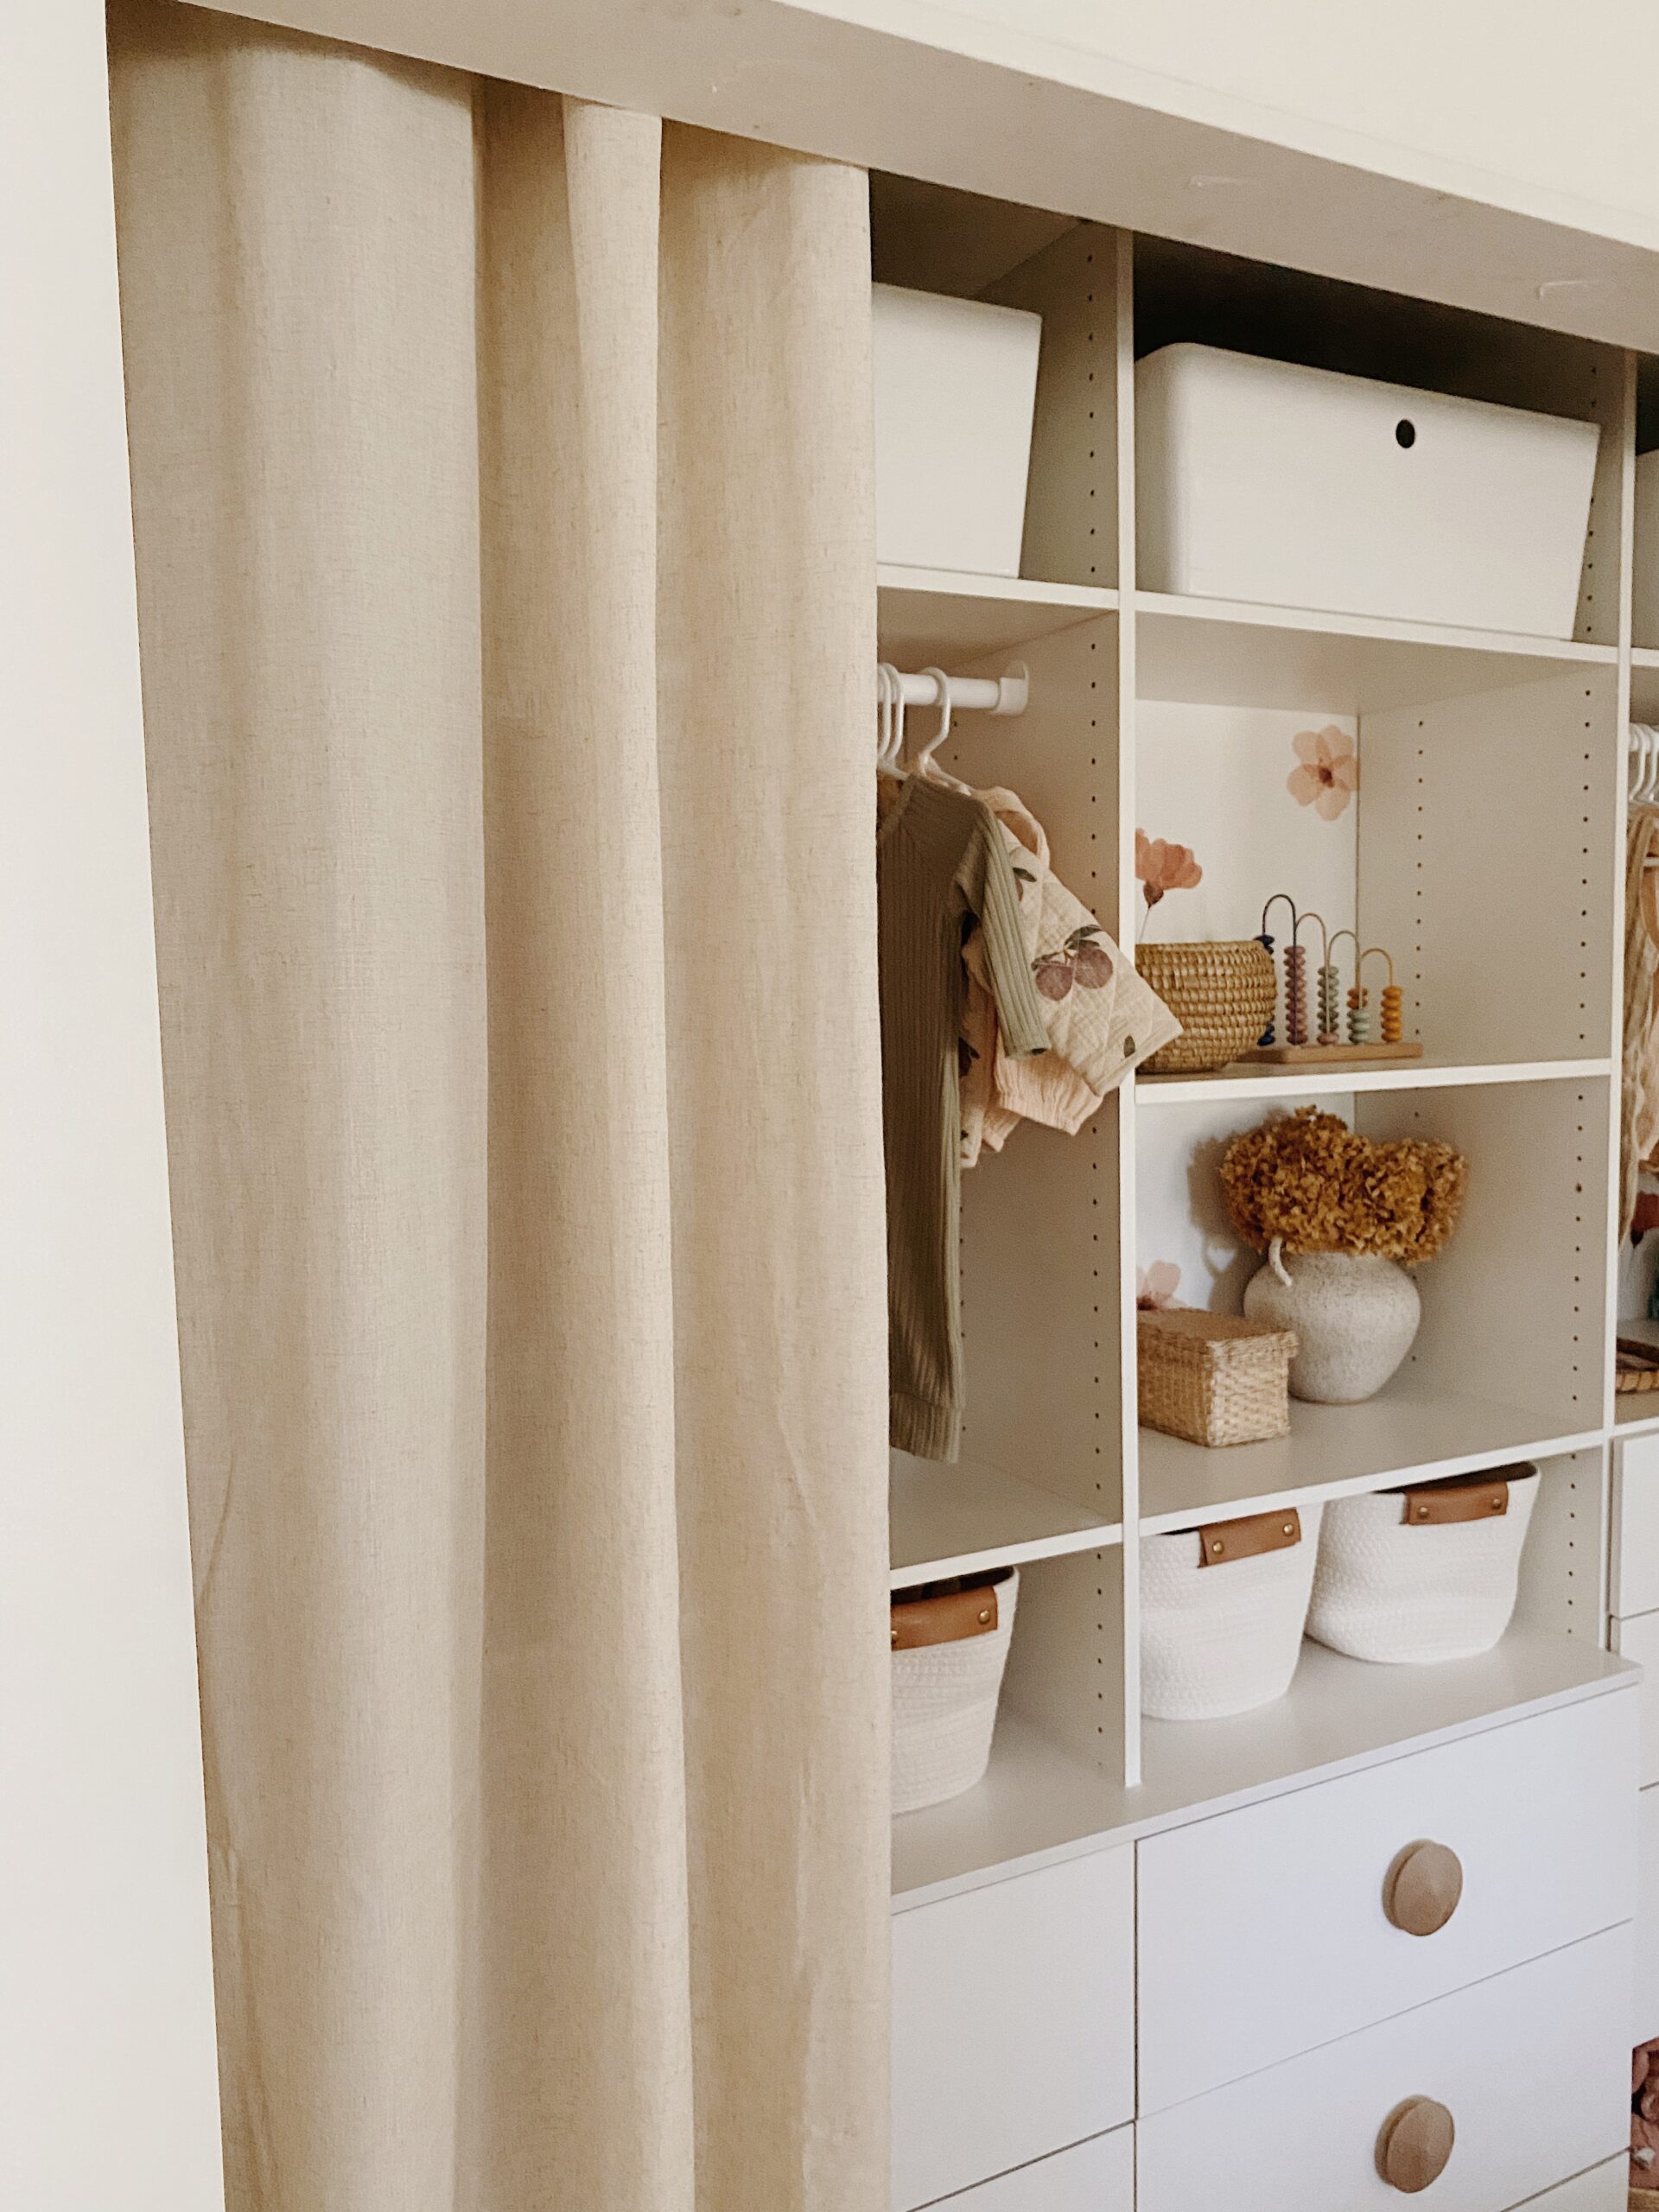
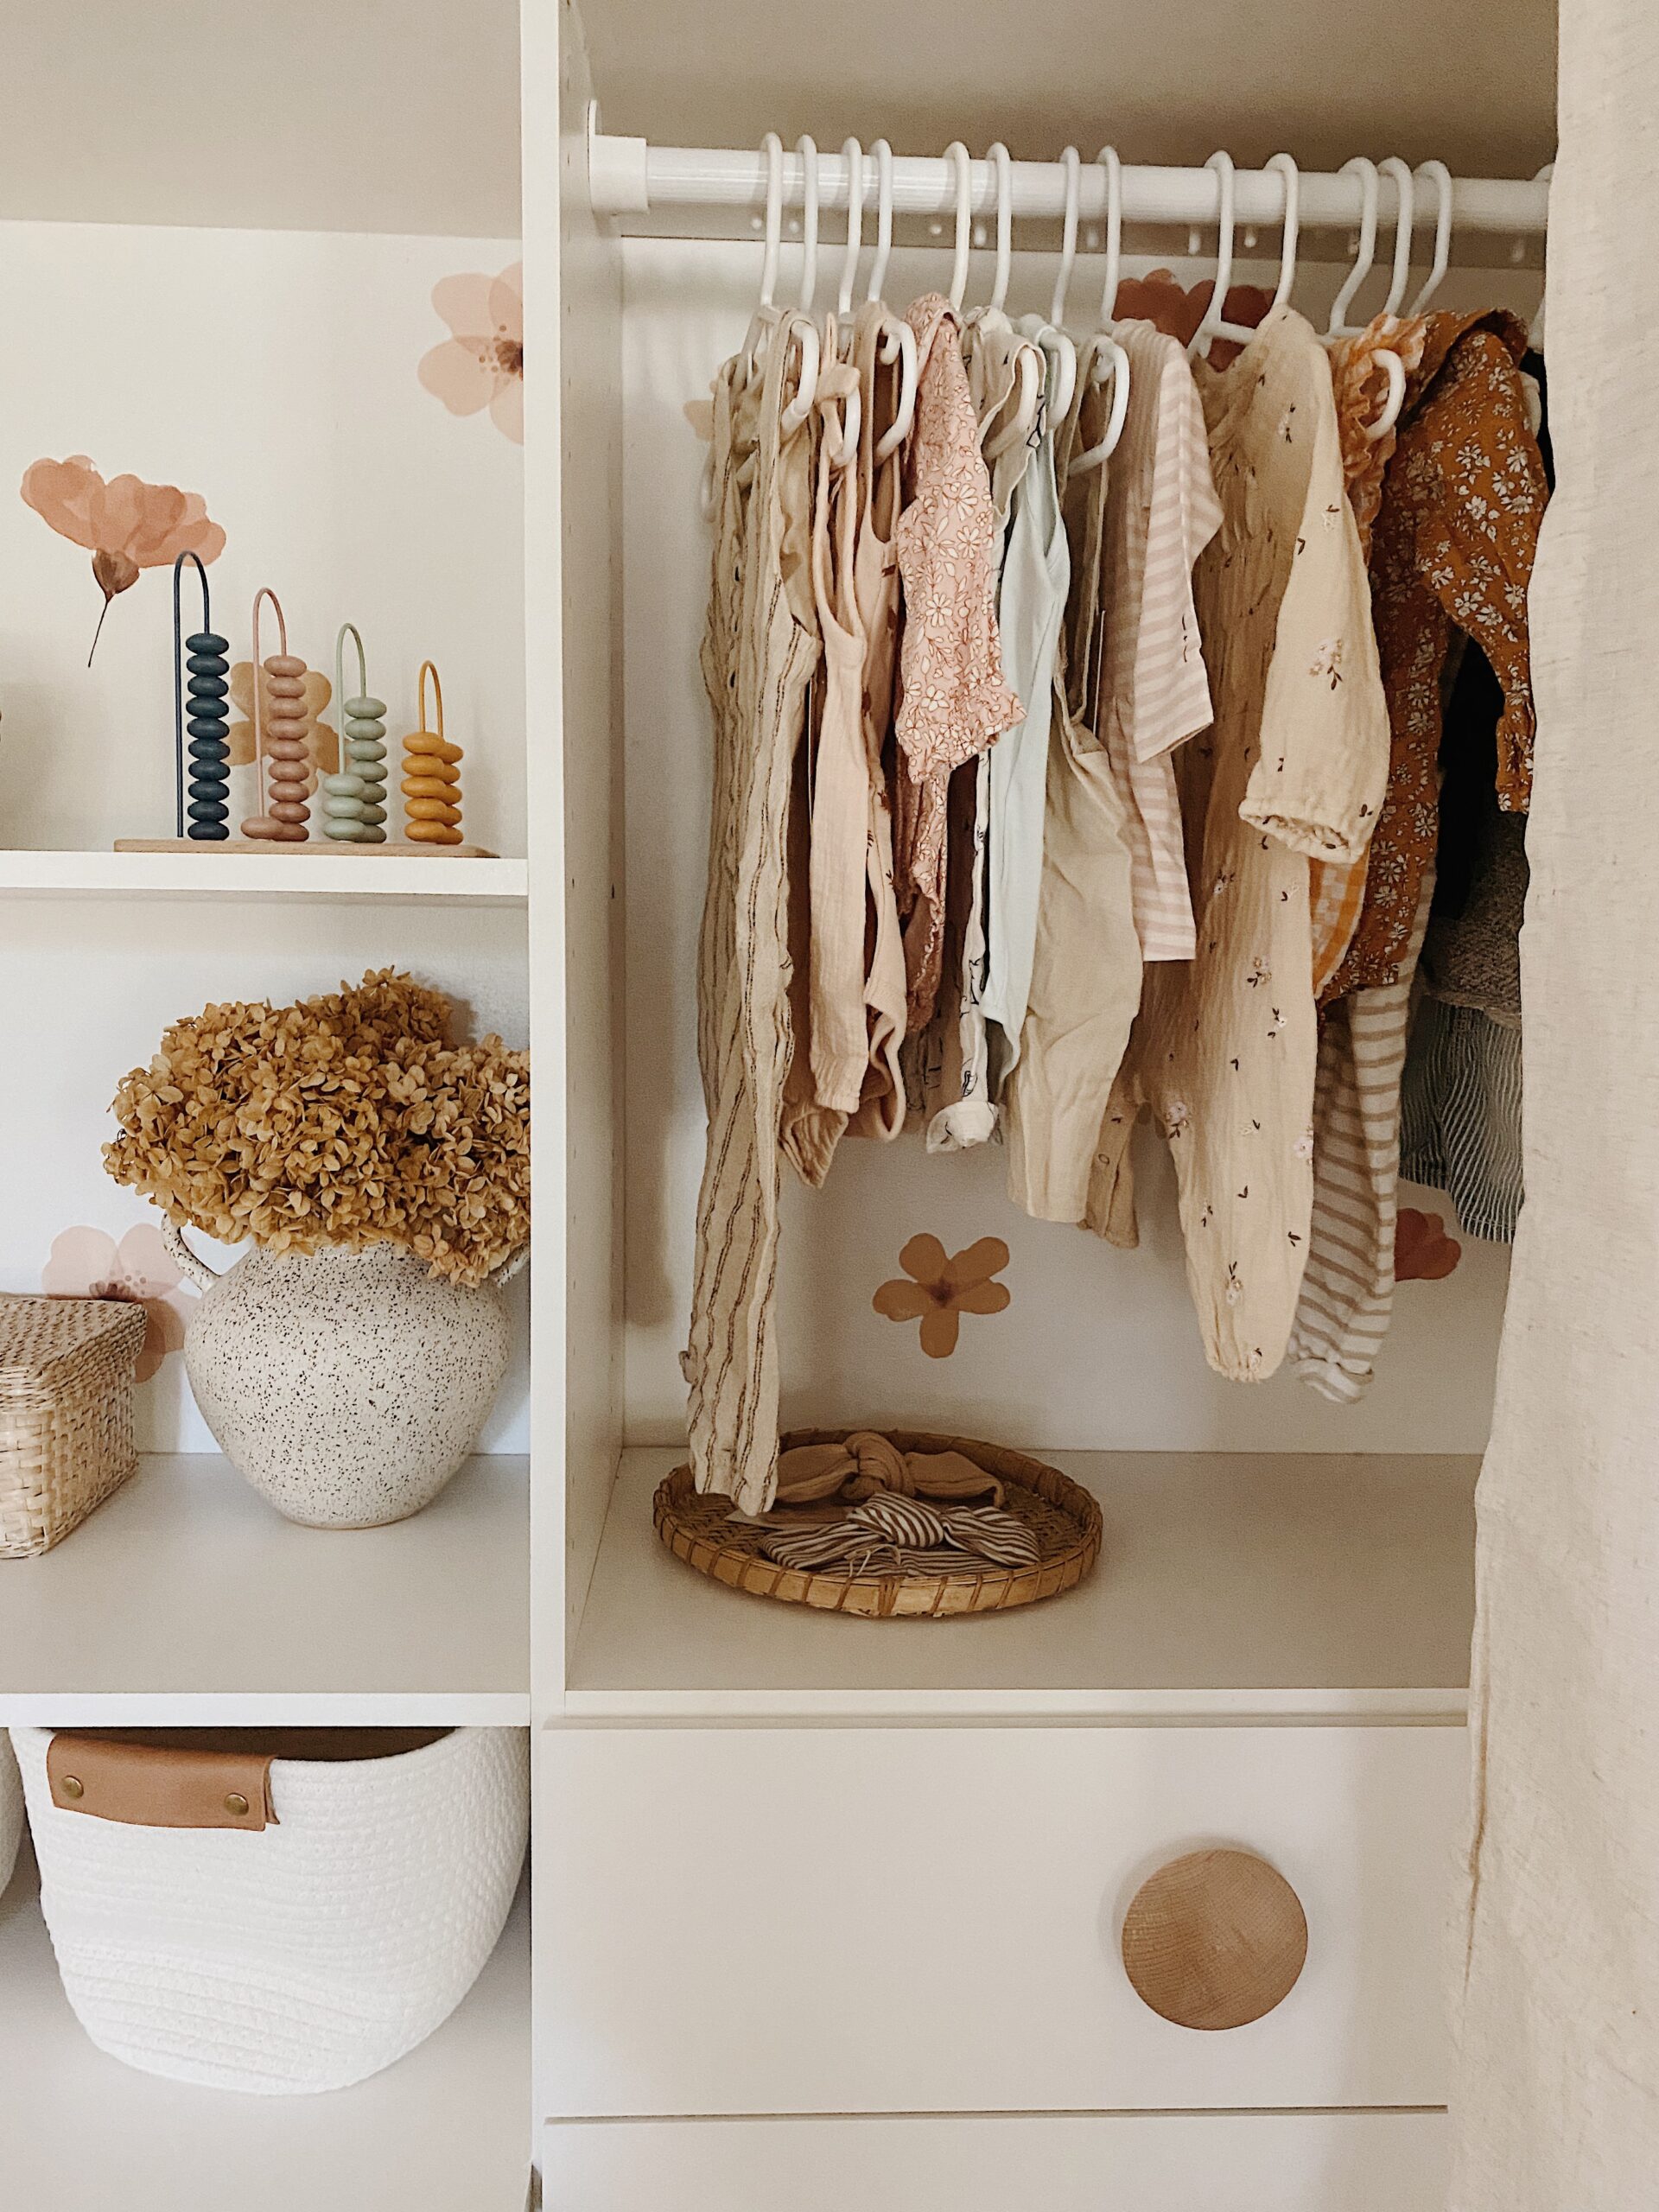
once the closet was done, i added the floral decals! my best friend has these in her nursery and i thought they would be so fun and girly in here. they felt too bold for the room itself for me but inside the closet is the perfect amount!
they were super easy to install, just peel and stick!!
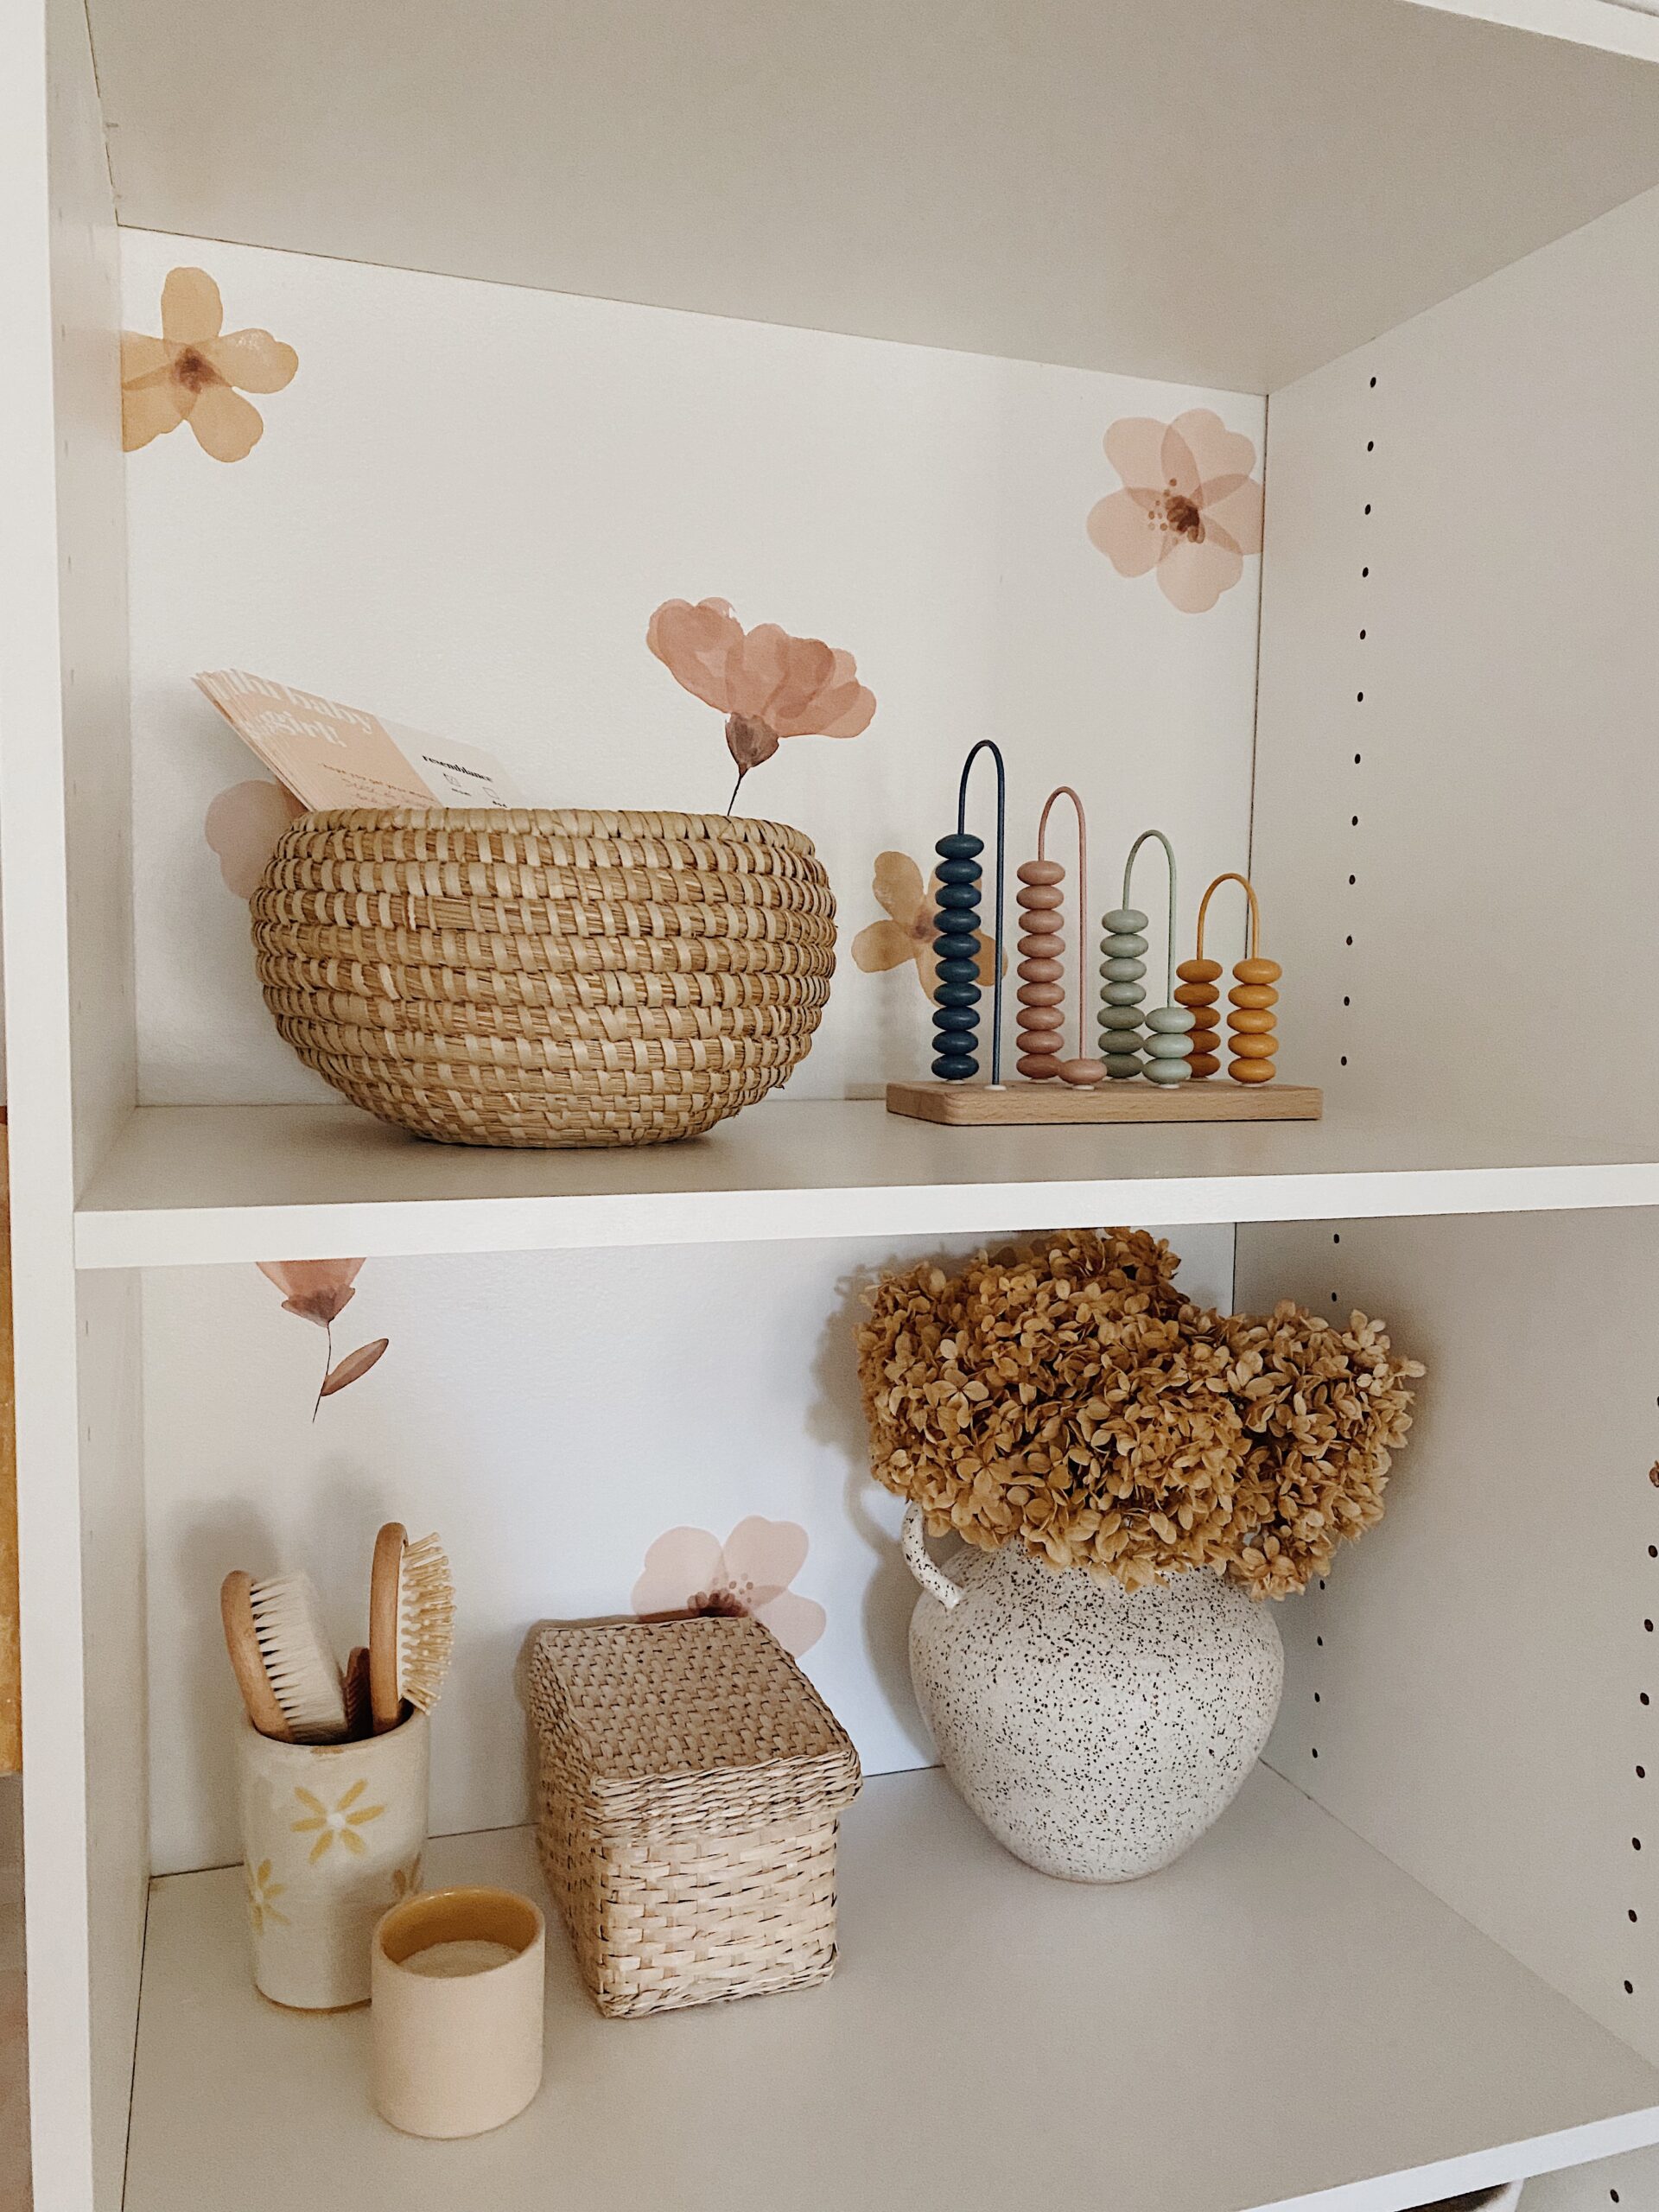
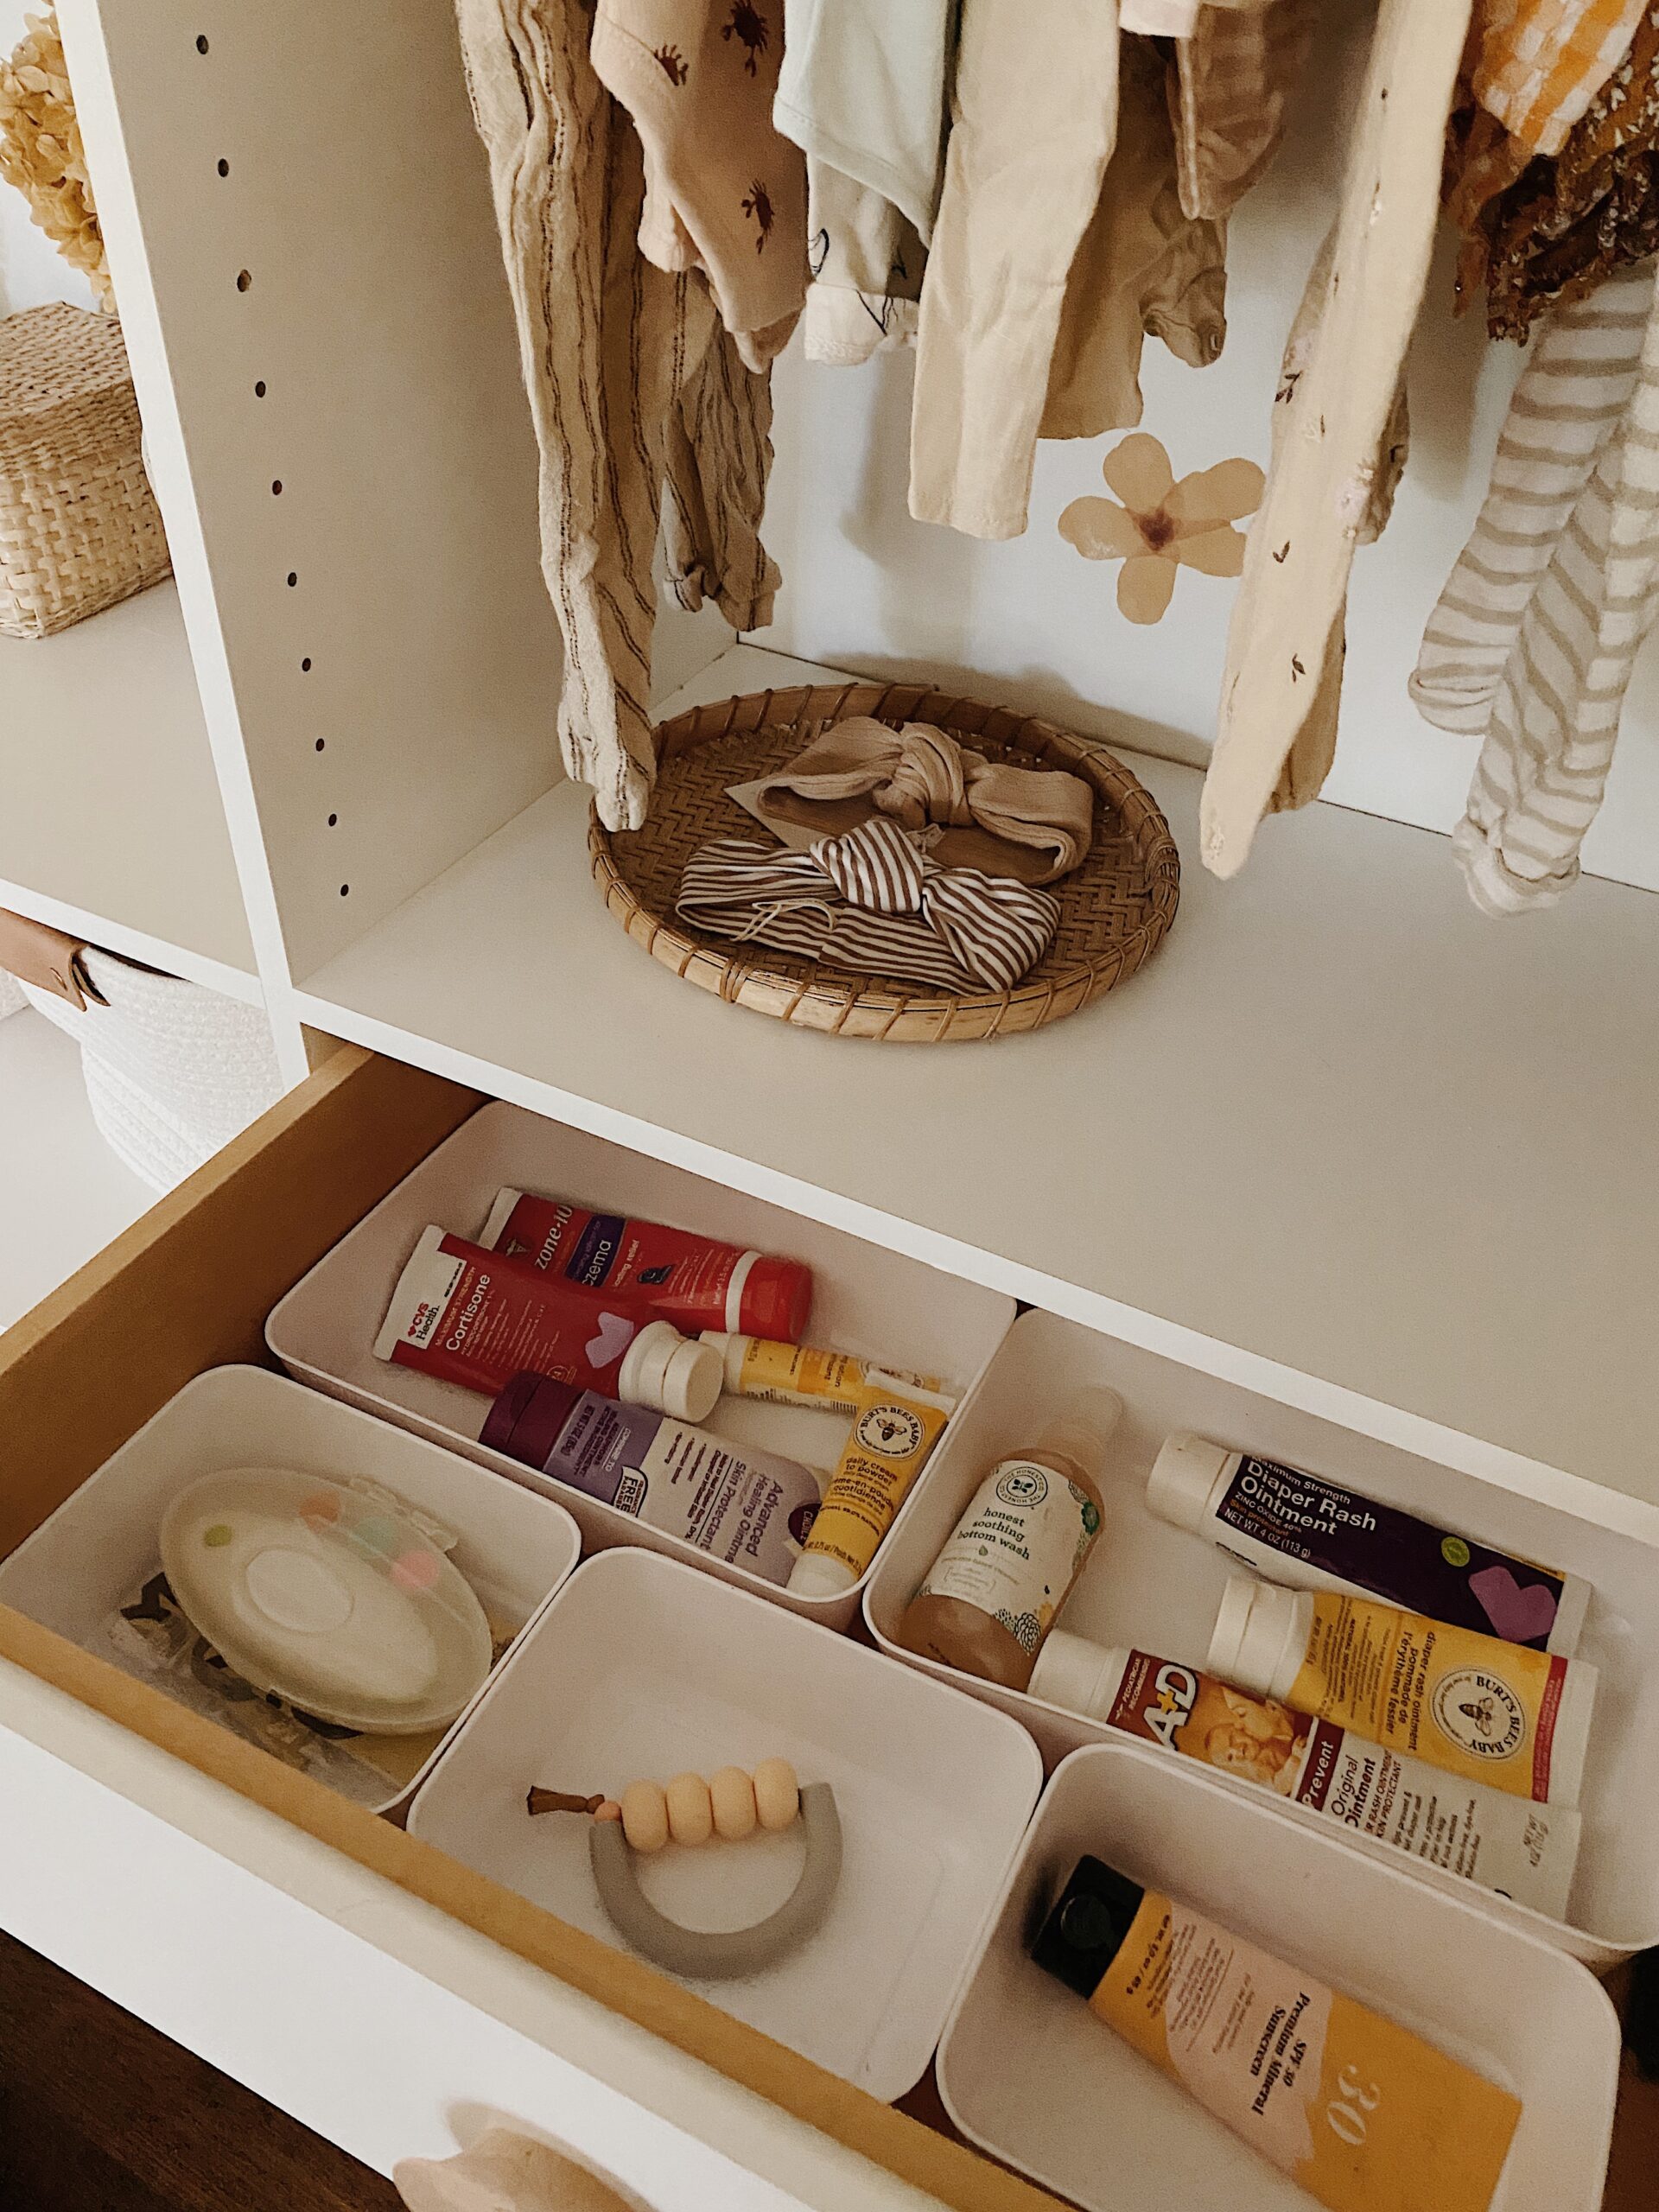
lots of little shelves and nooks for pretty storage things (for now)– i am nesting so hard i’ve already started putting drawer organizers inside lol.
well that’s it! the rest of the room is now on the to-do list but happy to have this little section done 🙂 for sure it’s gone from the crappiest closet in the house to the nicest by farrrrr!!


pitch perfect, as freaking always, molly!
Why does no one comment on your blog posts?! So weird because your closet is freaking adorable and your post is full of great ideas and useful takeaways. I’m sure that pretty much everyone who comes here scrolls through and thinks, “Wow!! Fantastic!’ I just wish they would take the time to tell you that.
What are the big baskets in the bottom right corner? I want those linked toooo, please!
Your closet is AWESOME! so many great ideas and pictures to help me visualize what my daughter’s nursery closet could look like eventually! or at least some of it. We are planning on using curtains also, there were no closet doors, and I love the look of putting the rod on the inside and how they soften the whole closet. And I love the all the drawers, especially the BIG knobs they add a little bit of fun and style! The whole closet is just wonderful, you have out done yourself and I can’t wait to see the rest of your nursery since your closet looks this amazing!!!