our dining nook
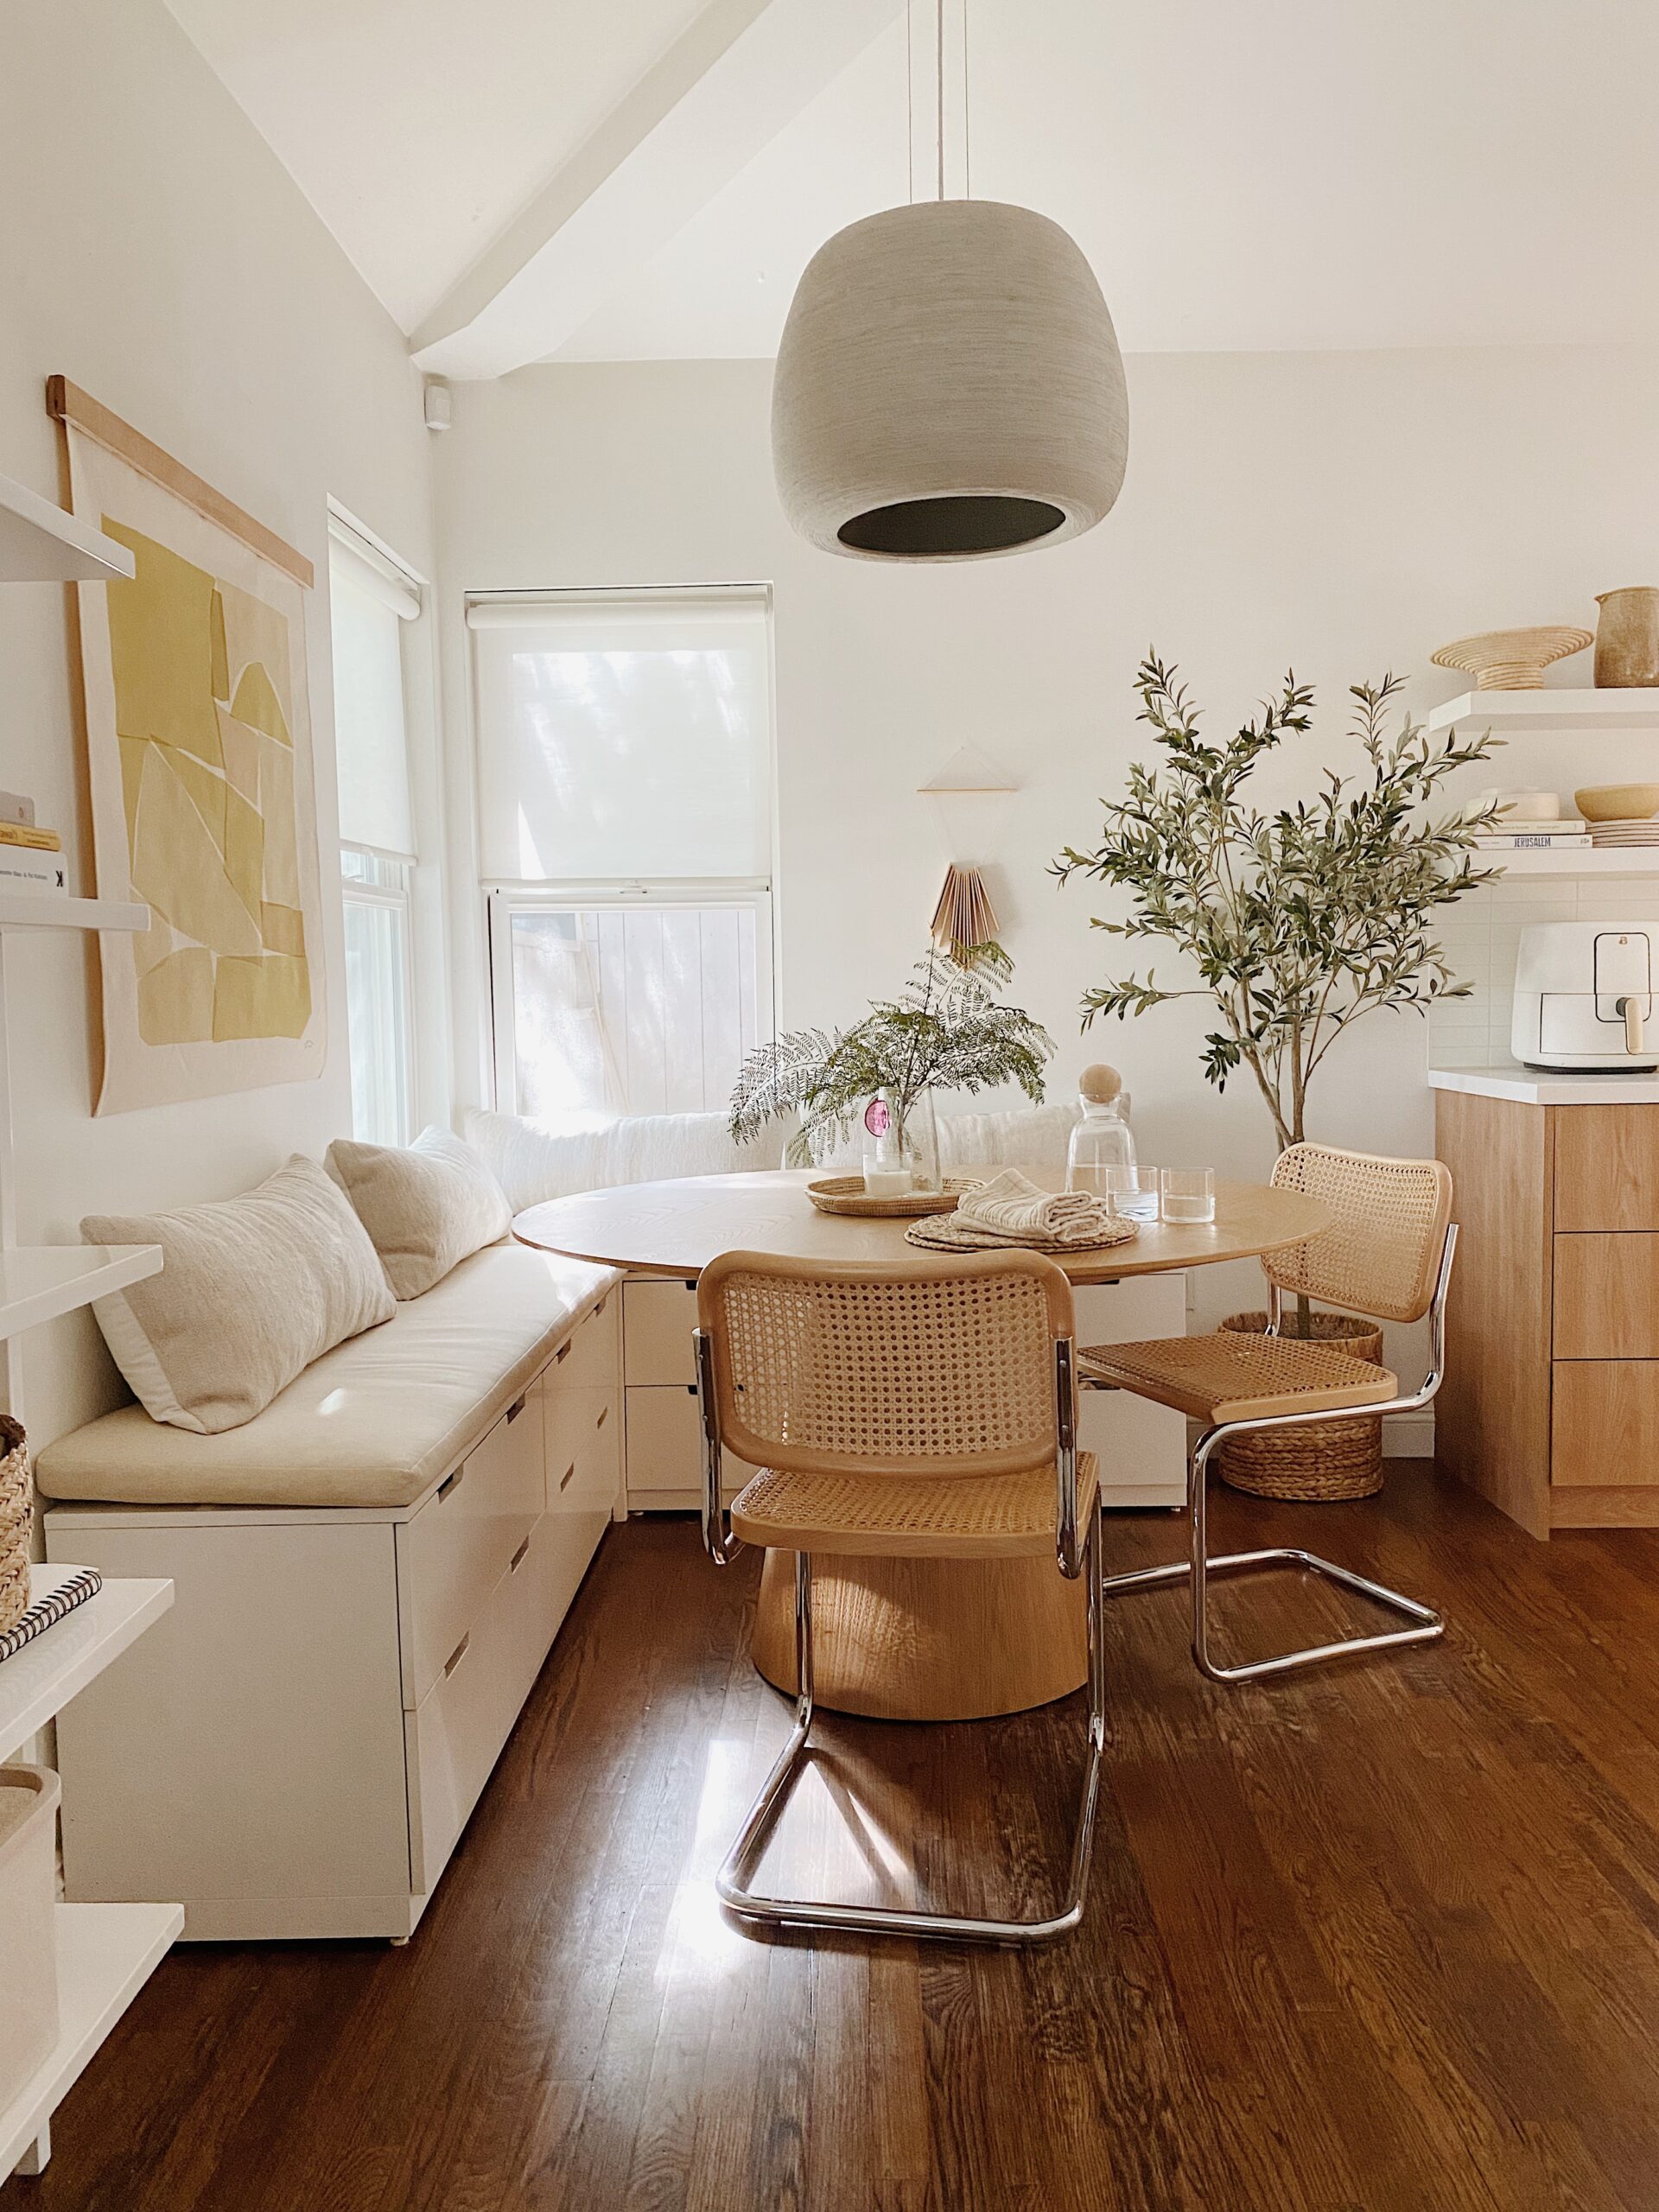
whewwww i’ve been trying to redo our dining nook for months now, and it’s been quite a process but it’s FINALLY done!!
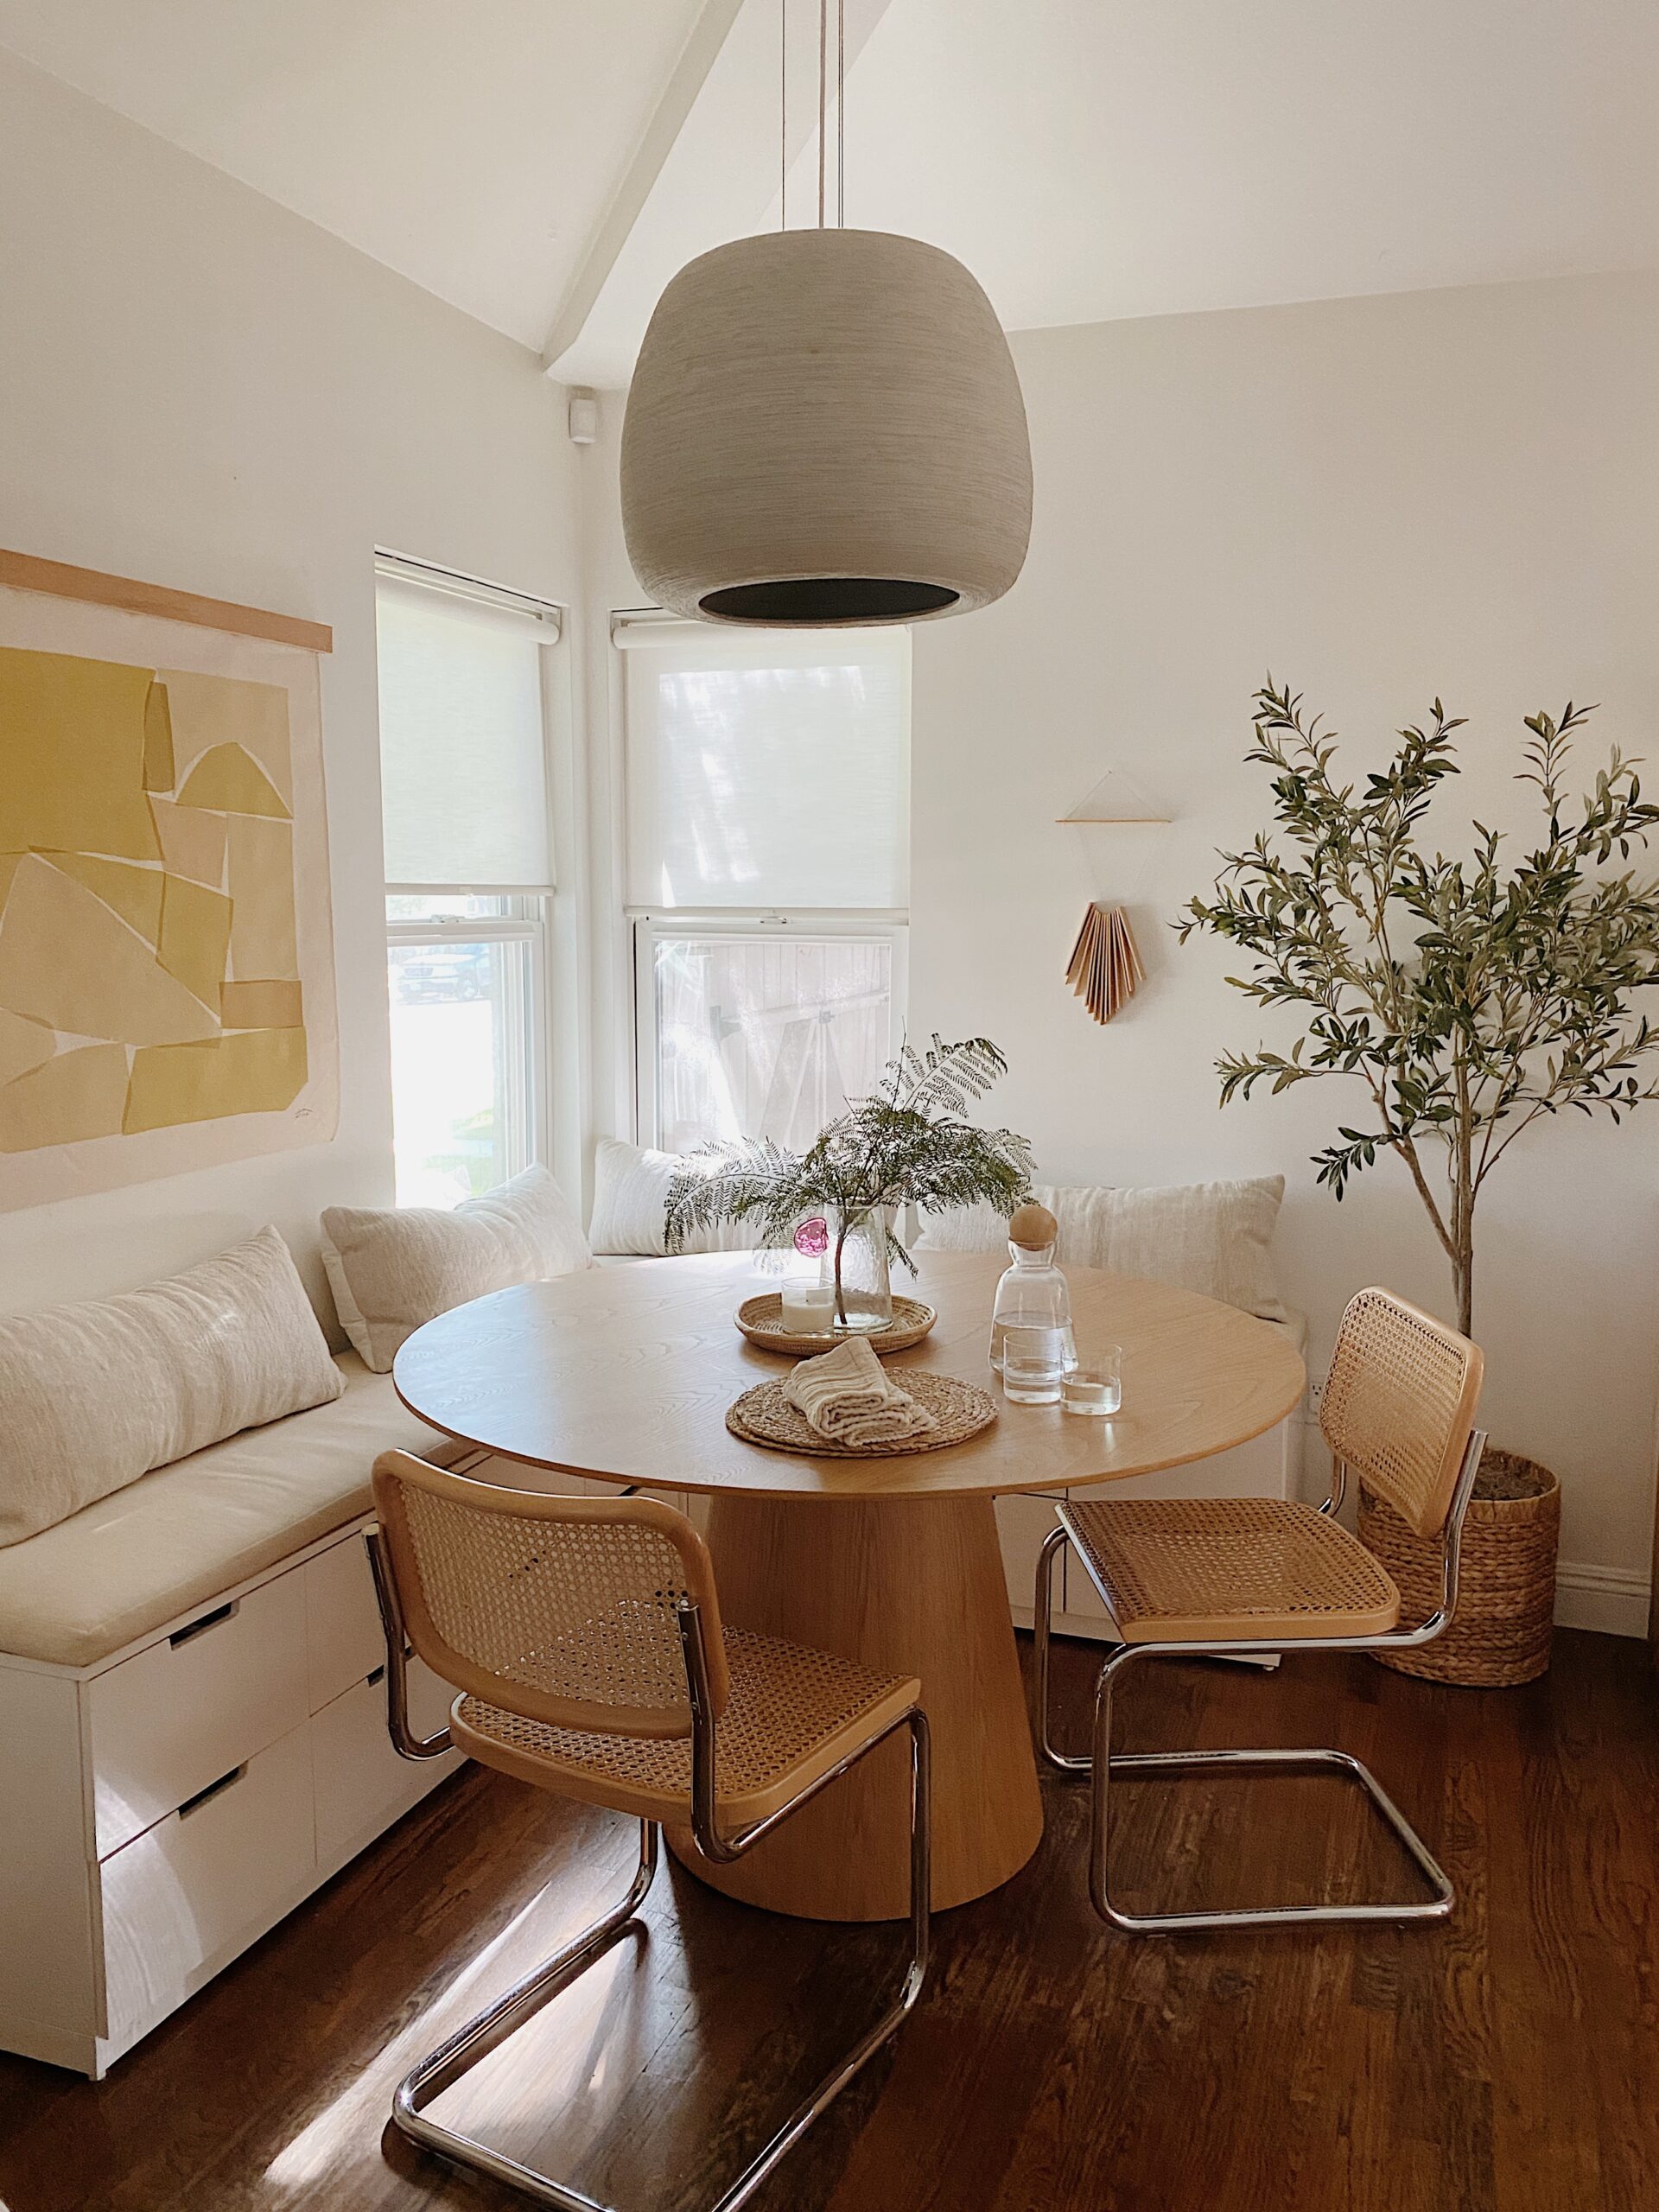
i decided i really wanted to do a round table because it has been so difficult to get into the book and the space has always just felt wrong to me.
it’s a very small house and a small corner and the rectangular table was just too big and too… rectangular! here’s what it looked like before.

switching to a round table
when i realized how much better a round table would work, a lot of people on instagram suggested to do oval instead, that we’d lose a lot of usable tabletop, etc. but i proceeded anyway, because we still have a larger table outside for larger groups but the fact is — it’s usually just us and that felt like the priority!
it is definitely less space, but because you can sit around the table more, it actually feels like we can fit more of us around it now! AND, we’ll be able to put a high chair at the table for the first time ever! that’s very exciting this time around.
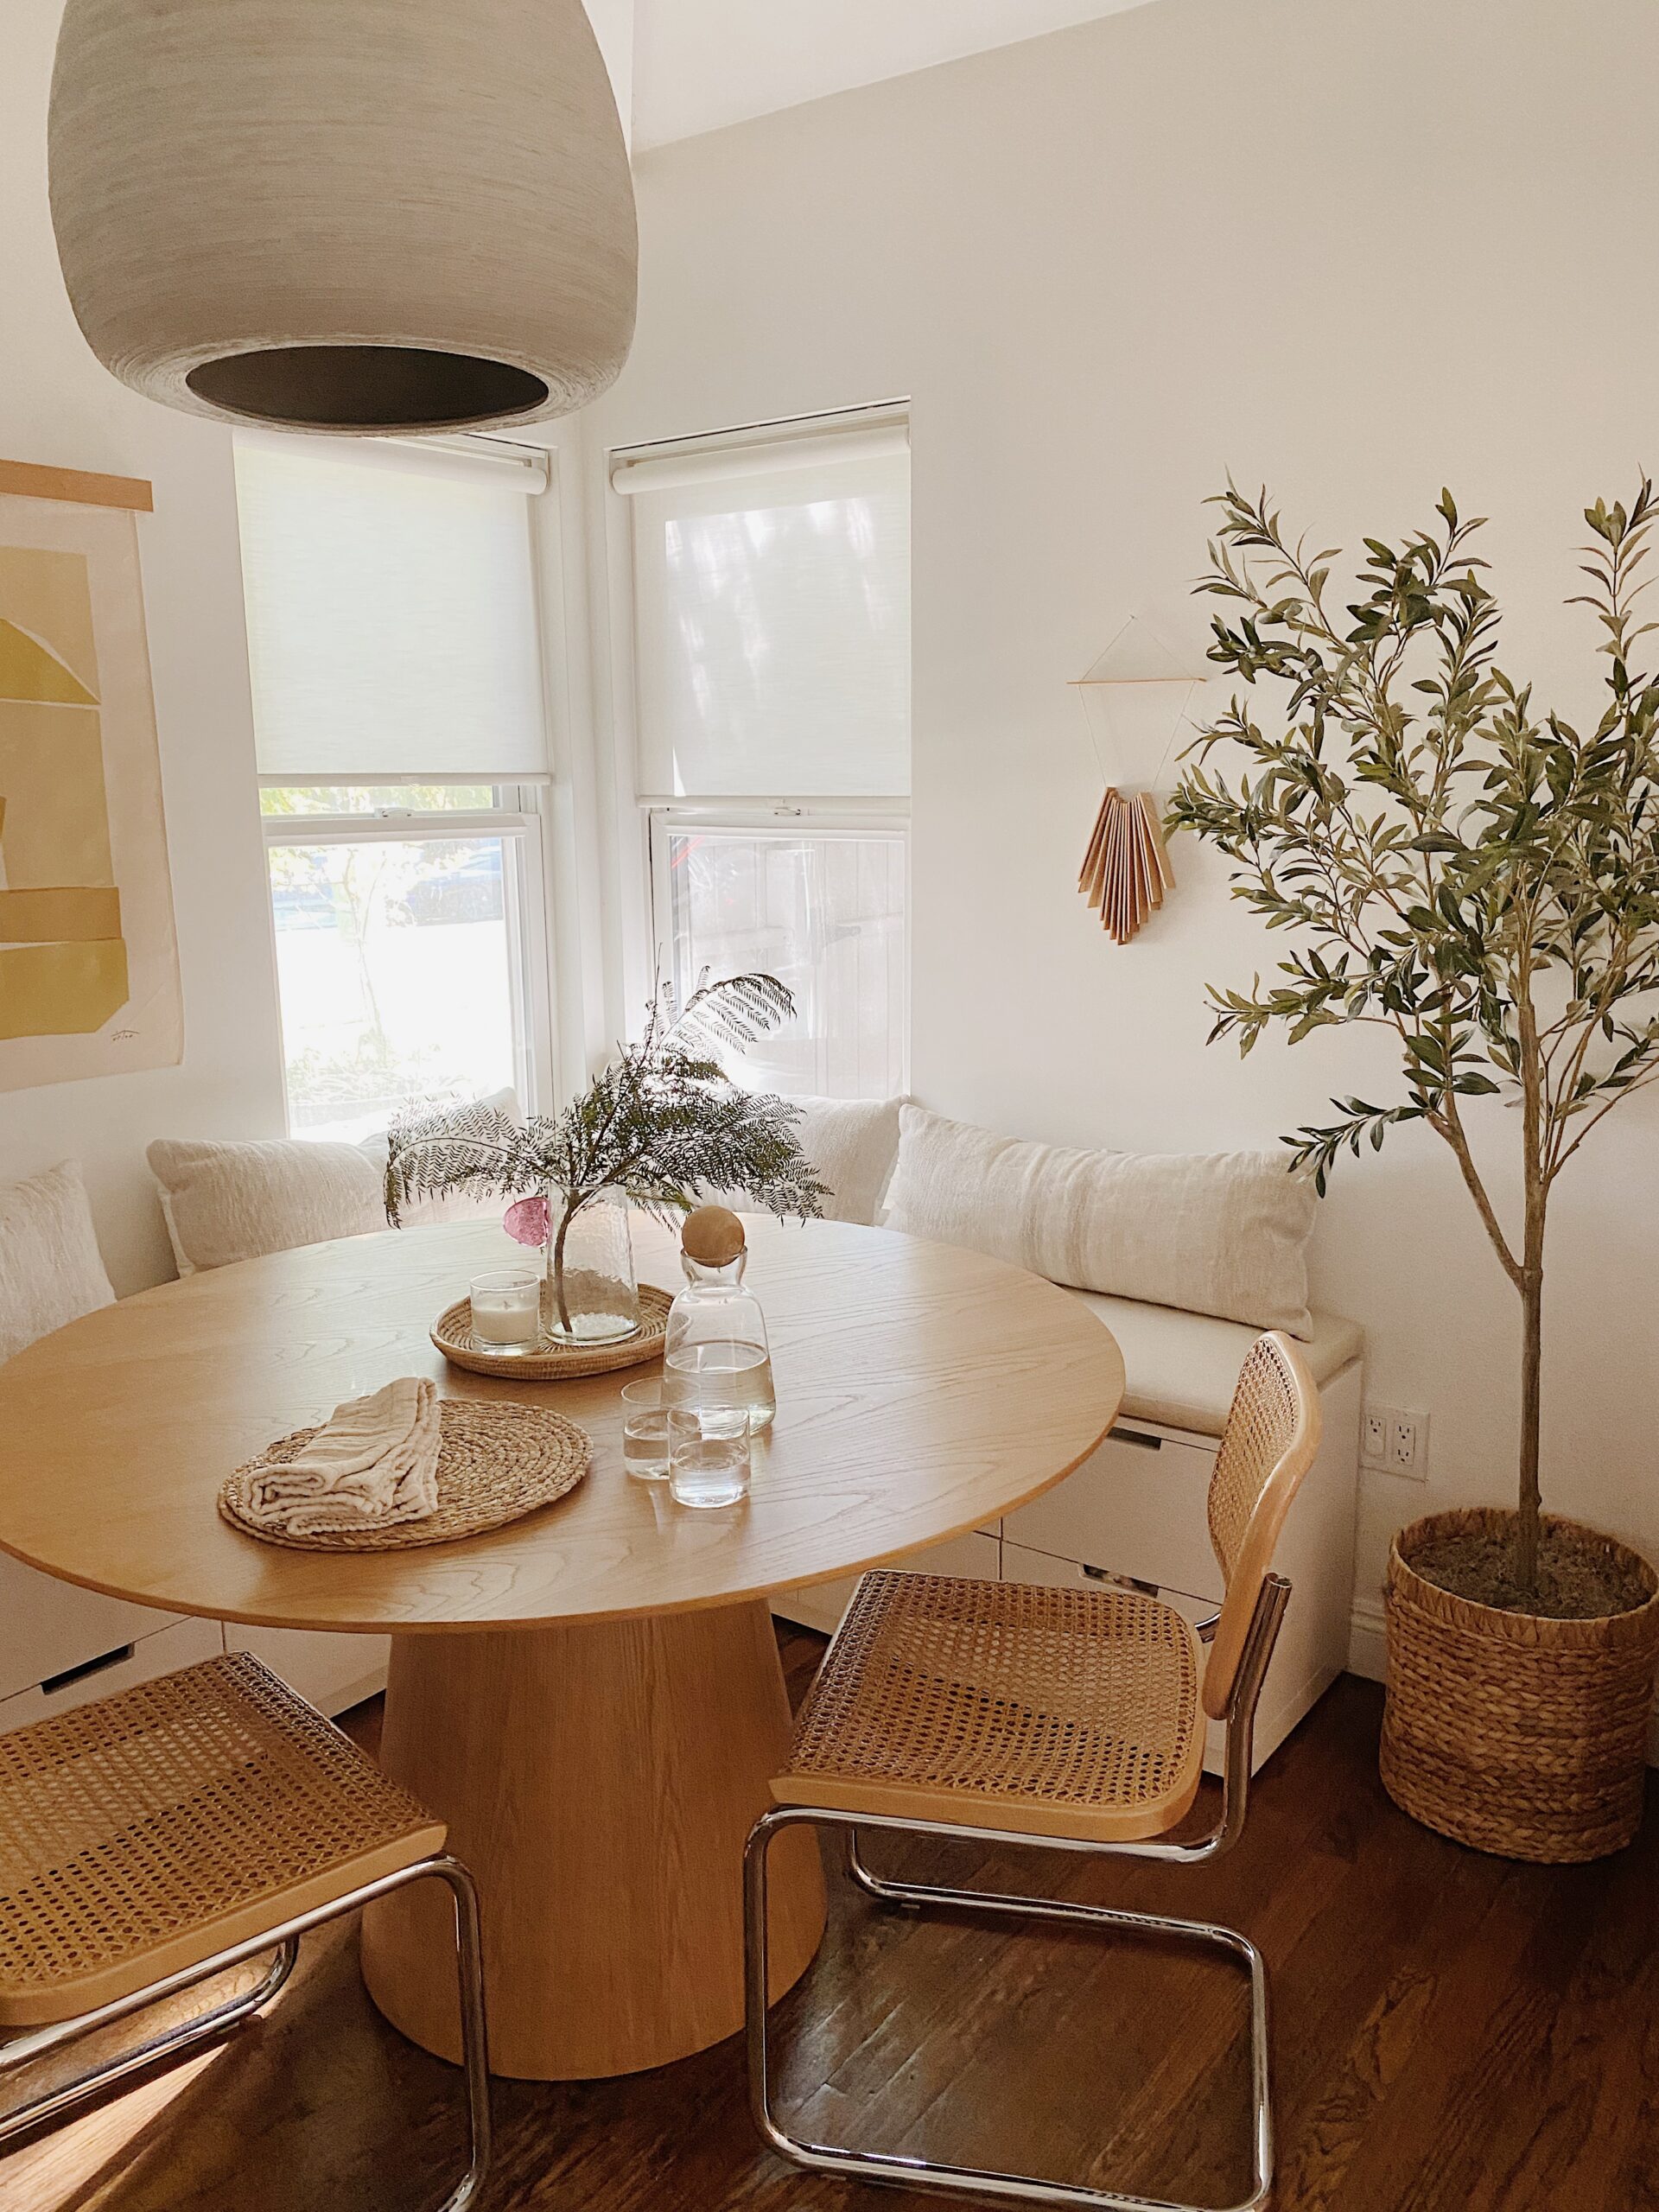
the pendant light is now no longer hung right over the center of the table, but i don’t really think about it ever and it seems like a giant hassle to move it so EHHH.
on christmas we were able to fit 8 of us comfortably! the only thing i’m sad about losing is our table runner haha. do people use table runners on round tables by the way?? it looks weird to me but let me know if you disagree because now i’m curious!
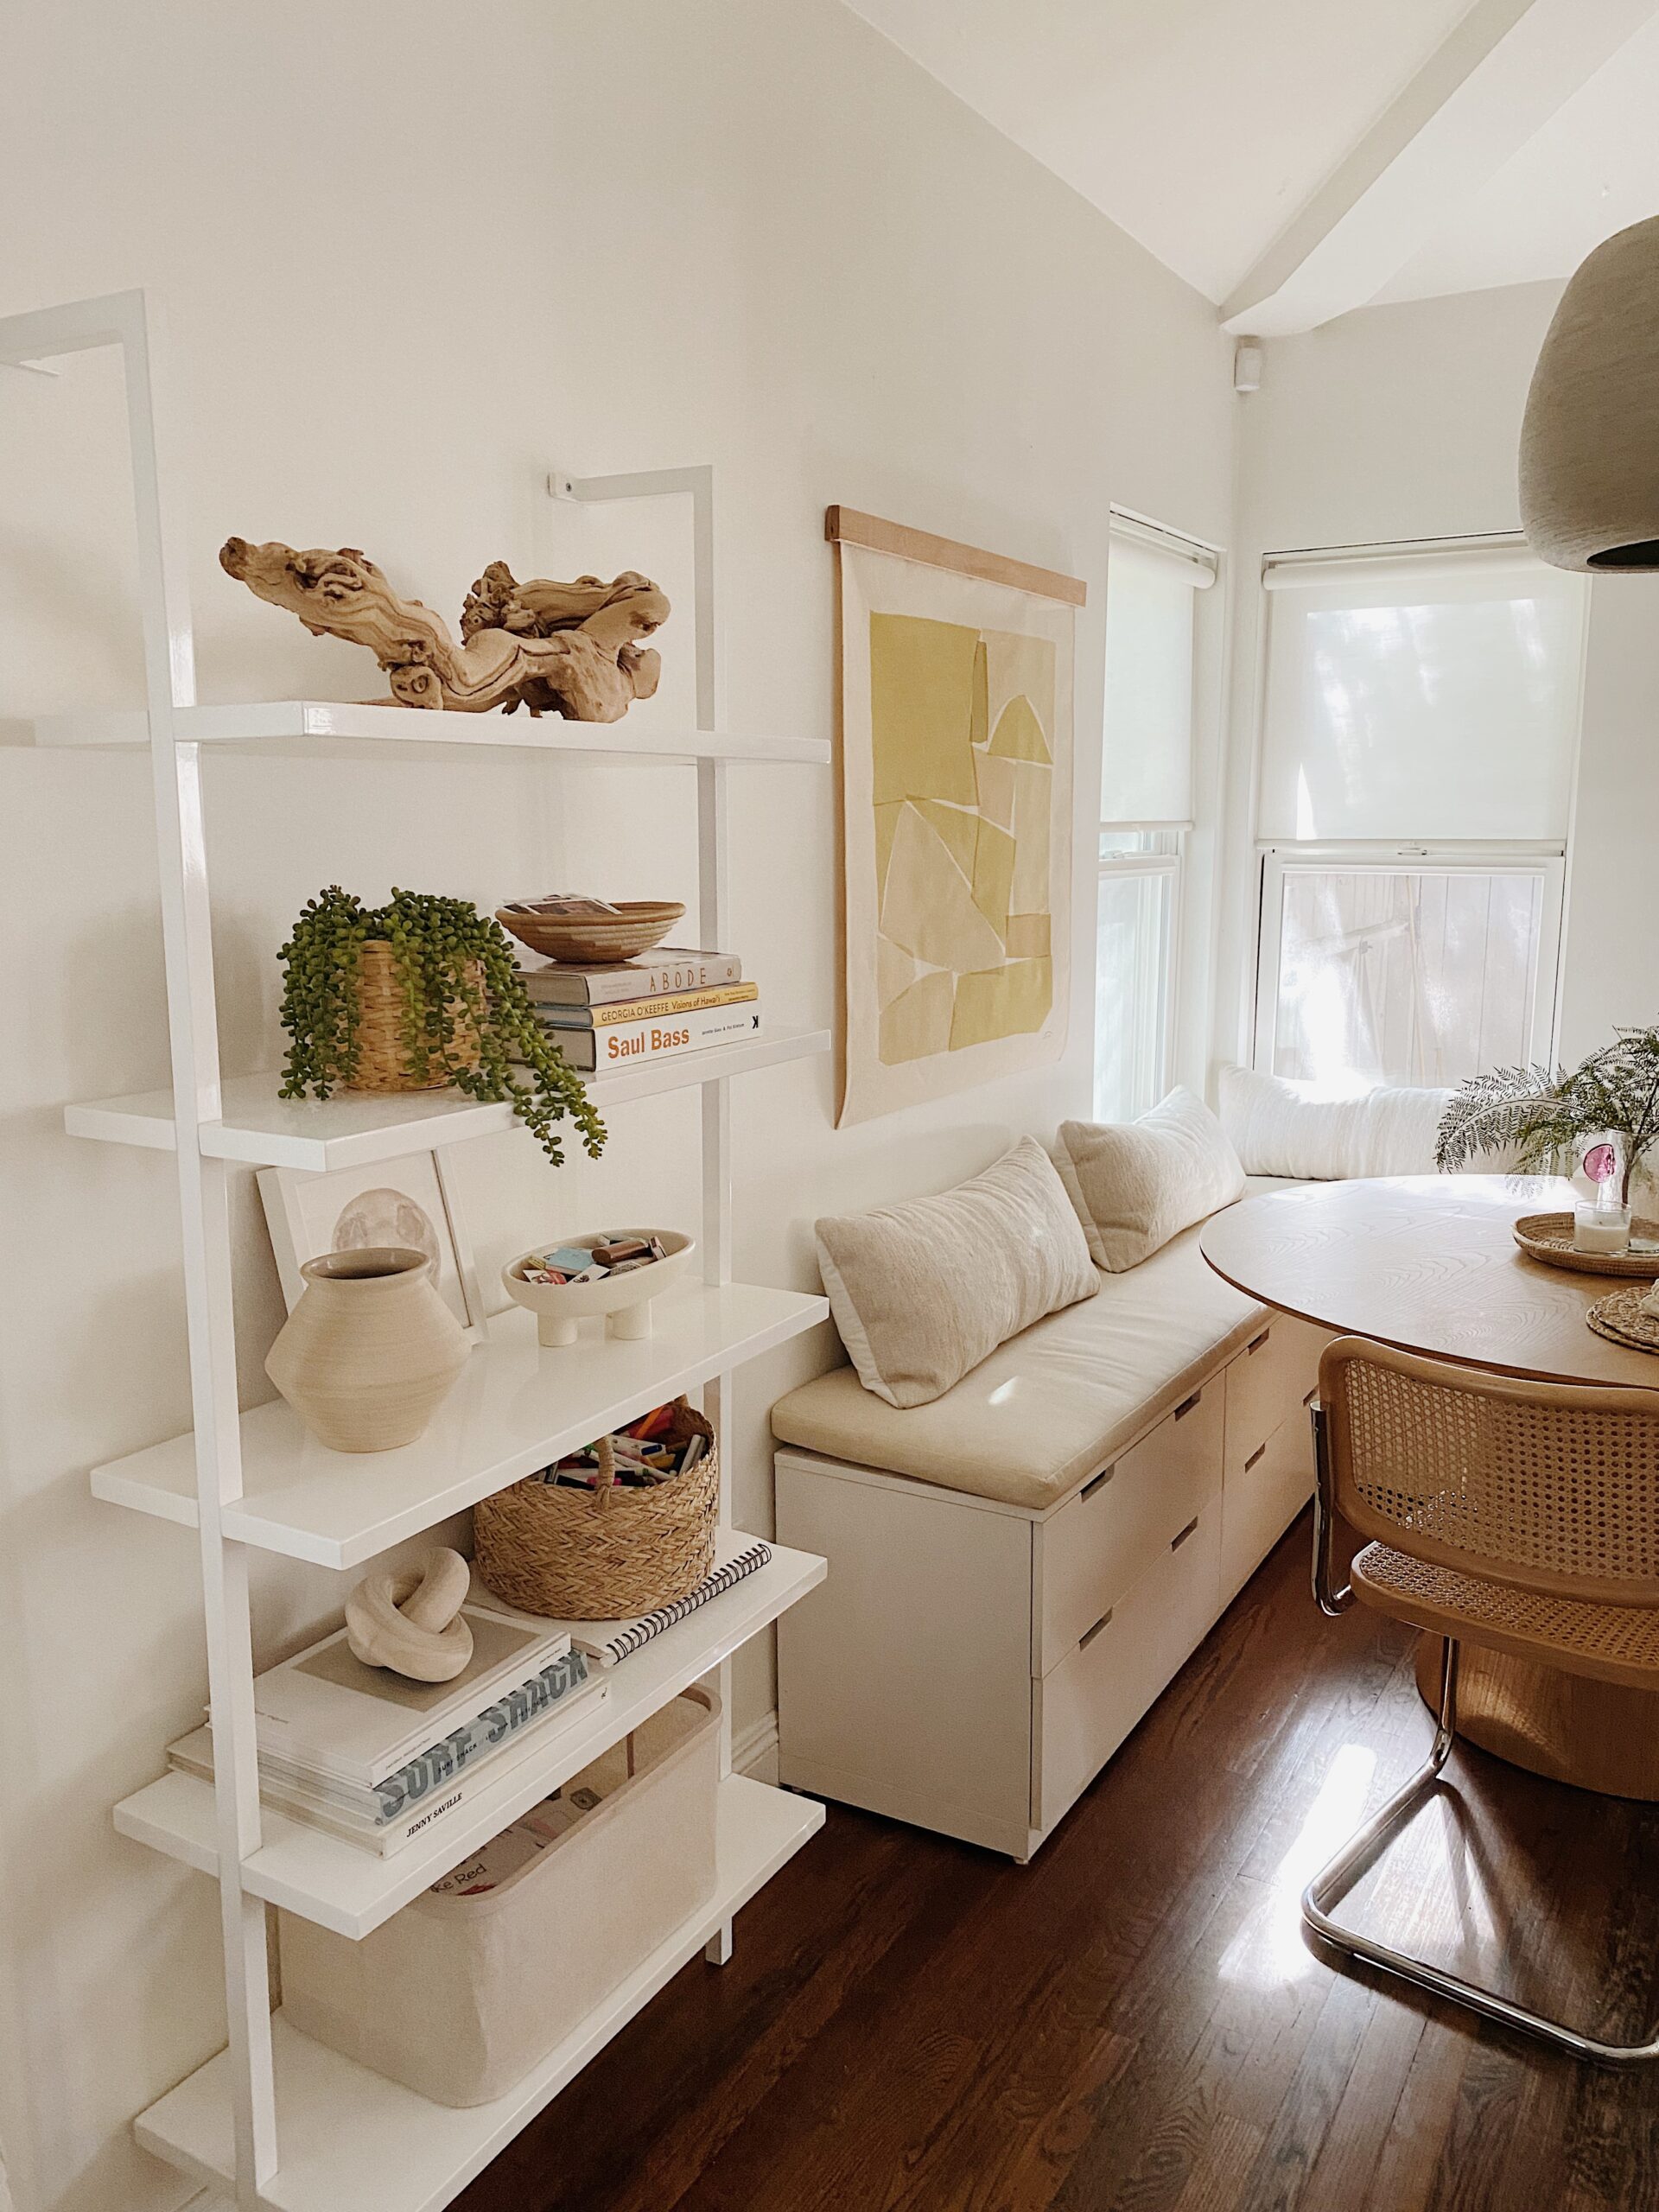
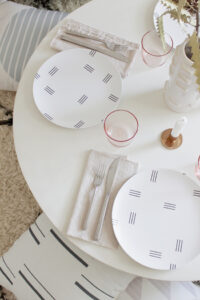
now onto the table — i’m in love! we went with a pedestal base so that we could easily move around it and it just looks so handsome! it’s the ramona table from apt2b and the moment i saw it i didn’t want any other table haha.
it’s also super cleanable. i was worried about a wood table because with our white table, i would use the magic eraser to clean all the markers and paint off the table easily, and i’m not using magic eraser on this but marker comes right off with water!! so relieved because the table is still where arlo draws.
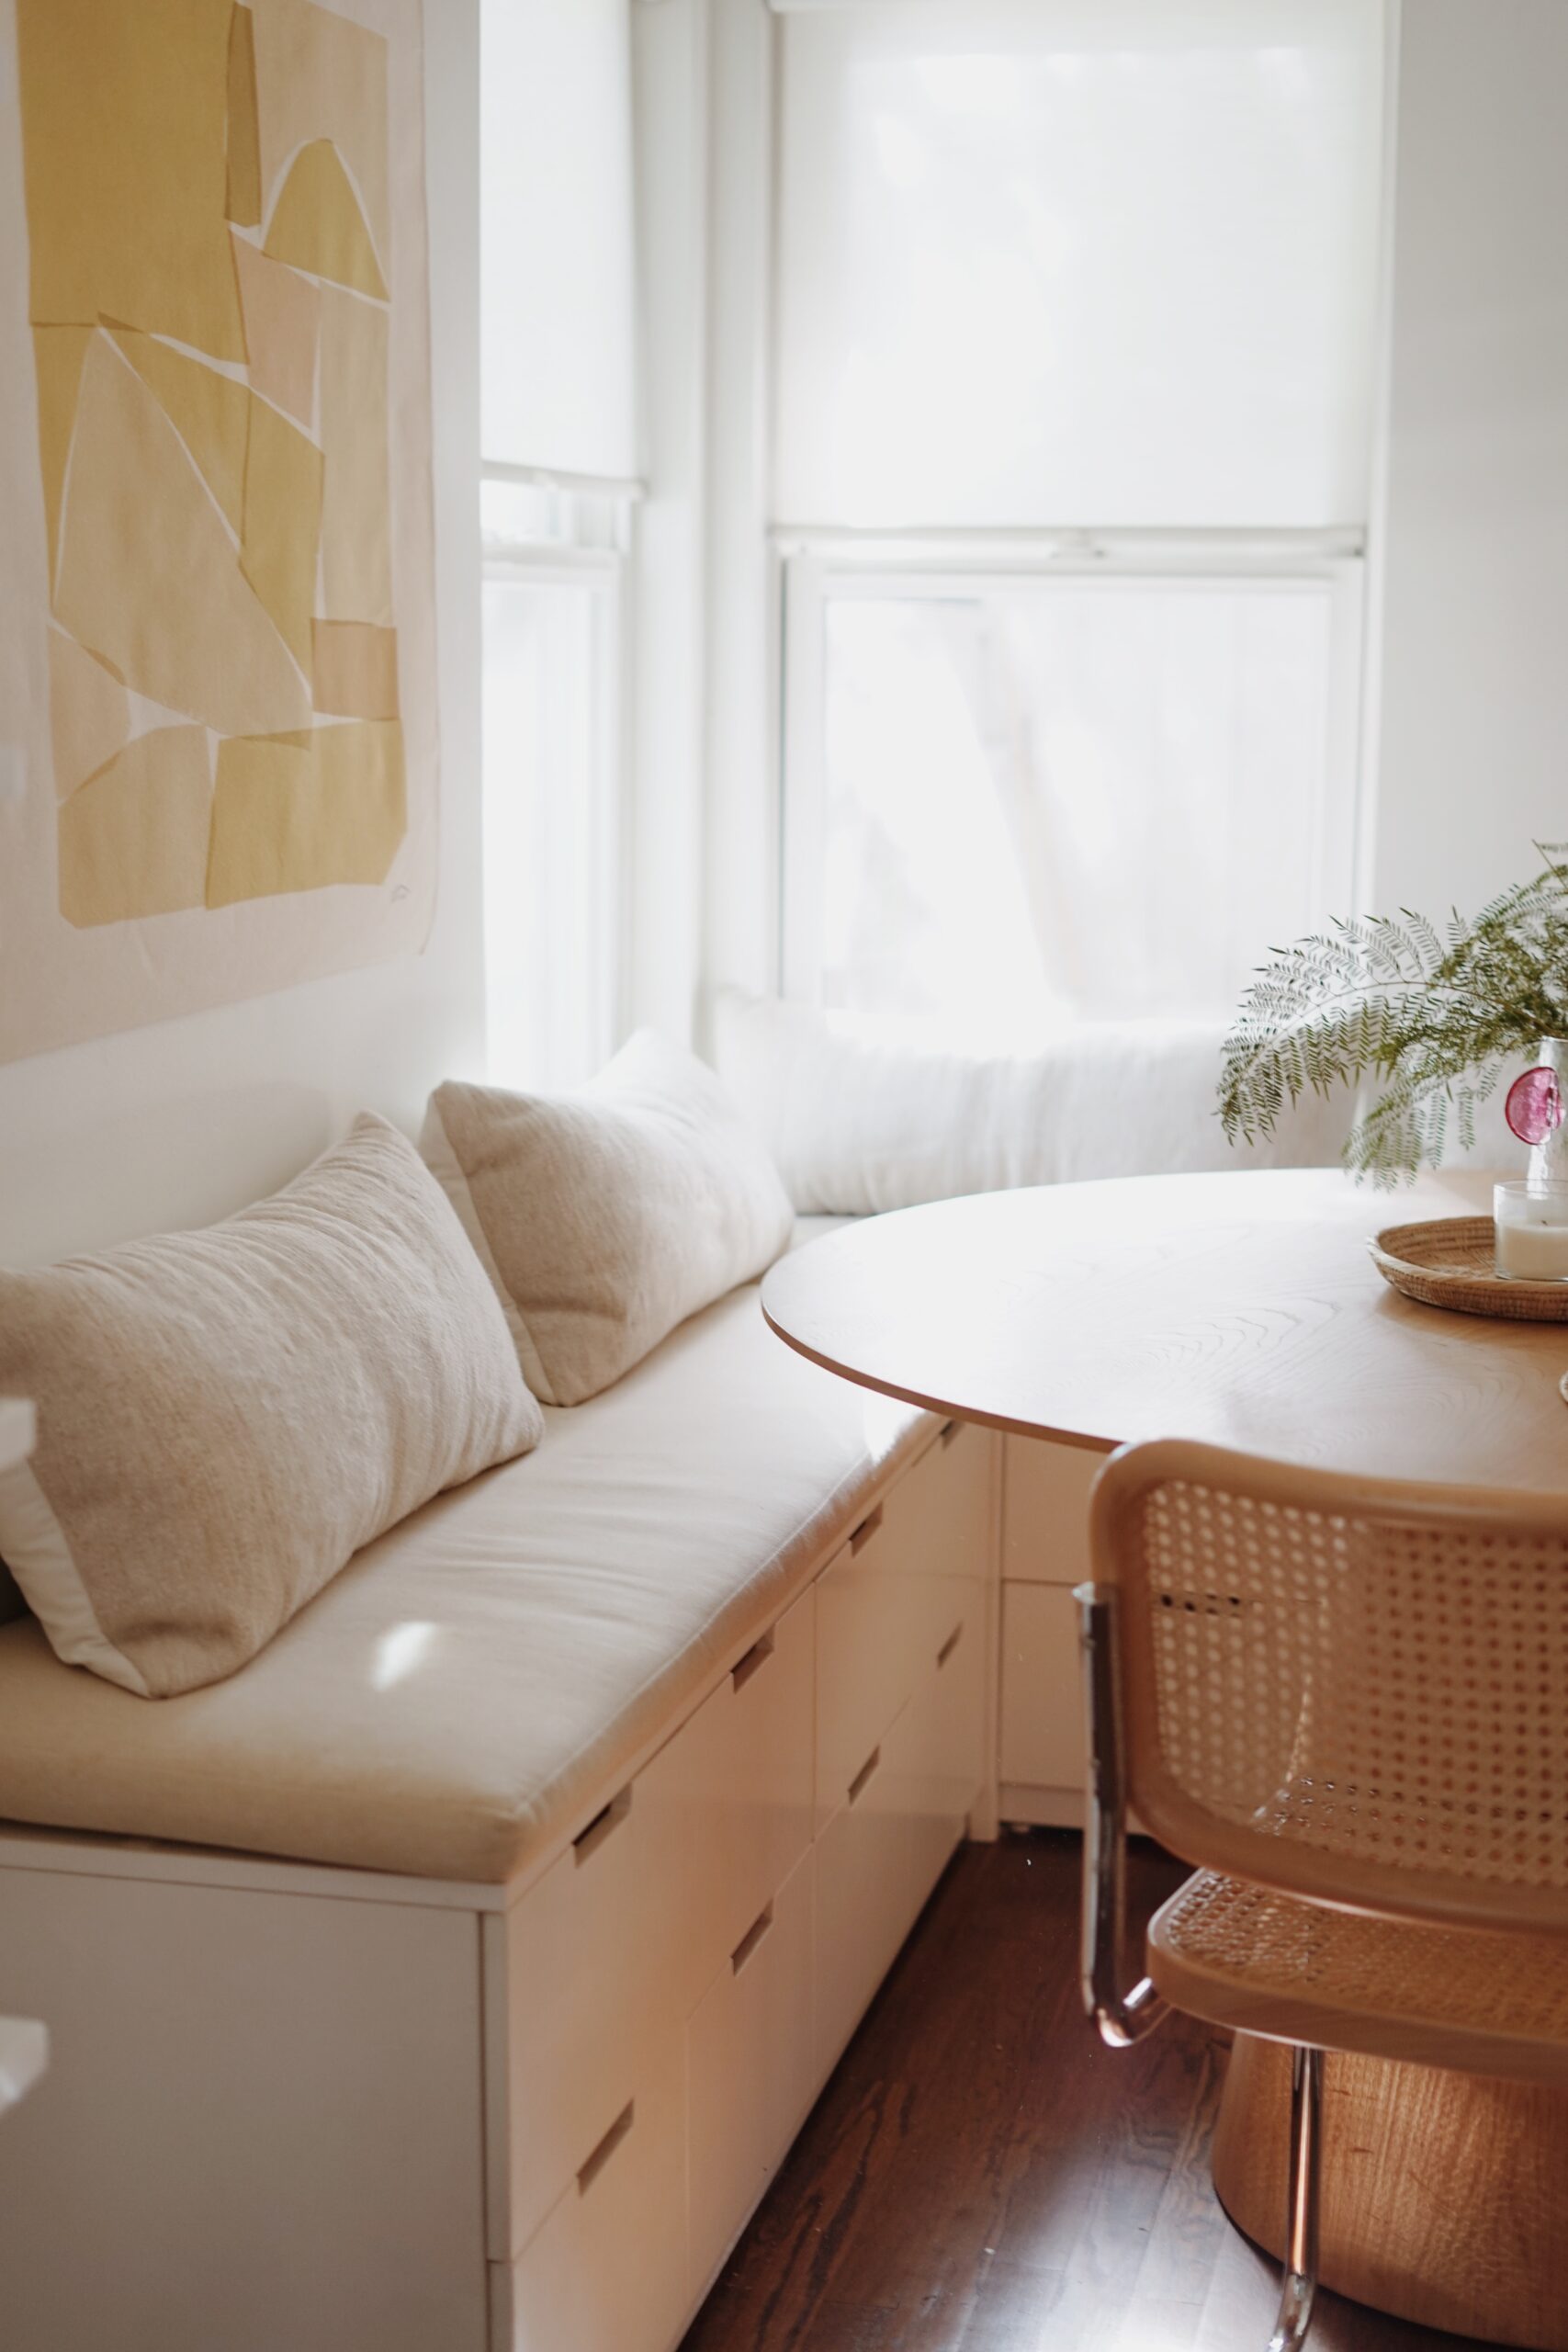
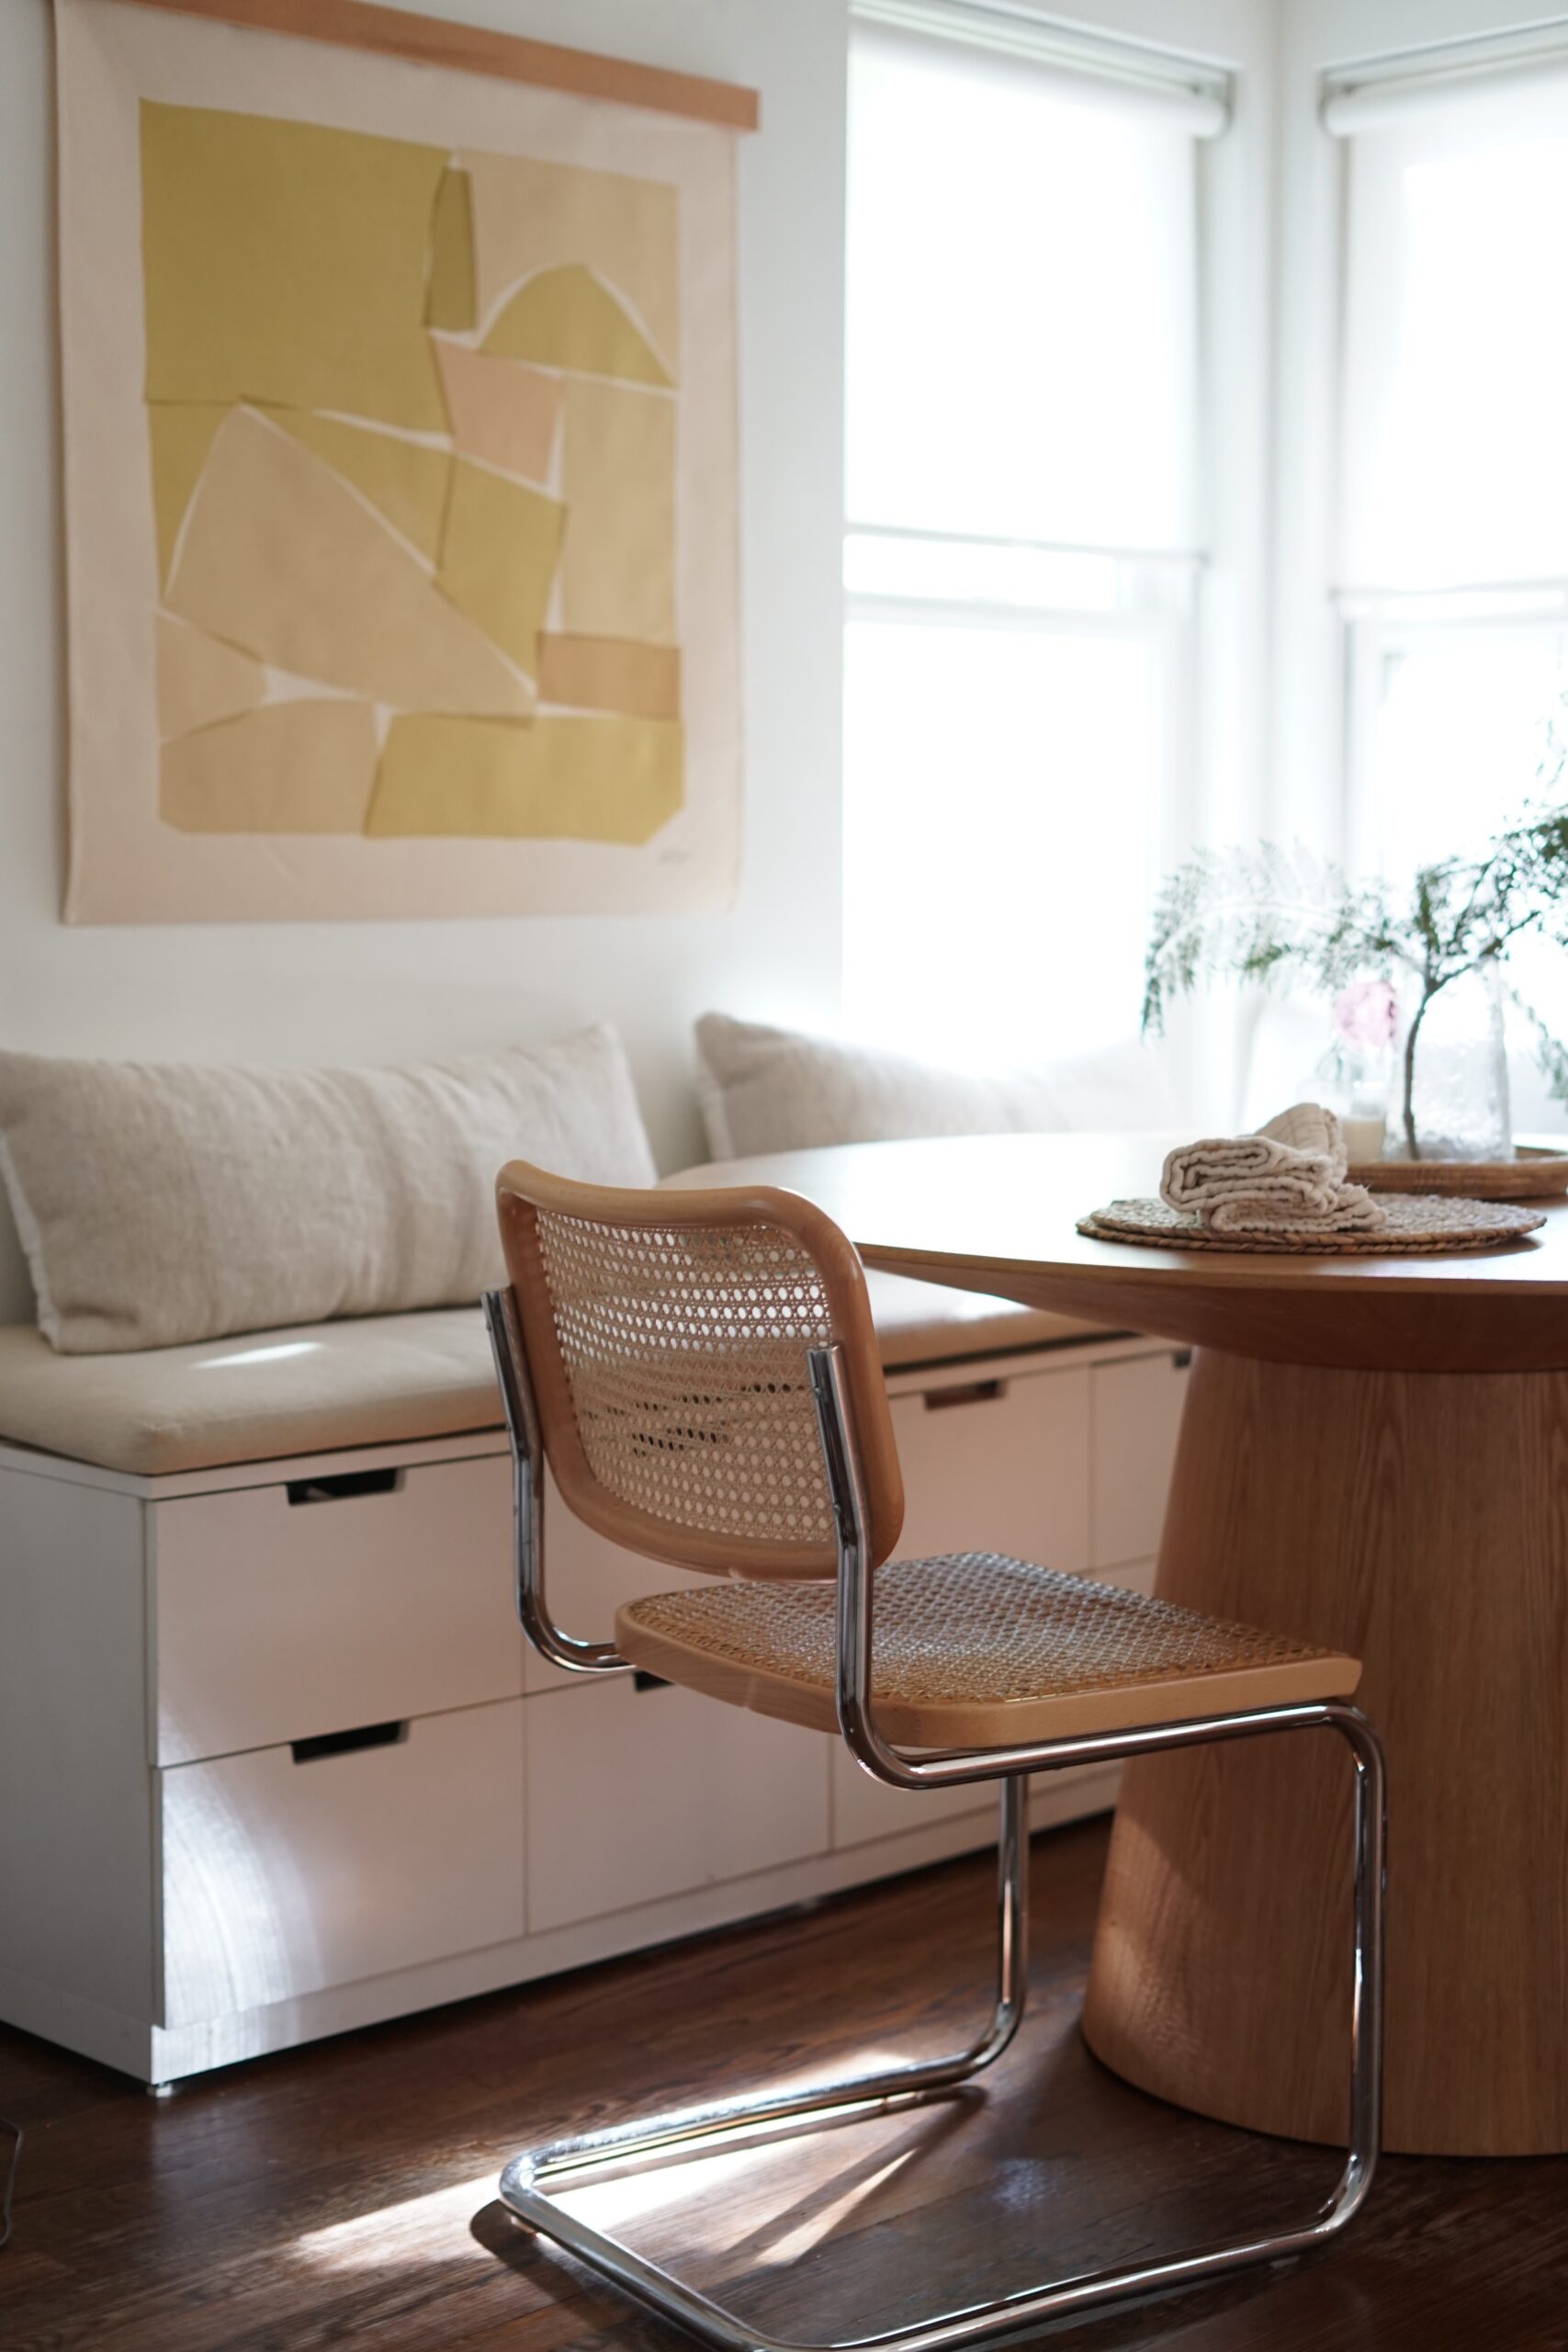
finally, cushions.
initially i didn’t want to invest in custom cushions because i assumed arlo would just destroy them, so i opted for sheepskins instead. in hindsight now — uhhh why? they weren’t comfortable, they weren’t good looking and they weren’t even clean lol.
at the time we got quotes back then, they were super expensive but this time around i found multiple sources for a couple hundred only, and it seemed well worth it.
sadly, i am notoriously bad at ordering the correct sizes for anything so i got cushions custom made that were 3” tall. a month or so later, we got them and because the drawer units we used to build the benches are already on the tall side, it felt unbelievably awkward haha.
so then i ordered new cushions again, this time we waited another month and i got 1” thick, well they were made improperly and didn’t fit and looked bad anyway — so back to square one again!
i decided not to order another pair of cushions but instead find someone local (although the first cushions we ordered were inexpensive and made beautifully!) but i thought in person could just work better. i could then communicate about the size and pick a fabric in person.
so i found an upholstery shop who told me they had a few week lead time, ok fine, but then i called week after week and he seemed to have forgotten about the cushions every single time lollll.
finally i found a much higher quality shop and debated fabrics for a couple more weeks and finally just chose one he had in stock and HERE THEY ARE. goldicushions!!
i had them made with a zipper and removable fabric that we can wash when they get inevitably beat up, but i’m just so glad to have cushions now.
they are so much more comfortable and the nook itself just looks so much more finished now. what took me so long!?
new accessories
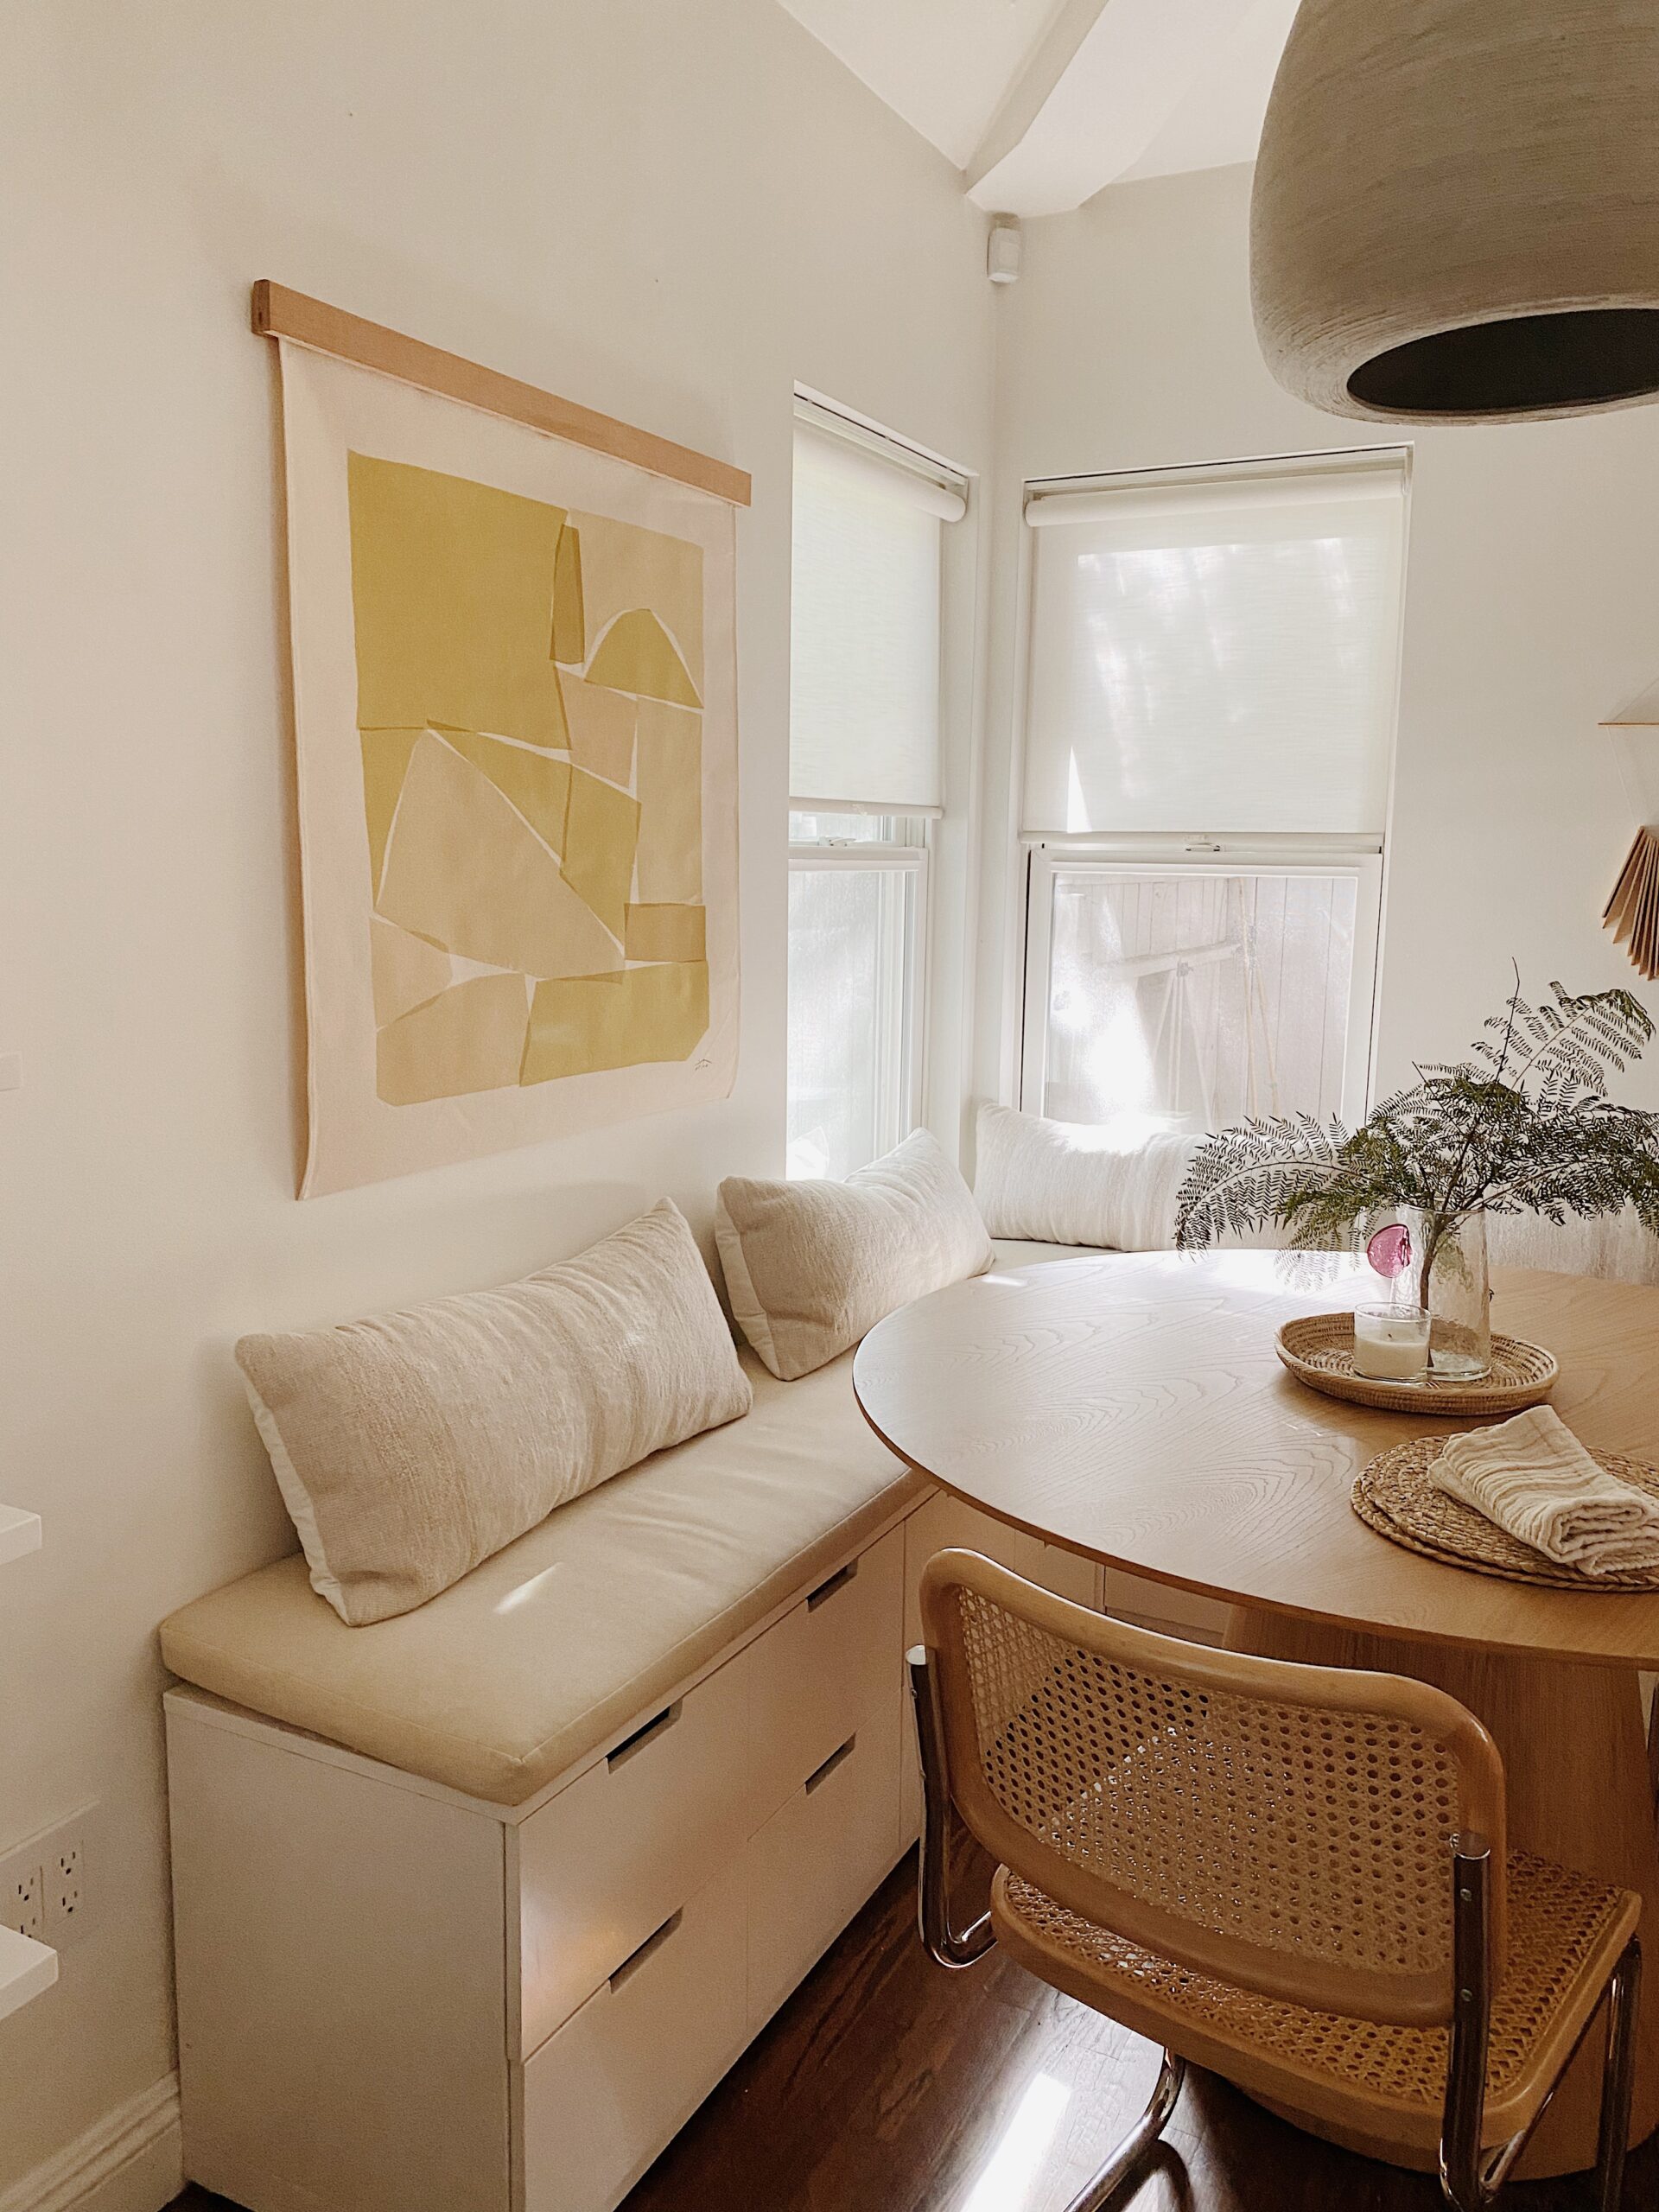
instead of the random assortment of pillows, i decided some matching lumbars would be nice because they’d function more as back pillows than a stack in the corner that doesn’t get used.
also i decided to swap out the canvas that i painted a few years ago for a nice one that’s sized a little better for the space. because arlo sits against the wall, we’ve always needed something flat so canvas art works perfectly.
our new canvas art feels so grownup now with its handsome wood hanger and non frayed edges — i love it!
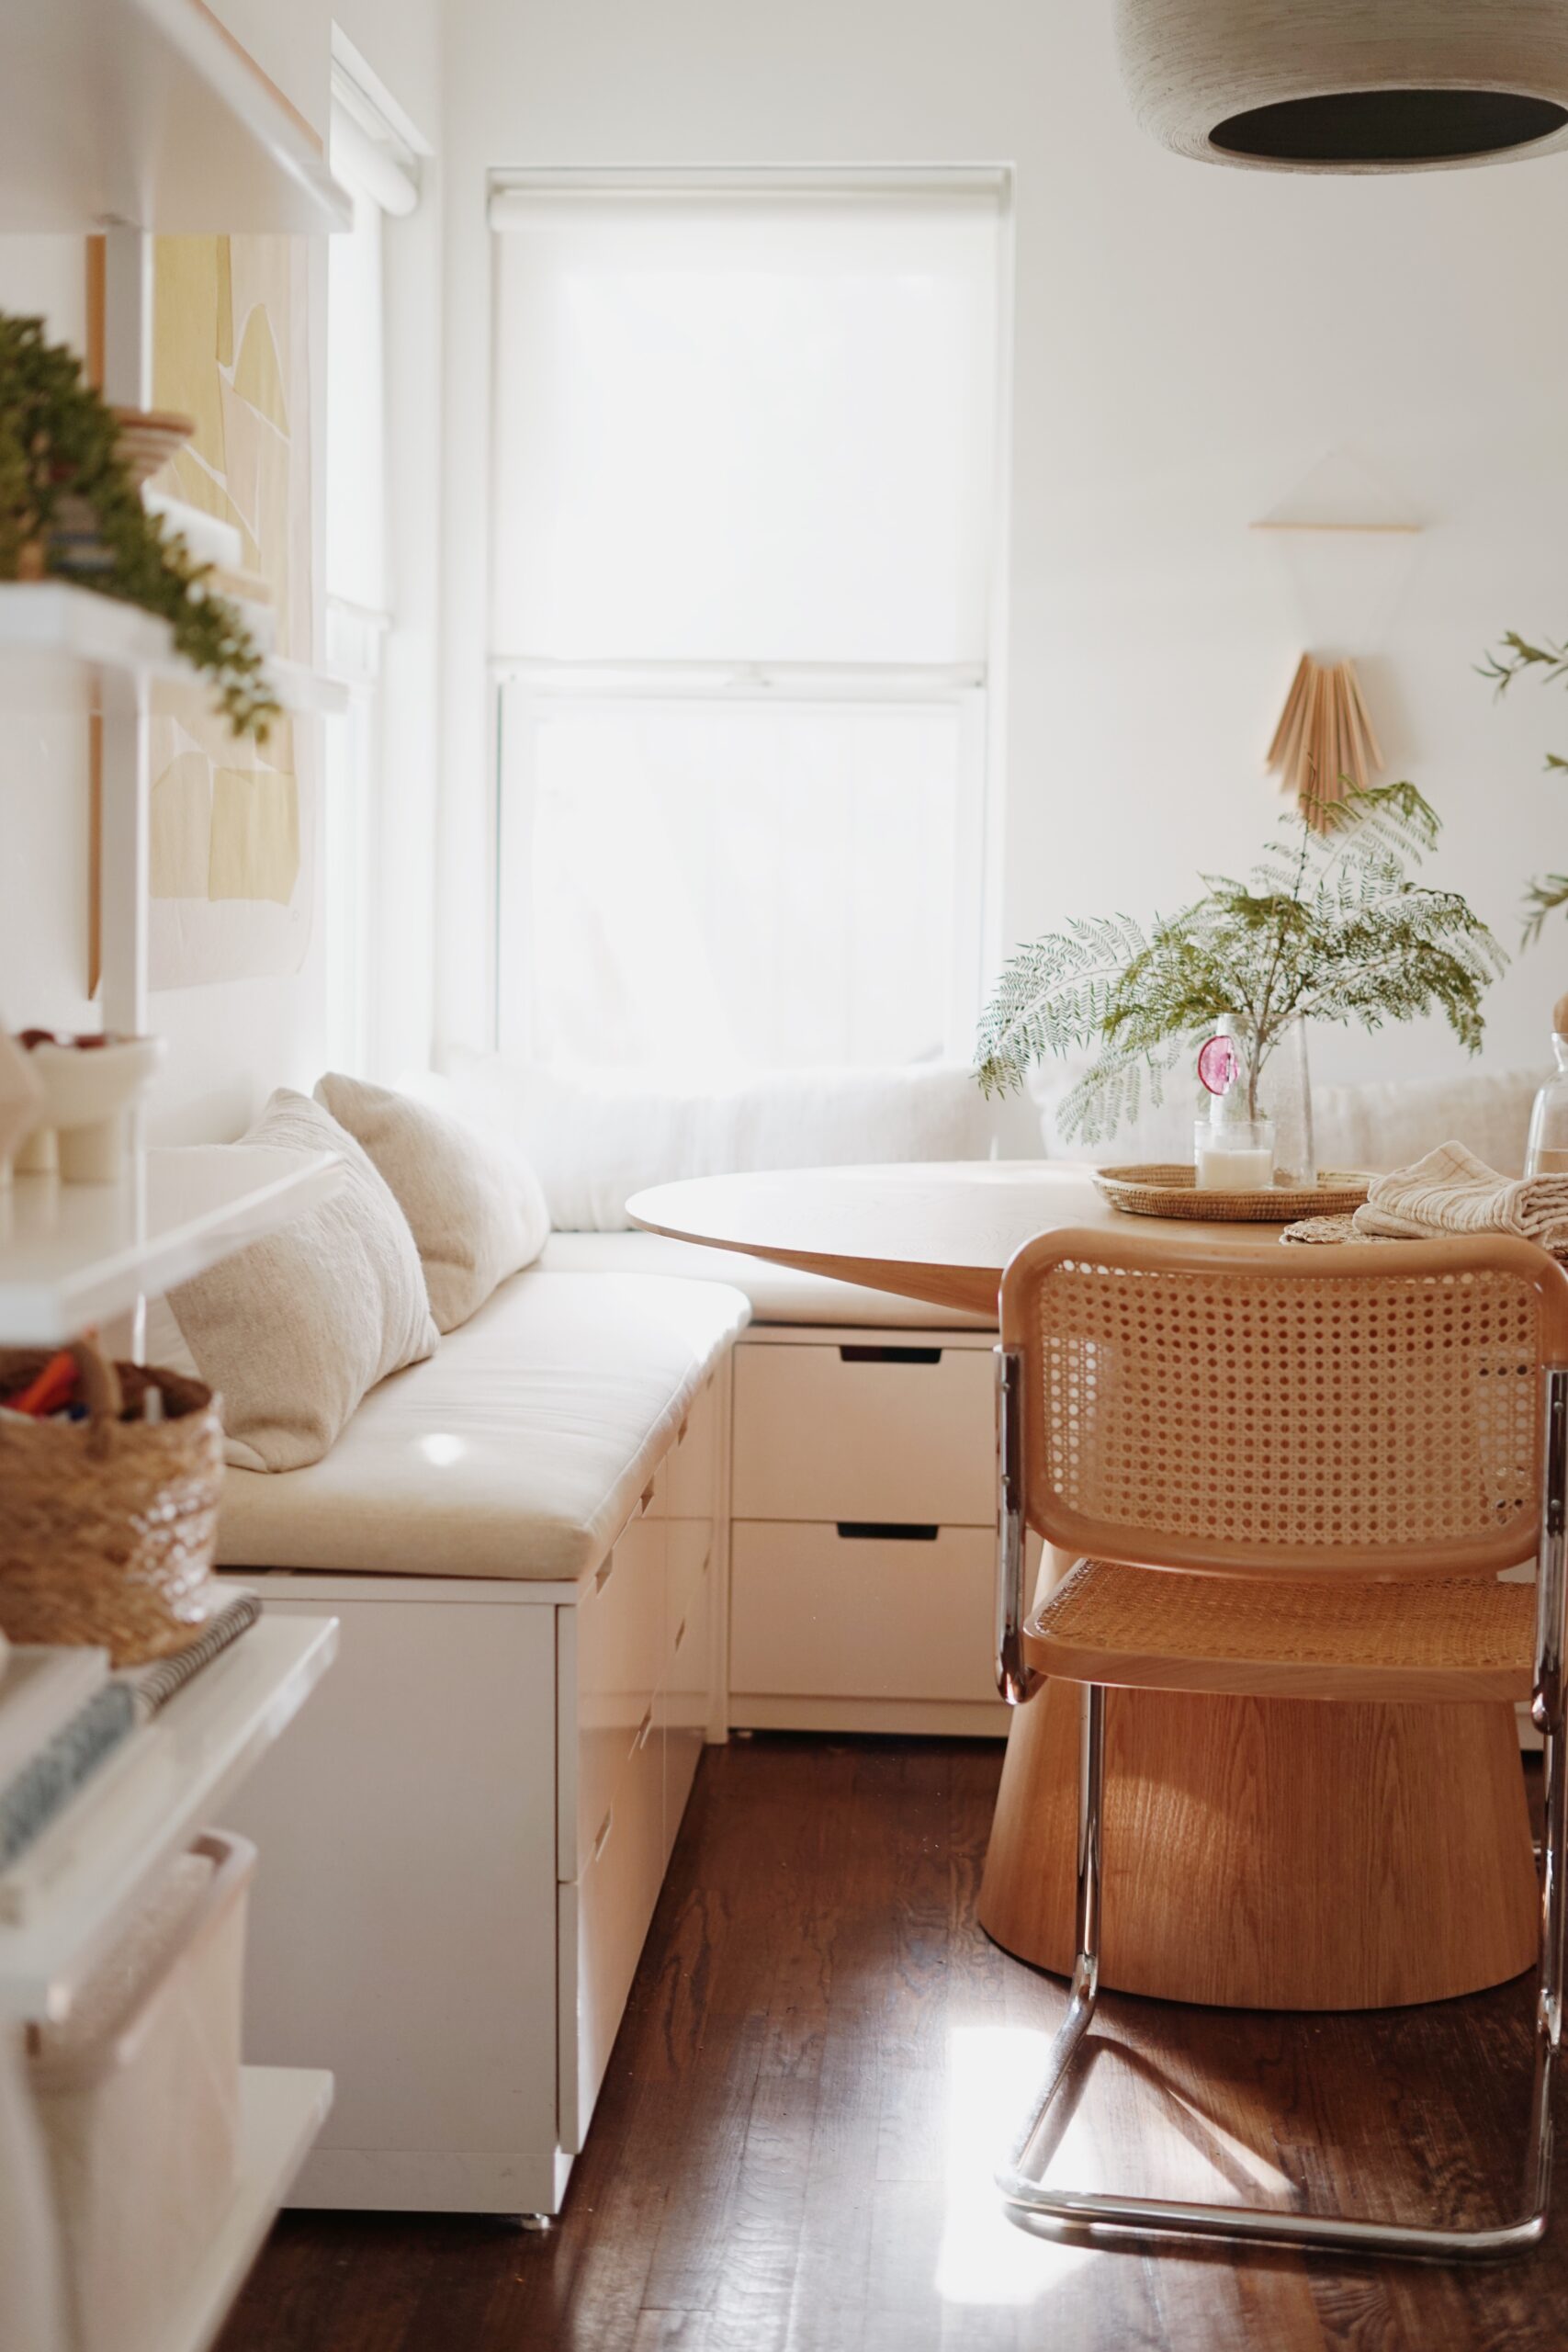
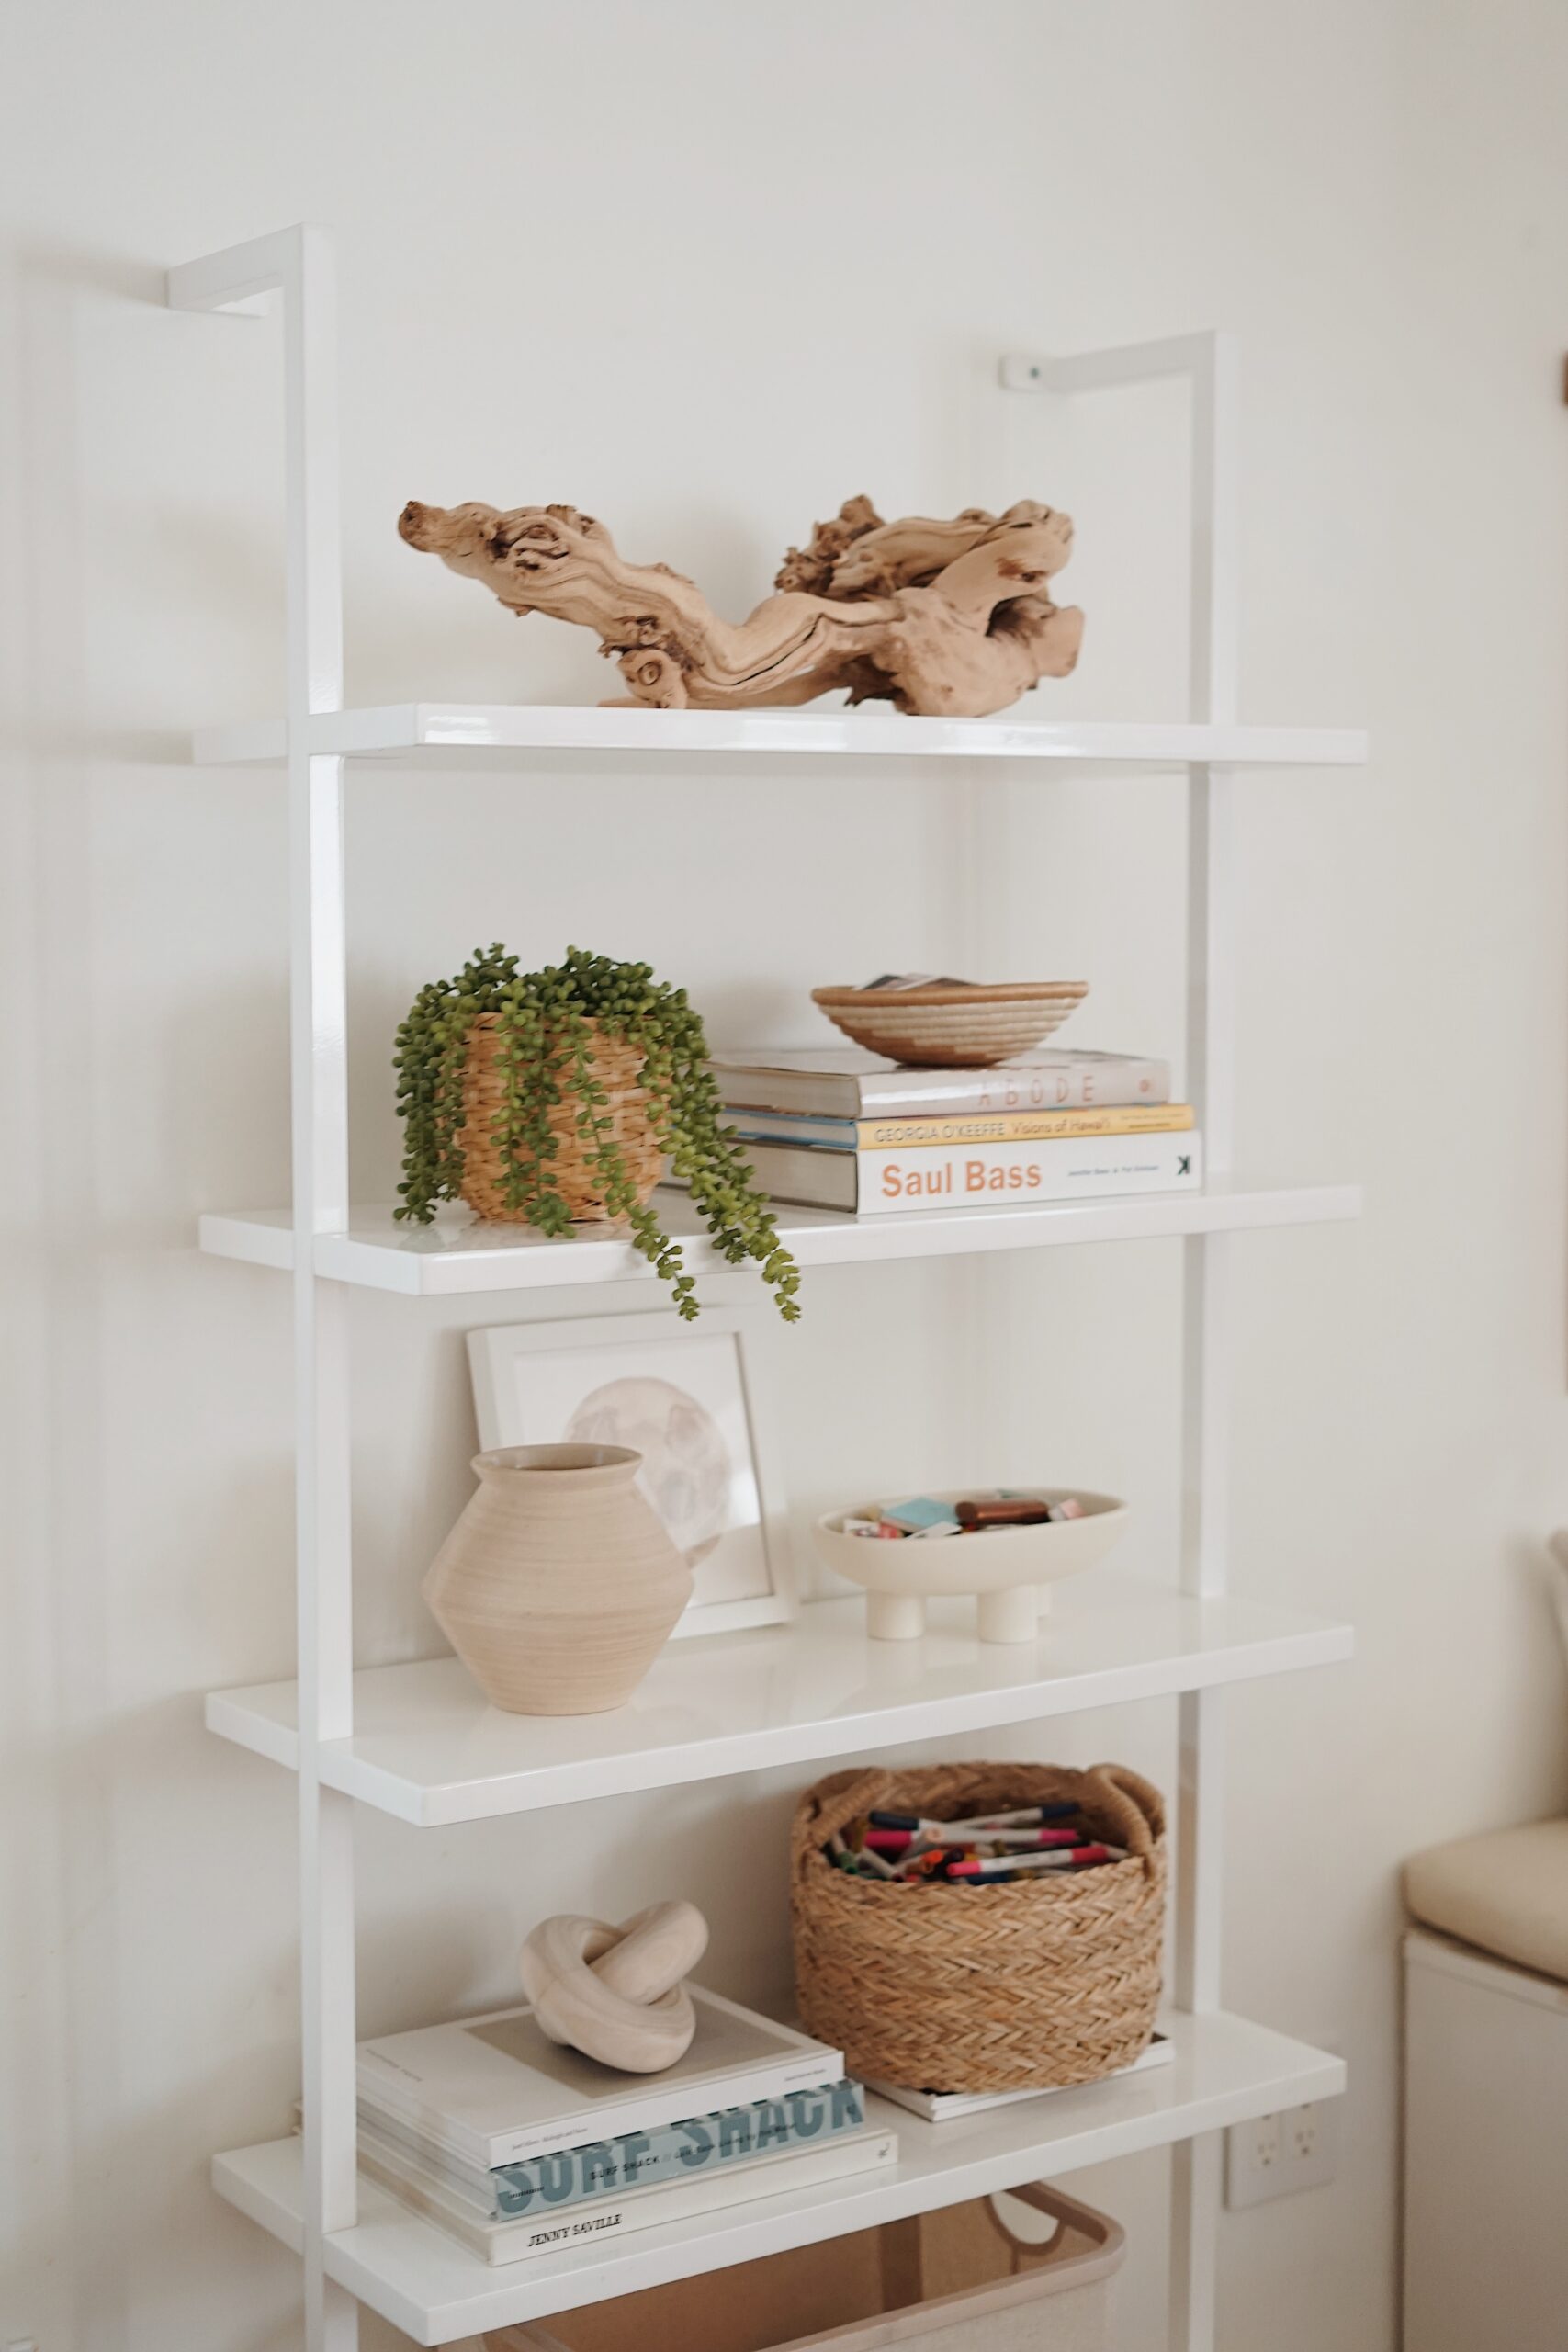
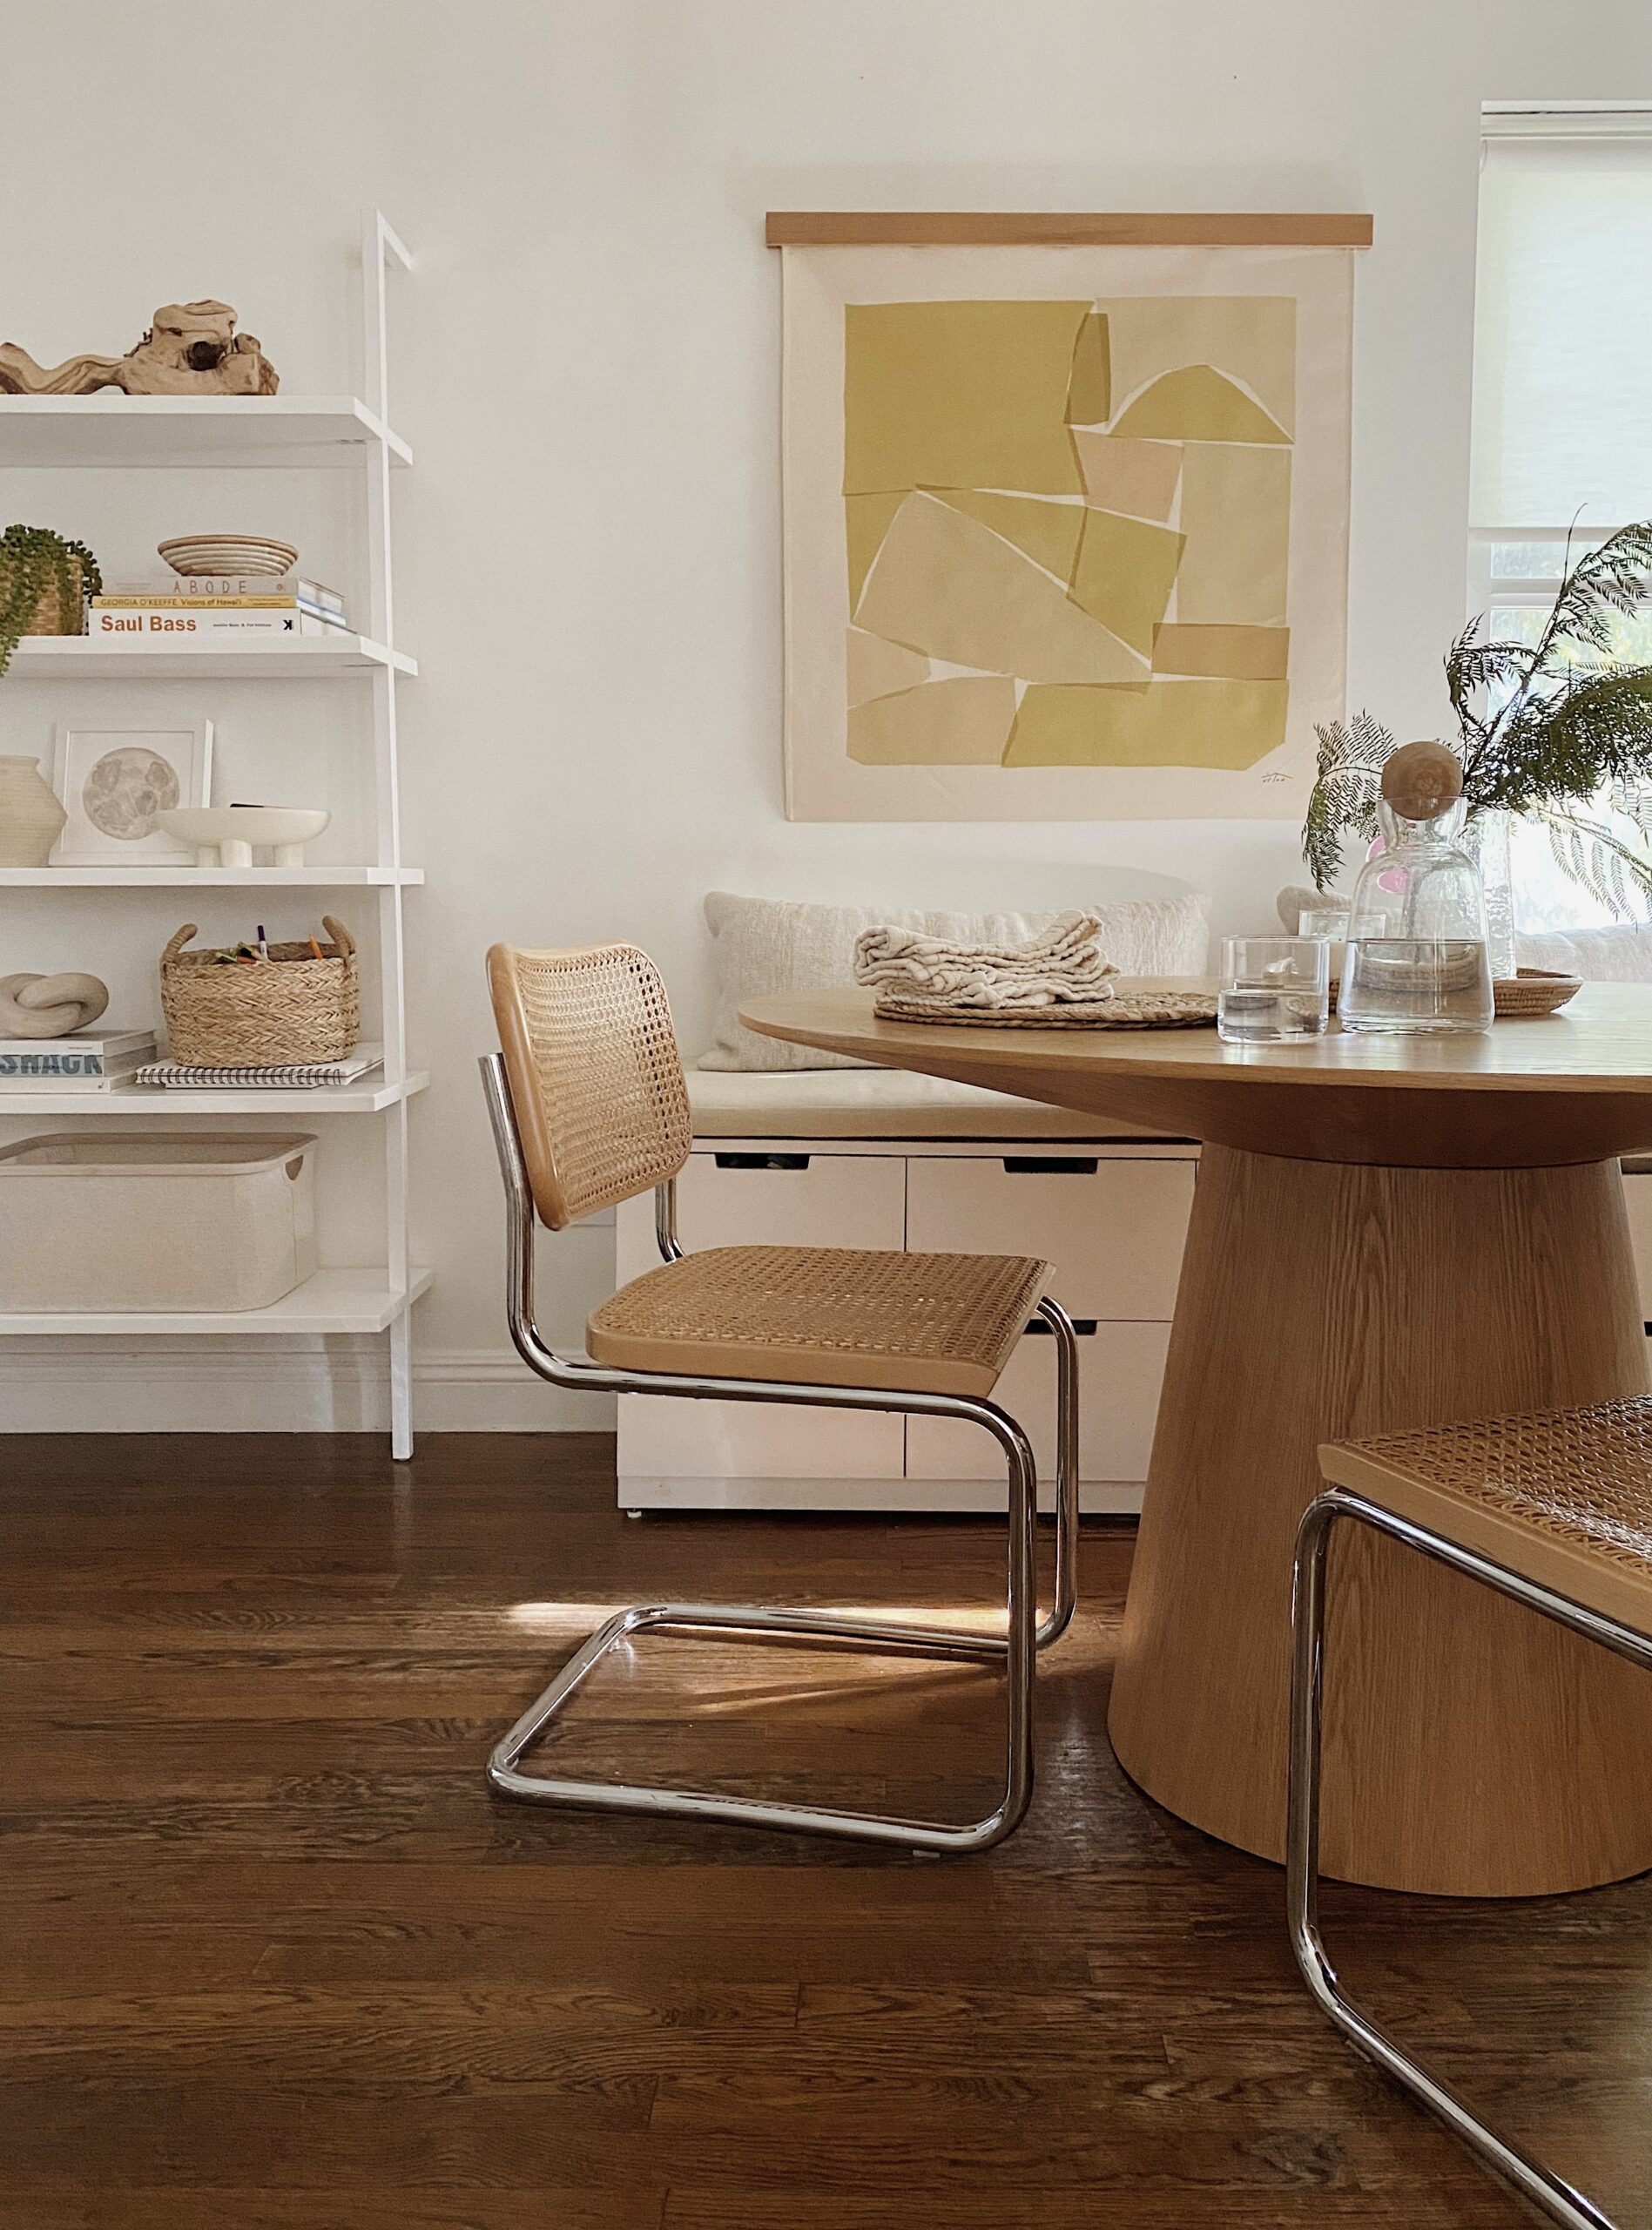
a shelf to separate the space
i also got this wall shelf to go between the sofa and the dining nook to kind of create individual spaces within the one room.
it’s also been super functional for us— i keep pretty things on it to make it look nice, but i also keep arlos paper and marker basket there, and a big basket on the bottom for his homework.
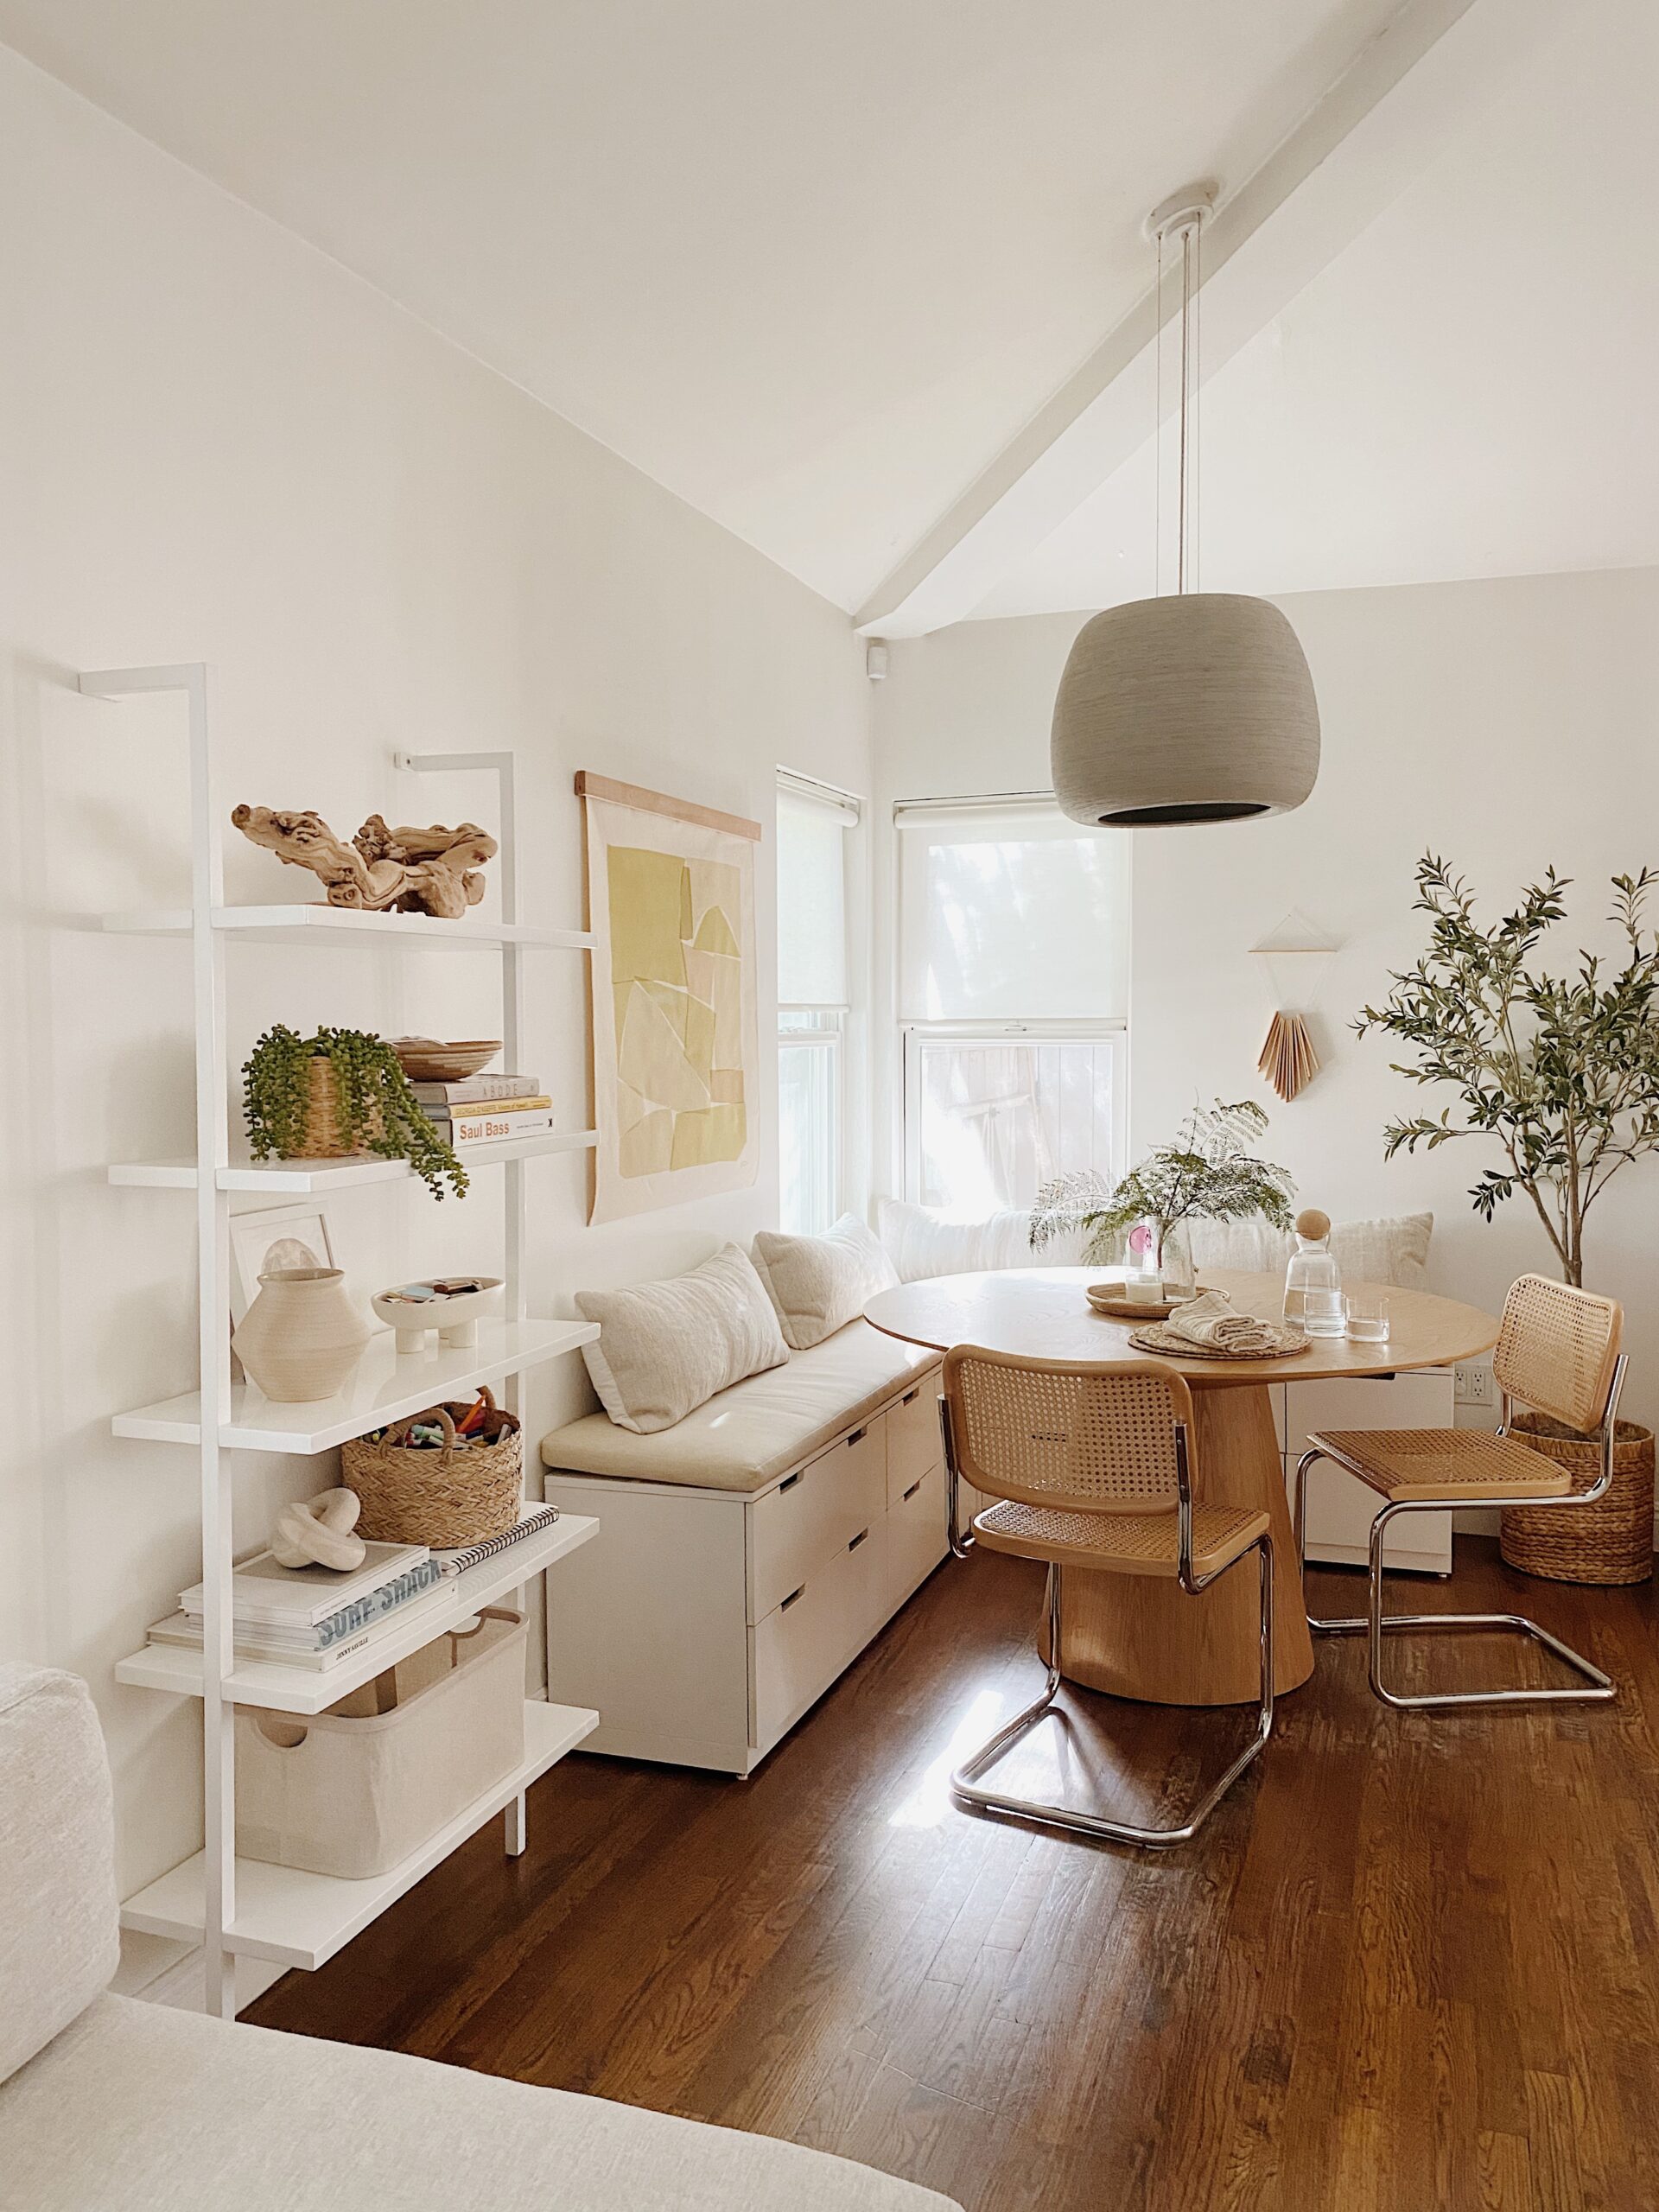
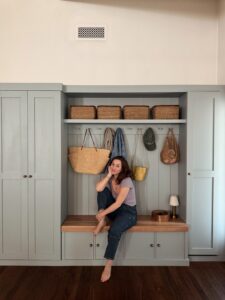
the built-ins, 5 years later
i mostly covered this years ago when we had it built, but i get asked about it often so i thought i’d share about the process again.
we used two ikea nordli dressers, i wanted them to be different sizes so we used an 8 drawer on the left and a 6 drawer on the right. at the time i believe i wanted all the drawers to be uniform in size, but after a few years i regret that choice. i wish that one side had wider drawers because the size of these ones are quite narrow!!
it would be nice to have a big wide drawer for serving platters and such, but instead i can only fit certain pieces in them. i use a bunch of drawers on the left side for arlos art supplies, craft supplies, half finished projects… and then the right side is mostly tablecloths, candles and such.
so what we did was mount both dressers to the wall, and then my carpenter created just a hollow piece to go between the two in the corner — this allows the drawers to all open. because i didn’t build it and i didn’t document it well at the time, i kind of don’t know how to provide more details on how he built it but it’s made of the same sort of MDF that matches the drawers.
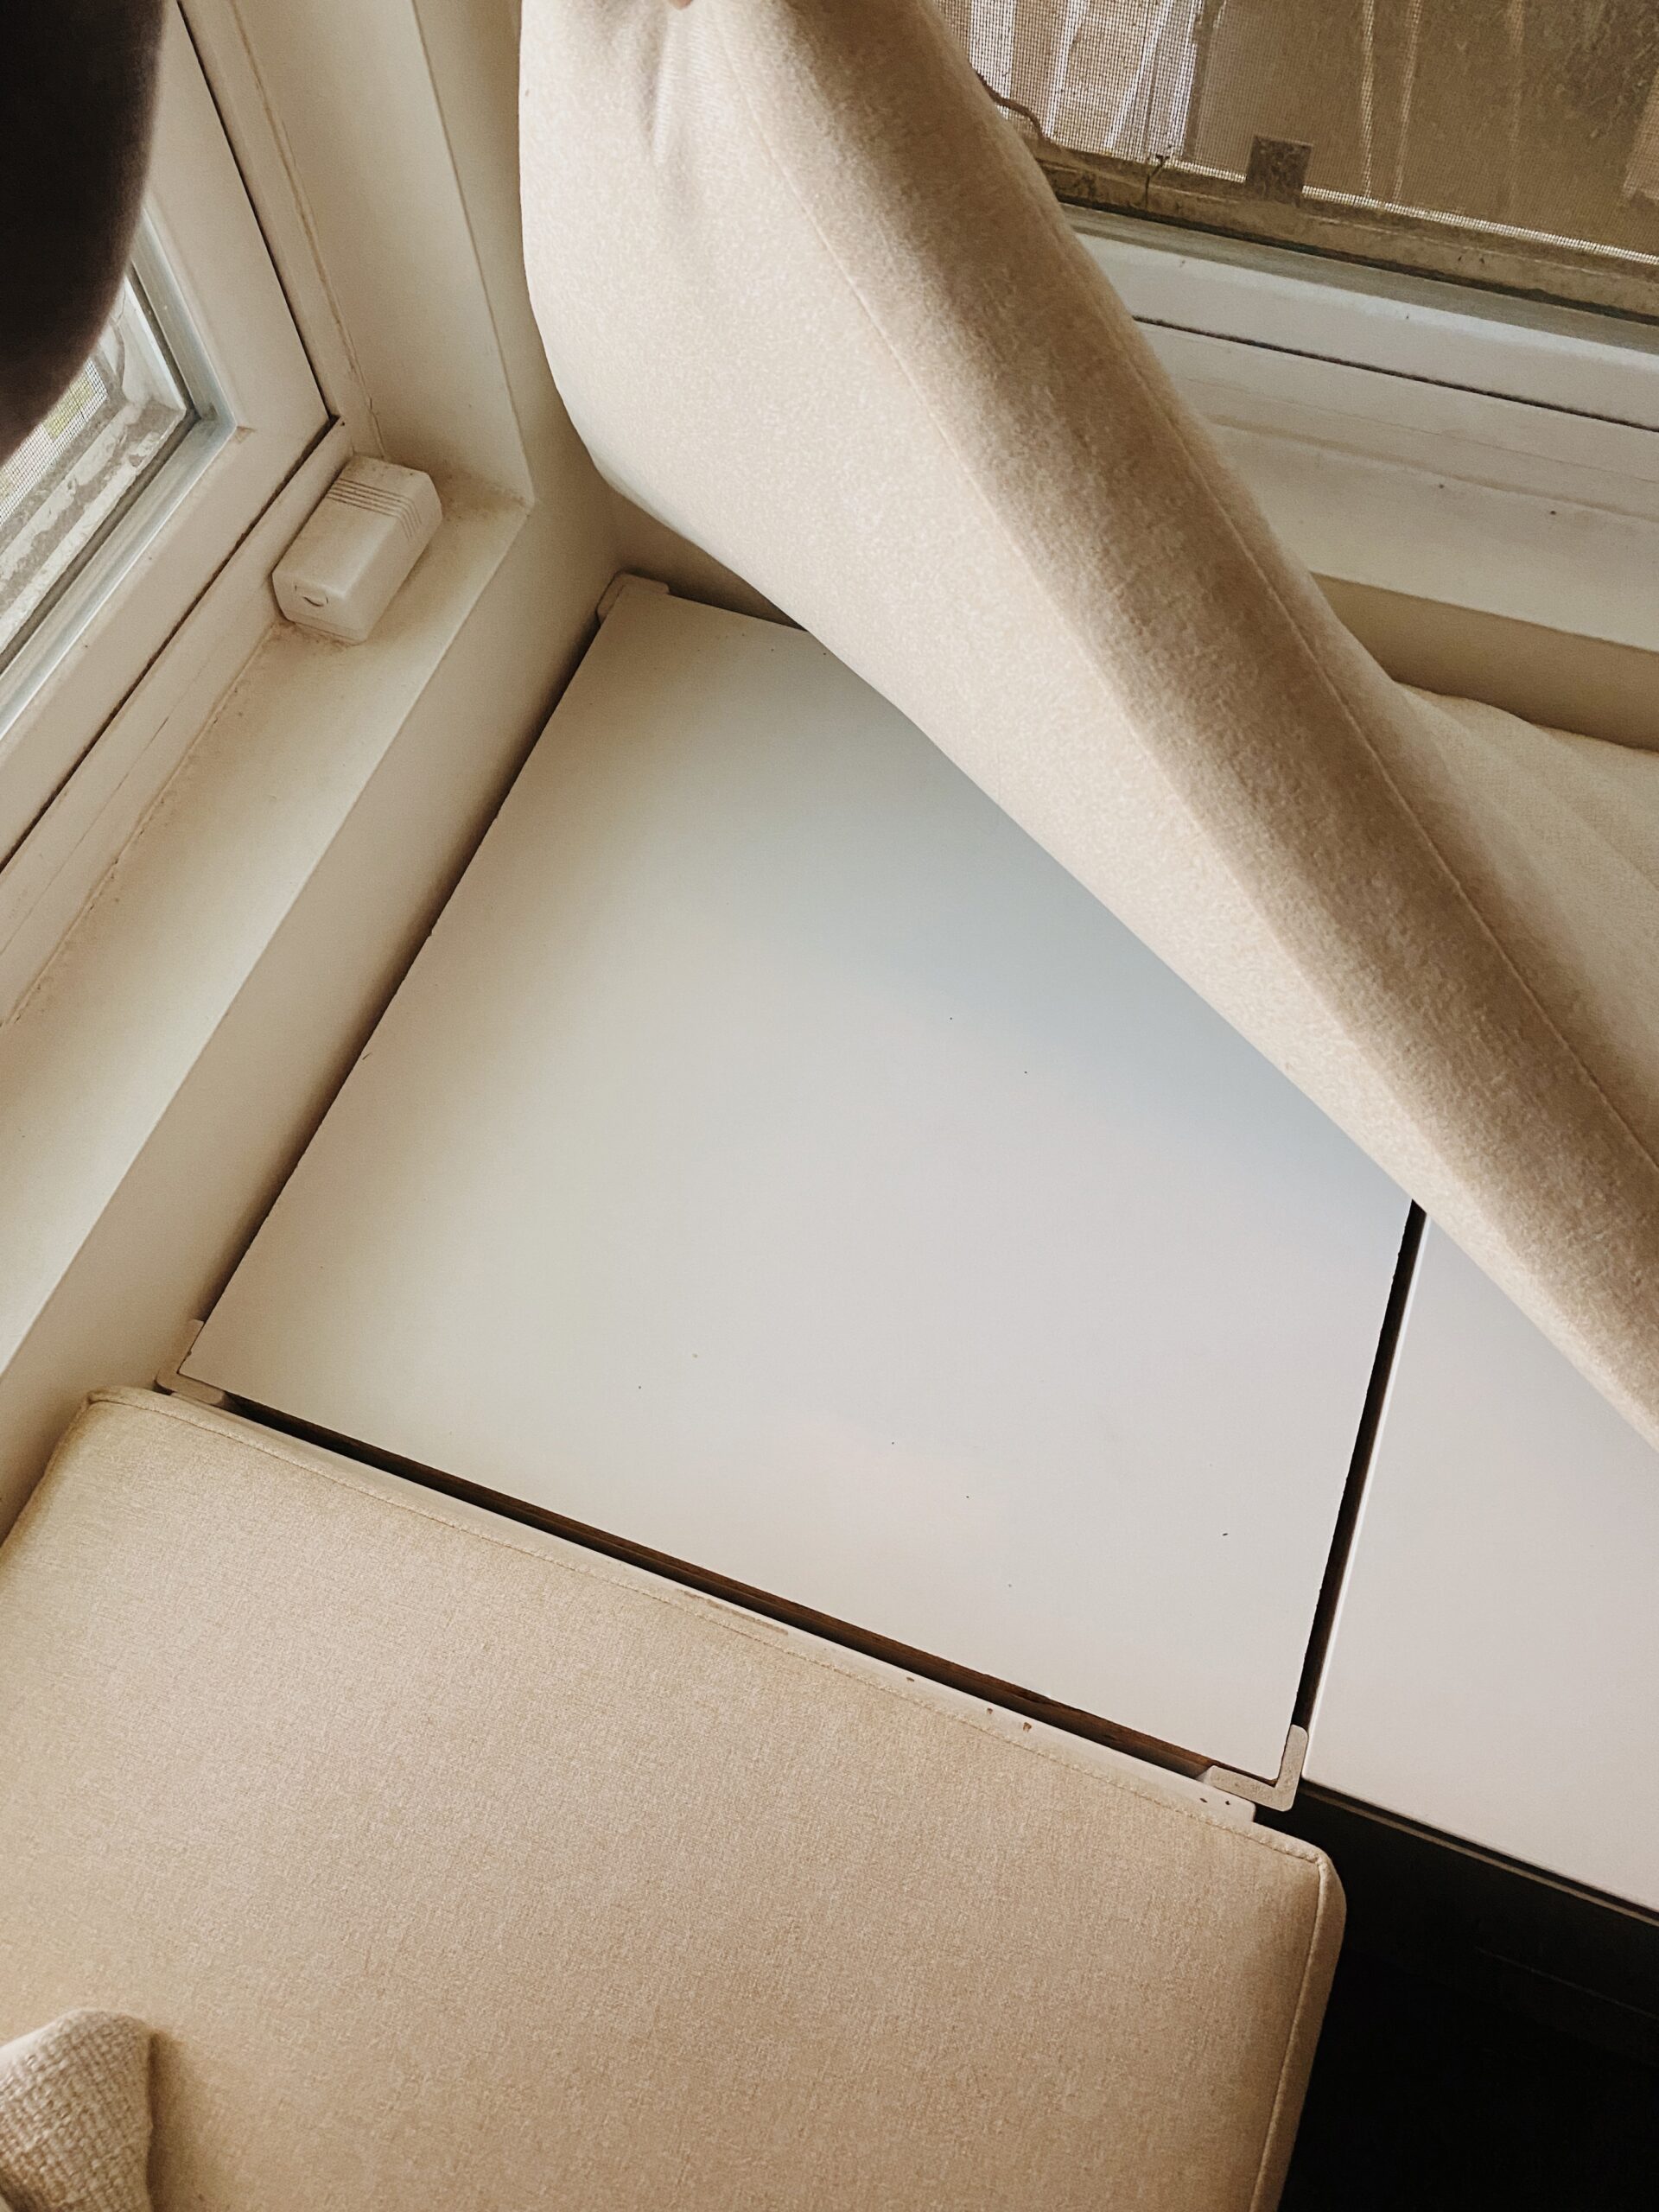
if we did it again, i would definitely not put the little feet on the bottom. there is NO REASON for them. they make the benches taller than they need to be, and they create a gap on the bottom that has been nothing but a giant freaking pain in the ass for years. we’ve lost countless markers and things down below and we use a wire hanger to scoop stuff out— who knows what’s even down there!!
overall i’m still happy with them, i think it was a smart solution to having something custom built and i do love having all the extra storage we can get since our house is small.
i think that’s it! i am so happy with this corner now. after years, it finally looks right to me now!!


I’d love a link to the wall art! (I think it’s linking to the olive tree now.) 😉
What source did you use for the beautiful/inexpensive custom cushions? I am looking for this exact thing right now!
So nice! The round table really looks great there and I love the Nordli (thanks for the details about putting it together.) I’m looking for some simple, streamlined window shades like yours. Could you share where you sourced them?