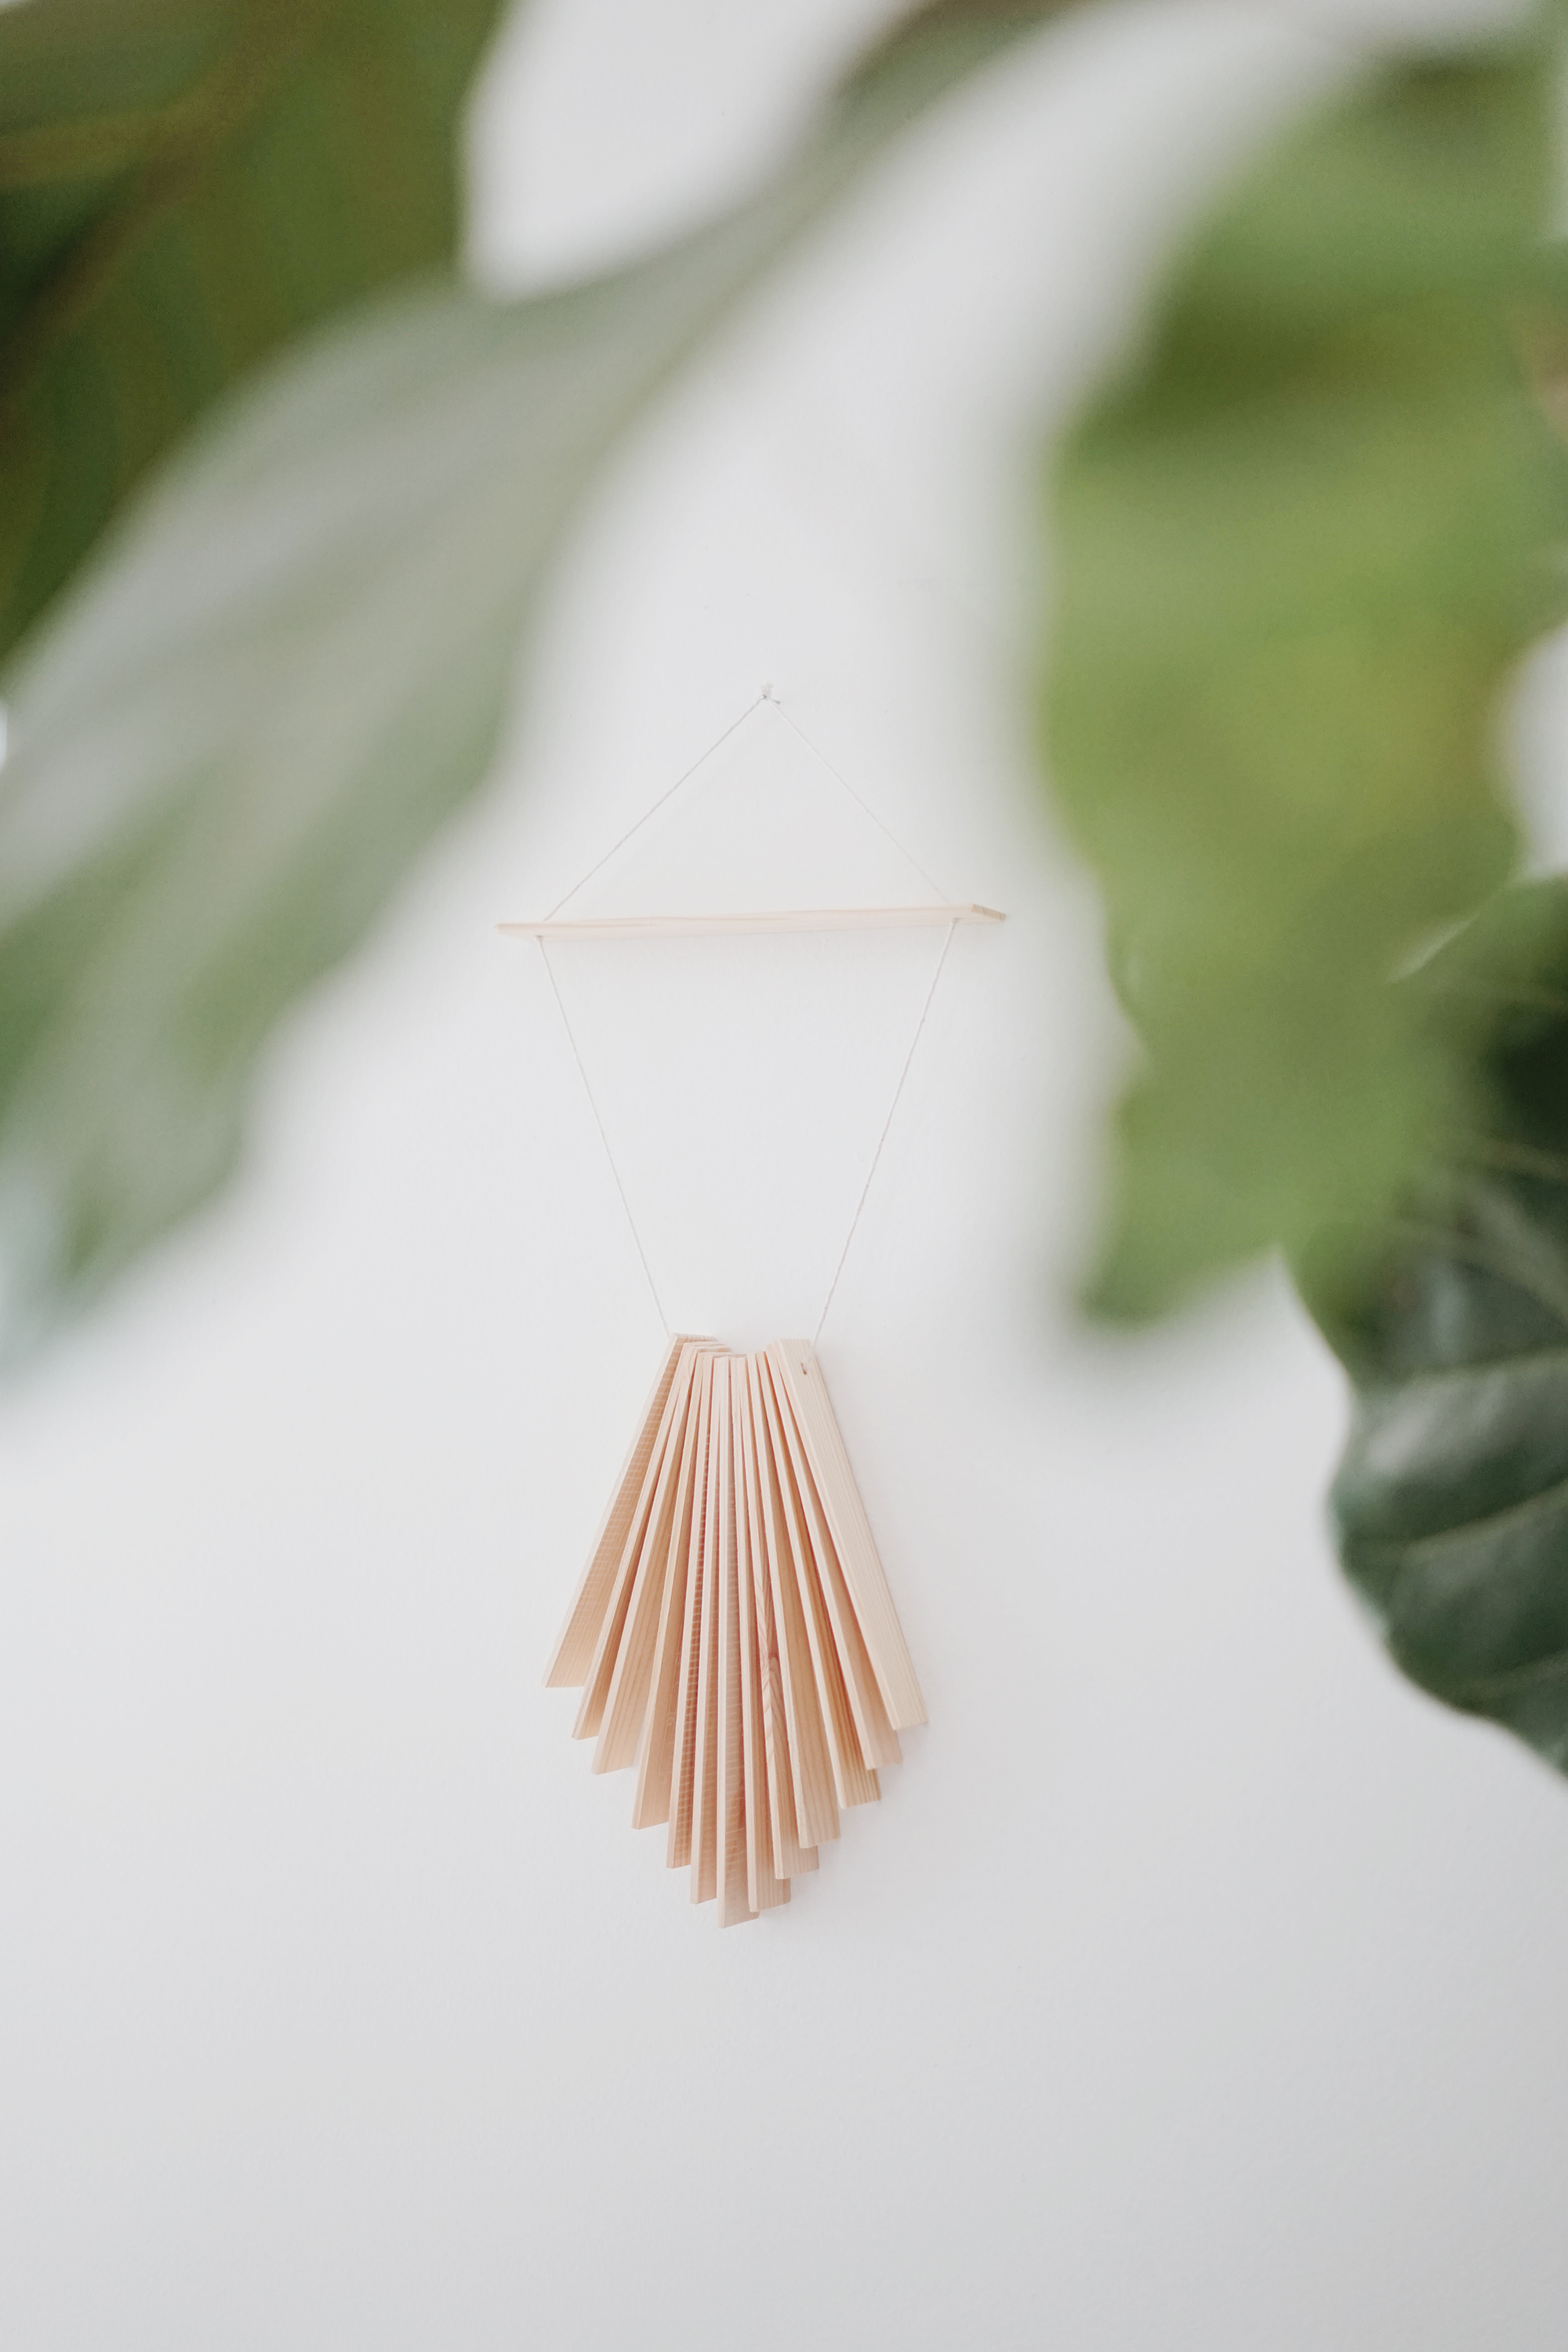
DIY stir stick wall hanging
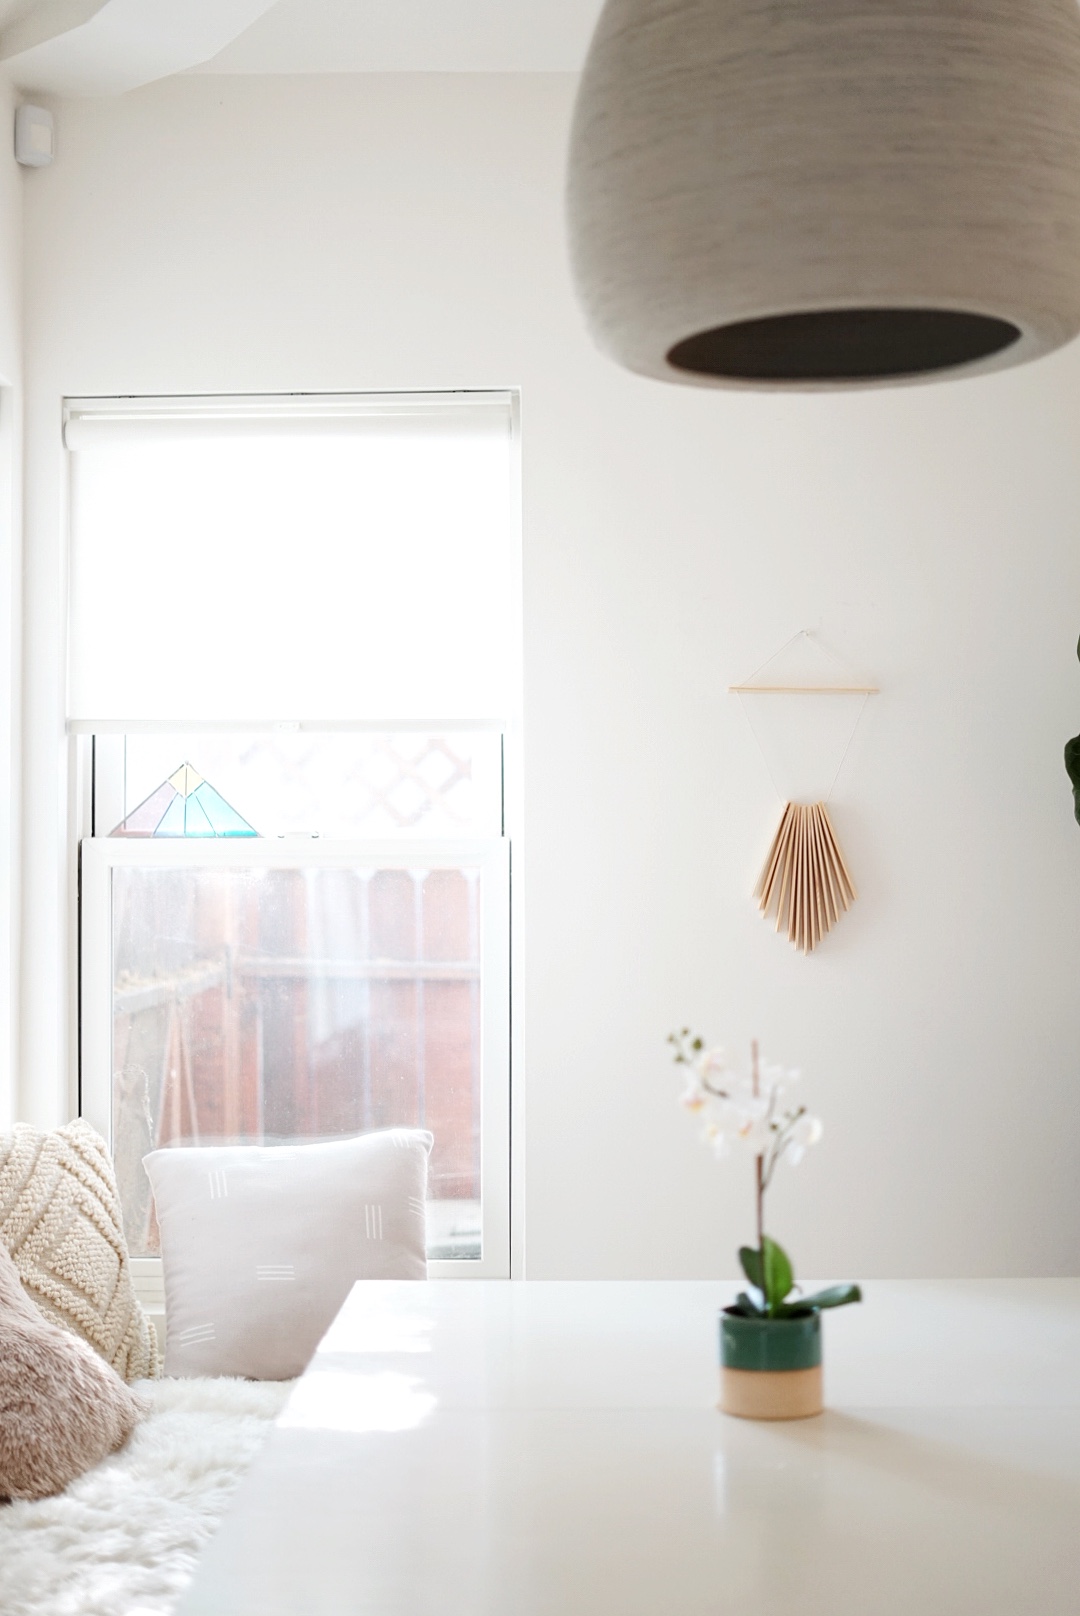
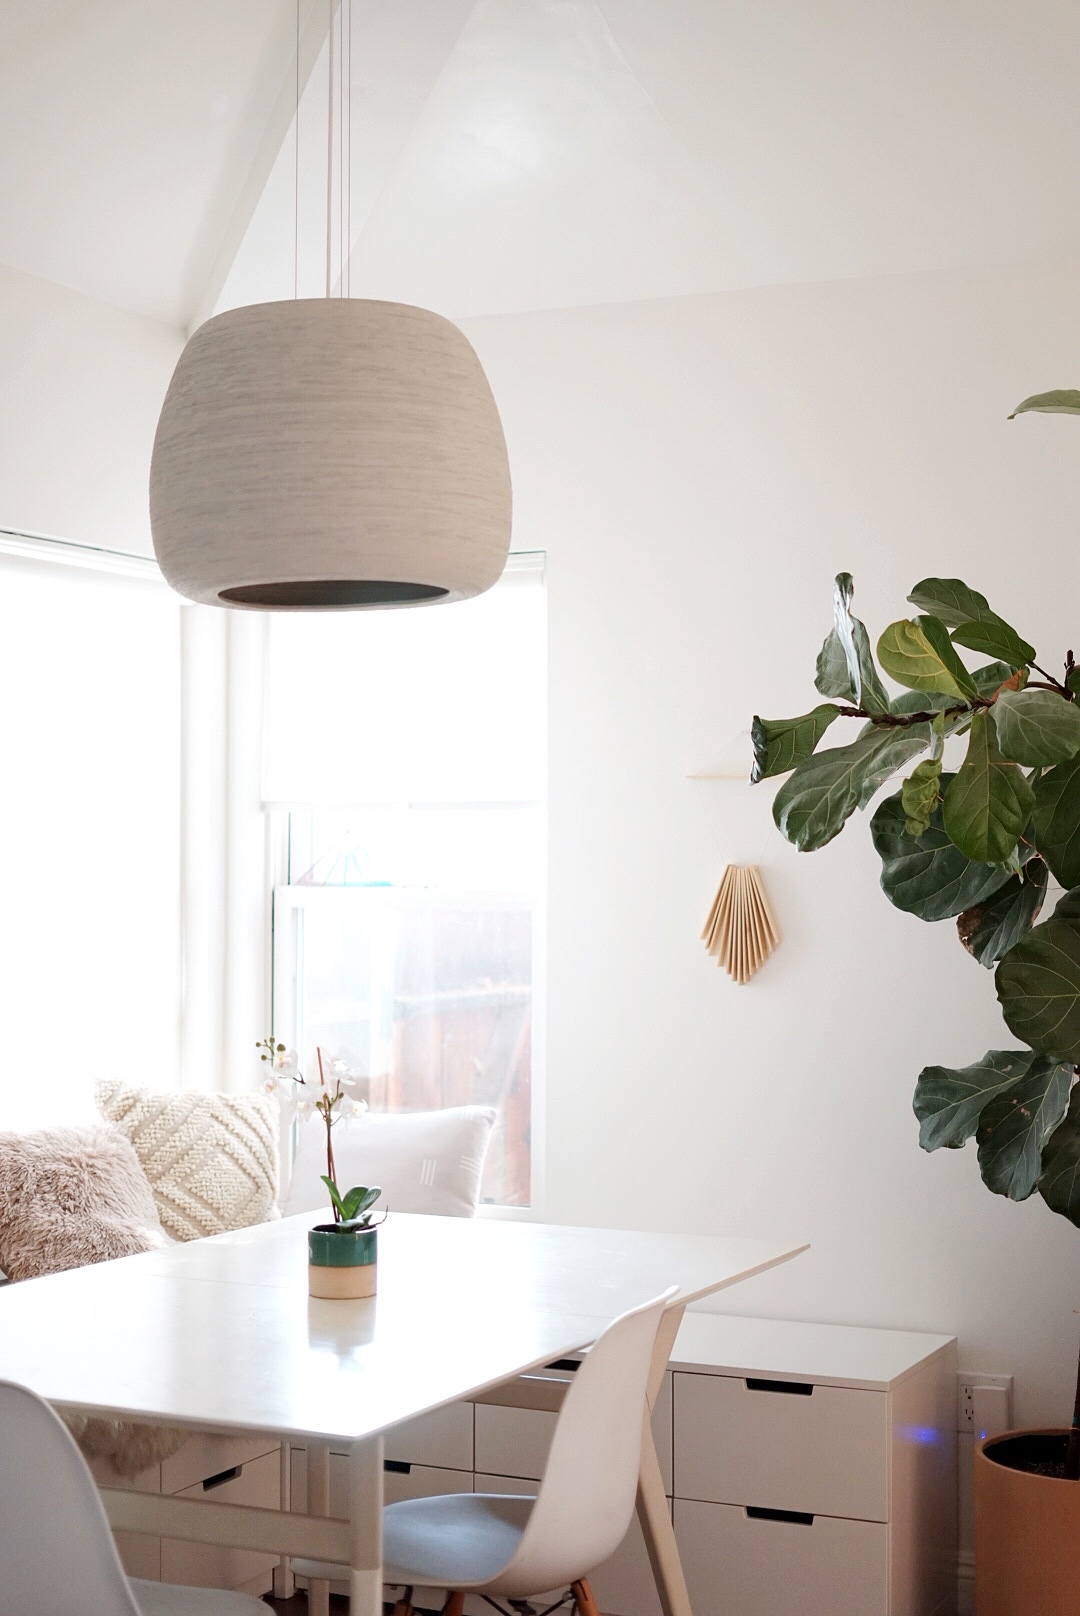
i’ve been really wanting a little wall hanging or something for the empty wall in our new dining nook, and i’ve been thinking i’d make one if i found the time or energy, both are which are v fleeting at the moment — but when esurance wanted to challenge me a second time and show how i could upcycle something to have #madeitmine, i thought it was perfect excuse to find both the time and energy.
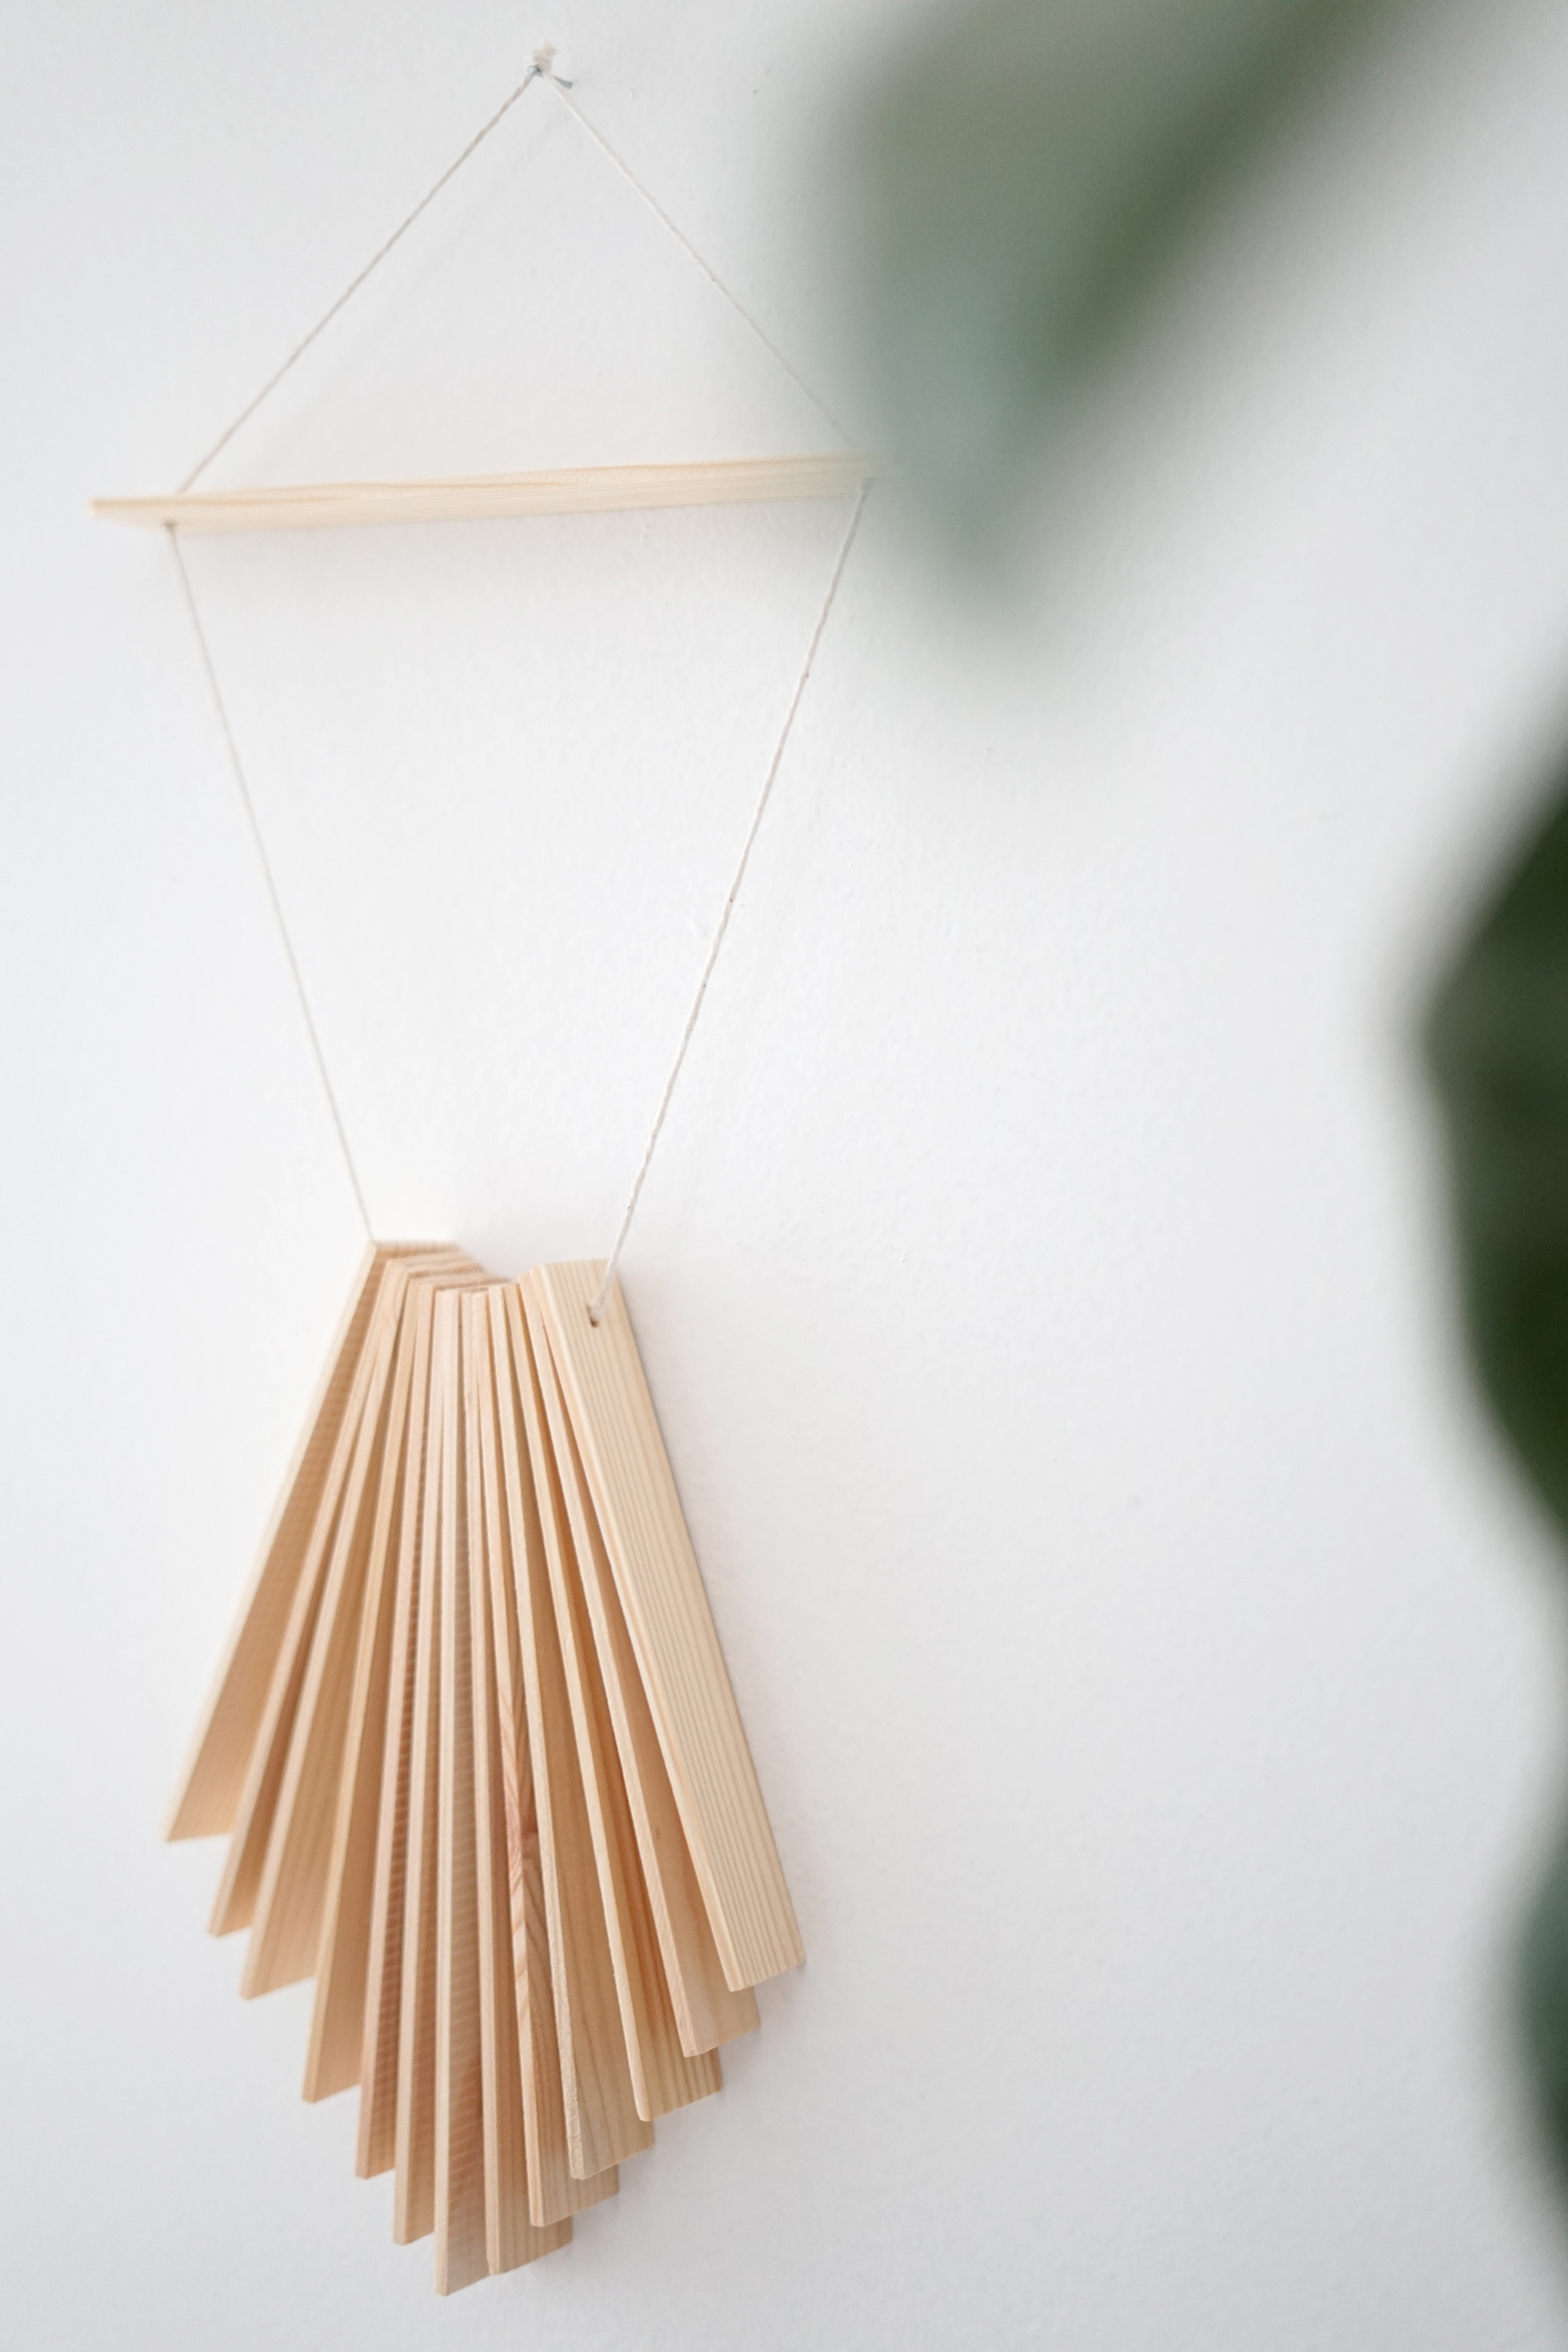
i do not think i’m the only one who hoards paint stir sticks, right? i always grab a huge handful every time i paint a room and end up only using one or two. so this wall hanging is so free. it’s just paint sticks and string!
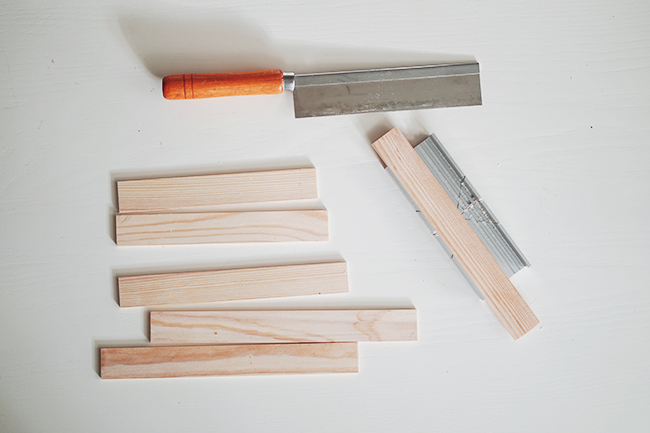
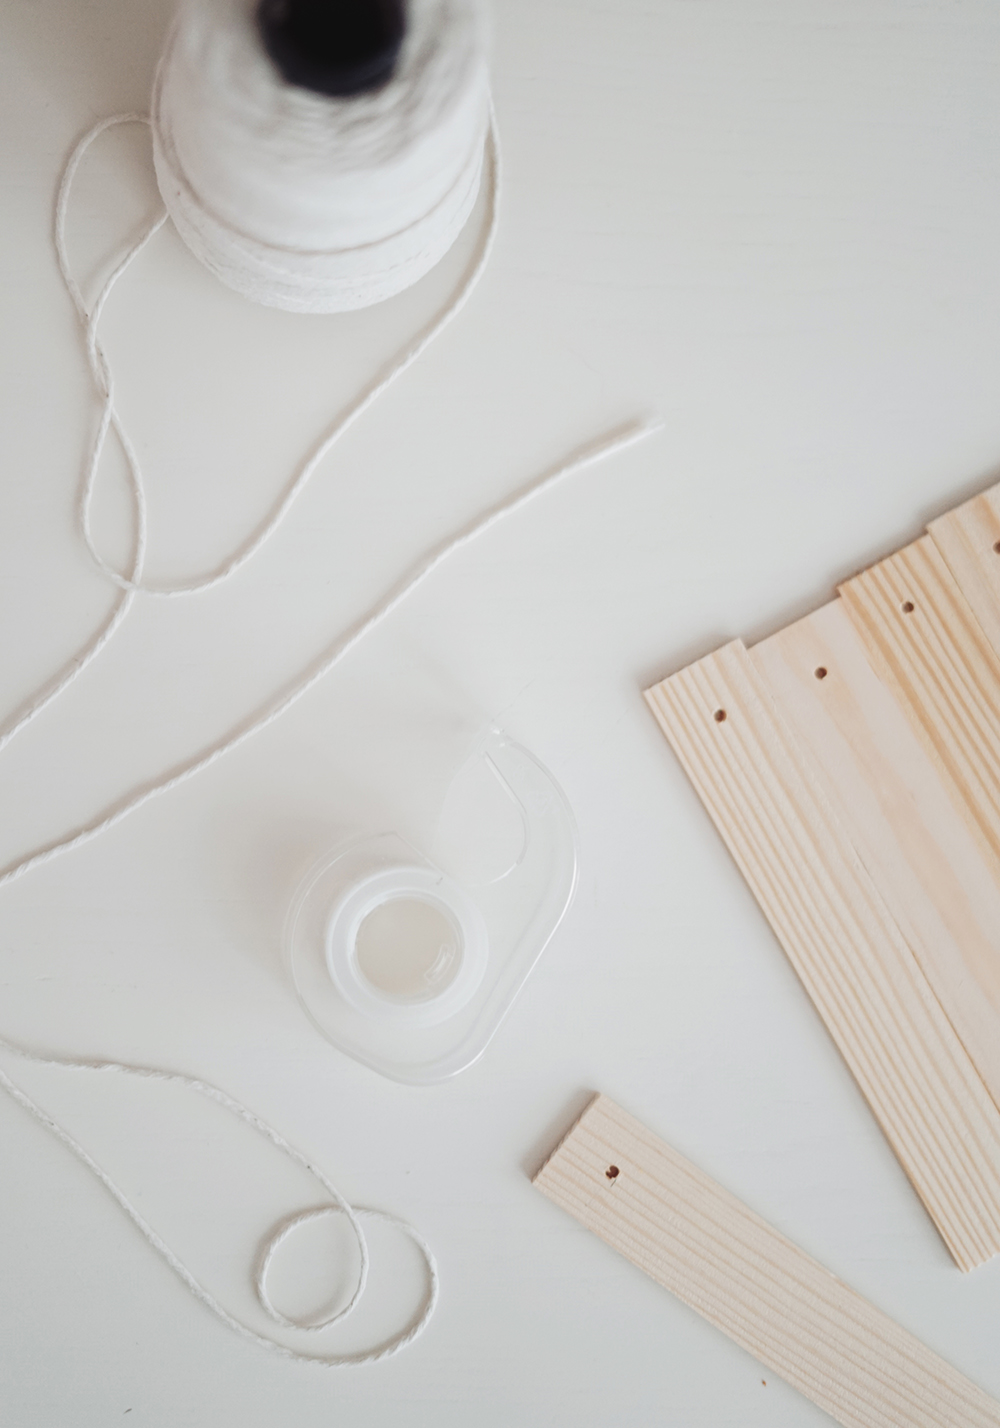
materials
paint stir sticks
string (i used this baker’s twine)
miter box and saw
drill with a 1/16″ – 1/8″ drill bit
clamp
directions
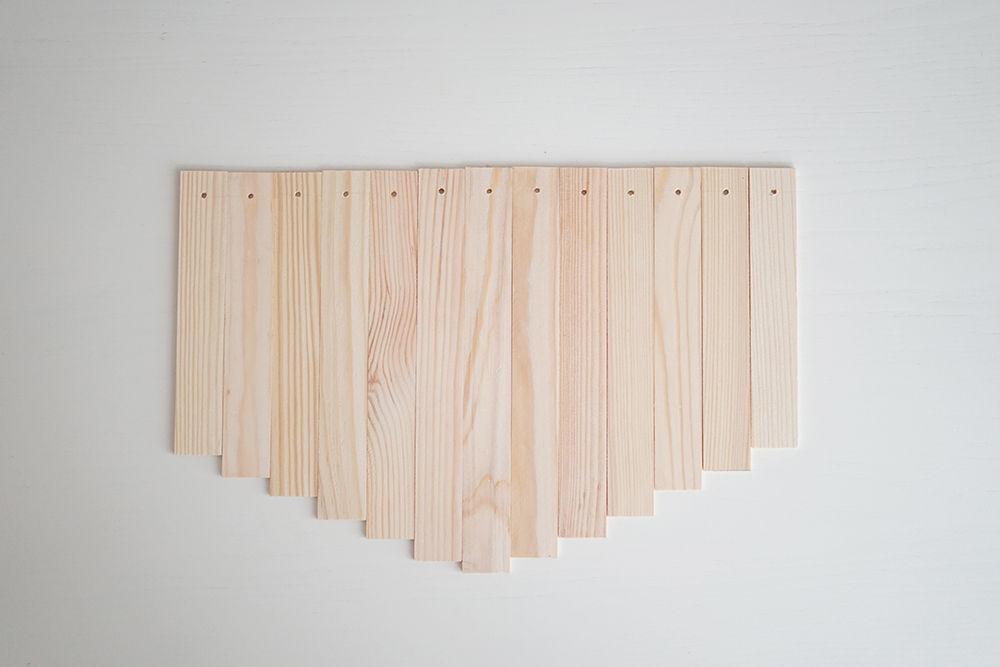
01. marking it with a pencil, line up all your sticks flat on a table (i went with 13 plus one for the top). mark them in ascending length. you can measure exactly, but i just eyeballed it (you can tell lol), probably about 1/2″ difference between each one.
02. saw each piece in your miter box.
03. clamp pieces together in groups of 3 or 4, and drill a uniform hole on the top, again about 1/2″ away from the top.
04. once your pieces are all cut and drilled, line them up to start assembling. if you have trouble fitting your string through the hole, wrap a piece of tape to the end to make an aglet (like a shoelace). give yourself a couple feet of slack on one end and go through your first piece, tying a small knot on the outside and one on the inside. then proceed to do that through every piece, with a small knot in between each one to keep them in place.
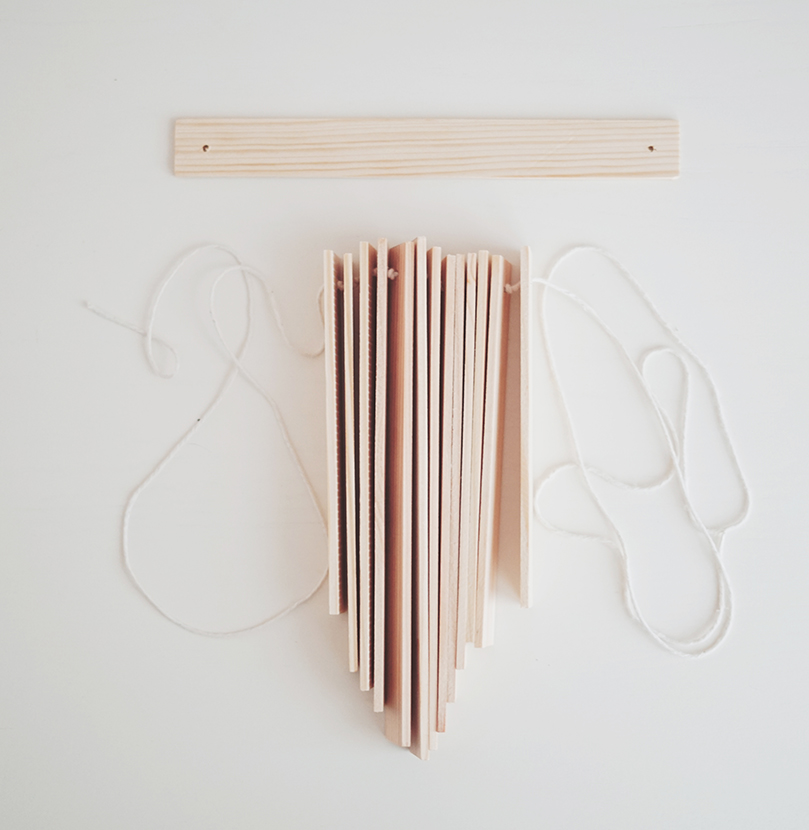
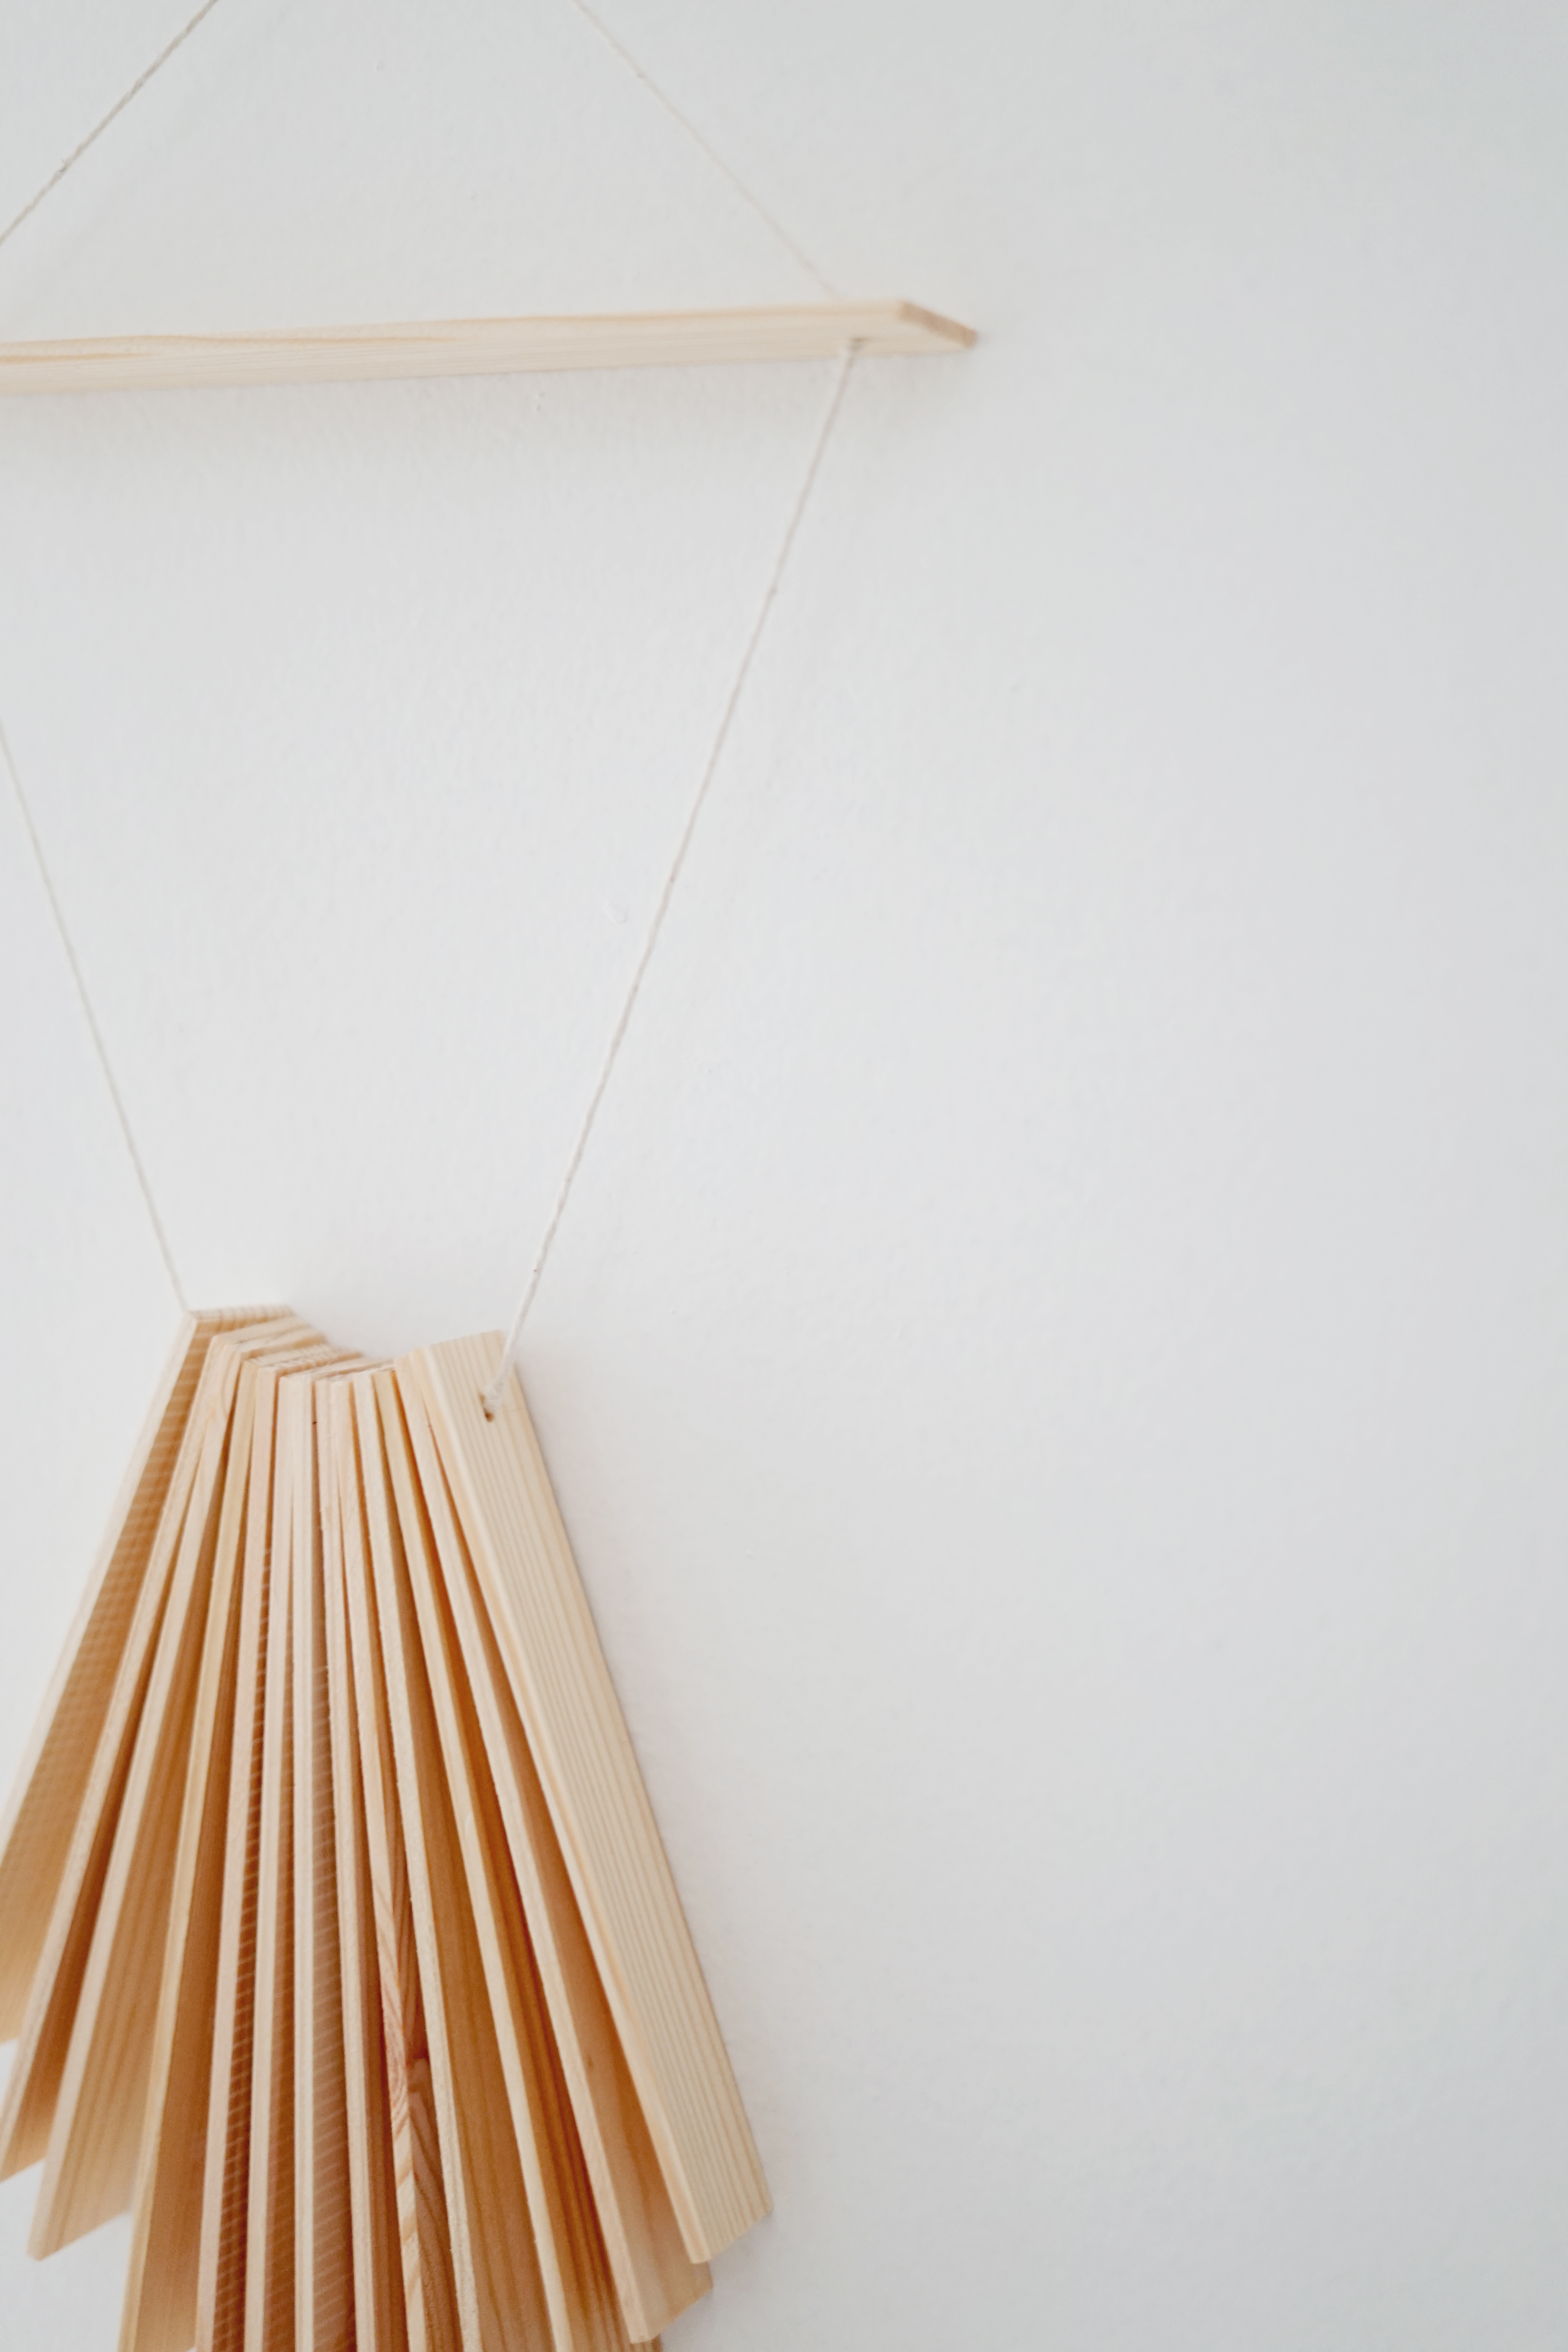
05. once you’ve attached all the pieces, and you’ve tied your last knot at the other end, you can attach a top piece (mine is just the entire length of the stir stick before the indents, with a hole on both sides 1/2″ away from the ends.) to secure the top wood piece, add two more knots (one on each side) evenly spaced on your ends of string (mine are like 10″ of string from the vertical wood part). Those two knots will secure your top piece in place. add your top piece.
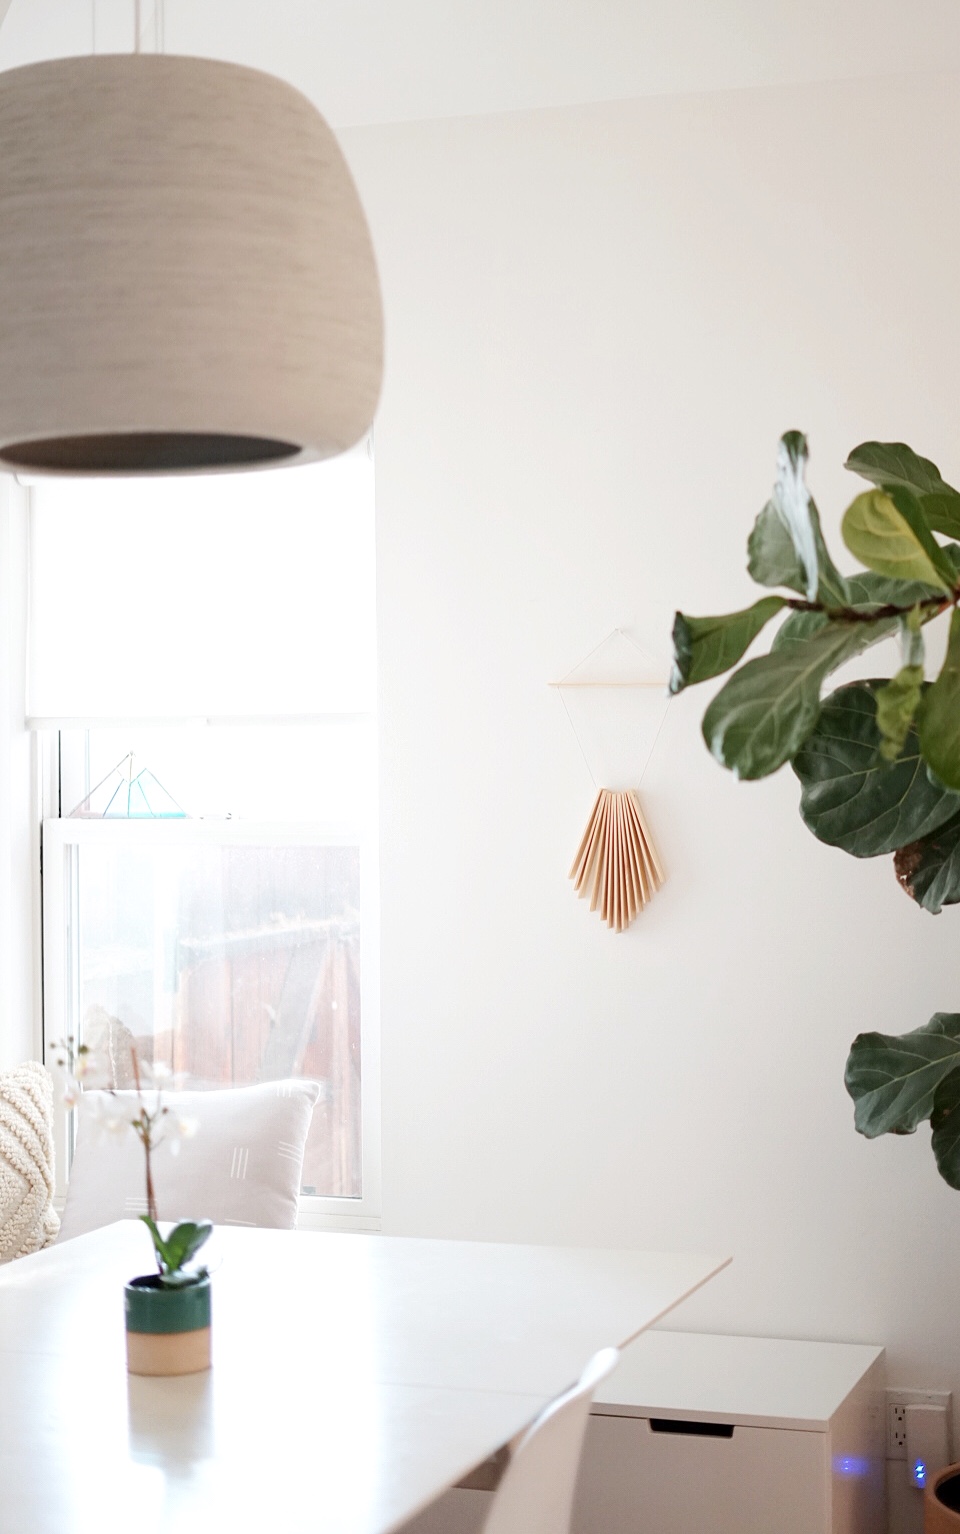
06. continue the string to the top and tie a double knot, trim excess and hang on your wall!


One Comment