DIY valentines day xo treat bags
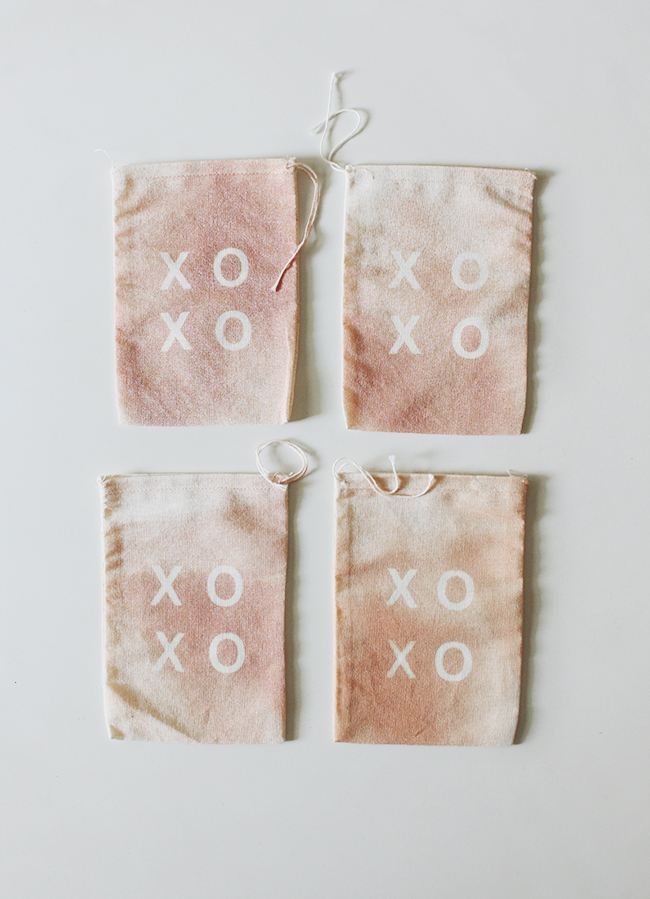
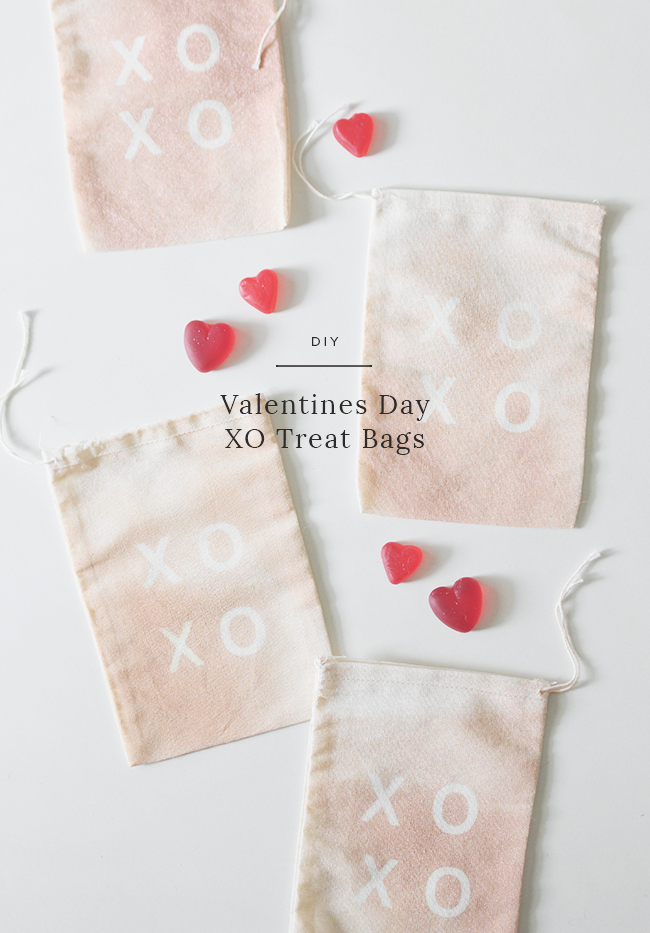
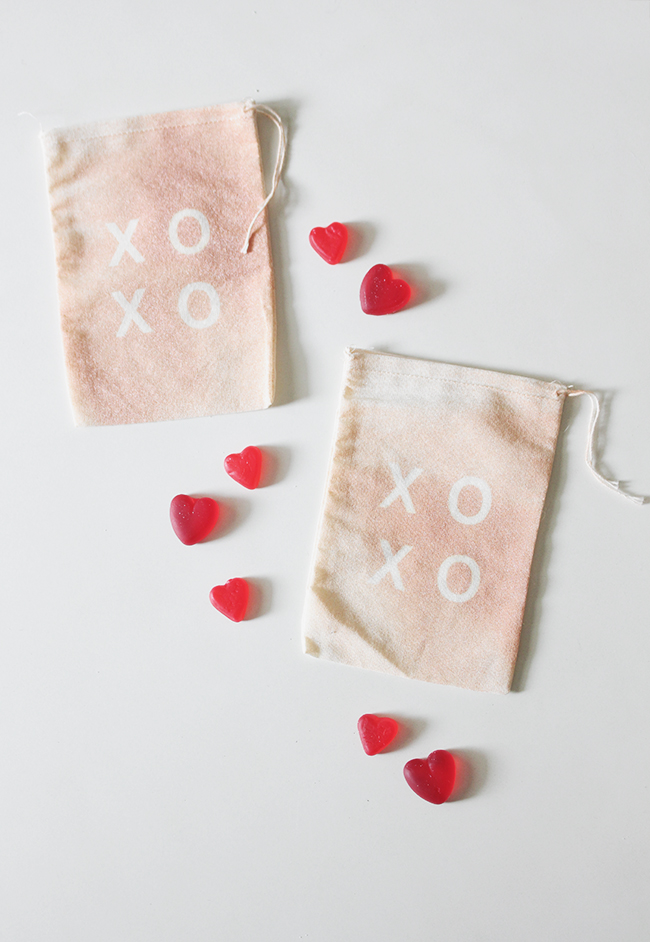
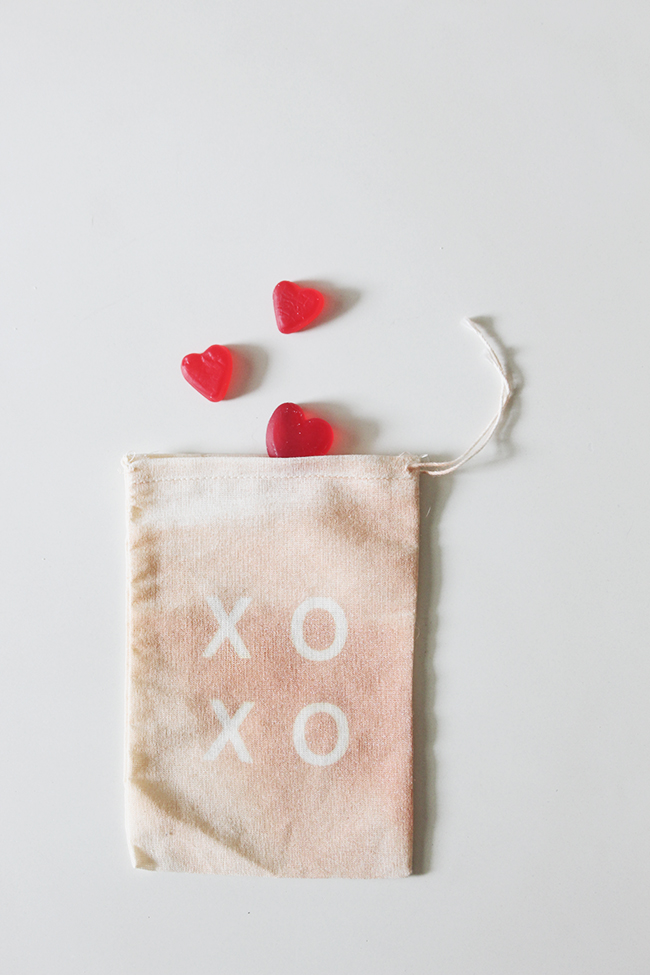
i’ve had these muslin bags sitting around for years ever since this project, and i finally decided this would be the holiday i’d use some of them dammit! we love candy in this house (gid is not far off from willy wonka), so any excuse to fill bags with candy is cool. these are also easy enough to make a whole bunch for your girlfriends for galentines, coworkers, classmates, whateveeeeer.
i found this cute rose gold spray paint which seemed way easier to clean up after than dying, but with a light coat i was able to achieve a look that looks kinda watercolory or dyed — at least i think so!
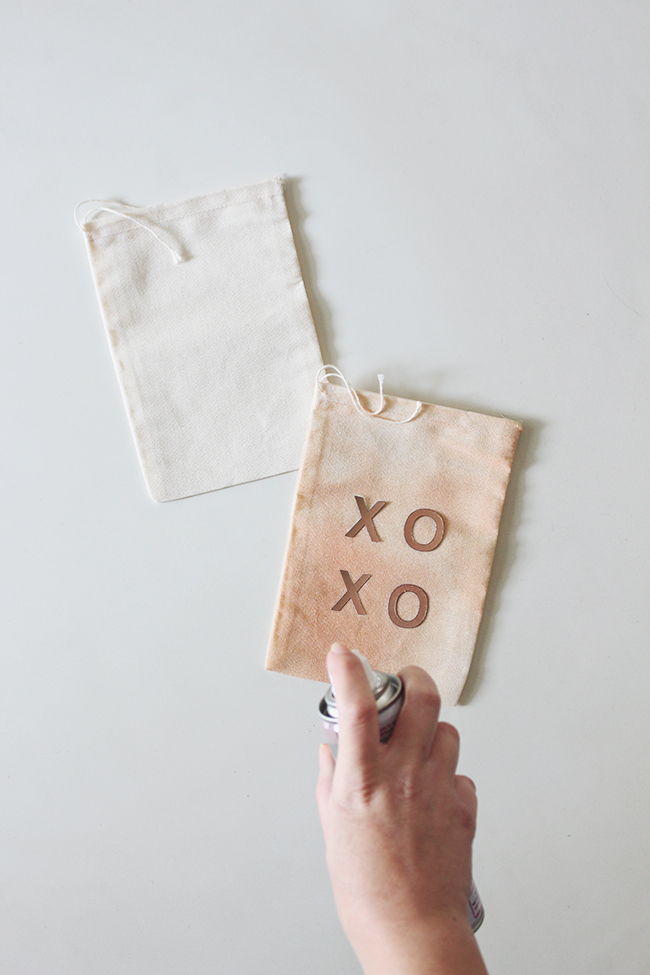
materials
blank muslin bags
alphabet stickers to use as stencils **
fabric spray paint
** whatever stickers you end up getting, make sure you have at least 2 X’s if you’re planning to do XO. all alphabet sticker packs will say on the packaging the letter count, but some only come with 1 X. the one i linked above has 4! here’s a larger letter (1″) with two Xs.
directions
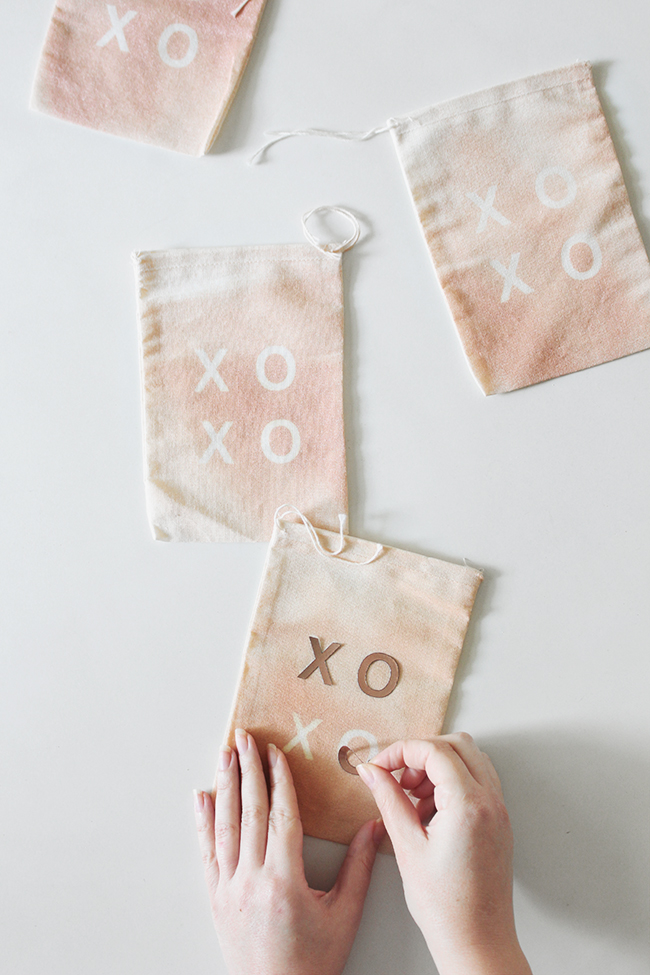
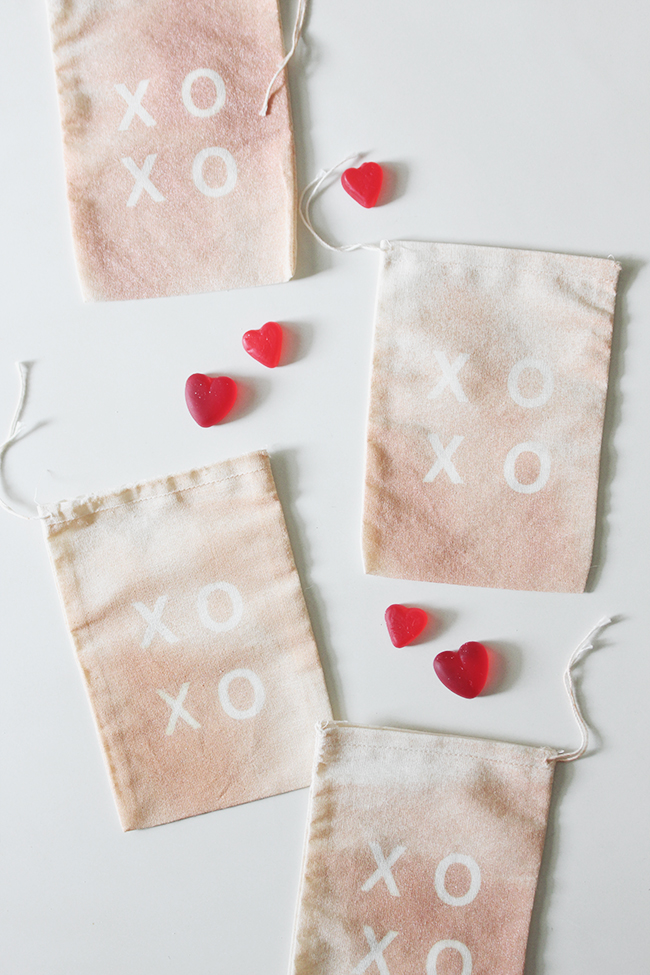
1. apply the stickers in place, take outside and LIGHTLY spray over your bag. i tried various spraying for my bags, so they vary in lightness and it looks cool so i think you should do the same thing.
2. let dry outside for at least 20 mins before removing the stickers. if you want to use new stickers for a new bag, you can go ahead and do that — but i was cheap about it so i just reused the same four stickers for all four bags. as long as you press them down tightly, it doesn’t seem to matter that they’re not that sticky.
you can also write whatever you want! i liked the simplicity of XOXO but it’d be cute to write things like 143 (did you have a pager?), U A Q T, any stupid shit like that!
3. once they’re fully dry and no longer tacky, fill ‘ em with candy or treats!



I’m glad to see this … I have a very large number of bags I ordered for a “Christmas Shows” stencil project, and I have quite a few “leftovers” too!
Cute idea! I really love the way you varied the surrounding background and overspray color. This is such a simple, fun project and it has my creative juices thinking about more stencil subjects than I had yet considered! I need the alpha letters, for at least a start!
Thanks, Molly!
Cute pictures and of course the bag too. 🙂
So nice these cute little bags! Love it!!
Creative idea, Molly! Definitely I will present DIY bags to my husband but in the next Valentine’s Day! Thanks a lot for sharing that simple guide!
Hello,
I really love the way you varied the surrounding background and overspray color.
Molly, I really like your unique style!
Very Cute pictures & i love cure little bags too.
The colors are so vibrant and your photography is fantastic! Thx for sharing amazing DIY ideas, I definitely make these bags!
Hey Molly, this is a perfect DIY. Better had I read it before Valentines, I might have saved some bucks 😛
Keep sharing such awesome stuff!
The bag itself is very pretty!!!
yummmmm! best candy in a super cute bag to keep forever!?! great gift idea and love the bag tute!
Valentine is approaching and I should think the best gift for my partner and friends. Reading the blog is easy to understand on how to create thin mini xoxo bag.
These are really cute! Thanks for sharing the tutorial ?
Such a cute idea! I wish I would have saw this before I threw out my leftover drop cloth I had from another project.
So nice these cute little bags! Love it!!
I will definitely be making these for my friends! They are so adorable. 🙂
Hello molly,
This is so informative abou diy valentines day xo treat bags.
keep your good job.