-
diy marble tray
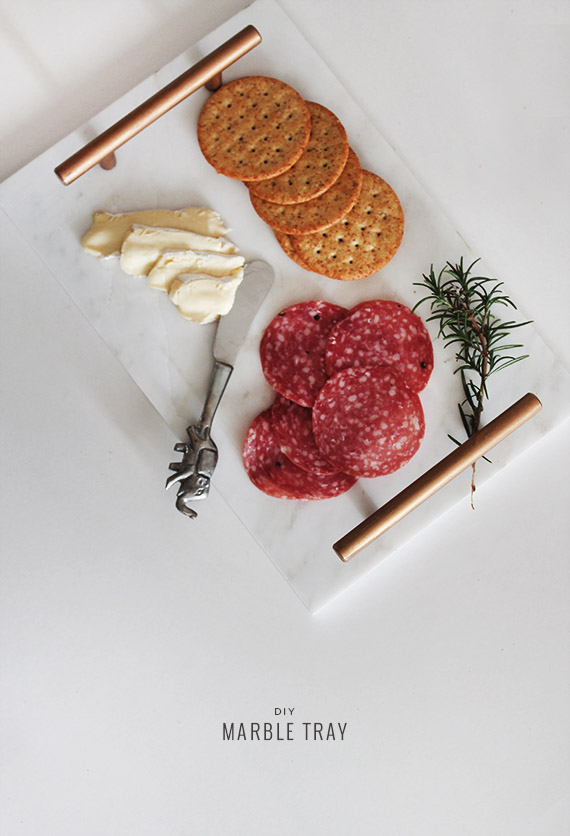
my first diy of 2014 and BOY IS IT AN EASY ONE! i seem like certain things a lot. triangles. gems. leather. wood. and marble. so even though i already made my brother get me a marble pastry slab for my birthday, i decided i could use more marble (until i get my marble kitchen countertops someday).
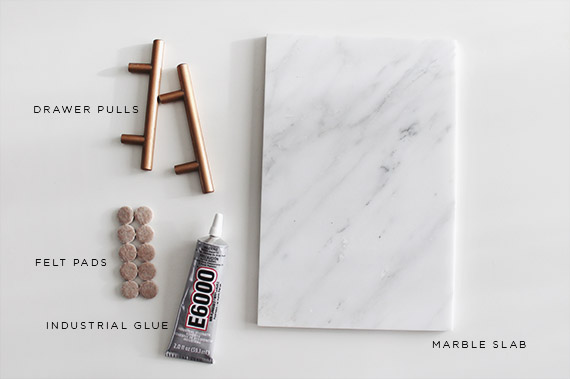
materials
the largest size marble tile you can find at the hardware store (mine were about 8×10)
drawer or cabinet pulls of your choice *
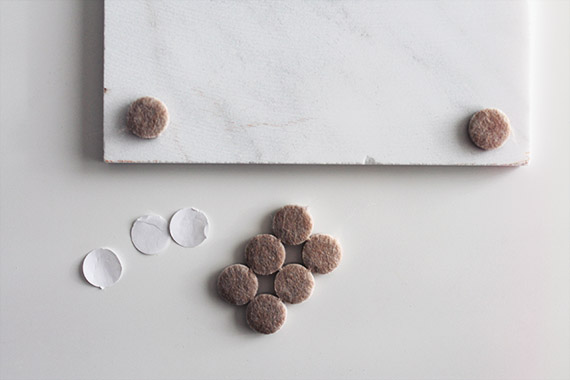
felt sticky pads
industrial strength glue (the strongest stuff you can find)
a ruler and pencil for measuring the distance* i had a hard time finding cheap brass hardware, so i bought some silver ones and rub n’ buffed them. to save yourself the trouble, just order some brass ones online if you want brass. WHY HAVEN’T THE HARDWARE STORES STARTING STOCKING ANY YET?!

directions
step one . stick four felt pads on each corner on the bottom of your marble
step two . using a ruler, figure out exactly where you want your handles and lightly trace around with a pencil.
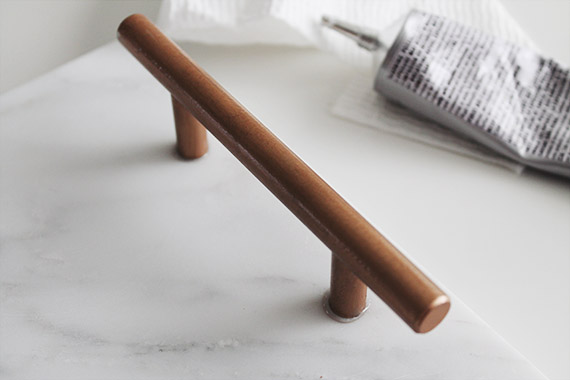
step three . glue those babies on, if any glue leaks through like mine clearly did, scrape it off as much as you can with a thin tool (i used a kabob stick)
step four . LET DRY FOR A LOOOOOONG TIME. i waited two days.
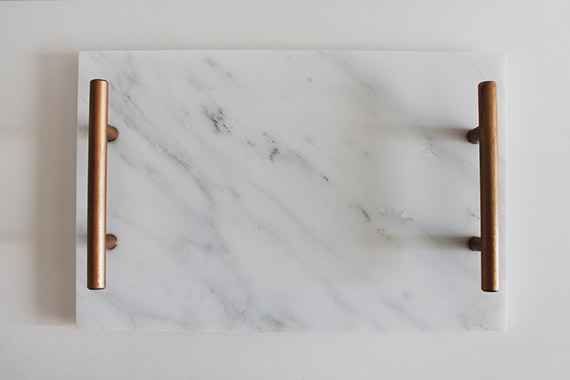
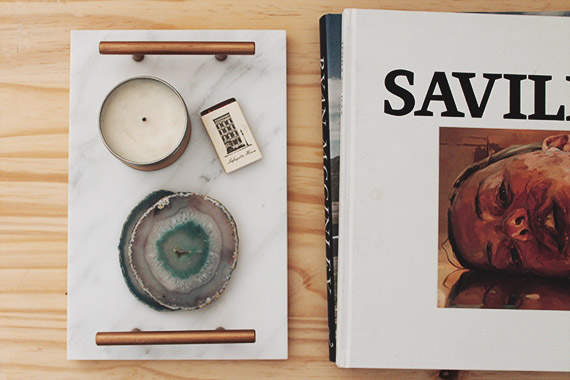
you can use this thing of beauty anywhere. i first tried it in the bathroom!
then i tried it on the coffee table!
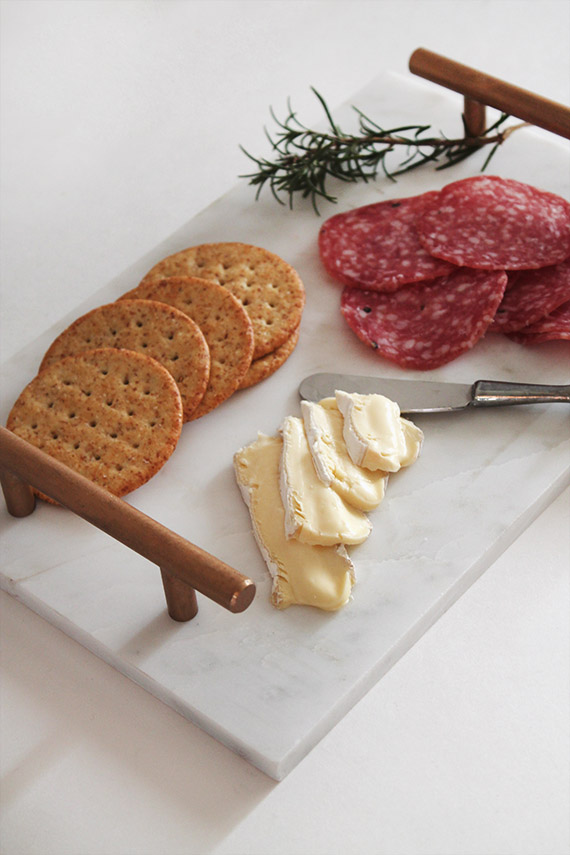
then i covered it in stuff i ate!
i never tried it because i got tired of walking, BUT it could also look really cute on your desk with your pens and paper clips.
now i do recommend you be careful, because this is not for HEAVY DUTY walking around everywhere with it use. just be gentle and i think the tray will hold up just fine!
-
payday wishlist
well i’m having trouble trying to get back into the swing of things! but how can i get the blog back to normal without doing a payday wishlist today?! i must say – taking a couple weeks away was a very nice break! i normally spend most days worrying about the blog, worrying about what my next post will be, worrying about going to the craft store… i think my 2014 resolution should be to TRY to stop worrying so damn much. which is great timing if i’m planning a wedding this year. totally realistic!
hope you have fun weekend plans! i’m going to actually get some DIYs going and we are going to vegas for the night on monday for gideon’s xmas present – i got us front row seats for penn and teller!
and now — things i didn’t receive for christmas!
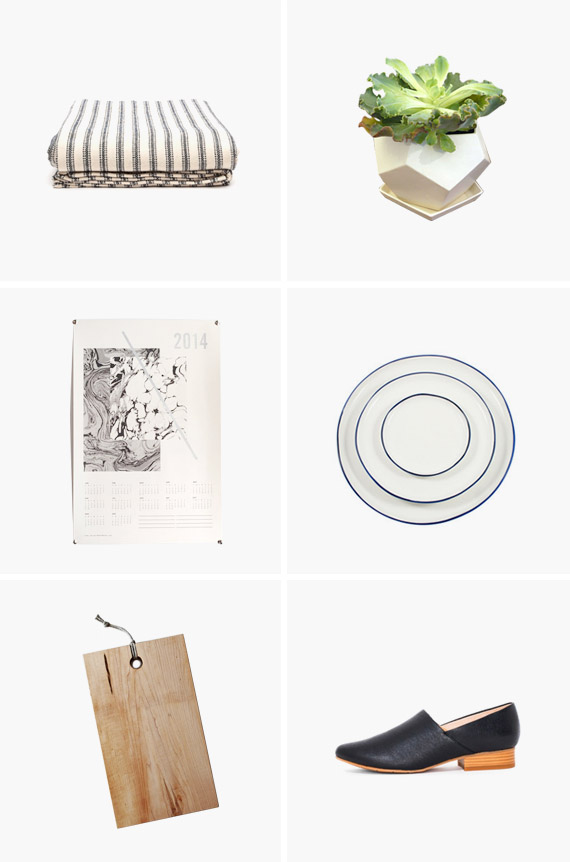
01. love this ticking stripe blanket, this plus some crisp white sheets? perfect bed i’d never want to leave.
02. i have no idea why i haven’t plugged the trigger and just bought this planter for myself yet – it’s perfect.
03. love anything julia kostreva designs, how about this marbled calendar in limited edition of 100?!
04. i love any dish that looks handmade, but a whole set?! all i can see is registry registry registry now.
05. someday my kitchen will consist of nothing but wood & marble. this cutting board is a good start.
06. i usually can’t wear any sort of heel, but i think i could walk like a total human in these tiny ones! -
we’re engaged!
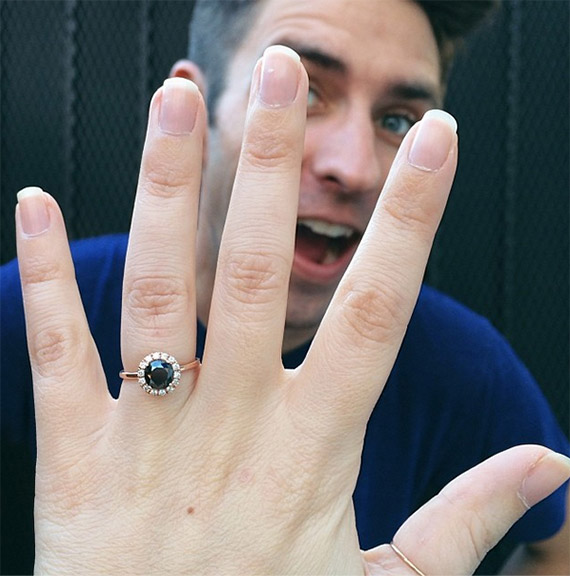
hope you had a great holiday! well! life changed a lot over the past week and a half. gideon proposed five days before christmas so we had a lot to celebrate during the holidays. the hardest part though, we decided to wait to tell my family until my dad and sister arrived, so we kept it a secret for three days. if you’re a blabber mouth like i am – that. is. torture. but it was worth it in the end, getting to tell my parents at the same time and doing a toast and watching them cry.
and now, i might as well get personal. if you want to know our story. my
boyfriendfiance and i have been together for three years next month. three and a half years ago, i got laid off from my job. not knowing what to do with myself and basically having a quarter life crisis, i decided to go stay with my dad in boston. i stupidly packed up my entire apartment and moved it across the country to put all my stuff in a storage locker. why i didn’t do that in la, i have no idea. i soon found out that it snows a lot in boston, and was miserable. i then started corresponding with a really cute boy i knew from college who wrote me out of the blue to tell me i was cute and he liked my blog (my old blog.) we started writing and then talking on the phone and then spending all day every day talking until he came to visit me. we took the bus to new york for the weekend and had a 4 day date and fell madly in love. well, he told me he loved me that weekend. i played it cool and didn’t say it back. he’s still mad about it.i decided to go visit him after a trip to see family in indiana. my mom thought i was staying with them, but i stayed with gideon. and i never left. i never asked him if it was ok for me to move in, i just had my stuff sent back to la and we lived together. yep, right off the bat. so basically, we’ve never dated. most people find it weird.
over these past three years, we’ve moved three times, been through very rough times, traveled all over, adopted kittens, and i’ve been hoping he’d ask me pretty much since day one. he’s always been my person.
i always hear it doesn’t feel different — but so far, it feels VERY different. he now really feels like my family.
to wrap this up, i just want to say that i really hope you all are ok with the blog becoming a little more wedding themed this year. i definitely can’t resist a little wedding DIY!
-
diy gold fringe drink toppers + french 75s

because i clearly love the festive look for gold fringe for new years — check out another DIY i did for sugar and cloth today! i shared a recipe for one of my favorite champagne cocktails, french 75s and the easy to make gold fringe drink toppers to finish them off!


-
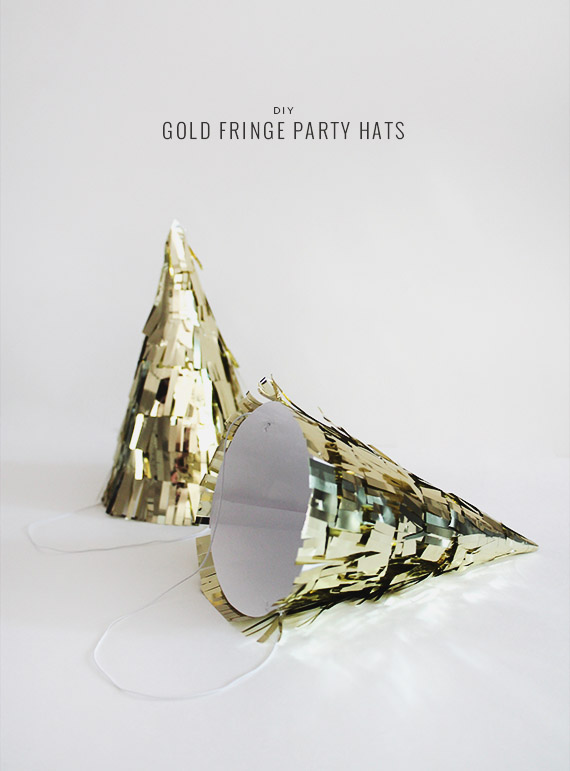
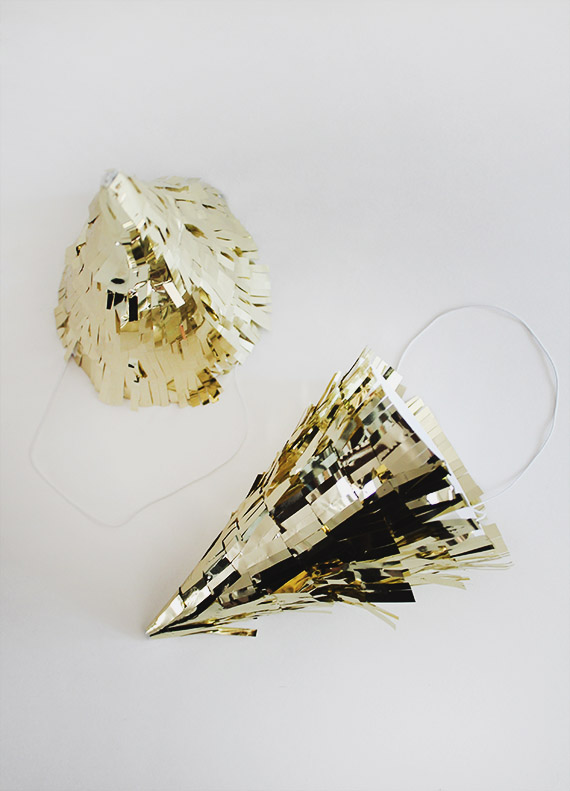
diy gold fringe party hats
hope everyone had a fantastic christmas! you may have seen it on instagram — but something kinda big happened to me this week, i’m now engaged!! i’ll write more on that after the new year.
speaking of new year … it’s NEW YEARS EVE in just a few short days! and who doesn’t like wearing festive hats all night?!
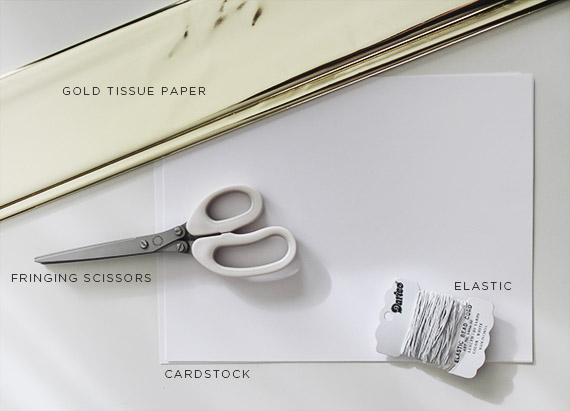
materials
gold metallic tissue paper (i got mine from the party store)
cardstock
fringing scissors
elastic
glue or tape (it’s up to you)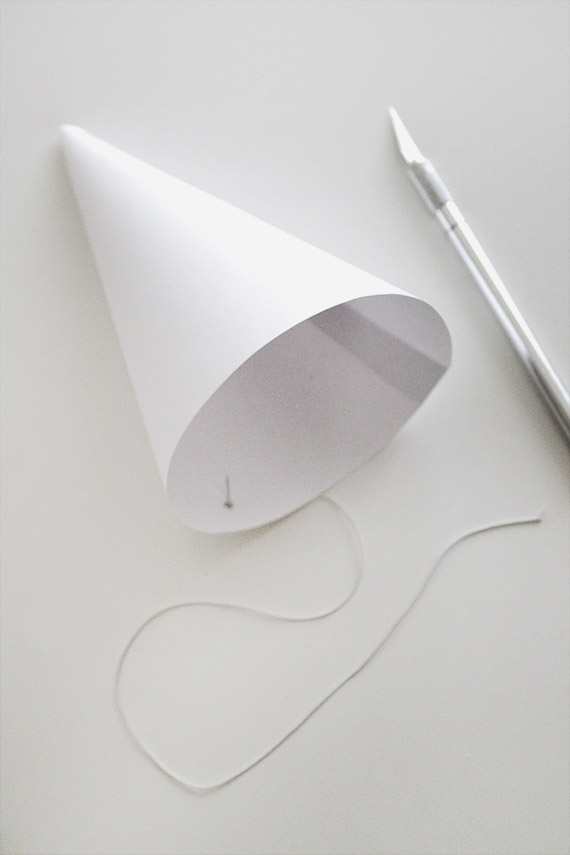
make your party hats using the printable i’ve provided. after download, print onto cardstock, cut out the shape and fold together!
cut two slits in either side of the hat and tie elastic through. knot on the insides.

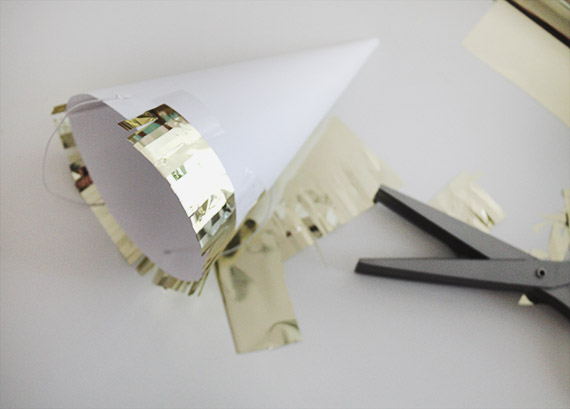
using your fringe scissors, start cutting your tissue paper. this certain type of metallic paper is pretty finicky, so i found that very quick cuts worked best.
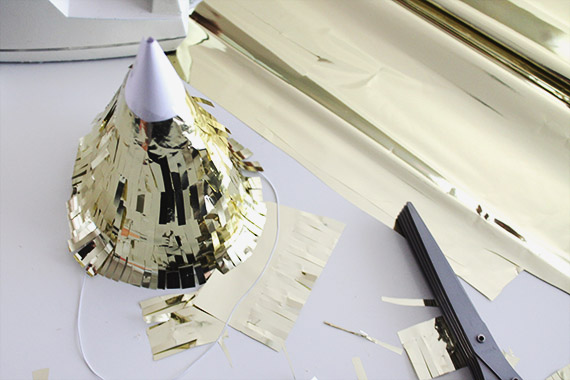
attach short strips so that they can fit comfortably around the circular shape of the hat. start at the bottom of the hat and go around the hat. i attached my fringe with tape because i figured it’d be less messy – but you can definitely use craft glue also. above that first layer, attach another a layer and work your way all the way up!
there’s a LOT of room for error, so don’t worry about bad fringe or overlapping!

i don’t usually show my face too much around the blog — but i figured i should show you what the hat looks like on. no i don’t know why i look so sad either!
HAPPY NEW YEAR!
see you back here in 2014!
-
diy gold fringe party hats
hope everyone had a fantastic christmas! you may have seen it on instagram — but something kinda big happened to me this week, i’m now engaged!! i’ll write more on that after the new year.
speaking of new year … it’s NEW YEARS EVE in just a few short days! and who doesn’t like wearing festive hats all night?!
materials
gold metallic tissue paper (i got mine from the party store)
cardstock
fringing scissors
elastic
glue or tape (it’s up to you)make your party hats using the printable i’ve provided. after download, print onto cardstock, cut out the shape and fold together!
cut two slits in either side of the hat and tie elastic through. knot on the insides.
using your fringe scissors, start cutting your tissue paper. this certain type of metallic paper is pretty finicky, so i found that very quick cuts worked best.
attach short strips so that they can fit comfortably around the circular shape of the hat. start at the bottom of the hat and go around the hat. i attached my fringe with tape because i figured it’d be less messy – but you can definitely use craft glue also. above that first layer, attach another a layer and work your way all the way up!
there’s a LOT of room for error, so don’t worry about bad fringe or overlapping!
i don’t usually show my face too much around the blog — but i figured i should show you what the hat looks like on. no i don’t know why i look so sad either!
HAPPY NEW YEAR!
see you back here in 2014!
-
happy xmas and bye
it’s finally here! i hope you’re celebrating this week, and if you’re celebrating, i hope you’re as excited as i am to be celebrating. ok anyway, this year has been amazing and stressful and enlightening — and i spend almost every waking moment brainstorming and planning and making for this blog so i’m really excited to take a few days off and shut off my computer for a change.
my family is all going to be together for the entire week starting today and we’re going to HANG OUT and i can’t wait!
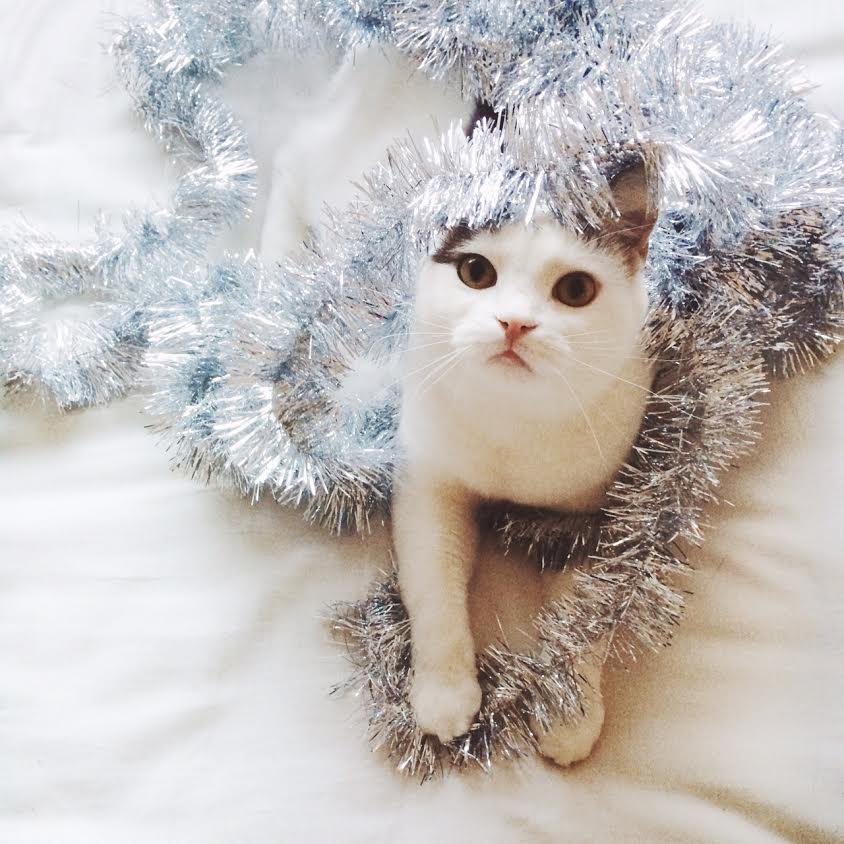
holiday lucy says happy holidays. and omg. when i took this photo i couldn’t stop smiling.
and because i can’t let the new year start without one last DIY — come back on thursday for a fun NEW YEARS EVE DIY!
-
happy xmas and bye
it’s finally here! i hope you’re celebrating this week, and if you’re celebrating, i hope you’re as excited as i am to be celebrating. ok anyway, this year has been amazing and stressful and enlightening — and i spend almost every waking moment brainstorming and planning and making for this blog so i’m really excited to take a few days off and shut off my computer for a change.
my family is all going to be together for the entire week starting today and we’re going to HANG OUT and i can’t wait!
holiday lucy says happy holidays. and omg. when i took this photo i couldn’t stop smiling.
and because i can’t let the new year start without one last DIY — come back on thursday for a fun NEW YEARS EVE DIY!
-
6 DIY gifts you can make this weekend
it’s the final stretch for holiday gifting you guys! but that doesn’t mean you can’t CRAM all your shopping and making and wrapping into the next few days.
here are six of my favorite easy DIYs that would make perfect homemade (but not all homemade-y) presents and — of course, that you could make in a couple of hours!
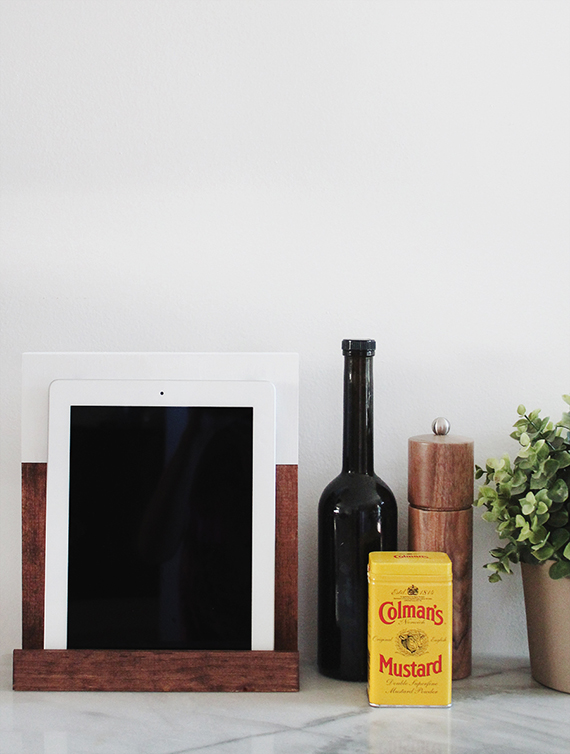
01. the DIY wood ipad stand is perfect for the cook in your life
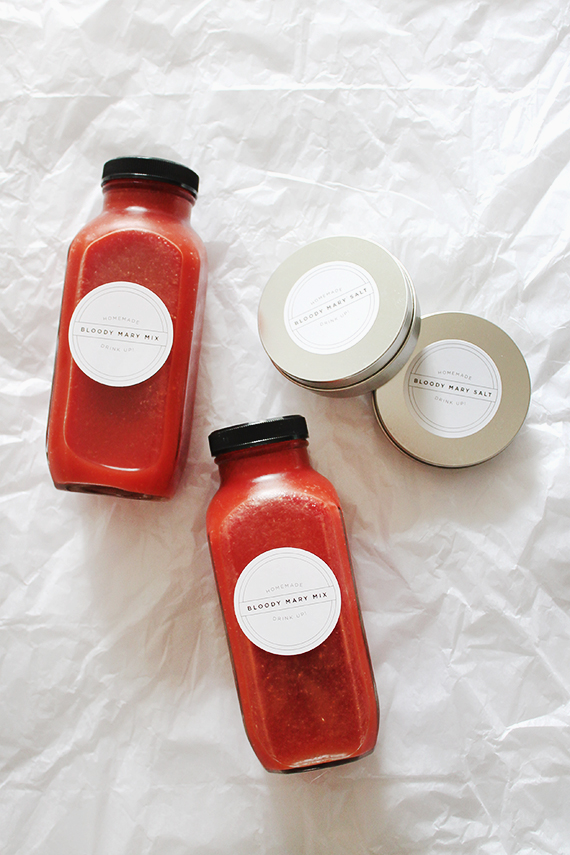
02. DIY bloody mary mix gift sets for the guy or girl who has everything … or just likes to drink.

03. DIY color block clock is a perfect gift for newlyweds or maybe your relative who just got a promotion and needs some stuff to decorate their fancy new office!
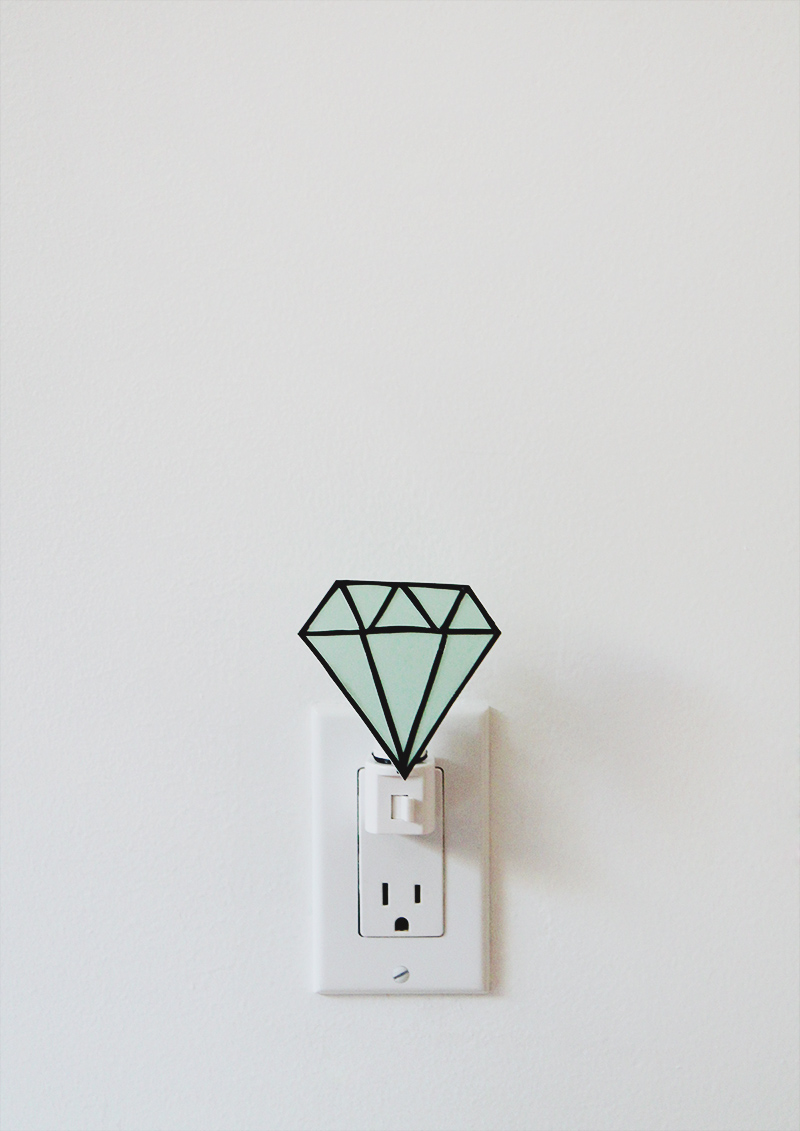
04. DIY gem nightlight for the niece, nephew, or any scaredy cat you know whose afraid of the dark
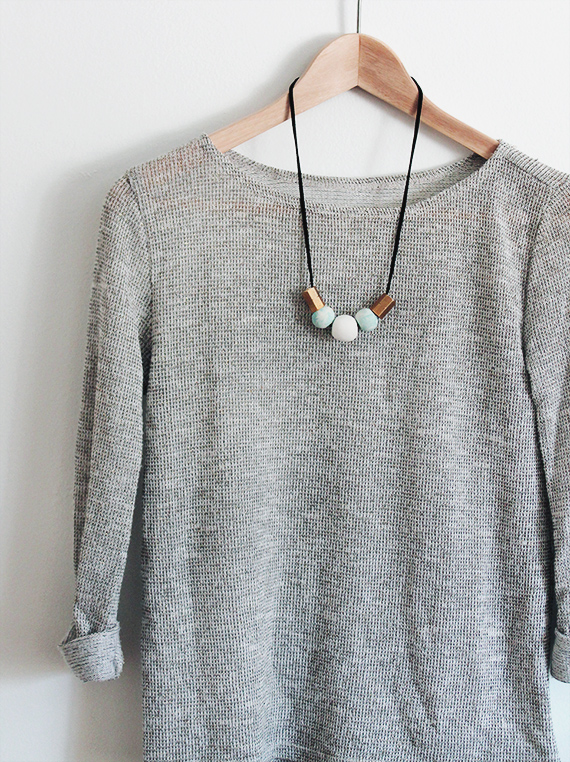
05. a pretty DIY statement necklace for your sister in law perhaps? (btw i wear mine constantly)
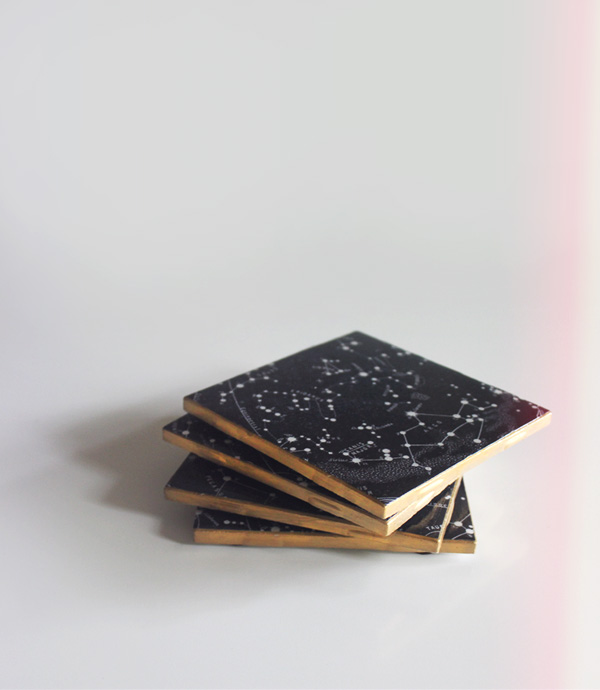
06. DIY constellation coasters for the hostess with the mostest!
-
6 DIY gifts you can make this weekend
it’s the final stretch for holiday gifting you guys! but that doesn’t mean you can’t CRAM all your shopping and making and wrapping into the next few days.
here are six of my favorite easy DIYs that would make perfect homemade (but not all homemade-y) presents and — of course, that you could make in a couple of hours!
01. the DIY wood ipad stand is perfect for the cook in your life
02. DIY bloody mary mix gift sets for the guy or girl who has everything … or just likes to drink.
03. DIY color block clock is a perfect gift for newlyweds or maybe your relative who just got a promotion and needs some stuff to decorate their fancy new office!
04. DIY gem nightlight for the niece, nephew, or any scaredy cat you know whose afraid of the dark
05. a pretty DIY statement necklace for your sister in law perhaps? (btw i wear mine constantly)
06. DIY constellation coasters for the hostess with the mostest!


