diy modern dreamcatcher
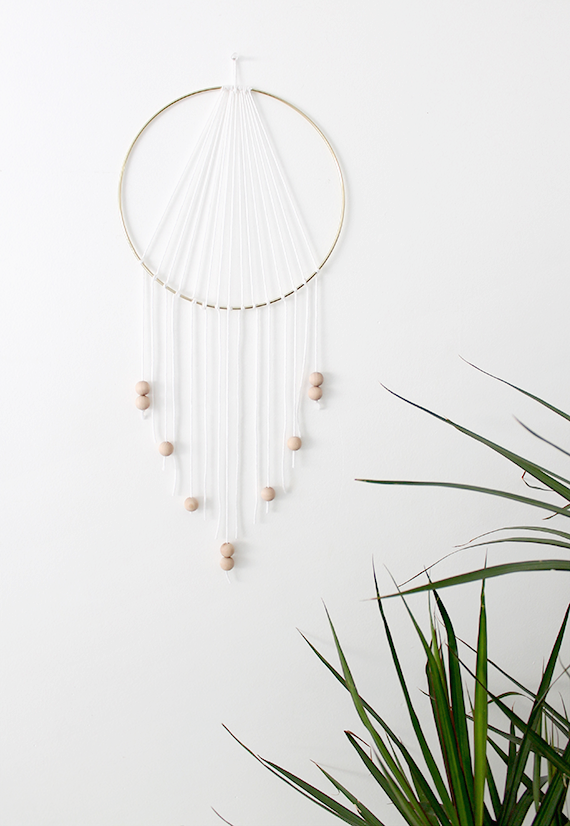
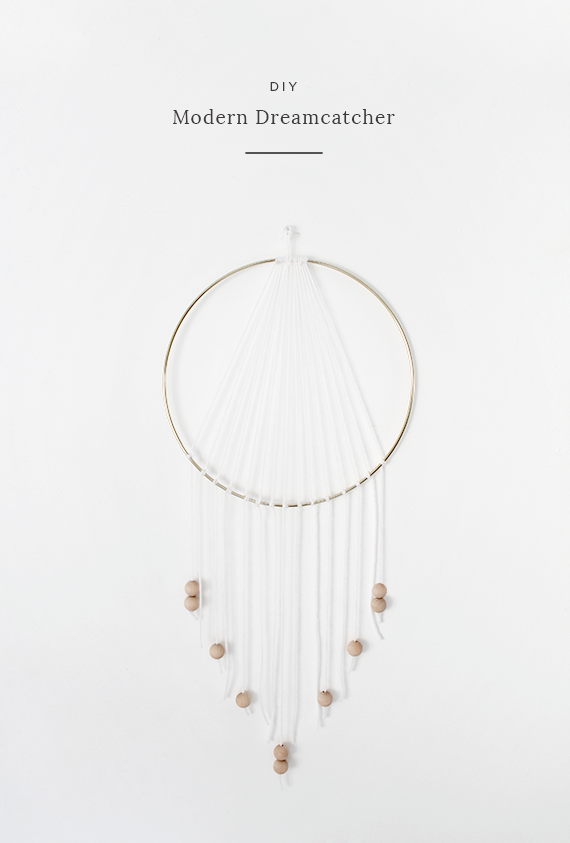
super excited to share todays DIY with you guys — i actually had planned on making something completely different last week, but i couldn’t find the supplies in my mess. instead i found this hoop i had bought months ago and never had done anything with it – and decided to whip this up. i’m kind of obsessed with looking at it.
materials
- 12″ macrame ring
- white yarn
- wooden beads
- scissors
- a toothpick
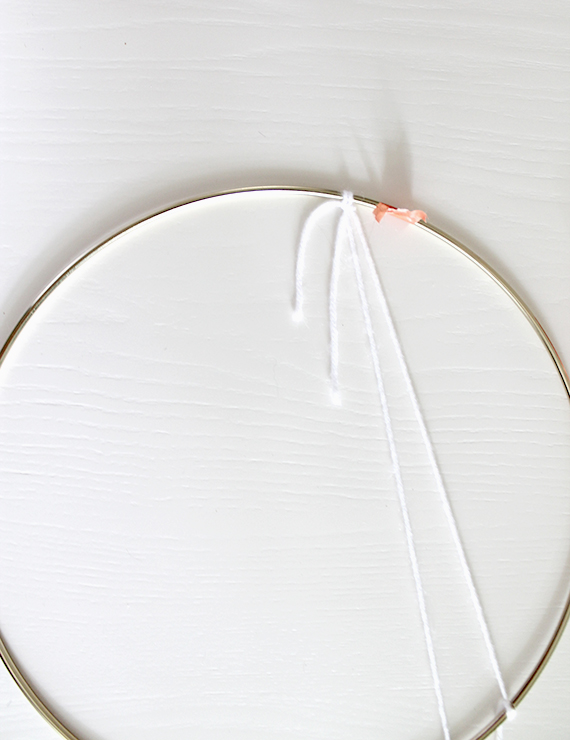
01. start with your first piece of yarn by tying and knotting it on the top of your ring. (i used a piece of washi tape to keep them from sliding). use long pieces so that you can have flexibility later when trimming.
02. tie and knot the other end as tightly as you can on the bottom of your ring. you can slide your yarn around once you have all your pieces tied, so don’t worry about the placement too much. if you’re having trouble making it tight, tie it a little higher than you’re planning on having it and slide the yarn down once knotted.
03. do this as many times as you want. if you’re doing the same bead pattern, make sure you have an odd number of yarn pieces.
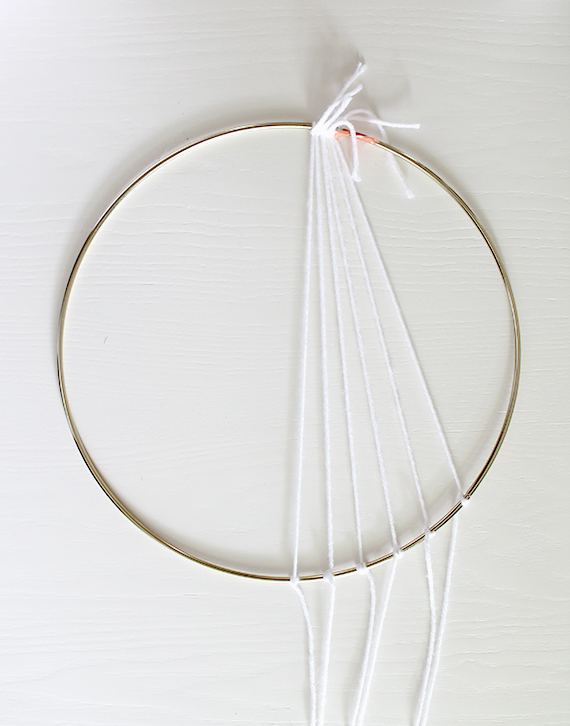
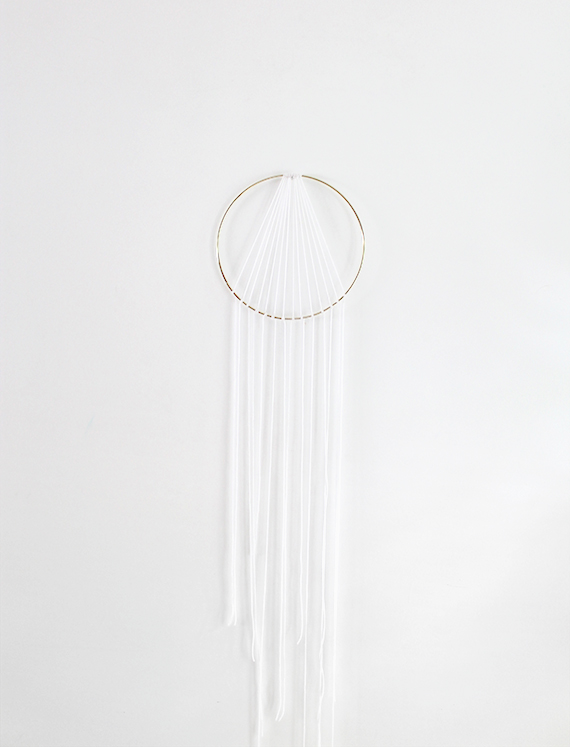
04. once you’re done tying all your yarn, scrunch your top knots together as tightly as you can. trim the ends off.
05. hang your ring on a wall where you can step back and slowly trim off the bottom ends. do this slowly, so you don’t end up cutting off more than you like.
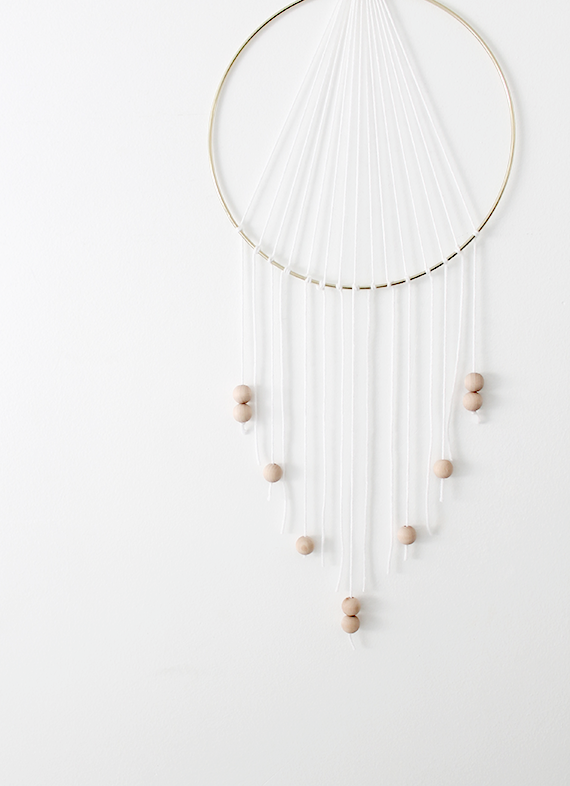
06. attach your beads, if your yarn isn’t going through your bead holes easily, use a toothpick to push it through. you can gently tie each bead on before knotting, so you can step back and make sure everything looks pretty and balanced.
07. once you’re happy with the dreamcatcher as it, tie a small additional piece of yarn to the top for hanging.
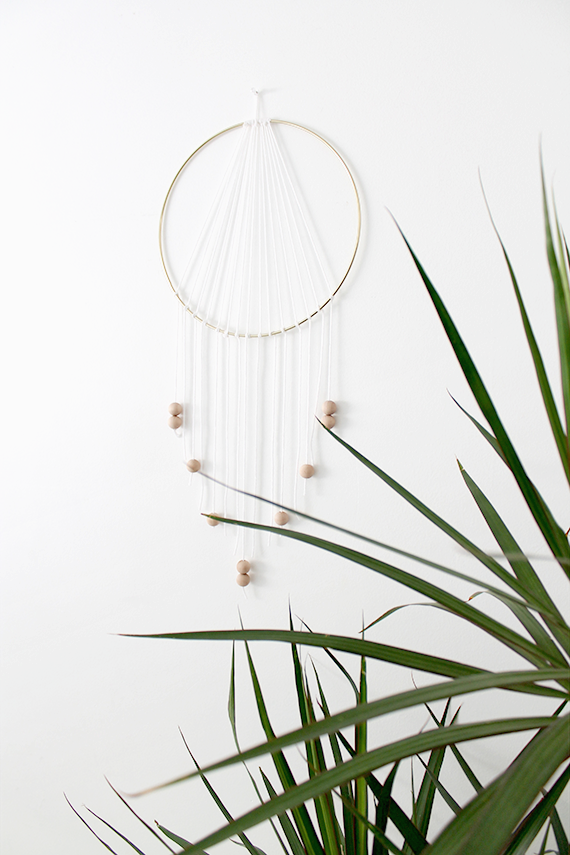








LOVE this! I need something for a blank wall space in our bedroom and this would be great! Thanks for another totally doable but so chic DIY. xo
you are incredible. that is all.
You are more than incredible. I can’t even express it into words.
This is so pretty! Nothing better than a simple project that pretties up the walls!
What a lovely update on the old dream catcher idea … Gorgeous!
This is so neat, I love dream catchers.
http://arnellavanilla.com/category/home/
It’s beautiful!!
hello! I purchased all the fixing to make this lovely piece of work..just wondering what size were the wooden beads you used? I went in the link you posted to Amazon and it showed size 12mm but they look smaller than your pictures 🙁
Thanks for this! It’s perfect.
I was just wondering what you did with the knot, did you tie it twice? Or did you loop it twice? I can’t quite see what you did within the pictures.
This is a very nice version of a dream catcher. I think it would give a modern and sophisticated look to any bedroom and i prefer it to the bright and colourful feather ones. This design suits my personality and the feel of my bedroom better and i would certainly recommend this DIY to my friends.
This is so pretty! I don’t know how to make dreamcatcher 🙂 (It looks so complicated so I choose to buy it. After all, we just need one or two in house :p ) Gonna try this DIY, I really like this modern version! Thank you for sharing the tutorial!
I subscribe to an email called The Spruce and in their email today was 24 Pretty DIY wall Decor Ideas and this was one of the 24. It is so modern and simple that it is gorgeous. I will be making this.
Thank you for not just making it but sharing what you make.