DIY mudcloth napkins
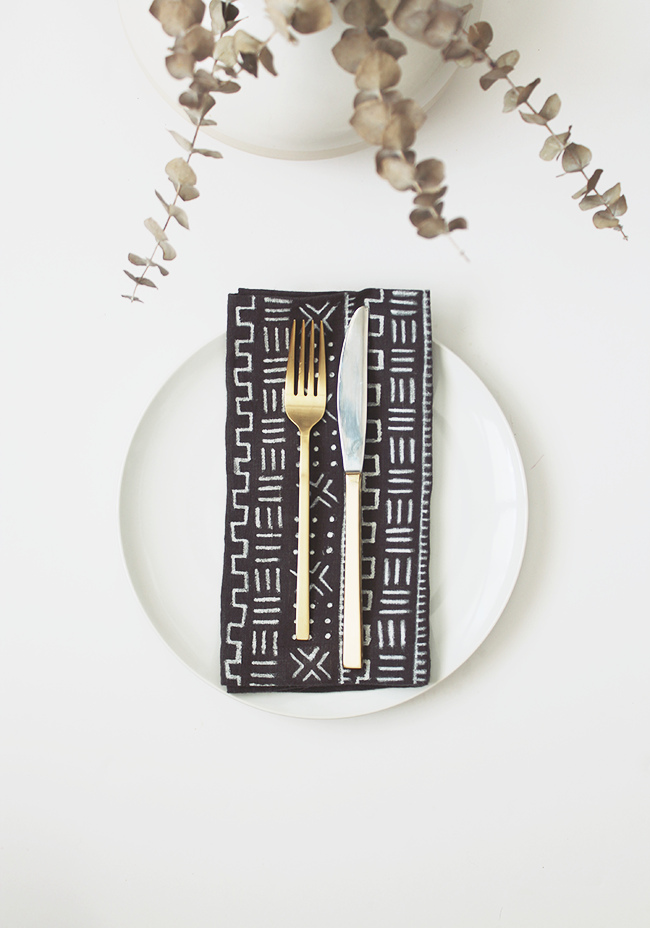
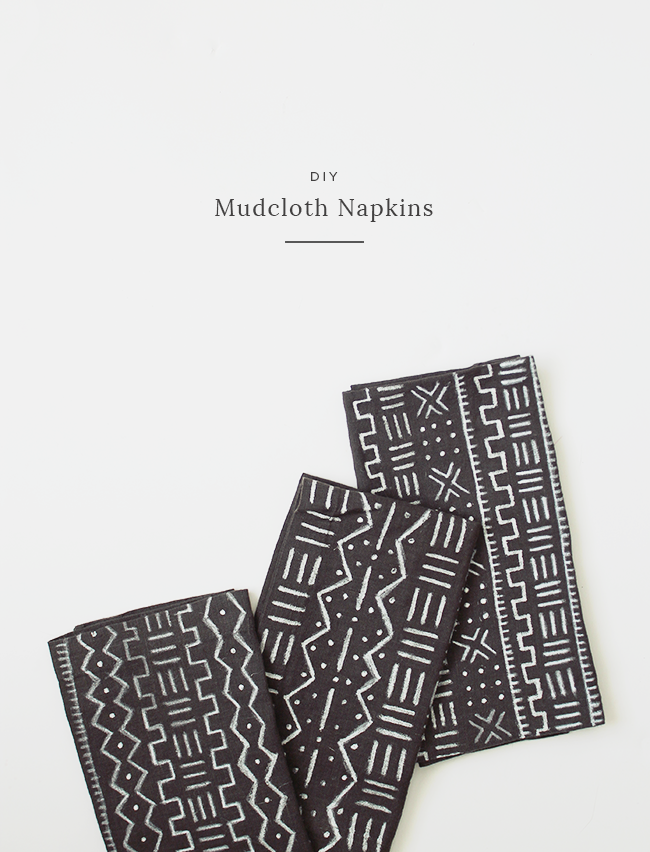
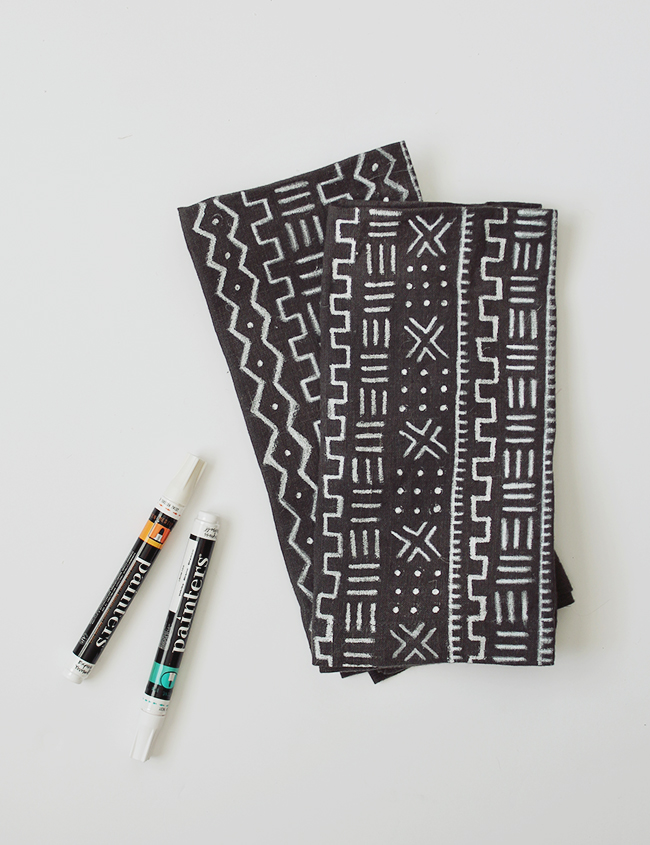
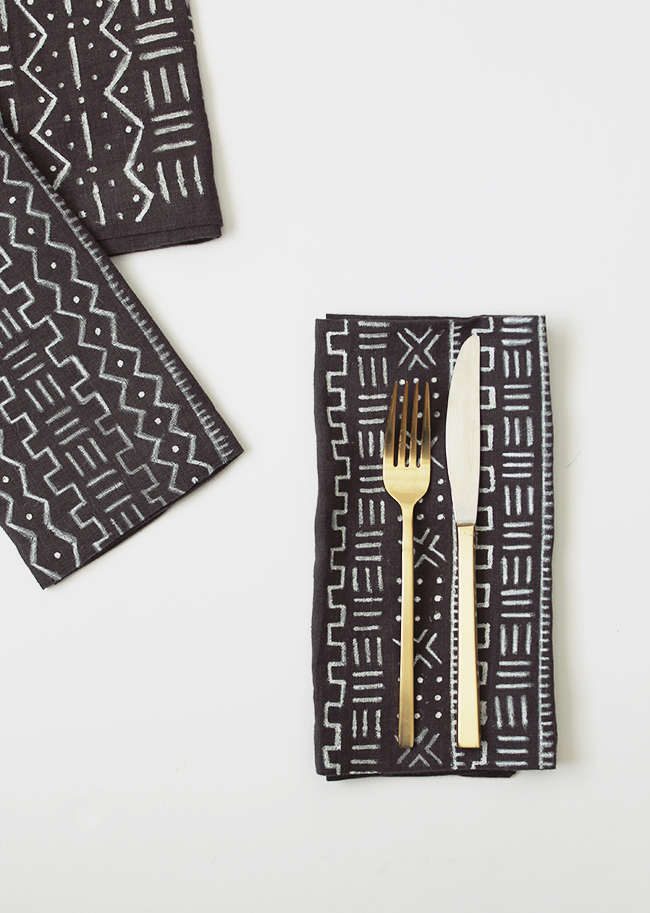
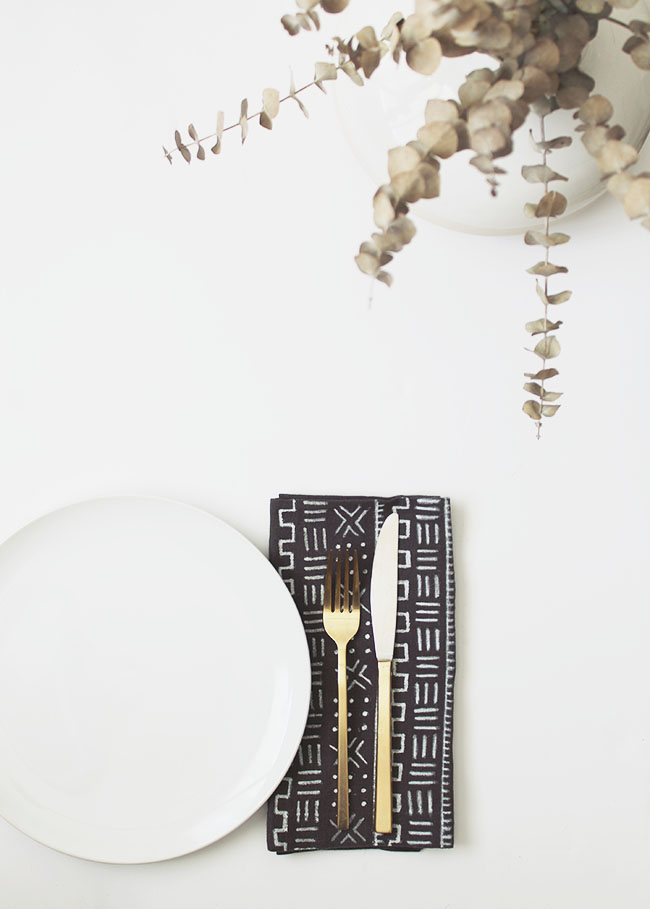
i think you guys are fully aware how much i love mud cloth. i finally scored an authentic mudcloth tapestry at a flea market in paris, but now that the holidays are around the corner, i’ve been wanting to incorporate some into our holiday table because they add so much character to some otherwise plain napkins.
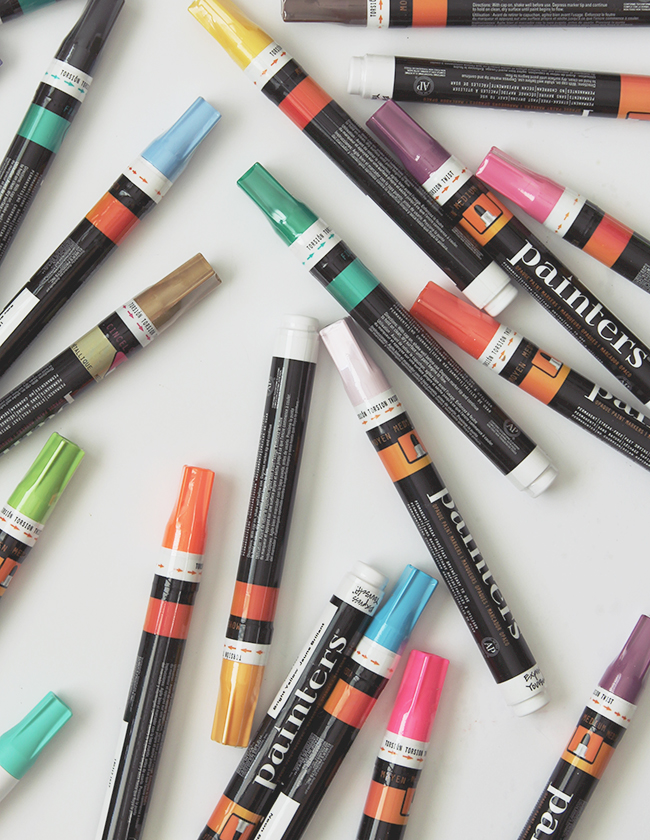
i used painters, and they work super well on the linen fabric — but they also work on almost every surface (wood, glass, metal, etc!) – so i’m gonna be using these for a lot of projects in the future i’m sure. they’re also hosting a monthly contest between now until december, where you can win a prize valued at $500 for showing off what you make (share with #StylebyAisle and #PaintersStyle). they have a different theme each month, and this months theme is kitchen & dining. you can submit your project on their website, and snag yourself a coupon.
materials
- linen napkins
- painters
- iron
- cuticle scissors (optional)
01. find some reference material to help you decide on your patterns.
02. lay out your first napkin on a safe work surface, but you might want to practice your mudcloth drawing technique on some scrap fabric before starting on your napkins. you can also tape down the edges your napkin in case you’re worried about it moving around. you may have noticed, i changed up the pattern on each napkin — i thought this would make the napkins look more authentic as most mud cloth patterns vary a ton, even on one textile. so i used similar patterns but varied the order and what not. also, don’t be afraid of your pattern looking hand drawn – that’s the idea!
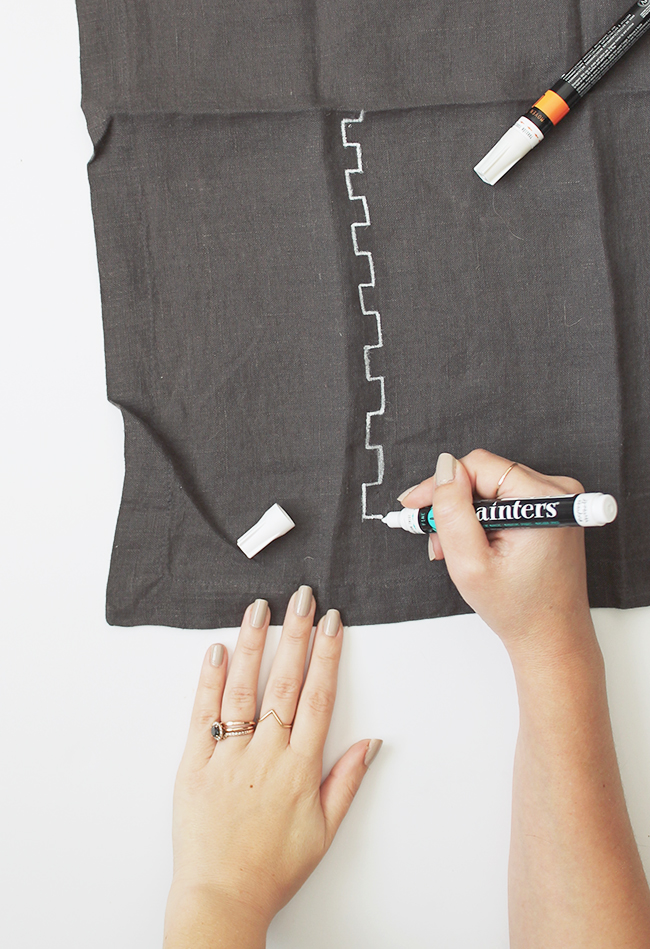
03. start drawing! i noticed on my test napkin that i was going too big and i wanted a pretty big variation of patterns on each side (multiple columns), since you’d usually just be seeing one side when the napkin is folded on a set table. focus on one side and then continue the pattern onto the rest of your napkin.
04. if your painters tip starts collecting fabric and getting chunky, use the cuticle scissors or tweezers to carefully remove the gunk and keep your tip nice and sharp.
05. once you’ve finished your whole set, set it with heat using an iron on a delicate setting. now you can safely throw them in the wash!
THIS POST IS SPONSORED BY ELMERS. ALL OPINIONS ARE 100% MY OWN.





This is perfection!
These look so chic! Love the idea. It would be a great way to add design to a plain tote bag too ☺
Hannah x
http://crafternooncabaretclub.com
This looks so fantastic, what an excellent idea!
Tessa at Bramble & Thorn
I absolutely love how this turned out. Im completely in love with your silverware as well!
Beautiful and simple idea. I love the mudcloth pattern!
Loved this diy so much that you inspired me to create my own mud cloth project for Christmas:
http://www.thebeautydojo.com/mud-cloth-ornaments/
Hi there! I love what you did! I am wanting to make a mud cloth to upholster a chair, do you thing the paint would hold up to that kind of wear? Thanks so much!
What a great idea! I love mud cloth and this is a great little afternoon/evening project to get an expensive look for so little cost. Thanks for the tutorial. I really appreciate it.
Gorgeous! It goes so well with the wares you used.
Love this so much!! This would also be a great part of a house warming gift for a friend. Do you know where the silverware set is from? I’m looking for something just like them. Thanks in advance.
What a great idea! I love mud cloth and this is a great little afternoon/evening project to get an expensive look for so little cost. Thanks for the tutorial. I really appreciate it.