diy wood grain flask
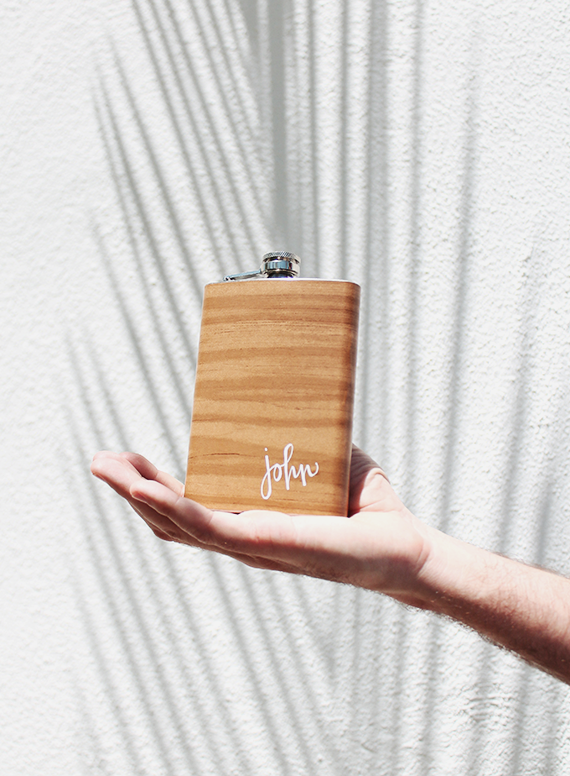
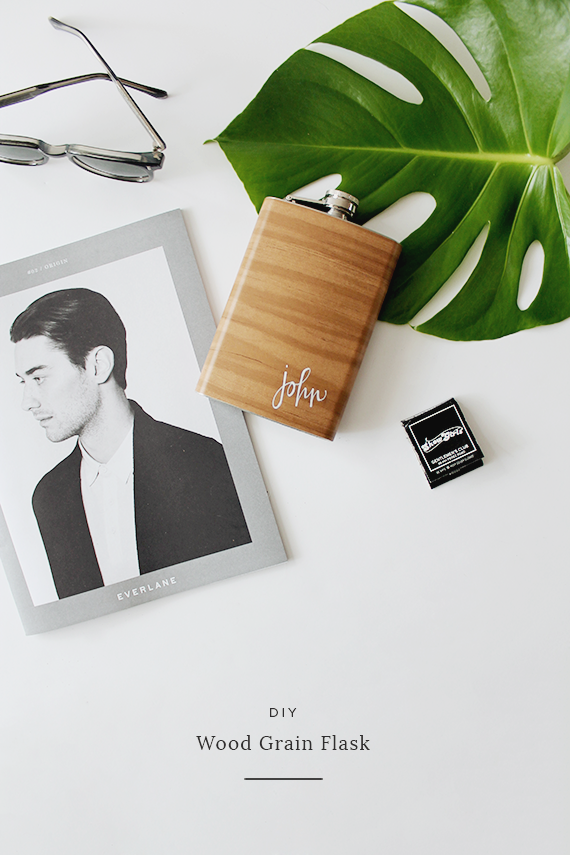
last year for fathers day i made DIY cufflinks. this year how about a flask? lets face it — most men aren’t super easy to DIY gifts for. but that doesn’t mean we shouldn’t attempt it anyway right? who cares if they’ll use it! it’s the thought that counts dammit!
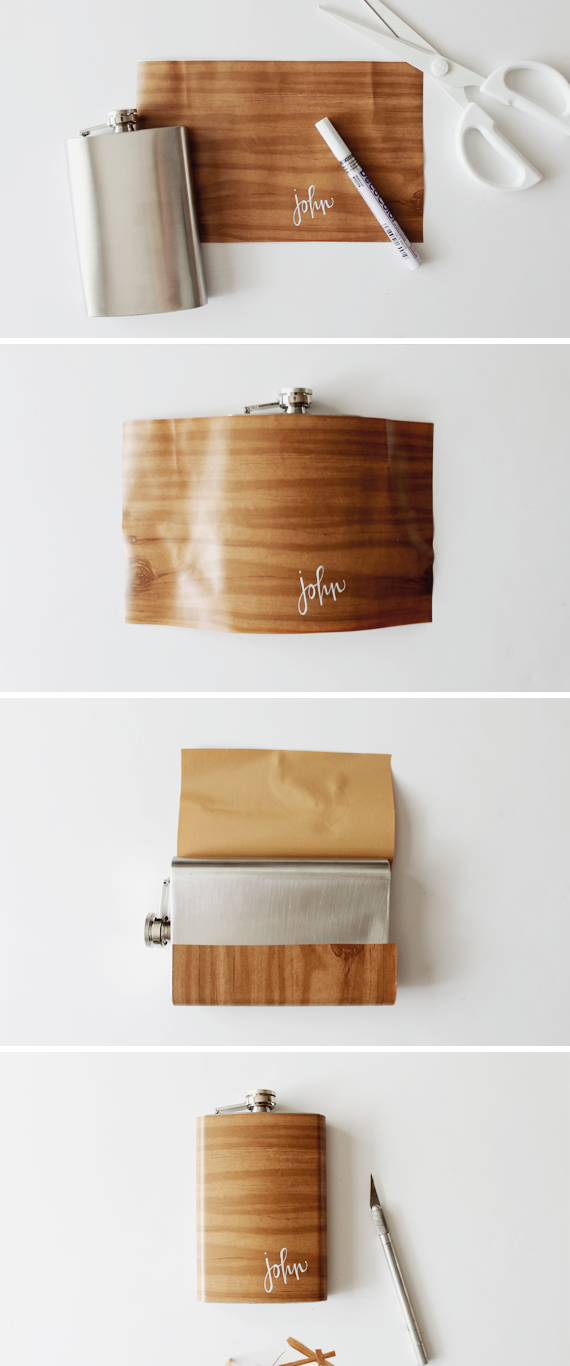
materials
01. cut out a piece of your contact paper to fit around the flask. try to use a smooth piece that hasn’t been damaged like mine.
02. if you want to personalize your flask with your dads name (or whoever’s name, no judgement), do that now. but practice a lot first if you need to. my method for “calligraphy” is to write the name in cursive, and then go over all of the lines that are going down again to thicken those up.
03. peel off the backside and gently place your contact paper down, don’t worry about a little overlap on the top or bottom if you have it, just make sure you like the placement of the name.
04. slowly press down on the contact paper, like one inch at a time, making sure you rub out the air bubbles as you go. you can also use a credit card or a squeegee. continue along the back and you can choose to either overlap the paper or cut (depending on how your grain matches up)
05. using your xacto, slowly run your knife at the exact angle of your flask edges, this will remove all the excess paper, and it worked surprisingly well. the edges are way cleaner than i expected!
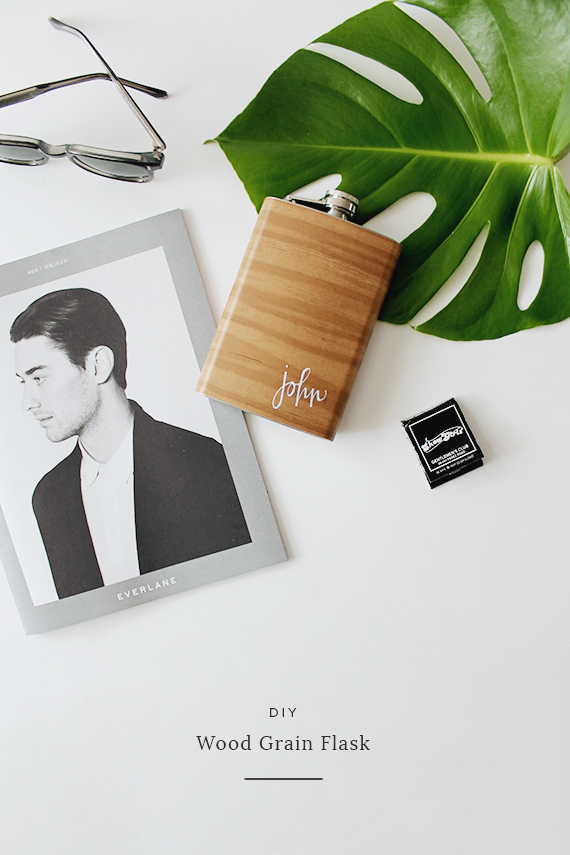
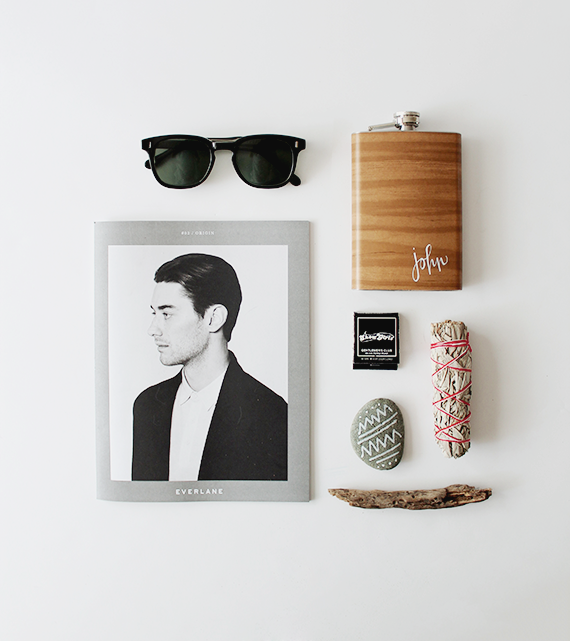
you can even go the extra mile and fill it up with his favorite booze, as well as the leftover bottle. or keep the bottle for yourself. because that’s what you were just thinking you’d rather do.
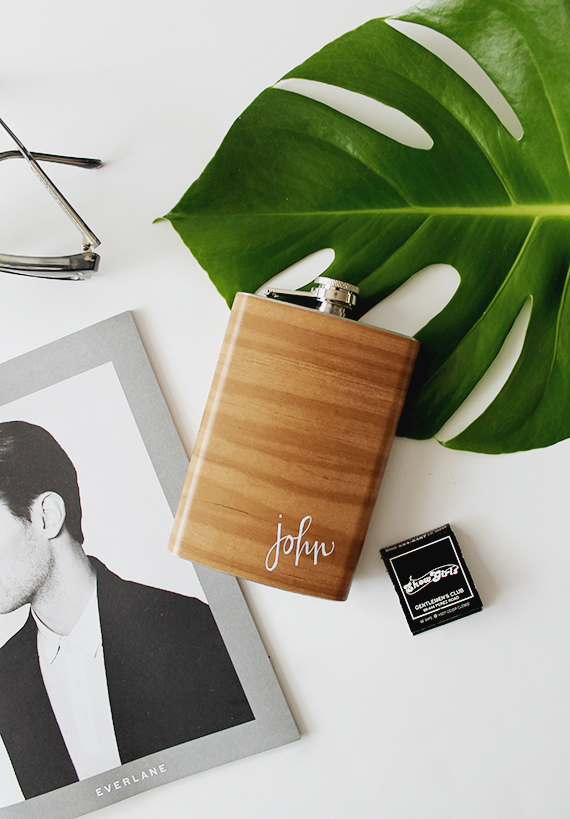
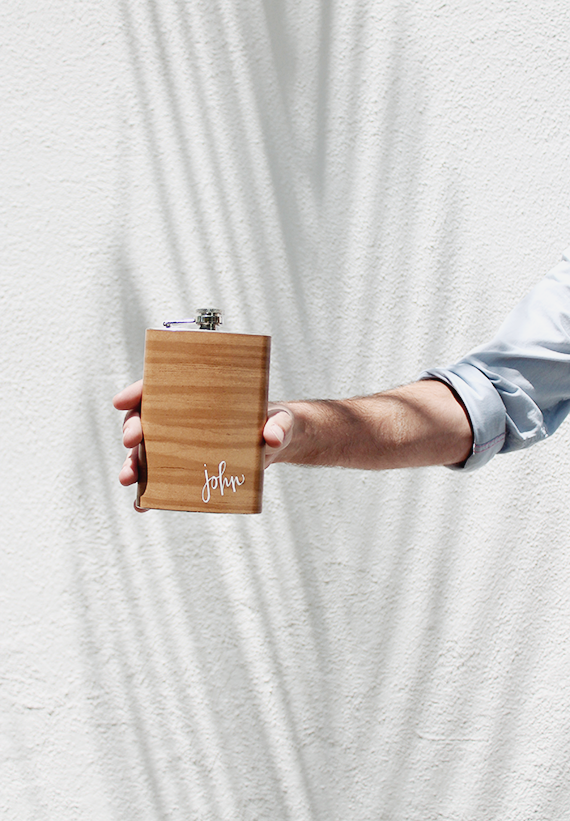



Simple and fantastic idea!
Janine Maral
http://www.janinemaral.com
Yaas! Awesome idea.
i just LOVE your DIYs. so simple, but always very elegant. this is another great idea to “pin” for down the road. thanks!
Super cute Molly! Snagging those matches paid off 😉
This is absolutely fantastic. I appreciate how simple the diy is itself but also how classy the final result was. Pinning!
How does it hold up when it gets wet?
Hah! This is super clever and sort of 70’s retro. I love it.
Wish I’d seen this before Father’s Day!
It’s really awesome! Thanks for your Diy ! Check this out >> http://www.newdiydesign.eu/slipper-boots-free-crochet-pattern/