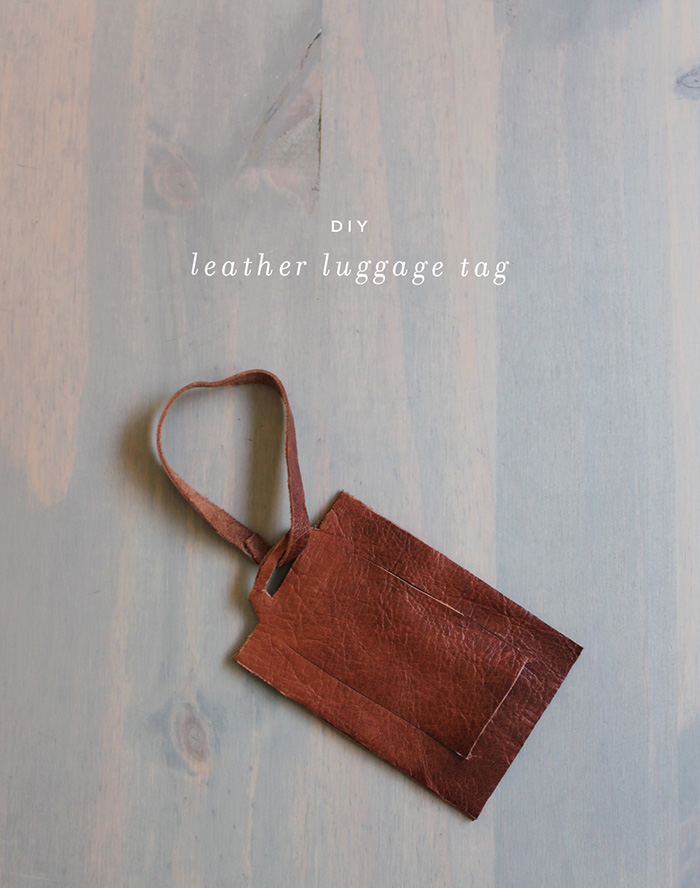
diy leather luggage tag
i love brown leather anything but can’t sew – so i decided to do the easiest and quickest way to make a luggage tag for my trip. all it requires is cutting and gluing, could that be easier? don’t think so.
i was a little afraid of doing a no sew attempt, and i had no idea if the super glue was going to be sturdy enough for the leather. but it’s been a few weeks and it seems to be holding up just fine.
DIY LEATHER LUGGAGE TAG
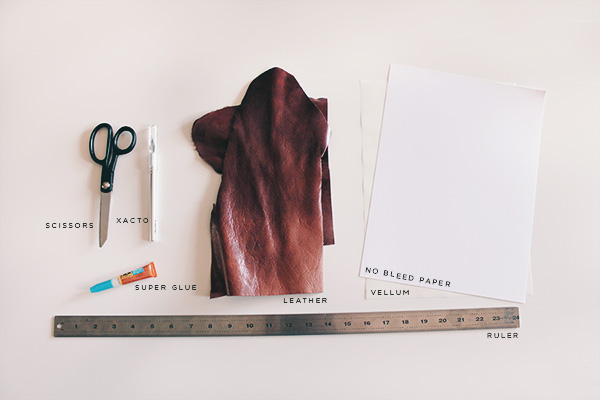
SUPPLIES
a piece of leather hide (i bought mine from the local shoe repair store)
super glue
a ruler
an xacto knife
scissors
a sheet of thick or no bleed paper
a sheet of vellum or transparency paper *
* i like how the vellum fogs up the contact info a little, it looks kind of … chic to me! but transparency paper would work just fine as well.
the CUTTING
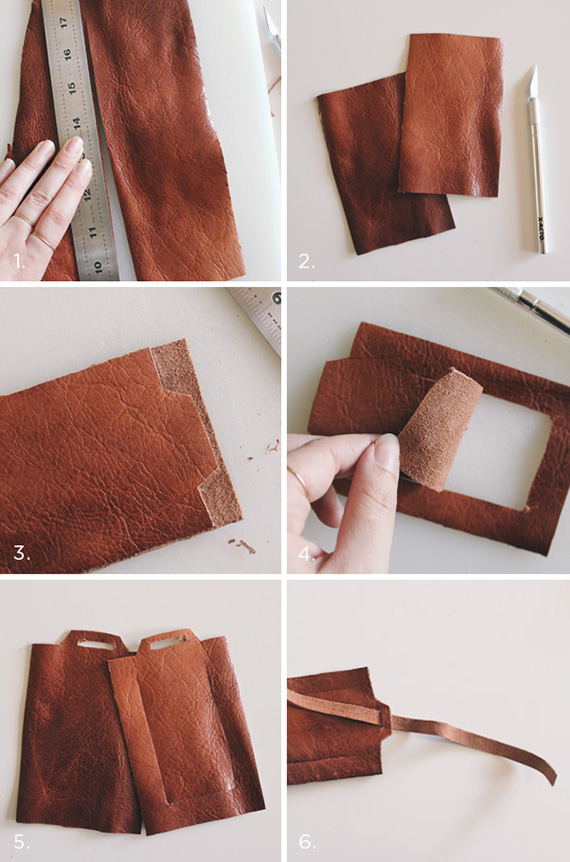
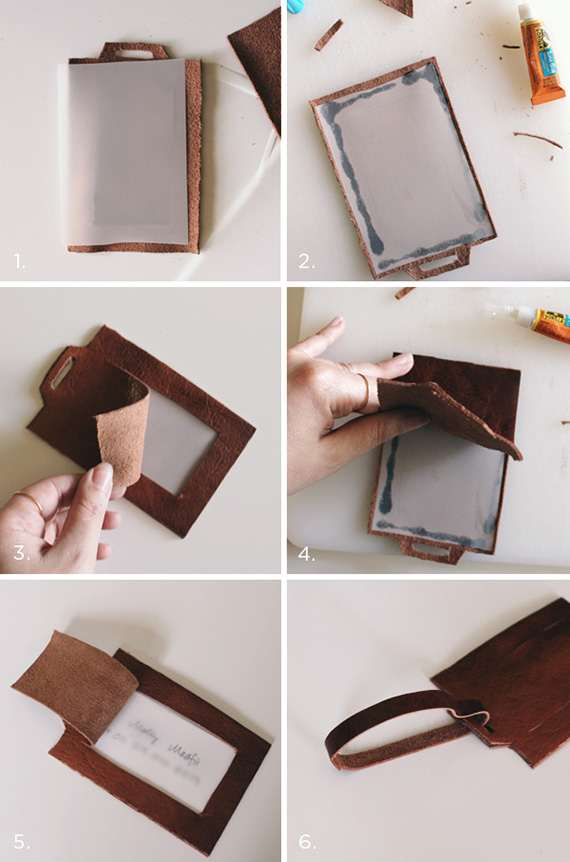
STEP ONE cut two pieces to your desired size, with about a half an inch extra length wise
STEP TWO line them up on top of each other and trim to finesse. mine definitely weren’t perfect, but similar is good (you can do it a little at the end too)
STEP THREE cut the top of one of your pieces to make a trapezoidal eyelet
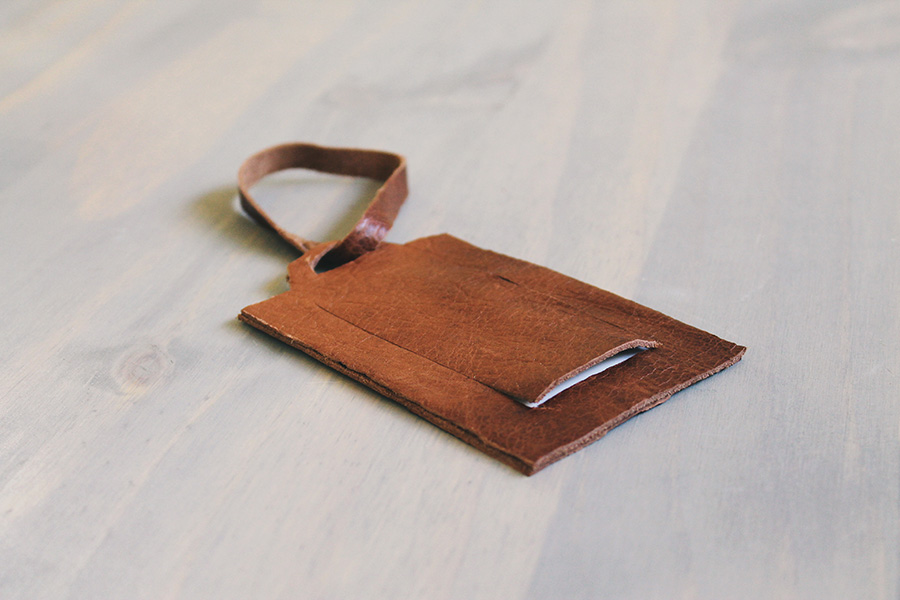
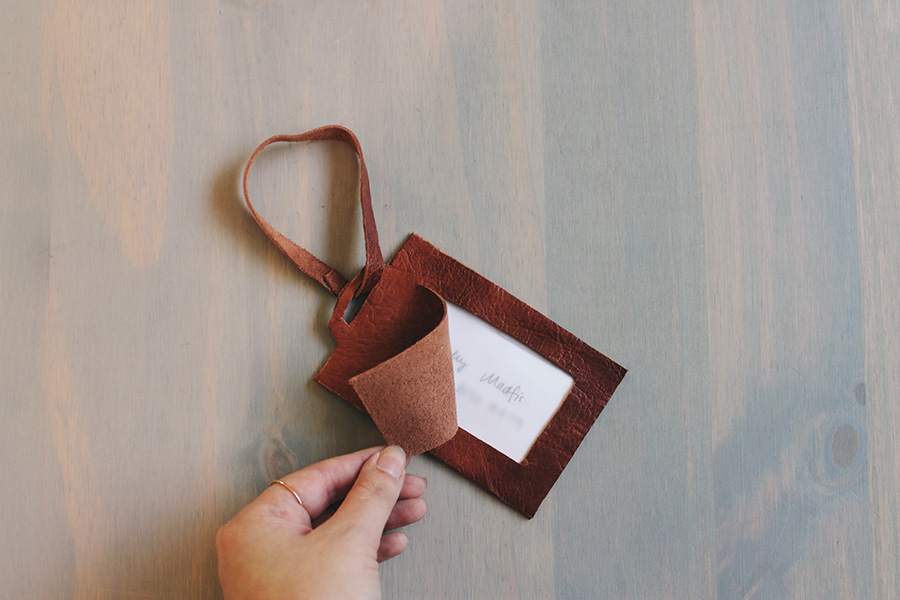
STEP FOUR one of your pieces, carefully cut three sides for the opening that folds up for the card
STEP FIVE cut a matching rectangle within your eyelet
STEP SIX cut a long thin strap that fits within in the hole and make sure you have a fairly large loop when you bring the ends together
the GLUING
STEP ONE cut a piece of vellum or anything that’s transparent to fit in your cut out
STEP TWO carefully superglue the edges to your front piece, being very cautious of not getting glue on the flap
STEP THREE once it’s dry, make sure the flap still folds up but the vellum feels secure
STEP FOUR glue the back piece to the front piece, going from one side down, LEAVING THE TOP SIDE AND EYELET unglued
STEP FIVE once dry, cut a piece of paper with your contact info and slide through the top side
STEP SIX glue the ends of the looped strap together, once dry, you can tie around your bag by looping it through






I love this! It looks great on that bag, too. Thanks for sharing!
beautiful! just in time for travel season (: thank you for sharing. may i ask where that gorgeous bag is from?
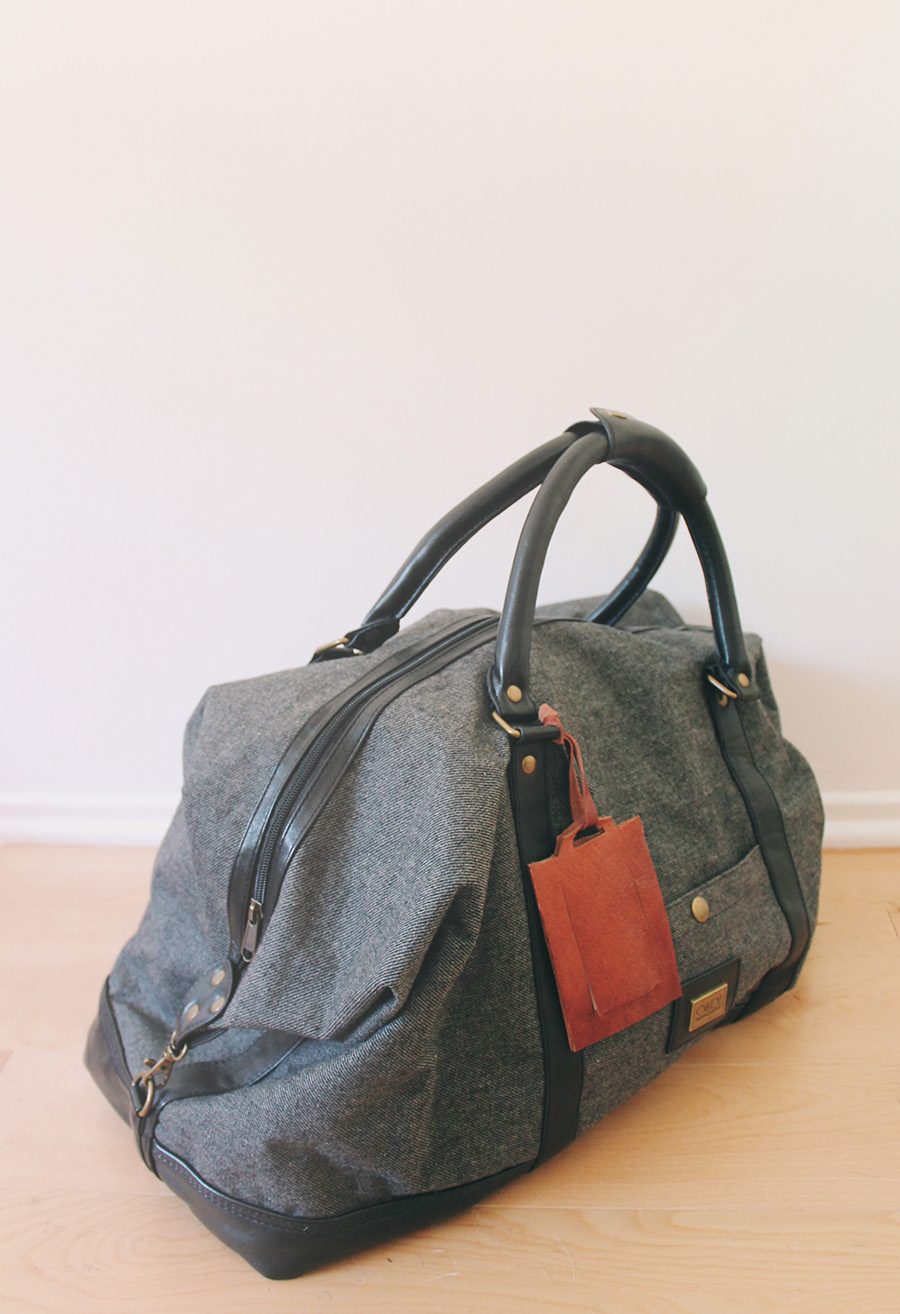
+ thanks jack! the bag is by obey, i bought it about a year ago from urban.
Beautiful! I love the no sew approach 🙂
Lovely blog! The steps to making this luggage tag seems straightforward enough, i might try it one day myself!
I’m passionate about handmade products and am currently running a blog-centered social media campaign that aims to encourage individuals to support independent jewelry designers and their handmade items. You can check out my blog here: http://www.beadthechange.wordpress.com 🙂
Love this! I did a luggage tag DIY too- but with a ready made one 🙂 So I only had to stick on stuff 🙂 Just wanted to ask if you’ve tried this yet and if the superglue held? I’ve had some problems with superglue projects in the past, especially when sticking metal on metal 🙁
I use Supertite Fusion-Tack Adhesive it’s industrial strength, clear, permanent for leather, glass, wood, fabric, more.
I know this is a few years later, but I was wondering how the tag has held up! I want to make one for my fiance for his birthday, and I don’t have a sewing machine, so it’s either the by-hand approach, or glue!
Thanks so much!!
I’ve made leather holders for hunting licenses. Punch holes around edges that will be closed with a leather punch awl or sturdy ice pick; whip stitch through the holes on 3 sides leaving 1 short end open to insert an ID card. Supertite Fusion-Tack Adhesive for leather and the see-thru window with heavy clear acetate.