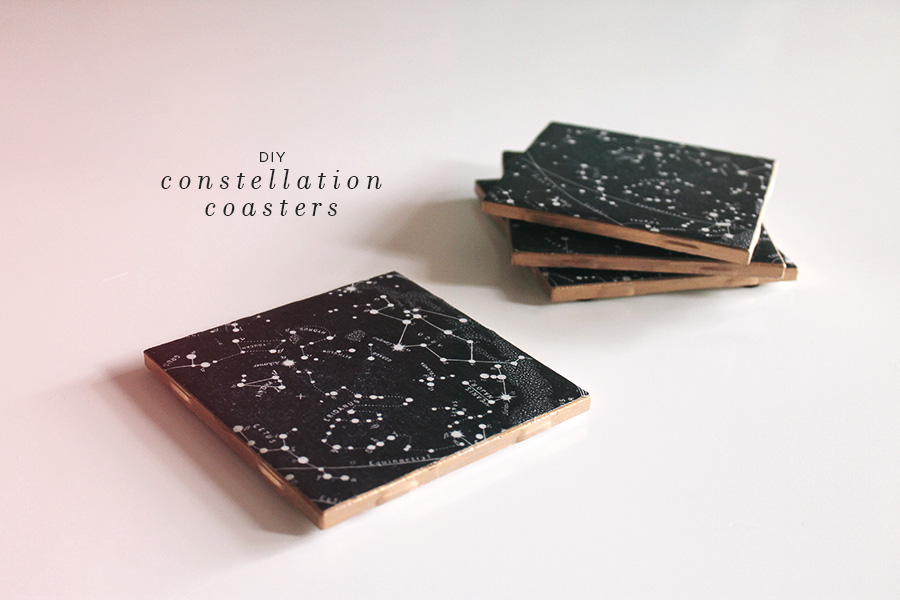
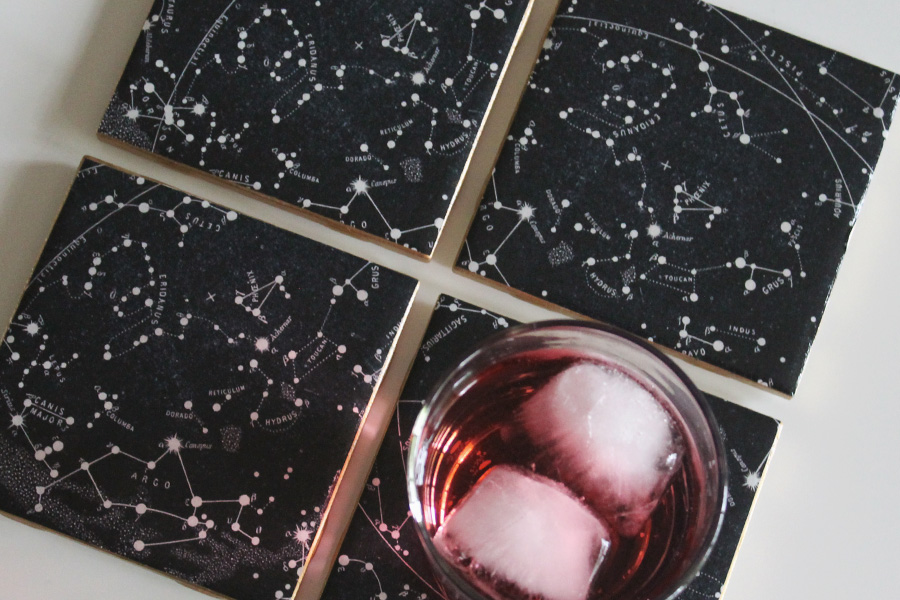
diy constellation coasters
if you read this blog, you’ll notice it’s been a while since i’ve done any DIY crafts. well SORRY i’ve been super busy and i moved and gimme a break! now that i’m a lot more settled in the apartment, i’ll be doing more DIYs again I PROMISE.
i feel like no matter how many coasters are in the room, there will still be one too many drinks. is this a problem for everyone? so i decided we needed a set JUST for our office.
this is a really easy DIY that just requires some patience and a steady hand. and if you have a decent printer at home, all you need to do is find a cute image you want to use and print it out!
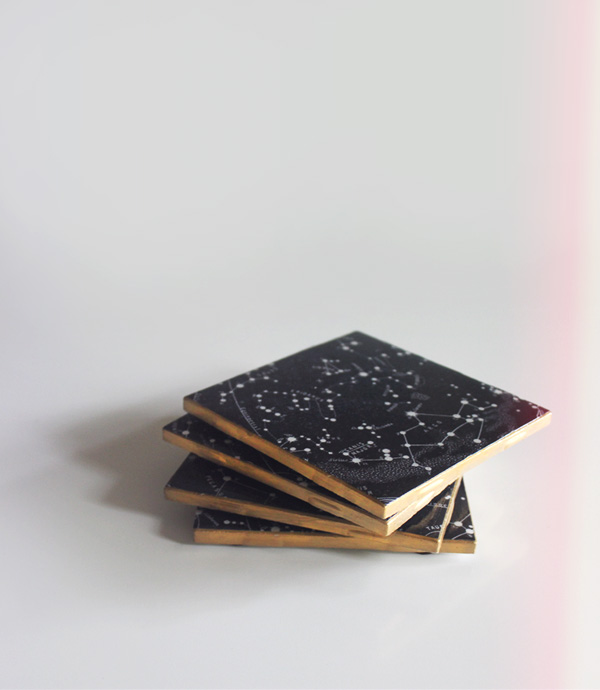
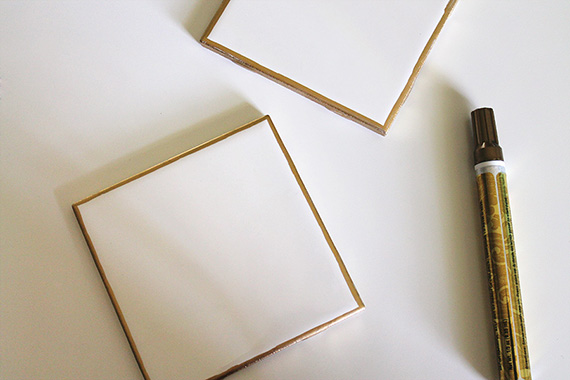
i added the gold edges so the coasters would look less like tiles and more store-bought. i think it did the trick!
DIY CONSTELLATION COASTERS
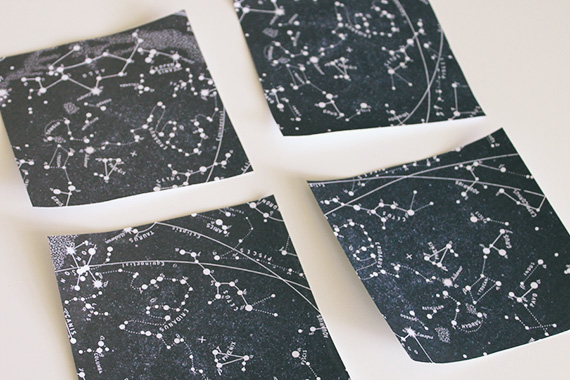
print outs of your choice of design (i found this vintage celestial print and just used it all four times in different areas)
white ceramic tiles
felt stickers for the bottom
mod podge
spray shellac
an xacto blade
pencil
foam brush
gold leaf pen or paint pen (optional)
[not pictured] a ruler and an acrylic roller or credit card in case of air bubbles
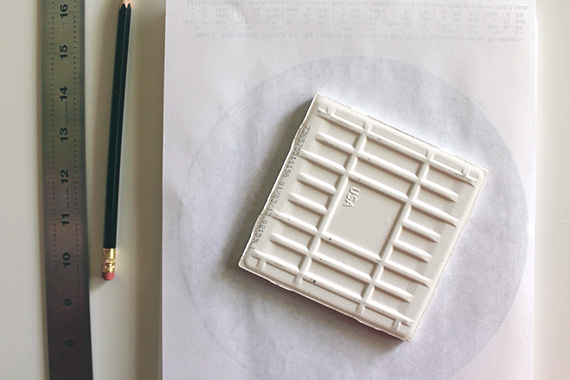
STEP ONE turn your tile over and with a pencil and blade, cut the shapes out from the print out.
STEP TWO [if you want to] use a marker to color the edges, and do a small border on the top so that the white won’t be visible at all on the top.
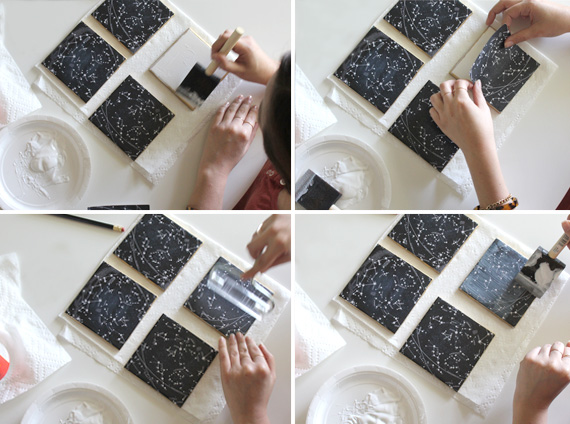
STEP THREE do an even coat of mod podge over the whole tile
STEP FOUR quickly and delicately, place your cut out on one end of the tile, lining up the edges. to prevent air bubbles, slowly press down from that end to the other, smoothing the surface as you go.
STEP FIVE go over the surface gently with a credit card or an acrylic roller to ensure the air bubbles are gone.
STEP SIX go over the whole thing with another coat of mod podge. work from the center out and go gently with your brush.
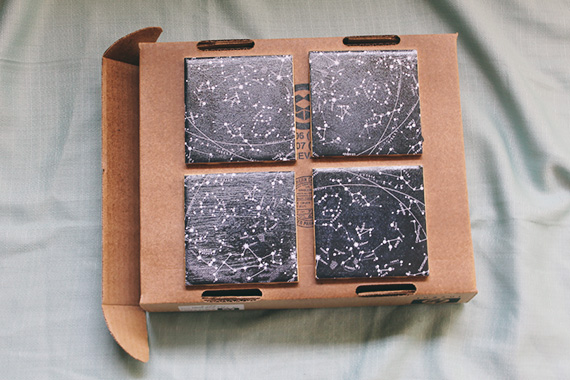
STEP SEVEN take the coasters outside and spray shellac them, 4 times in 30 minute intervals. leave outside for about 24 hours until dry. the more you protect them, the less affected by water damage the coasters will ever be.
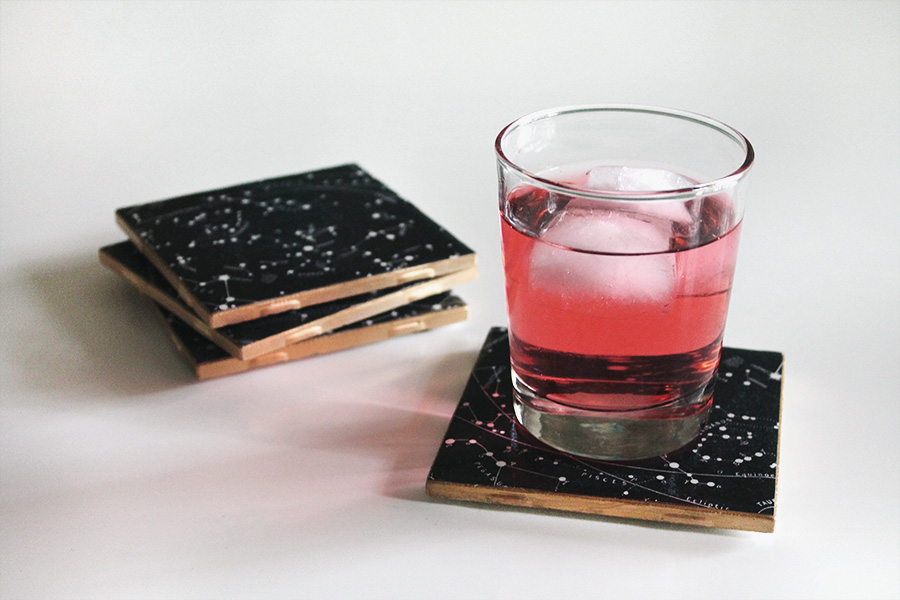
STEP EIGHT once they’re dry to the touch and no longer sticky, stick four felt stickers on each corner and essentially turn the coaster into air hockey pucks. you’ll see what i mean when you put the stickers on. it’s fun!
i did another version as a gift with vintage san francisco maps. this coasters would look great with any sort of cool graphic design, and in my opinion you can hardly tell i used the same design four times. right?





LOVE this! SO doing this this weekend.
+ keep me updated on how it goes! can’t wait to see!
Love the print-outs. I would not have a steady hand for hand-painting this!
Oh my goodness, I love these! By far one of the best examples of this craft 🙂
These are wonderful and such a fun summer idea! I could see sipping drinks with these while gazing up at the stars!
*starry eyed* these coasters are amazing, I can’t wait to make some myself! thanks molly for the great tutorial!
+ thank you!!!
Love! I’m all over this one
I love the idea of adding the color to the sides, thanks for sharing. My hubs is an astrologer — totally hunting down the signs to make him some!!
Just finished making these. i absolutely adore them thank you so much
I love these so so much. I want to do a project like this soon. Thanks for sharing.
I love these so so much. I want to do a project like this soon. Thanks for sharing.
Hello! I repeated this craft but had problems with my cups leaving water stains on my coasters and ruining the design. I was wondering if you had a way to fix this or if anyone had similar problems?
I feel like we all may as well give up now because nobody is ever going to put better stuff on the internet than you. I freaking LOVE these!
I think you would need to seal it. I don’t see them as a good idea with mod podge.
these are the cutest! would love to see the san francisco coasters too if you get the chance, my sister in law lives there so I’m considering making some for her for Christmas 🙂 best, ash
Making these for my sister for Christmas. They’re modge-podged, just waiting for the rain to let up so I can spray them with some lacquer 😉 They look great so far!