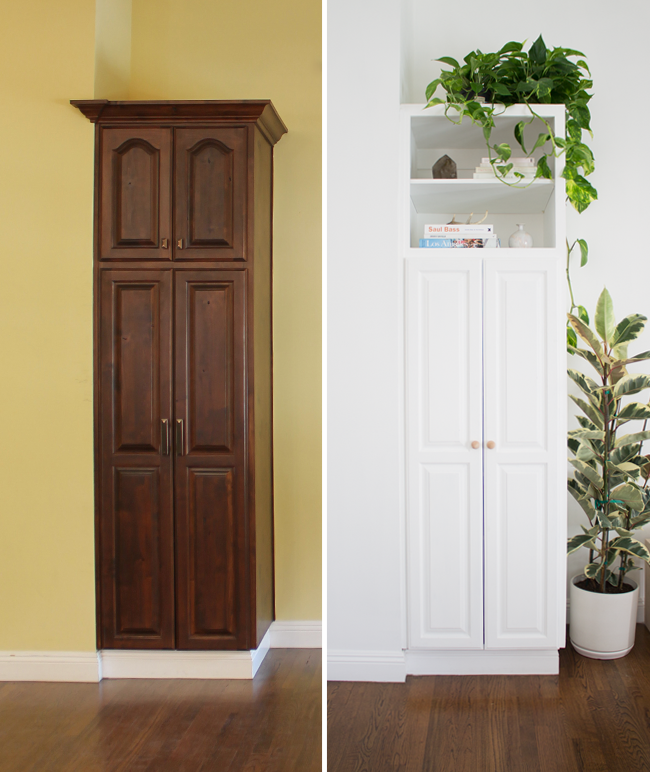
built in cabinet facelift
for some reason the owner before us had installed this big built in cabinet right in the entryway of the house. we initially planned on just tearing it out, but decided we needed the storage and we were too afraid of what the floor looked like underneath. it was this gigantic 9′ eye sore that is basically the first thing you see when you walk into the house — so i had to figure out a way to live with it.
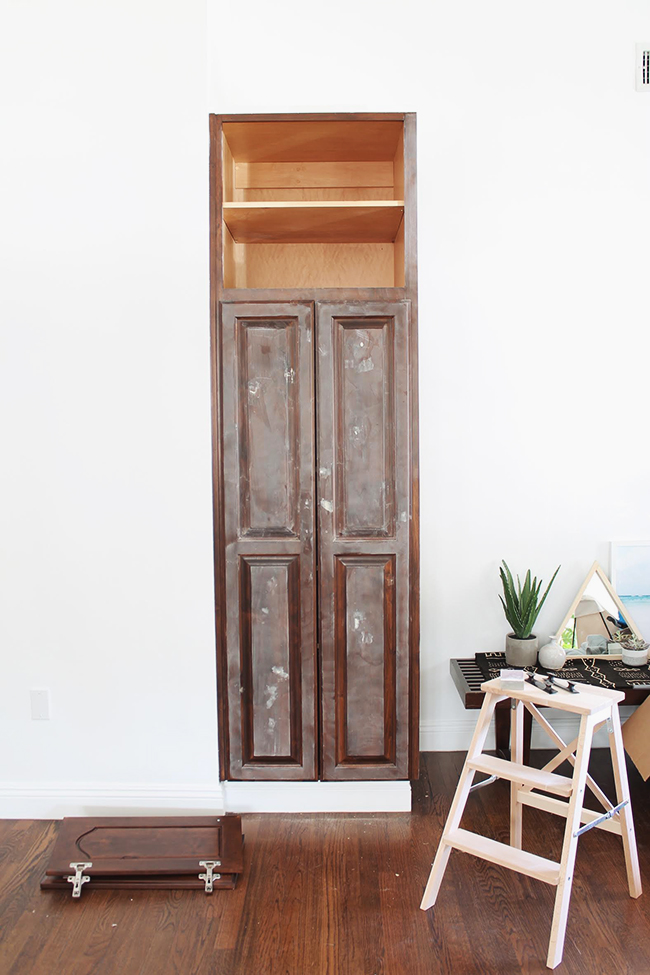
the first thing we did was remove the moulding on top. i had my painters do it, but they essentially just hit it with a hammer and removed it.
also i didn’t realize before moving in that people actually chose to use those cathedral style cabinets, but i can’t stand them. and these are not the only ones — the built in cabinets in our hallway, all the doors in the house have that curve design and i am not a fan. so i knew i had to get rid of those. i first looked into getting custom doors to replace these, but did you know that’s a huge huge thing? like lots of money and lots of phone calls and we were like ok forget it. so instead i just decided i’d remove the top cabinet doors and have it be open shelves.

the next couple weeks, i worked on prepping to paint. yes this took WEEKS. the wood they used for the cabinet had a lot of “character” aka tons and tons of holes that i needed to patch up.
first i used wood filler and a flexible putty knife to fill all the wood holes, scratches and two of the four hardware holes because i wanted to use knobs versus pulls.
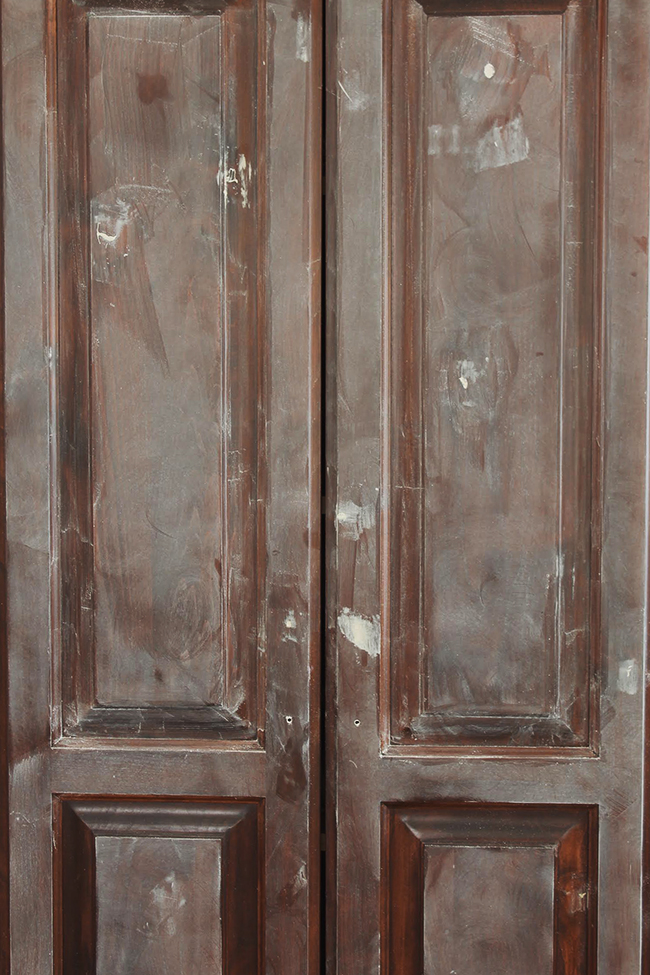
then i sanded… and sanded and sanded and sanded. i may have watched like 3 seasons of friends during this cabinet project. we’ve since bought a sander which i would have much rather used than doing it by hand, but i did it by hand.
after throughly sanding, i patched the holes again and sanded again, to make the holes 100% invisible before painting. once they’d all been patched and sanded to perfection, i used a damp cloth to clean the surface and then painted!
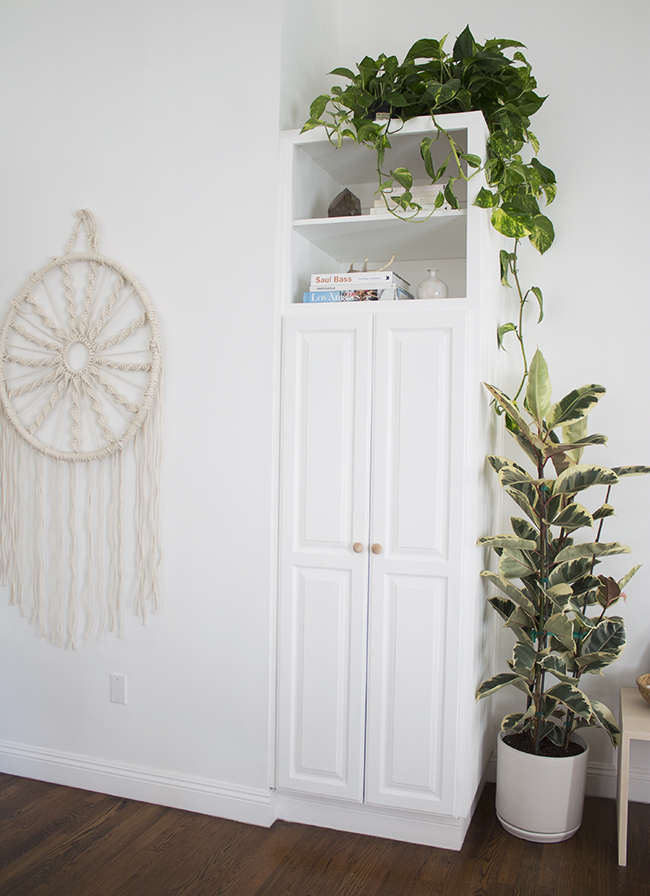
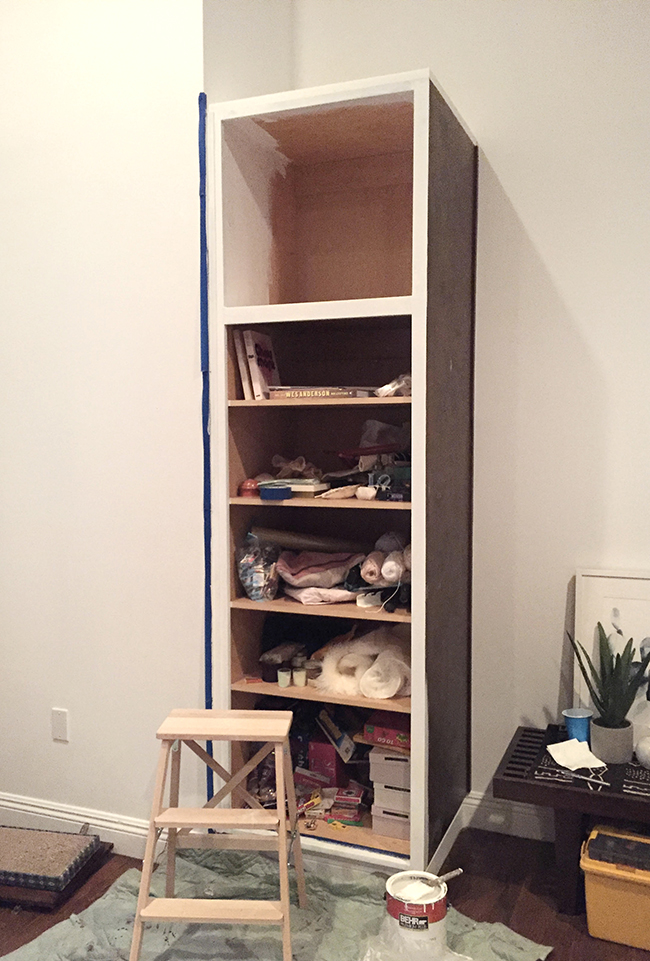
i wanted the cabinet to blend into the walls (the opposite of how it was originally) so i used the same wall paint (behr ultra pure white)
once i finished painting, i used some simple wood knobs and it was done! while i wish the cabinet doors were just flat, i’m so much less offended by it now and can definitely live with it. it’s so much better right?!
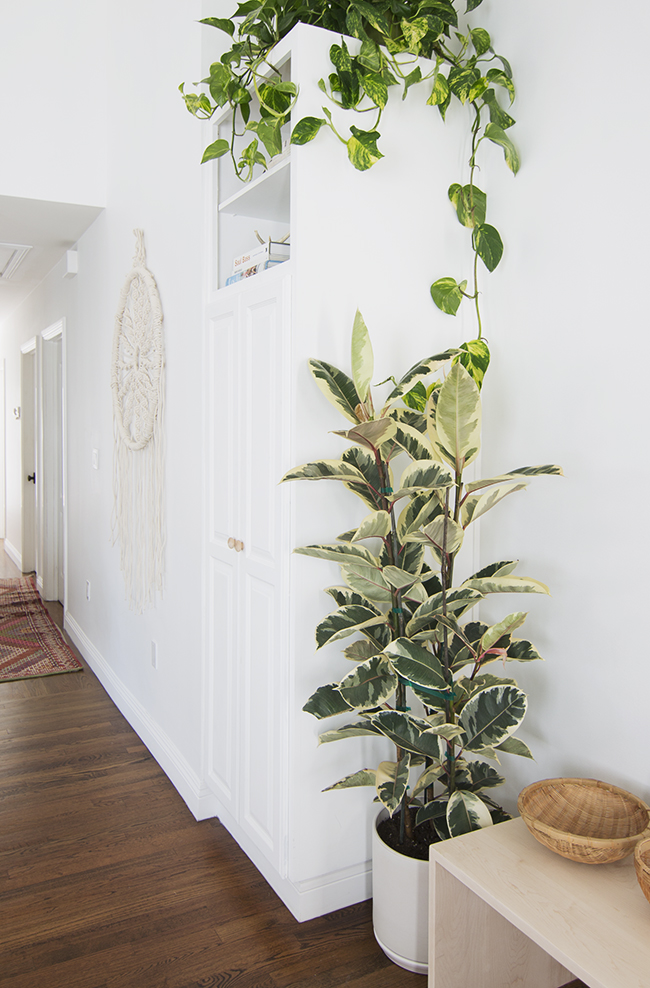
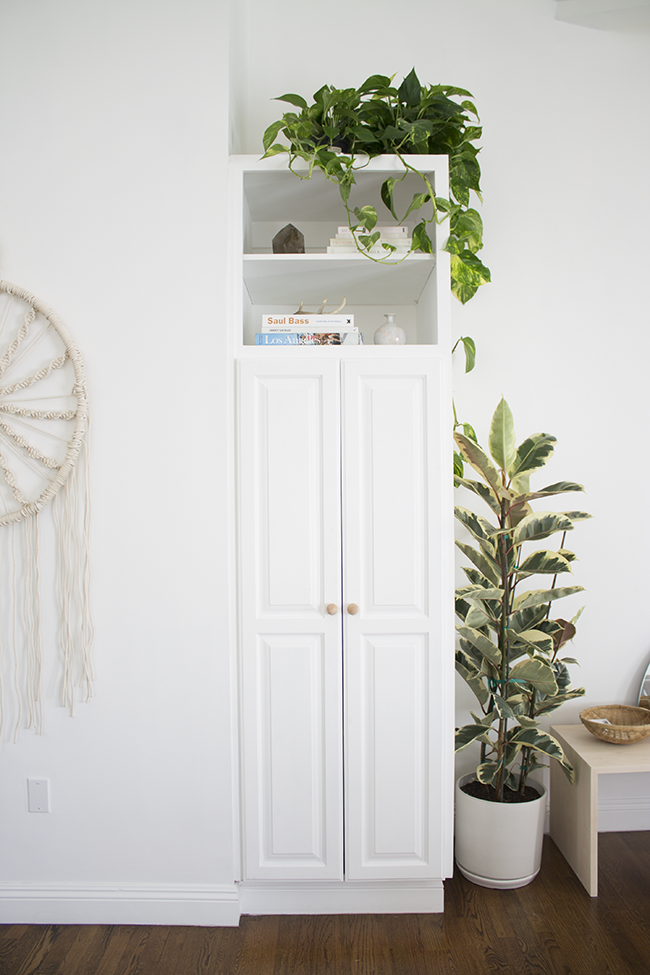
also, when in doubt — throw some plants on it.


So much better! I love it. What is the potted plant on the floor? The leaves are stunning! I need one.
I want to know what kind of plant this is too! It’s lovely.
Looks great! Did you paint simply with a paint brush? how many coats?
what a strange cabinet, kudos on having such a strong eye for design!! it looks so much better now. and yes, bow down to the almighty plant for being able to make ANYTHING look better!
Maybe you could place wood pieces over the existing inward areas to make the dimensionality come outward instead of inward…it could give it a crisp modern feeling…it wouldn’t be flush, but it wouldn’t be dated….it does look soooo much better like thi…good job!
Looks so much better and now blends in with the rest of your house! I really admire your eye for design!
Looks amazing!
This is such a beautiful renovation – it doesn’t even look like the same piece! You did such an awesome job – looks so clean and seamless!
-Clarissa @ The View From Here
Once again you make chicken salad out of chicken sh-t. It blends in so nice now. Great eye AMP
SOOOO much better!! kudos
Looks good. the miracle of paint!! Since you say you would still rather them be flat.. I thought I would point you to the little green notebooks DIY on how to make doors like that flat. 🙂
http://littlegreennotebook.com/2014/06/modernizing-old-cabinet-fronts.html/
This looks fantastic! And honestly, I think that the remaining detail on the doors is nice. The cabinets we repainted in our kitchen are completely flat-fronted, and it’s kind of boring.
What kind of plant is that on the floor to the right of the cabinet? It’s gorgeous!
OMG I can’t believe you sanded by hand and did it all on your own. This project turned out SO SO WELL!! Ah I wish I had your skills and patience. For real though! Need to get on training on that patience heh!
Xx, Carina
Now it looks much better. Great work!
My goodness, that looks a million times better! We have kind-of the opposite problem, in that we’ve been left with a stubby little cabinet that we can’t rip out (also because of the floor inside/underneath) and I’d like to extend to ceiling height. You’ve inspired me to maybe, just maybe, crack on with it!
Becky | accoohtrements life, travel + design blog
Love it (you’re too clever!!) & I actually thought it was a BRILLIANT ‘coat’ cupboard, as it was near the front door….do you need those shelves?
My one wish I had here in Sydney, that I had in our big old country house in England, was a coat, hat,scarf,bag cupboard in the entryway!
And in total agreement, when in doubt of ANYTHING, add some potted greenery!
Melissa
It is so lovely! And plants, yes, they make everything pretty!
Is that a dream catcher to the left? It’s lovely – where did you get it? Love the cabinets & plants too – came over from AT.