-
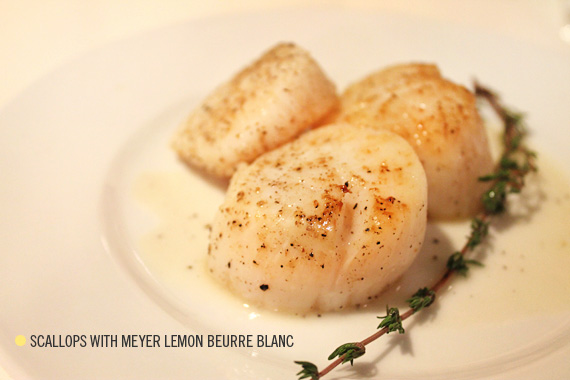
eating this: scallops with meyer lemon beurre blanc
Do you love scallops? I LOVE scallops!!! And I’ve made this recipe a handful of times. It’s easy, impressive, and delish.
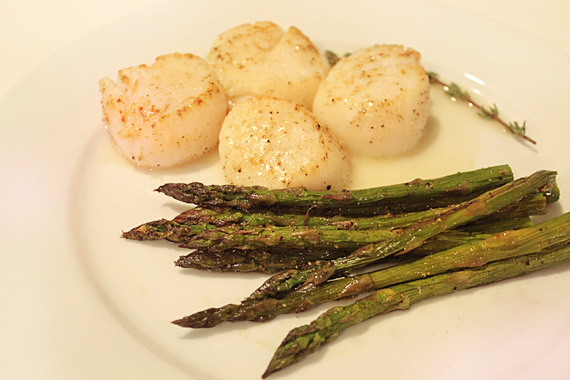
All you do is make the beurre blanc, cook the scallops for a few minutes and you’ve done it.
I don’t know if meyer lemons are everywhere, but this could totally just be swapped for regular lemons and just have less of that tartness. The original recipe says it’ll take 6 lemons for the sauce. I’ve found multiple times that it only takes 4, maybe they’re just super juicy here.
Scallops with Meyer Lemon Beurre Blanc (adapted from myrecipes)
2/3 cup fresh meyer lemon juice (4-6 meyer lemons)
1/3 cup dry white wine
3 tablespoons minced shallots
2 thyme sprigs
3 tablespoons chilled butter, cut into pieces
3/4 teaspoon sugar
1/2 teaspoon salt, divided
1/4 teaspoon freshly ground black pepper, divided
cooking spray
1 1/2 pounds dry sea scallops
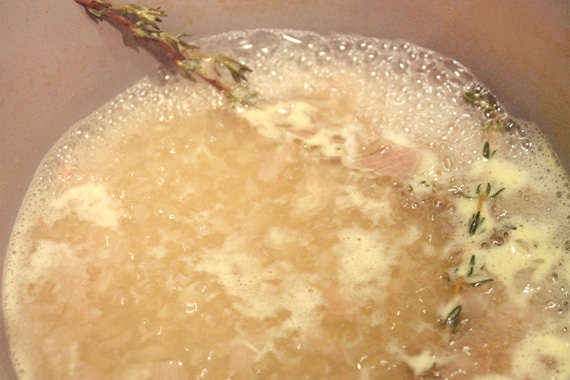
1 1/2 teaspoons chopped fresh thymeCombine the first 4 ingredients in a small heavy saucepan over medium-high heat; bring to a boil. Cook until reduced to about 1/4 cup (about 8 minutes). Remove from heat; discard thyme sprigs. Add butter, 1 piece at a time, stirring constantly with a whisk until butter is thoroughly incorporated. Strain mixture through a fine sieve over a bowl, pressing to release all of the sauce; discard solids. Stir in sugar, 1/4 teaspoon salt, and 1/8 teaspoon pepper.
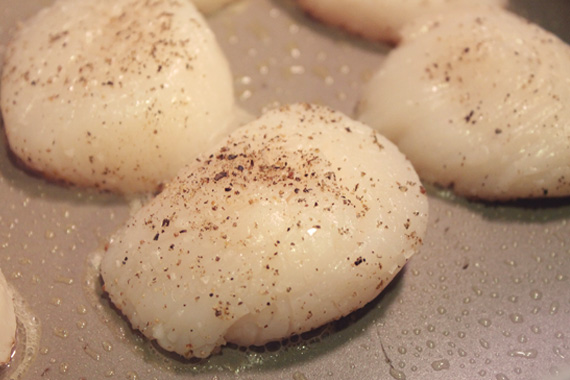
Heat a large cast-iron skillet over high heat. Coat pan with cooking spray. Sprinkle both sides of scallops evenly with remaining 1/4 teaspoon salt and remaining 1/8 teaspoon pepper. Add scallops to pan; cook 2 minutes. Turn scallops over; cook 1 minute or until desired degree of doneness. Serve scallops with sauce; sprinkle with chopped thyme.
-
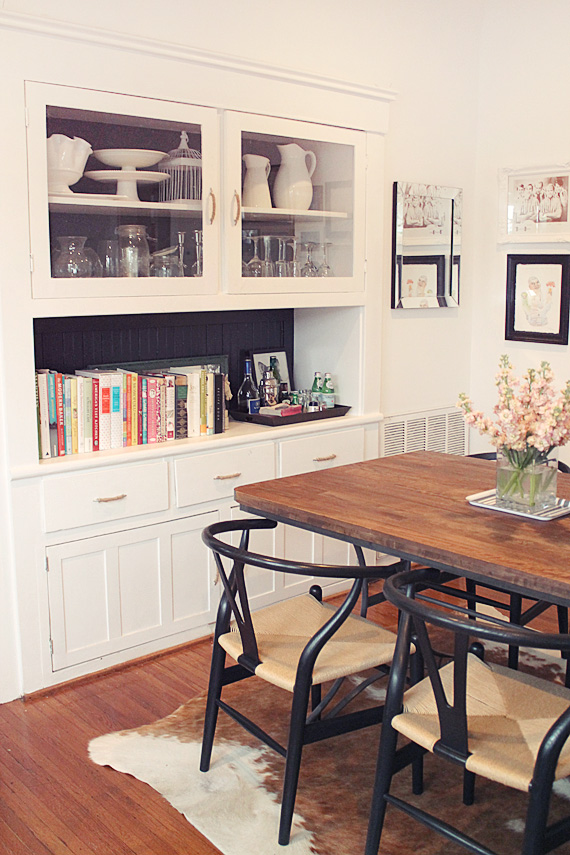
our new and improved dining room
You know that exciting time when you move in with your dream man and everything is so fun and exciting and picking out (and agreeing on) things is such a thrill? And then later on you realize that maybe you chose things because you chose them together and maybe you know better than your boyfriend.
Anyway, we took foreeeeever to pick out dining chairs. And when he actually liked some chairs, I was like yeah ok you like them I like them too. And then we took them home and I was like ugh.
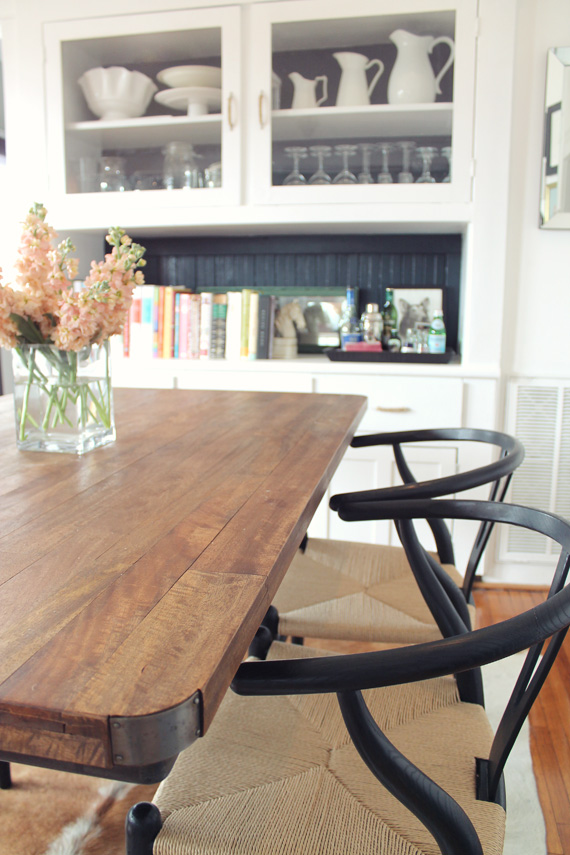
But after months of me complaining, we sold them and got new ones! We went with black wishbone chairs. What a difference.
We also switched the position of the table. Doesn’t this look better?! And omg – our built in really looked pink before.
OOOOOOOOOOO. These chairs are such an improvement!
-
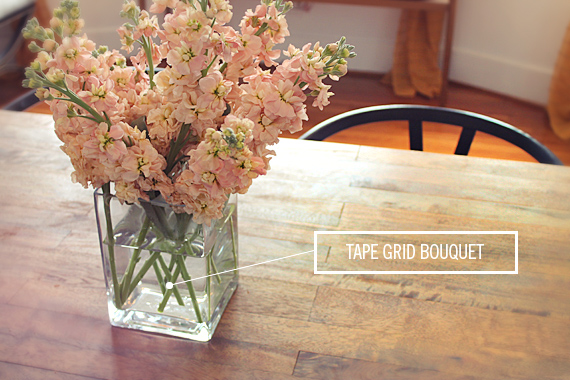
making this: a tape grid bouquet
Do people know about doing this? Well, when I found out, it pretty much changed my floral arranging life. I’m not actually huge into creating bouquets, I usually like choosing one flower and sticking with it, but this would totally work even better with a whole bunch of different kinds of flowers!
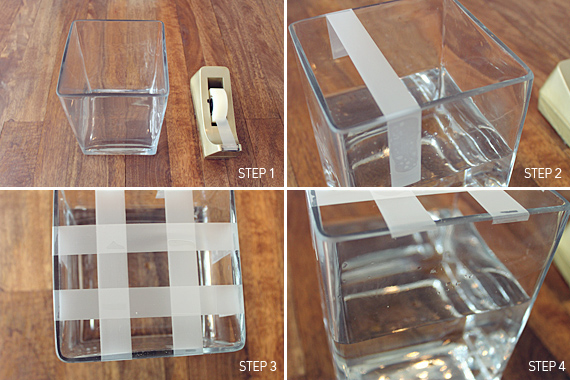
step one – get a vase (square or rectangle work best) and tape and flowers (duh.)
step two – fill with water. tape across one direction, you can keep the strips long.
step three – tape the other way, creating a grid.
step four – go around slicing off the tape with an exacto.
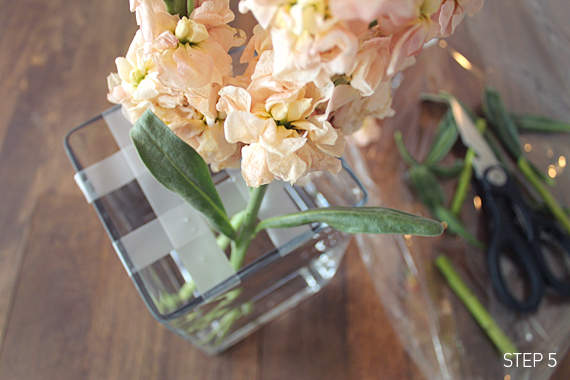
step five – place the flowers where you’d like them. now that the tape is there, it’ll keep everything in place and looking very tight.
You so done.
-
bucket list
SO. I work on a show that has famous guests. Sure, fine. But when I saw the call sheet one week recently, I saw HER NAME ON IT. And I screamed. And called my parents.
I HAD to meet her. I really only got 40 seconds with Carole King, but she was the sweetest ever and YES. That is us. Holding hands. That’s right, I said HOLDING HANDS. (And me looking happier than I’ve ever seen)
And now my plan is to write a bucket list. You know, so I have something to cross off.
Hold hands with Carole KingUgh. Feels good.
-
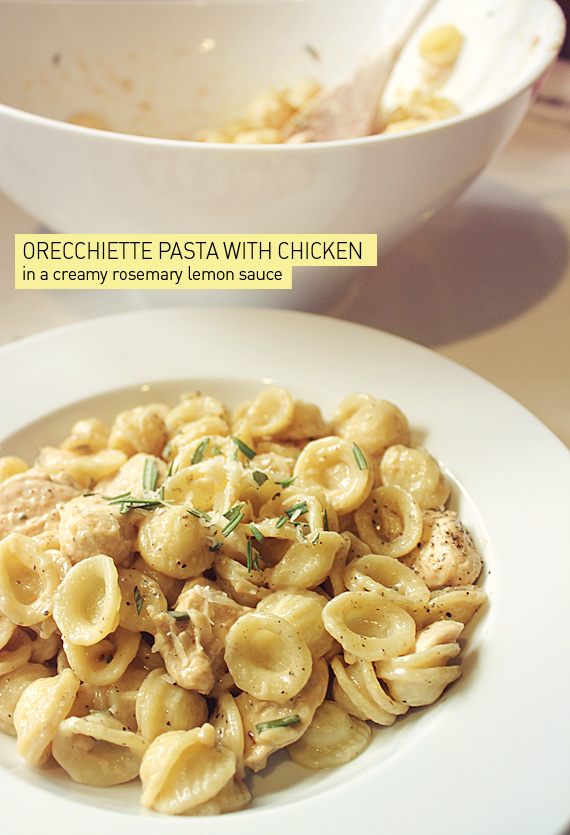
eating this: orecchiette pasta with chicken in a creamy rosemary lemon sauce
I feel like I choose recipes with the same ingredients every time I cook. I guess I’m okay with that. This pasta recipe was really delicious. But definitely next time, I’d want to make more of the sauce. There was not enough of the sauce! It was super creamy and lemony and delicious. This would make a good hearty winter meal. But I don’t mind eating hearty all year round.
One substitution I made was swapping out the goat cheese in the sauce. I didn’t have any and I’m not super into it and it was only a tablespoon to thicken the sauce so I used cream cheese instead. It seemed to have worked fine.
Orecchiette Pasta with Chicken in a Creamy Rosemary Lemon Sauce
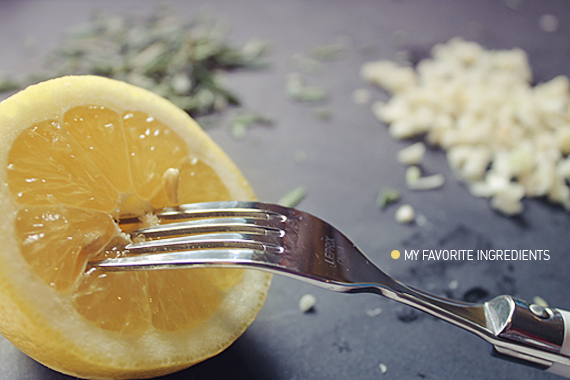
(adapted from Adventures in Cooking)3 garlic cloves, minced
1 large chicken breast, cut into 1-inch cubes
juice from 1 lemon
1 1/2 cups dry orecchiette pasta
2/3 cup milk
1/3 cup chicken broth
1/4 cup olive oil
1 tablespoon cream cheese / goat cheese
1 tablespoon flour
2 teaspoons fresh rosemary, chopped
1/2 teaspoon grated lemon rind1 tablespoon grated parmesan (optional for garnishing)
Heat the olive oil and minced garlic in a large skillet over medium heat. Add the pieces of chicken and lemon juice and allow to simmer, stirring occasionally, until the chicken is cooked all the way through, (this should be checked but cutting one of the larger cubes in half to peek inside). Remove the chicken from the pan using a slotted spoon so that the olive oil and garlic remain in the pan.
Lower the heat. Stir in the chicken broth, milk, grated lemon rind, salt, and ONE teaspoon of the rosemary. Once the mixture is hot, but not boiling, sprinkle the tablespoon of flour over the mixture and whisk it in. Continue whisking the sauce until the flour is fully incorporated. Turn the heat to the lowest setting and allow to simmer, stirring occasionally, while you prepare the pasta.
Prepare the pasta according to the package directions. While it’s cooking, add the chicken pieces and cream cheese or goat cheese to the lemon sauce and stir until it’s completely melted and incorporated. Remove the pan from the heat and set it aside. Once the orecchiette is cooked, strain it and drizzle some olive oil over it, stirring it a bit in the strainer, to help keep the pasta from getting stuck to each other.
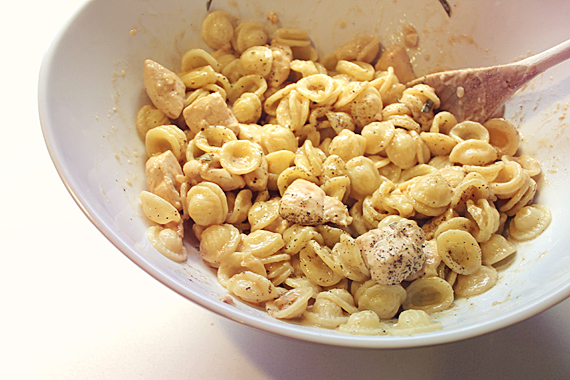
Pour the pasta into a large bowl and add the lemon sauce and chicken, garnish with the grated parmesan and the remaining teaspoon of rosemary. Serve immediately.
-
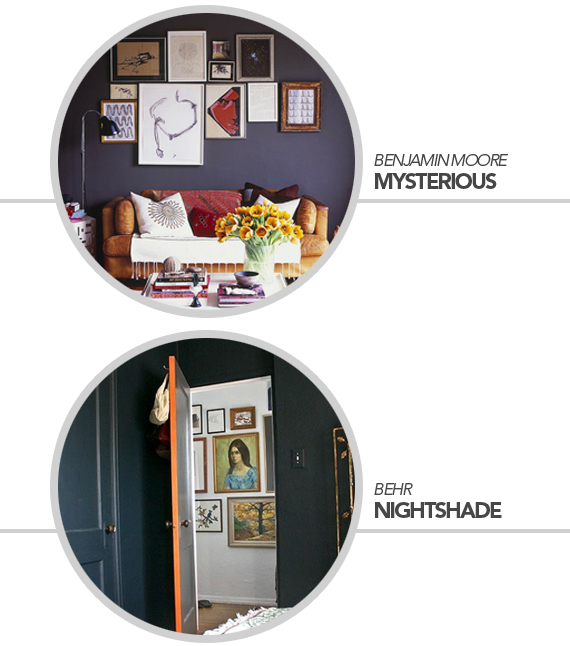
navy, navy, navy…

