-
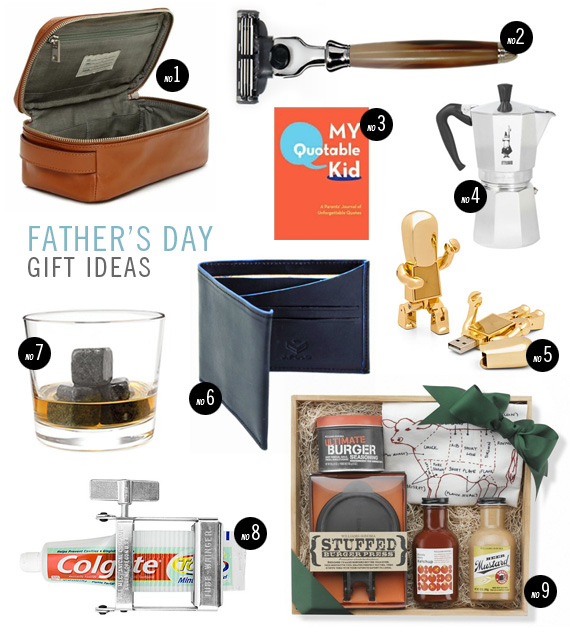
father’s day gift guide
-
father’s day gift guide
-
a workspace i could call my own
Apparently I am obsessed with our office. It’s the room I post about the most and the room I am least content with. Maybe it’s because I spend such a large amount of time in there and mostly look at wires and clutter.
I have been obsessed with the idea of moving for a month or so. We have neighbors from hell. But we’ve decided to stay put for a while longer so now I have decided I need to make the office a place I want to spend all day in. Now it’s time to start planning how to fix the room without really spending money and doing anything too permanent for when we do decide to move. I’m thinking dark walls (like I’ve posted about before) and staining (and trimming) our desktops.
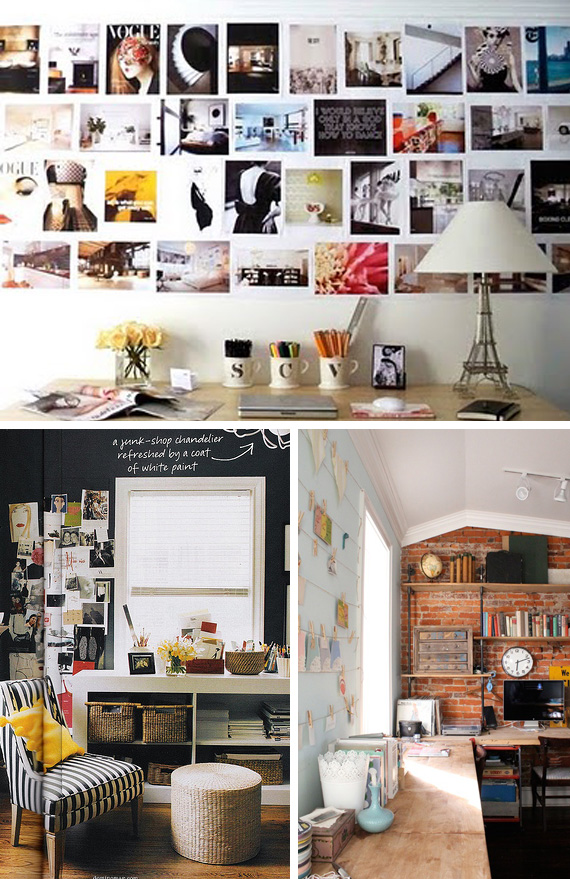
These three workspaces have an order to the clutter. It makes work seem so much more relaxing. Also, the pipe shelving is so good. Is that a challenge to build and then bring with us when we move? I’m guessing yes but I’m going to look into it.
-
making this: a sweet little gold dipped jar
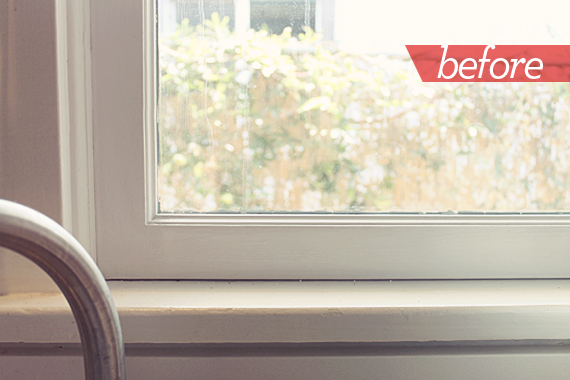
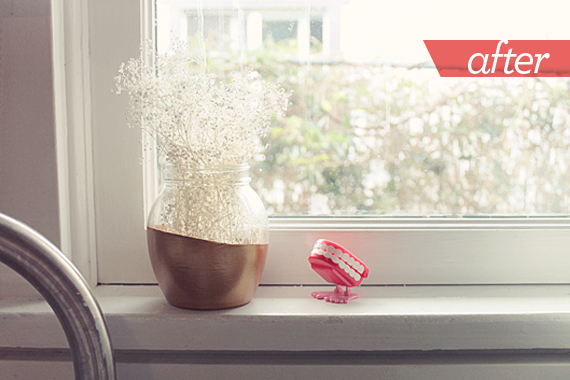
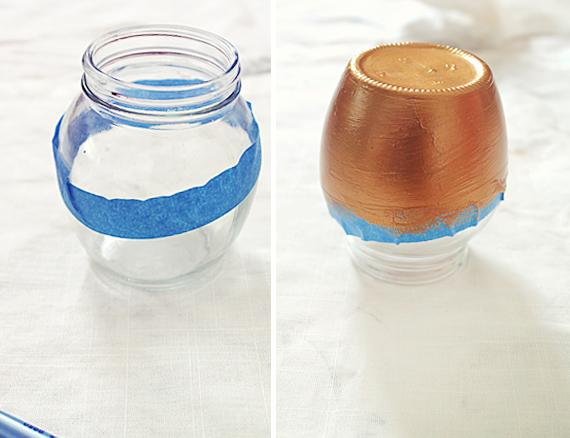
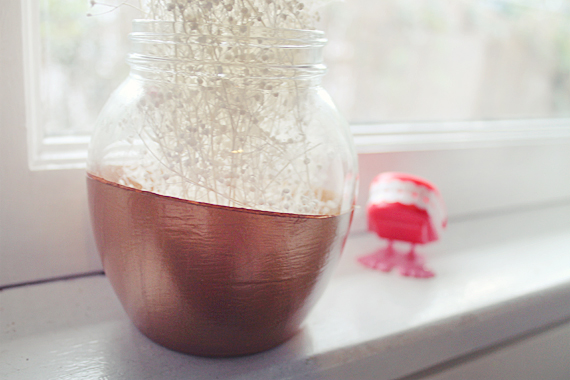
Our windowsill next in the kitchen was feeling a little lonely. So I grabbed some chattering teeth (why not) and an old jar and filled it with some weird fake foliage stuff I had laying around. Um, that needed a gold accent stat.
I don’t really have any process shots because the process was taping it and painted it… a million times. The paint needed something to stick to so I used a couple coats of matte medium, but it just was a matter of getting the paint thick enough to not show through when it was sitting in front of the light. I would say this was about 6 coats or so.
Easy (a tad time consuming) little fix. And now something pretty to look at when washing dishes.
-
it’s so officially summer now.
And happy the month I go to Hawaii! I should be making one of these swimming caps for the trip, right?
-
wishlist
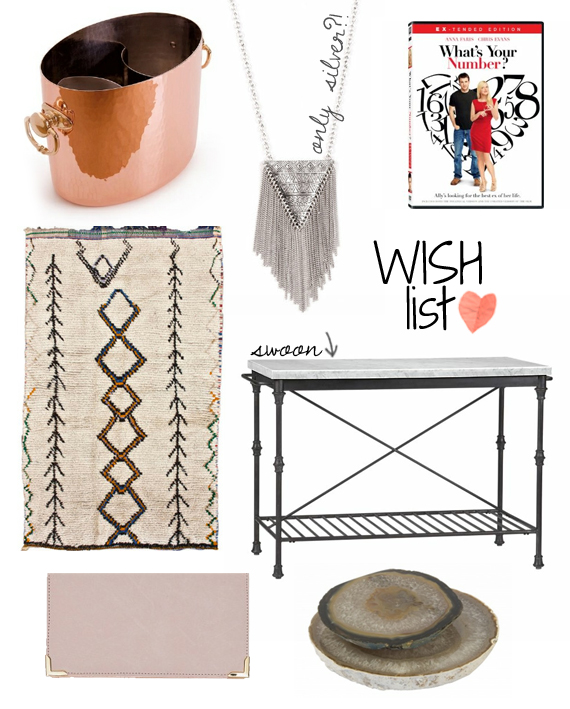
copper champagne bucket / tribal chained necklace (for some reason they don’t have it in gold. dammit.) / “what’s your number” on dvd (am i the only one who thinks this is a fantastic movie?! haha. well they don’t on hbo go yet. ugh.) / french kitchen island (someday…) / agate cheese plates / “grown up” leather wallet / southwestern rug (we went to a wedding in durango, colorado and had a pretty woman shopping moment trying to buy a southwestern rug like this. seriously. he showed us the rug and when we asked how much it was, he told us it wasn’t on sale. and put it back on the shelf. so sad.)
-
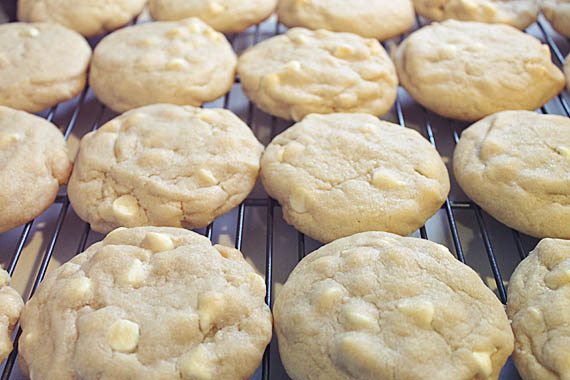
eating this: white chocolate chip cookies
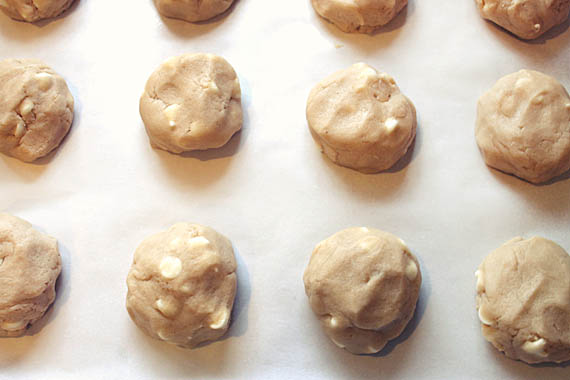
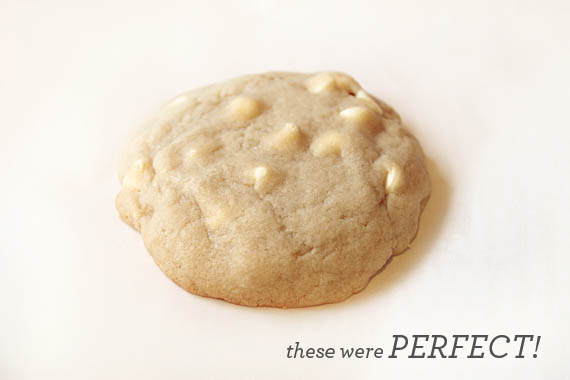
I love white chocolate macadamia cookies. But not super into macadamia nuts. So I don’t know how that works really but I was like hey – what if that cookie was even more delish because it had no macadamia nuts. You catch my drift.
These had a chewy but shortbready kind of texture that people who tried loved. Every last cookie in the batch of like 24 was eaten.
White Chocolate Chip Cookies (adapted from About.com)
4 cups flour
1 teaspoon baking powder
1 teaspoon baking soda
1 1/2 cups butter, softened
1 1/4 cups granulated sugar
1 1/4 cups packed brown sugar
2 eggs
1 tablespoon vanilla extract
2 cups white chipsPreheat oven to 350 degrees F. In a medium bowl, stir together flours, baking powder, and baking soda. In a mixer, cream together butter, granulated sugar, and brown sugar. Beat eggs and vanilla extract into butter mixture. Gradually stir in flour mixture. Stir in the white chips. Drop by level 1/4-cupfuls, about 2 inches apart, onto ungreased baking sheets. Bake for 12 to 14 minutes or until light golden brown. Allow cookies to cool for 2 minutes on baking sheets, then transfer to wire racks to cool completely. -
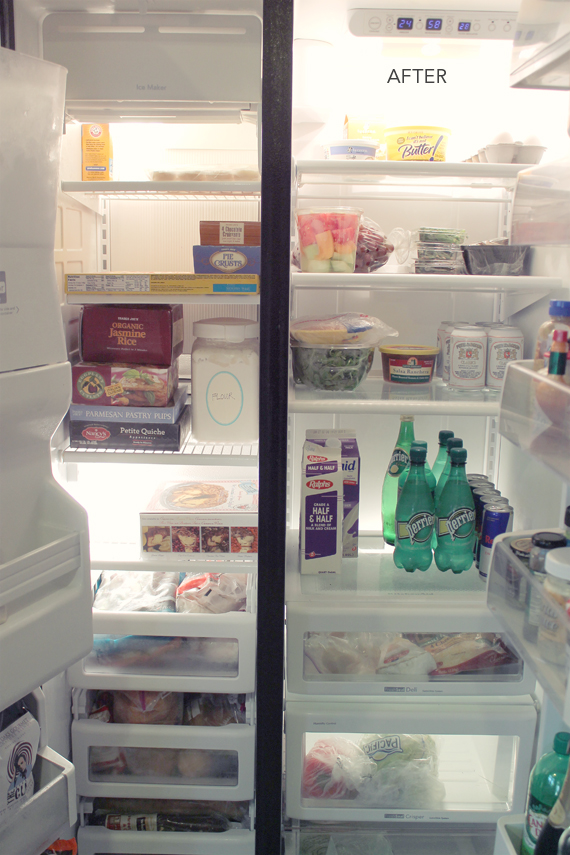
organizing this: the fridge
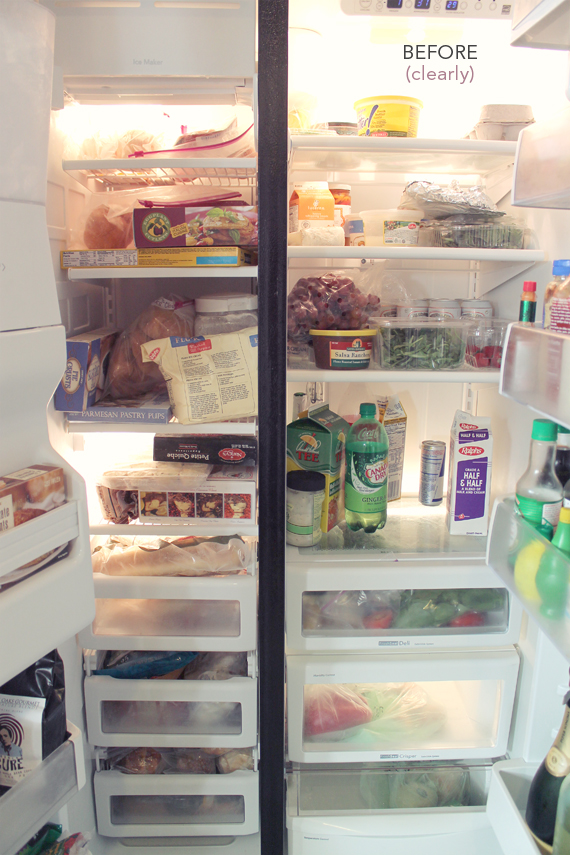
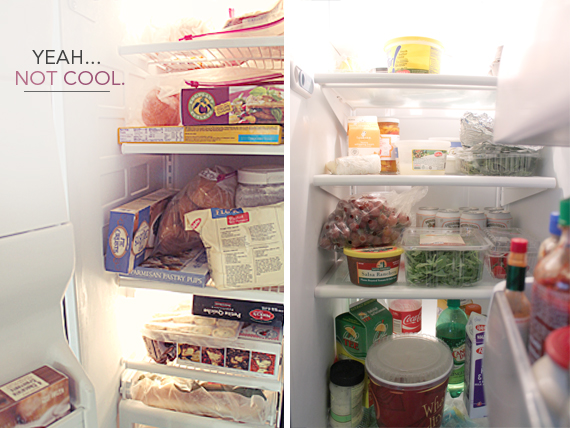
This is an intimate post. I should be really embarrassed about what it looks like inside. Okay, I am embarrassed. Sometimes it can look pretty good after a big shopping session, but after this long and lazy weekend, I noticed it really not looking acceptable in the refrigerator.
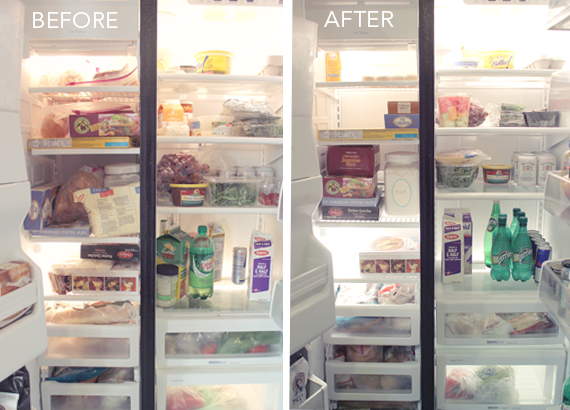
Oh jeez. I think it looks worse in pictures? So I understood our problems. The freezer’s problem is that we love Trader Joes. Oh, and I keep a bulk supply of croissants and muffins in there too. You know, so you can have a blueberry muffin whenever you want. Adult living. The fridge’s problem is that we have a whole lot of everything in there. Especially stuff we don’t need/use/would never want to eat at this point.
I started by purging. I threw out a couple bags of frozen biscuits that looked totally gross. And frozen challah. From like a year ago. It also looked gross. I also decided that we do not have to keep our taco bell sauces in the fridge anymore. They don’t keep them in the fridge at taco bell, right?
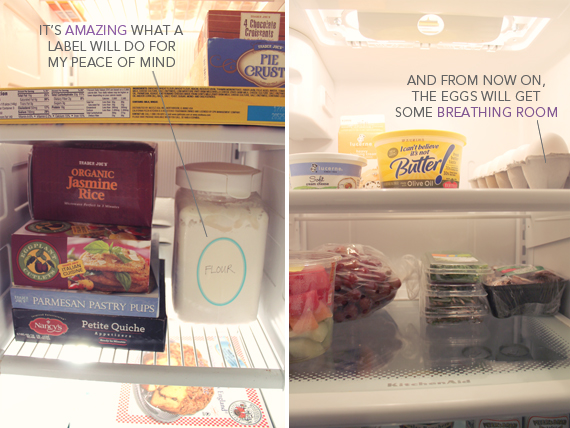
Next, I finally transferred all the flour into the flour container. Been meaning to do that. I then decided it needed a label to look nicer. I also decided the eggs would look nicer and be more accessible if I ripped off the top of the carton. SO MUCH BETTER!
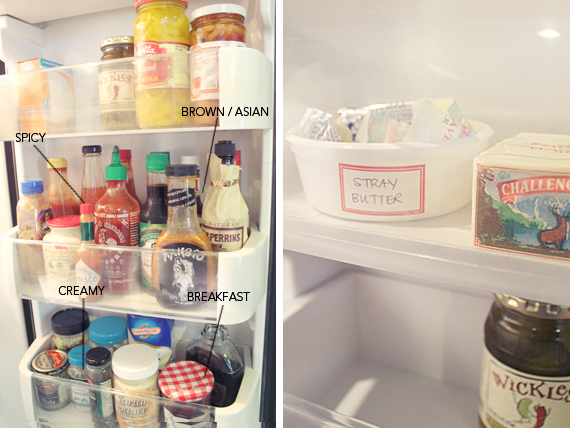
Next, organizing the fridge by category. I put the fruit in one section. The cooking stuff (fresh herbs) together. The dairy on top (duh). And organized those millions of condiments and sauces in sections as well as I could make up. I reused a plastic container (and a pretty label) for those annoying leftover tablespoons of butter.
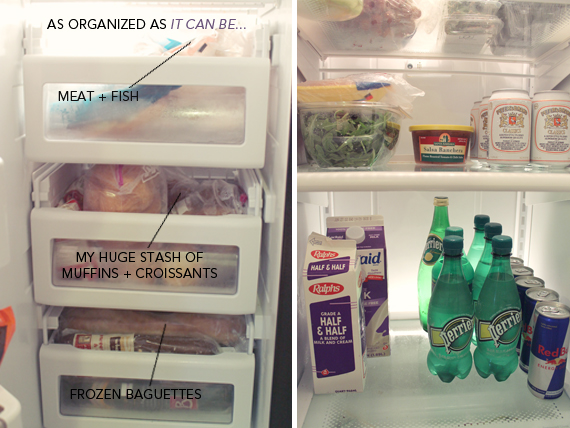
The freezer drawers are so weird and shallow that no matter what, they looked crammed with bullshit. Especially when they’re crammed with bullshit. La Brea Bakery makes frozen baguettes. Naturally I have hoarded enough of them to fill an entire freezer drawer. Ugh. I also finally stuck ALL of the cheese in one drawer. And ALL of the onions and shallots in another (we love onions and shallots). And all of the fresh produce we forget to eat in one place.
So that’s about as organized as it can be. Not a total betty but a vast improvement.
And just to remind you of where it came from (makes the after look slightly more impressive)
Wow, that before picture really is gross.

