-
diy statement necklace
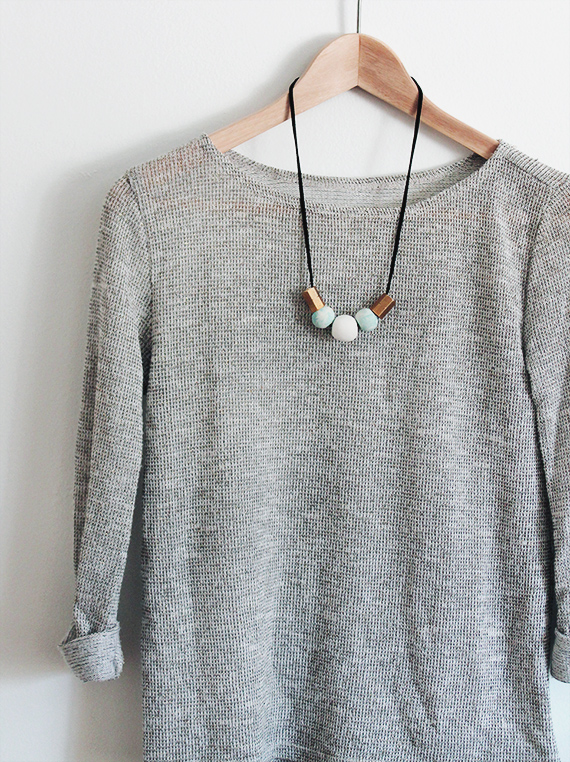
i did this easy little statement necklace over at sugar & cloth yesterday! i love ashley’s blog and i’m going to be a regular contributor over there! go see.
-
diy statement necklace

i did this easy little statement necklace over at sugar & cloth yesterday! i love ashley’s blog and i’m going to be a regular contributor over there! go see.
-
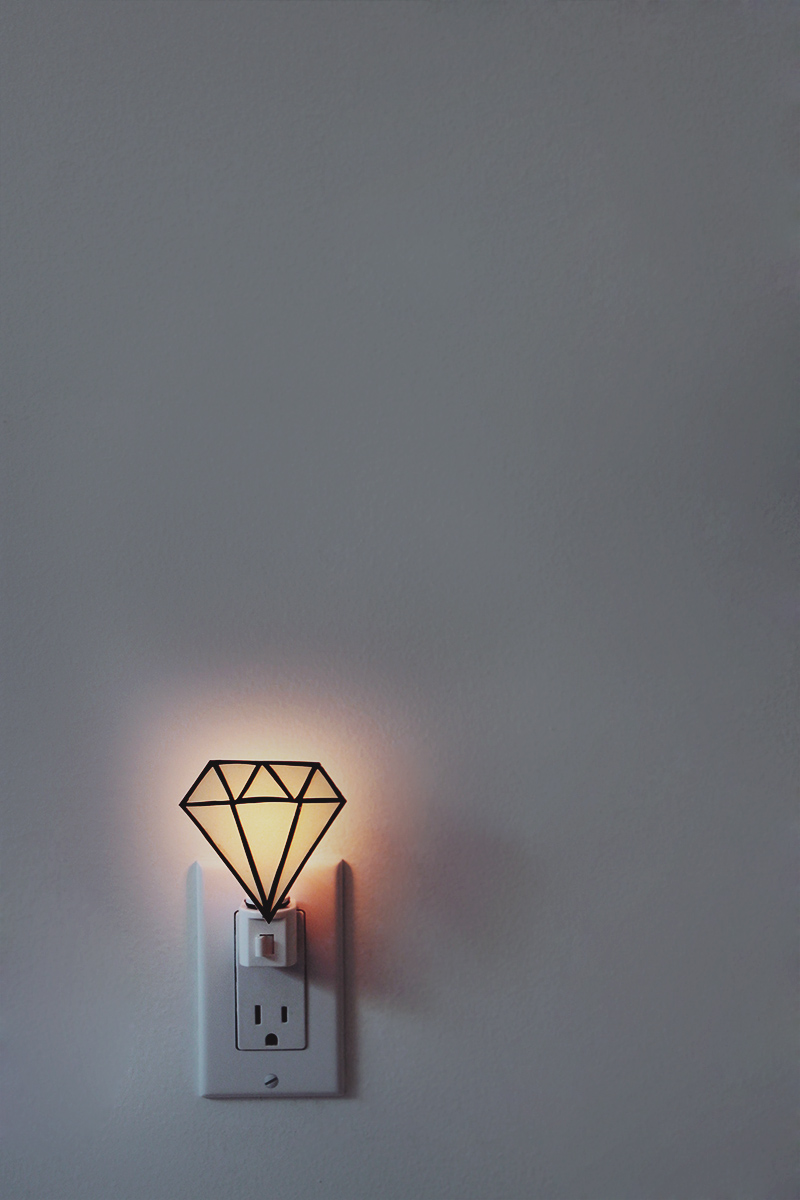
diy gem nightlight
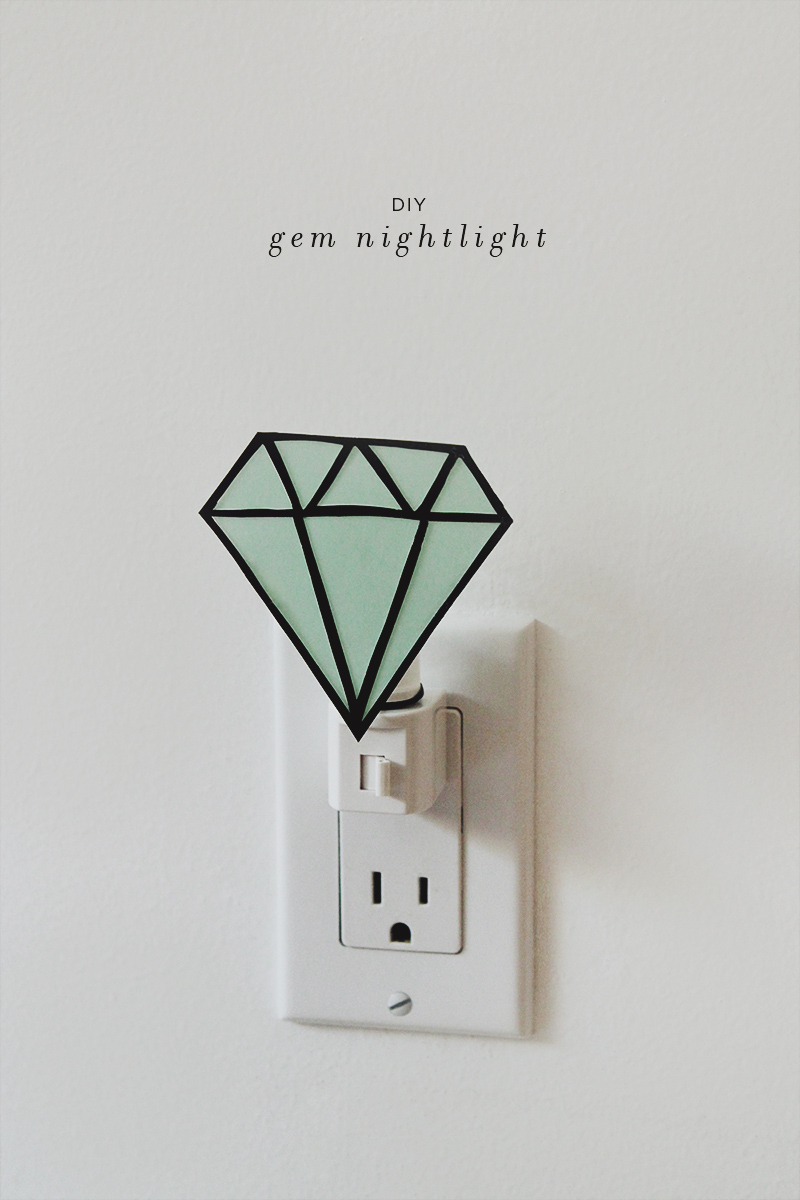
i made this nightlight the other day and have been admiring it every time i look at it since. i’m in love with it.
-
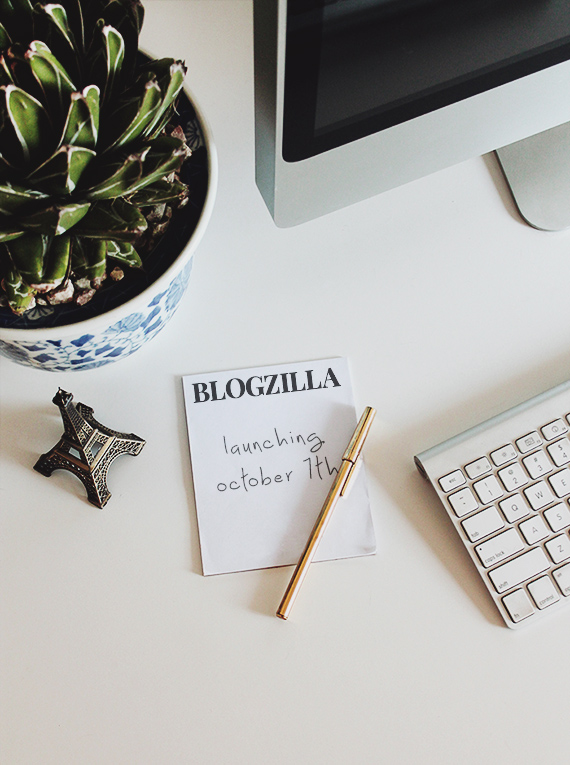
a new venture . . . blogzilla
you guys might notice that the blog suddenly has a new look. (again.) after all the chaos of a server change and technical issues with the theme i was using, i started hunting for affordable, well designed themes and was surprised at the few options available.
so with my good friend natalie, we came up with the idea for blogzilla. simple + stylish blog themes for a low cost.
if you like my new theme, you can get yourself a very similar one in our shop. as of now, we’ll only be selling wordpress themes, but will also feature blogger in the near future. all of our themes come with features such as a custom simple search bar, social media buttons & sharing features.
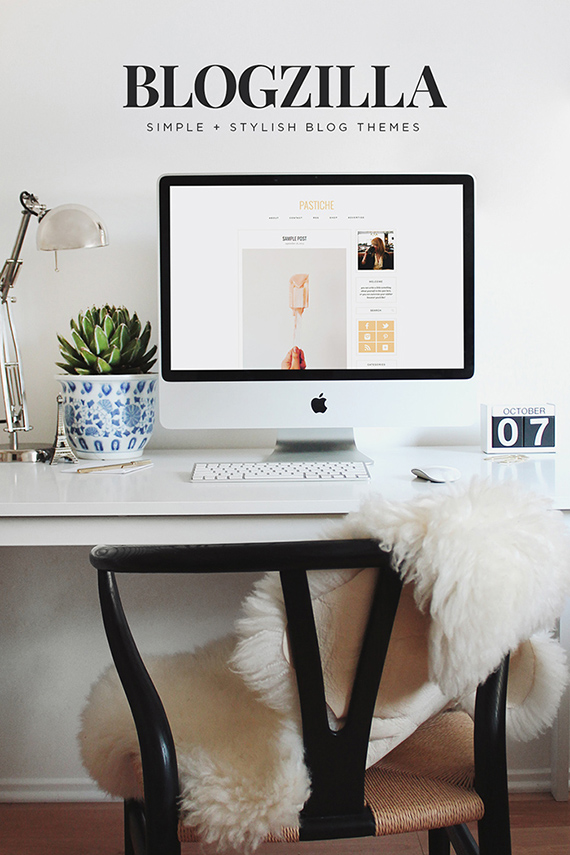
we launch on october 7 and couldn’t be more excited. i’ll be posting again the day we launch along with a promo code to persuade you to update your blog look or maybe even start that blog you’ve been wanting to start.
stay tuned!!!
-
a new venture . . . blogzilla
you guys might notice that the blog suddenly has a new look. (again.) after all the chaos of a server change and technical issues with the theme i was using, i started hunting for affordable, well designed themes and was surprised at the few options available.
so with my good friend natalie, we came up with the idea for blogzilla. simple + stylish blog themes for a low cost.
if you like my new theme, you can get yourself a very similar one in our shop. as of now, we’ll only be selling wordpress themes, but will also feature blogger in the near future. all of our themes come with features such as a custom simple search bar, social media buttons & sharing features.

we launch on october 7 and couldn’t be more excited. i’ll be posting again the day we launch along with a promo code to persuade you to update your blog look or maybe even start that blog you’ve been wanting to start.
stay tuned!!!
-
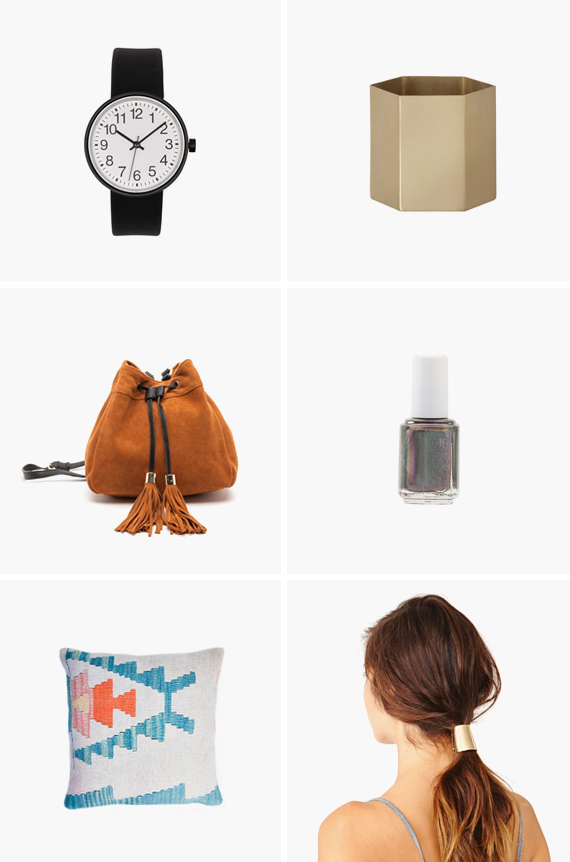
payday wishlist
one . i love the simplicity and big numbers on this muji watch
two . this brass hexagonal pot would look amazing with any plant
three . the tassels and the brown suede are making this bag scream my name
four . loving this new essie nail polish color for fall
five . i haven’t seen a lot of lighter colored kilim pillows like this – so so nice
six . i think i’d wear a ponytail constantly if i had this brass clip+ have a fantastic weekend!
-
favorite iphone apps
with the new iOS update release yesterday – i decided to round up my favorite apps for you guys. i’ve rounded up my favorite six that i use the most frequently as of right now.
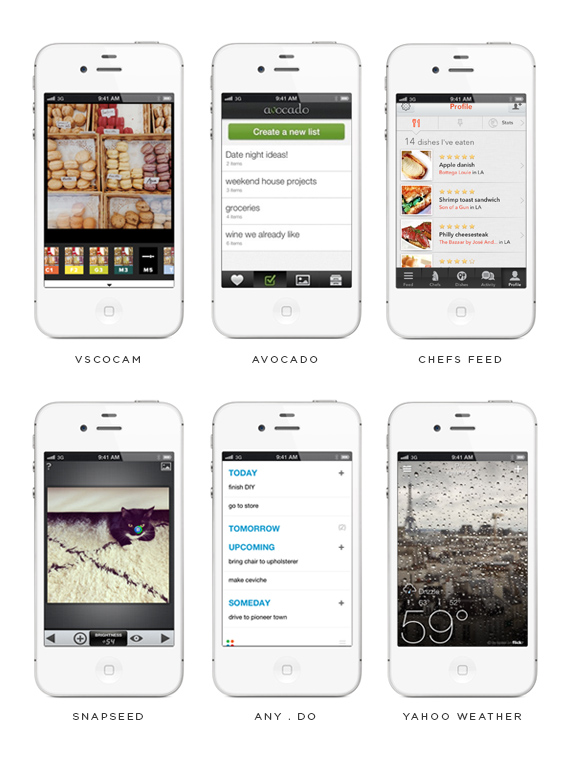
vscocam i can’t imagine my iphone without vscocam basically. it’s by far the best photo editing app in my opinion. there is a huge array of beautiful filters and editing capabilities. (i also use afterlight for cropping, sharpening, and the occasional light leak)
avocado my boyfriend and i use avocado daily. it’s designed for couples so you have a joint account where you can share lists and photos – you can even chat… which we never do. we use it for pharmacy & market lists as well as restaurants we want to try and places we want to go.
chefs feed i love browsing this app that is updated frequently with famous chefs and their favorite dishes in your city. you can also keep track of the dishes you’ve tried and want to try. it’s very fun for me.
snapseed if you ever take a photo and just need to adjust a few things, this app is perfect. you can choose a point and then adjust the saturation, contrast, exposure. it’s perfect for me with my black cat so i can go in and lighten up his face.
any.do i use this app for making myself to do lists, but while i can keep track of what tasks i have for the day, i can also access weekly or monthly or forever to-dos. the app is also very aesthetically pleasing.
yahoo weather if you’ve updated you might notice your in-phone weather app looks a lot more like yahoo weather, but i’m going to keep using it because i love seeing a new photo of the city every time i open it. not to mention i have my hometown, paris, new york, martha’s vineyard, and palm springs in there so i get to look through all of the pretty pictures.
+ so those are my favorites at the moment… you know, besides candy crush. have you updated your phone? do you like it? it’s pretty unsettling at first, but i think i’ll end up liking it more. plus pretty fonts!
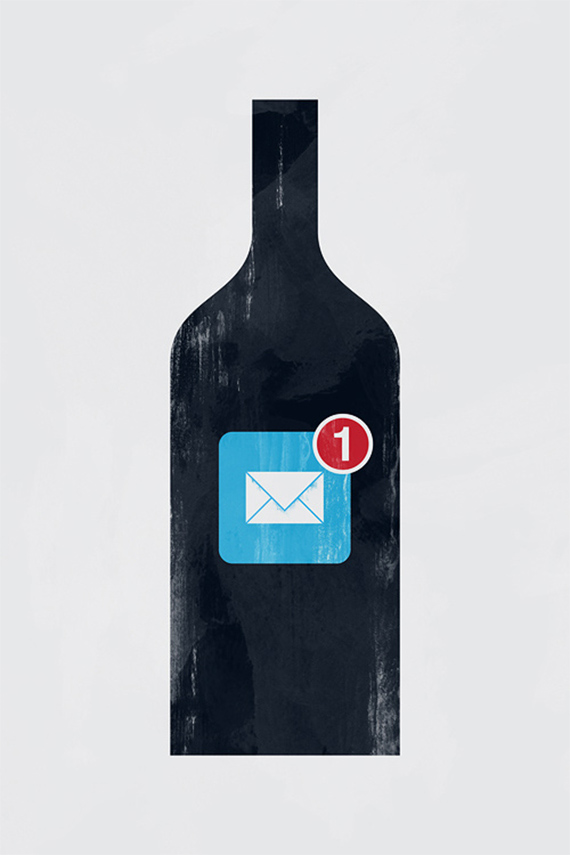
[ message in a bottle illustration by paul tebbott ]
-
favorite iphone apps
with the new iOS update release yesterday – i decided to round up my favorite apps for you guys. i’ve rounded up my favorite six that i use the most frequently as of right now.

vscocam i can’t imagine my iphone without vscocam basically. it’s by far the best photo editing app in my opinion. there is a huge array of beautiful filters and editing capabilities. (i also use afterlight for cropping, sharpening, and the occasional light leak)
avocado my boyfriend and i use avocado daily. it’s designed for couples so you have a joint account where you can share lists and photos – you can even chat… which we never do. we use it for pharmacy & market lists as well as restaurants we want to try and places we want to go.
chefs feed i love browsing this app that is updated frequently with famous chefs and their favorite dishes in your city. you can also keep track of the dishes you’ve tried and want to try. it’s very fun for me.
snapseed if you ever take a photo and just need to adjust a few things, this app is perfect. you can choose a point and then adjust the saturation, contrast, exposure. it’s perfect for me with my black cat so i can go in and lighten up his face.
any.do i use this app for making myself to do lists, but while i can keep track of what tasks i have for the day, i can also access weekly or monthly or forever to-dos. the app is also very aesthetically pleasing.
yahoo weather if you’ve updated you might notice your in-phone weather app looks a lot more like yahoo weather, but i’m going to keep using it because i love seeing a new photo of the city every time i open it. not to mention i have my hometown, paris, new york, martha’s vineyard, and palm springs in there so i get to look through all of the pretty pictures.
+ so those are my favorites at the moment… you know, besides candy crush. have you updated your phone? do you like it? it’s pretty unsettling at first, but i think i’ll end up liking it more. plus pretty fonts!
[ message in a bottle illustration by paul tebbott ]
-
favorite iphone apps
with the new iOS update release yesterday – i decided to round up my favorite apps for you guys. i’ve rounded up my favorite six that i use the most frequently as of right now.

vscocam i can’t imagine my iphone without vscocam basically. it’s by far the best photo editing app in my opinion. there is a huge array of beautiful filters and editing capabilities. (i also use afterlight for cropping, sharpening, and the occasional light leak)
avocado my boyfriend and i use avocado daily. it’s designed for couples so you have a joint account where you can share lists and photos – you can even chat… which we never do. we use it for pharmacy & market lists as well as restaurants we want to try and places we want to go.
chefs feed i love browsing this app that is updated frequently with famous chefs and their favorite dishes in your city. you can also keep track of the dishes you’ve tried and want to try. it’s very fun for me.
snapseed if you ever take a photo and just need to adjust a few things, this app is perfect. you can choose a point and then adjust the saturation, contrast, exposure. it’s perfect for me with my black cat so i can go in and lighten up his face.
any.do i use this app for making myself to do lists, but while i can keep track of what tasks i have for the day, i can also access weekly or monthly or forever to-dos. the app is also very aesthetically pleasing.
yahoo weather if you’ve updated you might notice your in-phone weather app looks a lot more like yahoo weather, but i’m going to keep using it because i love seeing a new photo of the city every time i open it. not to mention i have my hometown, paris, new york, martha’s vineyard, and palm springs in there so i get to look through all of the pretty pictures.
+ so those are my favorites at the moment… you know, besides candy crush. have you updated your phone? do you like it? it’s pretty unsettling at first, but i think i’ll end up liking it more. plus pretty fonts!
[ message in a bottle illustration by paul tebbott ]
-
i link you
this week
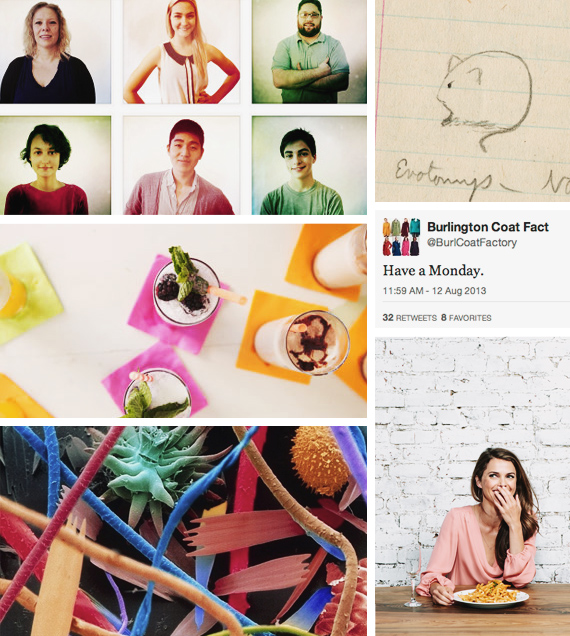
the habits of supremely happy people — i think we all need to follow these. (via huffington post)
i loved this post about the design community being the new fox news. i think this is just the internet in general… i read the other day on an imdb message board someone describing what the final scene of a movie should have been. shut. up. (via medium)
this old fashioned soda party is so colorful and fun – and using my all time favorite can’t live without appliance the soda stream. oh man i do love my soda stream (via oh happy day)
burlington coat factory has a twitter account and although it’s likely fake, i now like burlington coat factory much more. (via jezebel)
photos of the amazing and gruesome world under a microscope … these are just super weird (via i09)
this little write up about keri russell and food is cute (via bon appetite)

