diy ikea medicine cabinet
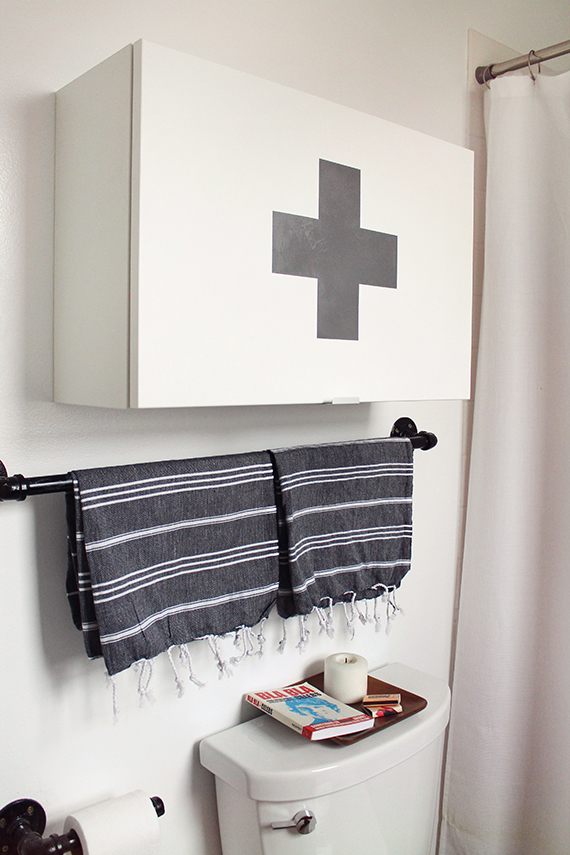
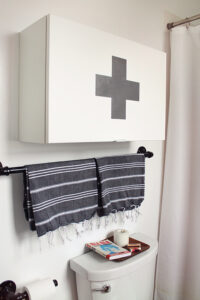
i’m not sure if everyone is desperate need of more storage at all times or if it’s just me forever. but like i’ve said before, we needed more storage. this time in the bathroom! i saw this adorable little medicine cabinet DIYed by door sixteen and thought hey i love first aid too. but we needed tons more storage. like medicine cabinet storage. so we bought a lillången cabinet at ikea.
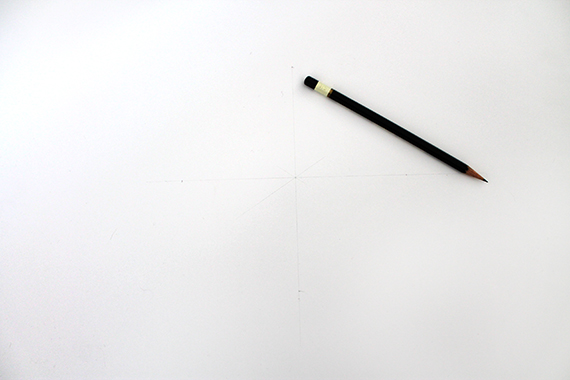
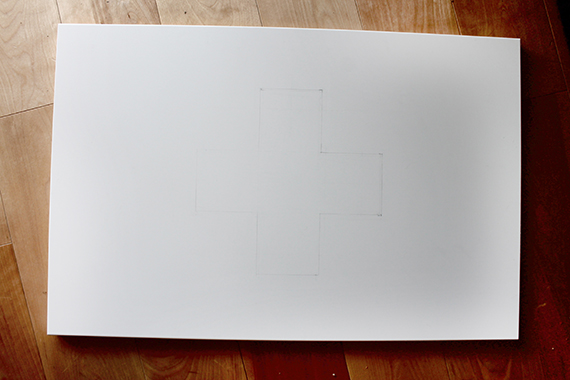
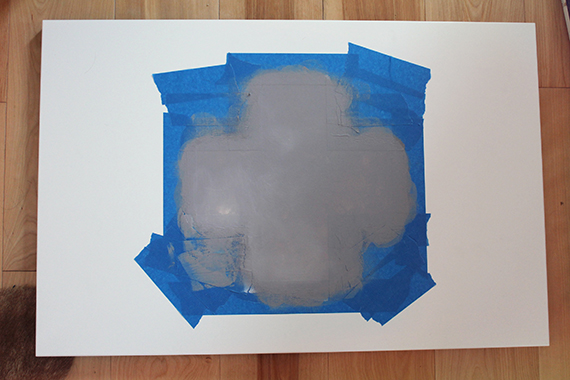
before assembling the cabinet, we took the door out of the box a month after buying it. with a yard stick, a pencil, and siri my math wizard, we lightly drew out the pattern right onto the cabinet front.
until we finally got the perfectly proportional plus sign.
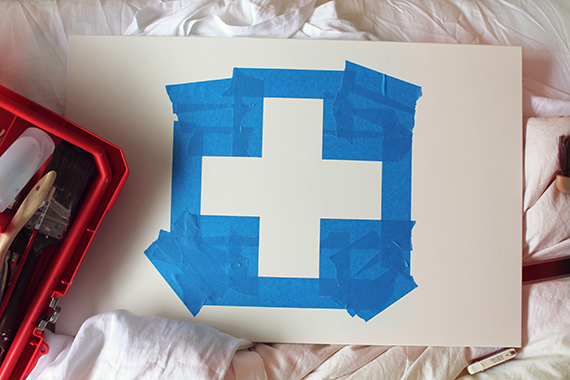
how did i do such a masterful job taping you ask? well i did damage the door front a little but i used a ruler as a straight edge and exacto-ed the corners of the tape. little scratches aren’t noticeable!
now i bet you’re wondering how’d you screw it up? here’s how! acrylic paint. we tried to prime it but using gesso – it was all we had. it didn’t work and you can’t REALLY tell but the paint job is horribly blotchy. every fix up coat made it worse. so we went back to the original plan that i didn’t mention of just spray painting. we should have done that in the first place and this would have looked perfect. but why would i want it to look perfect? ugh.
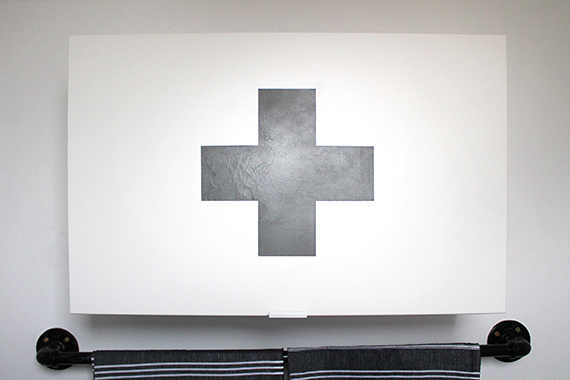
ok so here is the TEXTURE from the painting job. i don’t know, maybe the texture like adds a lot of oomph. i’ll go with that. at least my taping job was swell.
IKEA FIRST AID MEDICINE CABINET
a white cabinet
yardstick
t-square
ruler
exacto knife
painters tape
pencil
spray paint
1. remove the cabinet door from the box or cabinet if it’s already been assembled.
2. find the exact center point of the door by making an X from corner to corner, mark it with a pencil.
3. use the t-square to draw a cross through the center point at a perfect perpendicular angle. measure to make sure the lines are the same length on either side of the center point. make sure you’re happy with the size in relation to the cabinet.
4. use the t-square to draw the “tips” of the cross. make sure they’re all equal and centered.
5. swear and cuss when they’re not. fix if necessary. ask siri if you’re sizing up or down, she’s good at math and decimals. basically, the width of one “tip” should be one third of the entire line.
6. connect the ends, forming the cross. erase overlapping lines.
7. tape off. start with the easy lines, when you get to the corners, overlap tape and carefully trim off excess with a ruler as your straight edge.
8. cover the rest of the white with a trash bag, spray paint. remove tape. be happy.
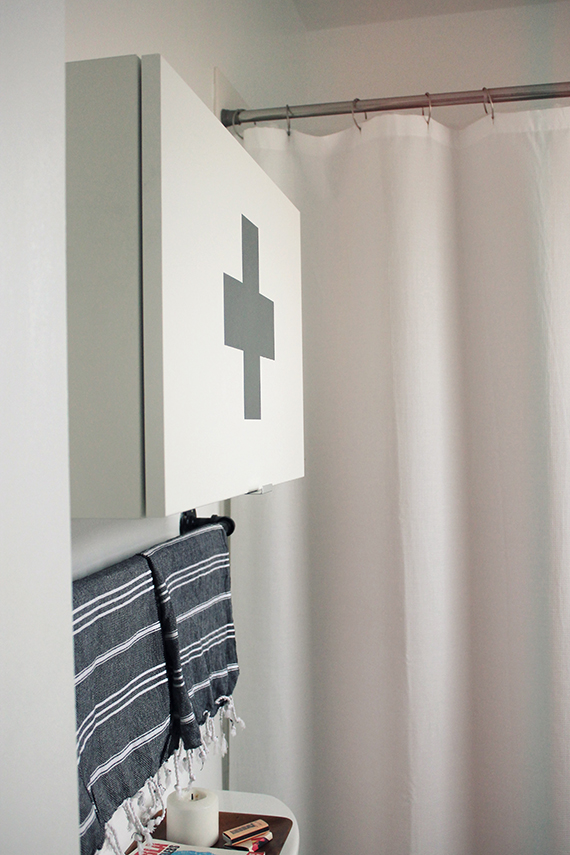
we can fit every product and then some in here! we don’t use a ton of products really, but it’s all in here! yay.






where did your black hardware come from?
hi evy – our apartment actually came with black pipe hardware. pretty sure they just bought pipe corners and spray painted black, and the rods are all basic pipes.
Oh, wow. The grey color actually looks good. In fact, I think it’s much better than having the typical red cross. But, yes, I think spray paint would do the job much easier. 🙂
I hope this isn’t creepy because you posted this in April and I’m now commenting in October but where are your towels from? I’ve been looking for a decent pair of turkish towels.
I hope this isn’t creepy because you posted this in April and I’m now commenting in October but where are your towels from? I’ve been looking for a decent pair of turkish towels.