-
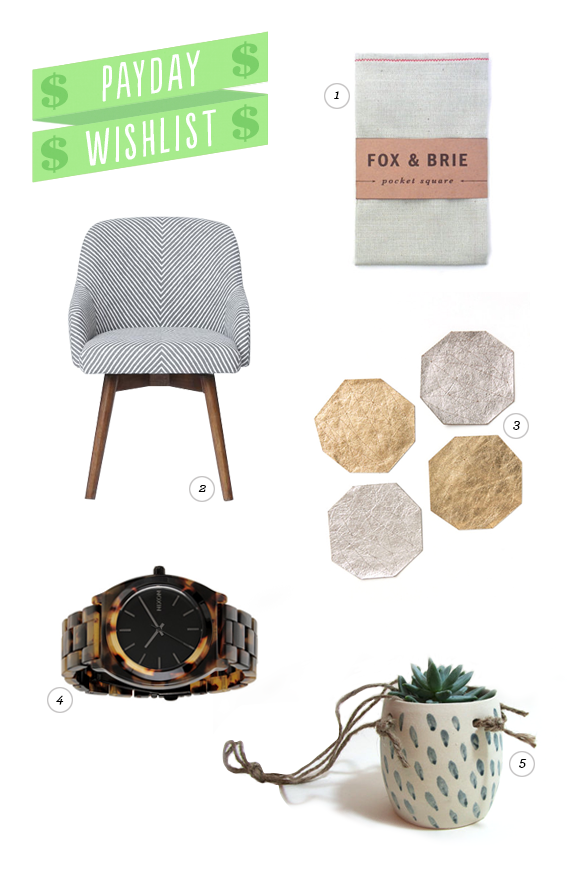
payday wishlist
ONE for the man in your life, this flax pocket square from fox and brie is so simple and handsome / TWO i would happily give up my vintage steelcase chair for two saddle office chairs from west elm / THREE coasters seem stuck up. when you have guests over and you’re on coaster radar, you feel like a nerd. right? well these leather theorem coasters by molly m designs (glad we didn’t go to school together) are so gorgeous and laid back, you can be like use these coasters for the sole purpose that they’re awesome / FOUR the time teller acetate watch by nixon. swoon. / FIVE a really charming little hand glazed hanging cactus planter by smallspells
-
eyes + ears // 9
-
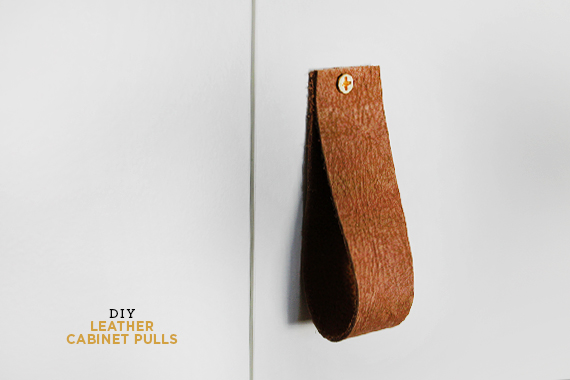
diy leather cabinet pulls
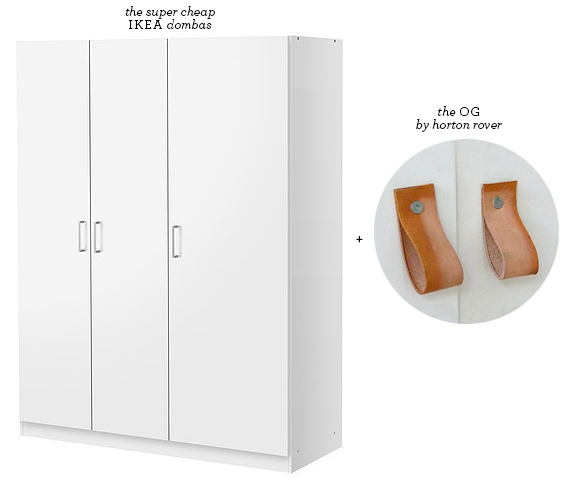
if you’re on pinterest, you may have seen these things before. the original leather cabinet pull was by horton rower.
the first time i laid eyes on them, i was like oh shit where will i be putting these?
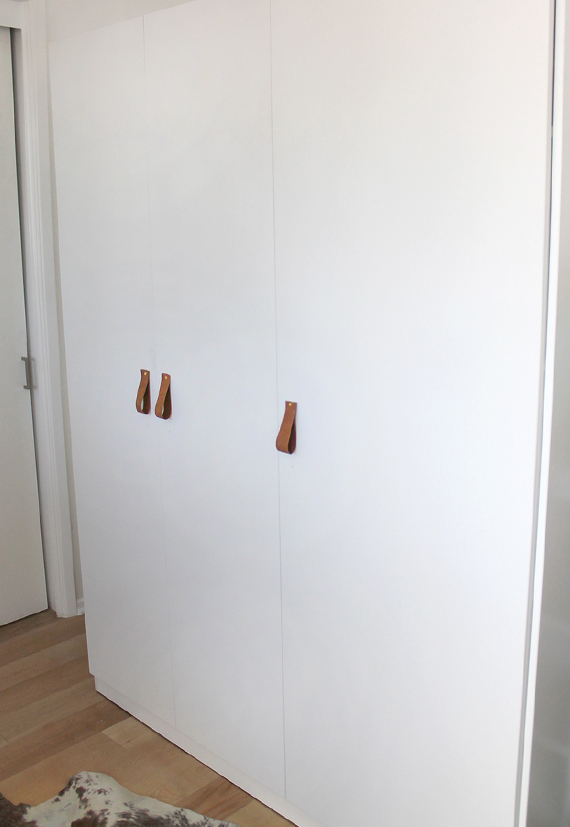
behold this behemoth piece of furniture for $129 at ikea. the ikea dombas wardrobe. why is it called that? it comes with awful, cheap plastic handles.
i have a TON of stuff i need stored, so we got this for the office. it’s not as pretty as the pax wardrobe, but it’s cheaper, and i thought with the right handles, it’d look just as good. hopes.
LEATHER CABINET PULLS
each pull i made was about an inch thick. the original was done with roofing nails, but i was going through existing holes and wanted it to be safe for my hands on the back, so i went with screws and nuts. teehee.
STUFF YOU NEED
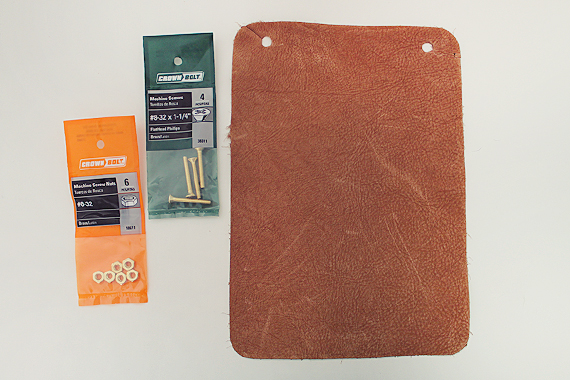
a chunk of leather *
screws *
nuts *
an awl
an exacto knife
sharp scissors
ruler
____________________________* i got a page cut out from the fun leather book at the shoe repair shop
* i used machine flat head brass screws (8-32 x 1 1/4″)
* make sure they’re the matching size! (8-32)step one – decide on the size you’re going with and loosely measure them out with your leather.
start cutting with a razor and ruler or do it the easy, less exact way, with scissors. i did a combo.step two – once you have your leather pieces uniformly cut, fold one and pick a place for the screw. punch the hole with the awl as deep as you can through both sides. this seemed easier in theory. in order to really get a large hole cut, i then went in with an exacto and cut a small square on both sides.
step two point five – drill holes if you don’t have them. hopefully you already have them.
step three – make sure you can now fit your hardware through both holes of the leather. stick them into the drawer or cabinet holes, and turn the nut on the backside until it’s tight and your strap is straight and perfect.
i made mine pretty long because of the ridiculous height of the wardrobe, but these would look pretty good shorter on some drawers.
also, if you’re working with a piece of furniture like mine, where there are TWO hardware holes, you may be able to kinda see that i have not yet successfully filled those holes. i’ve tried wood putty and spackle, but they’re not great yet. i will report back on how to properly do that.
-
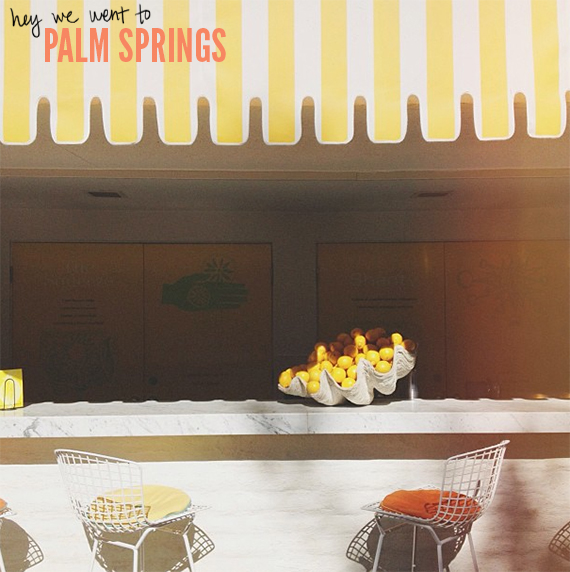
palm springs pt 1
two years after going to the exact same hotels, we went back and did the same trip.
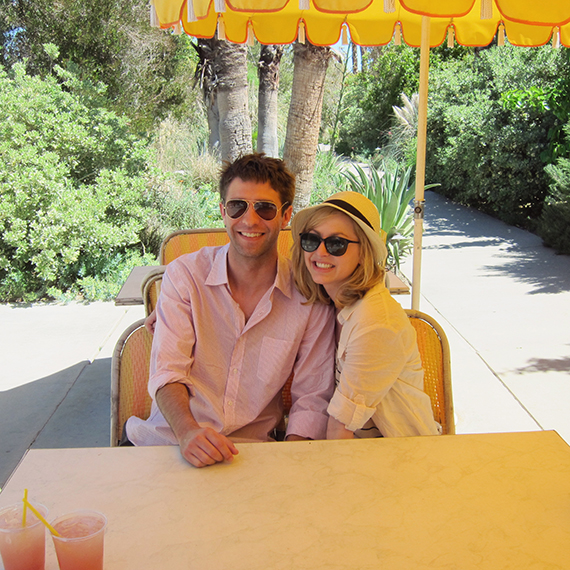
here is me and my boy, two years ago.
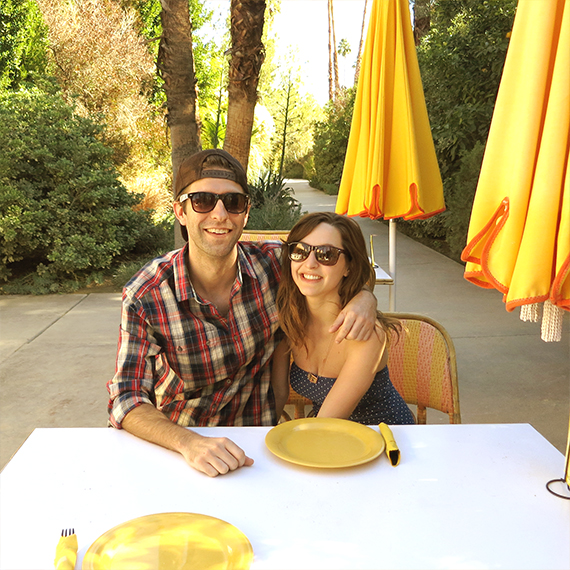
and here is us now.
we took the same photo. what dorks.
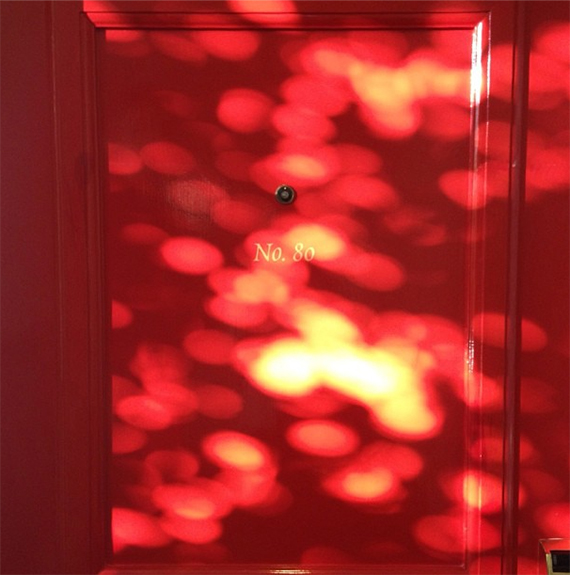
there was a ton of sunlight.
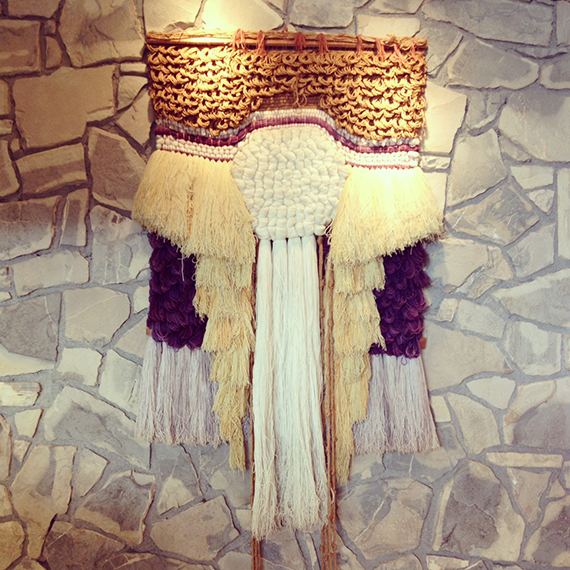
a ton of things i wanted to steal.
a ton of ping pong.
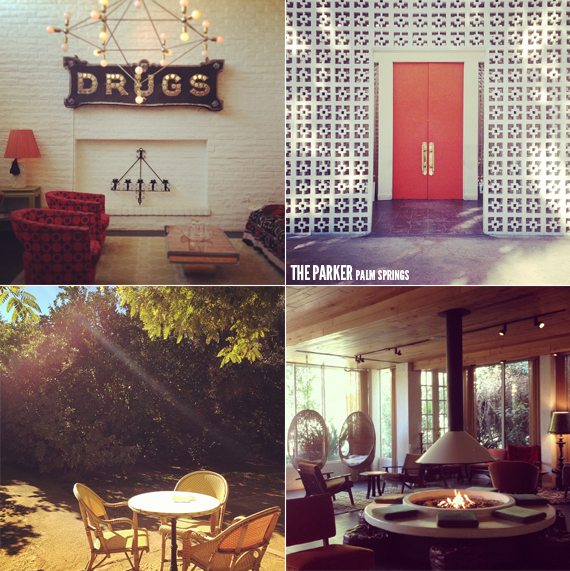
a ton of admiring the parker. it’s so so so so good looking.
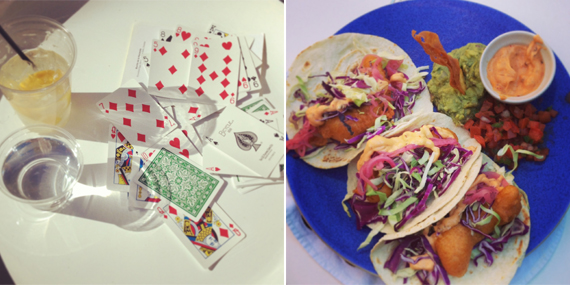
and mostly, a ton of cards at the pool and fish tacos.
i love palm springs.
-
going to palm springs
we’re heading to palm springs for a few days to celebrate our anniversary. and we got a big discount for my favorite hotel the parker. (we’re also staying a night at the ace because the parker is stupid expensive)
here’s hoping the weather will be warm enough to sit at the pool!
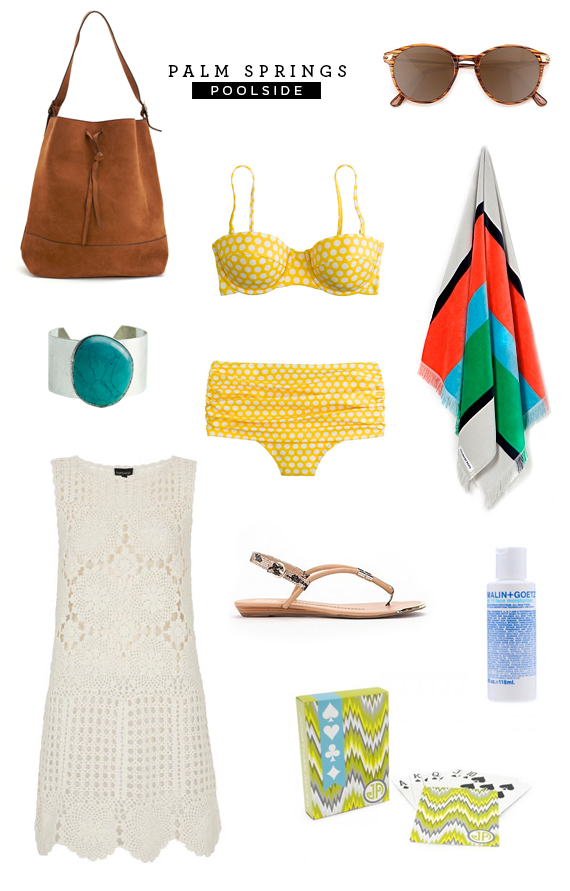
THE STUFF ⋅ poolside
dunes bucket bag from nastygal / mesa turqoise cuff / topshop crochet coverup / j.crew high waisted graphic dot bikini / dv slingback sandals / retro round sunglasses / countryroad island beach towel / malin + goetz spf 15 moisturizer / jonathan adler playing cards
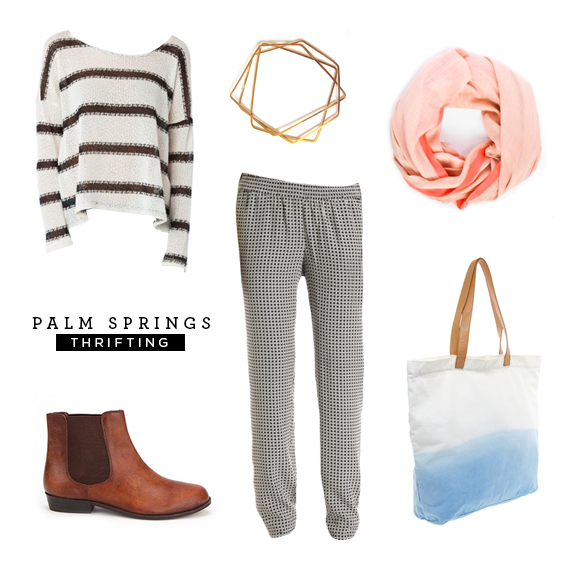
THE STUFF ⋅ thrifting
billy stripe sweater from sosie / bdg leather chelsea boot / pretty mommy bangles / joie printed pants / maja scarf / asos river island tote bag
-
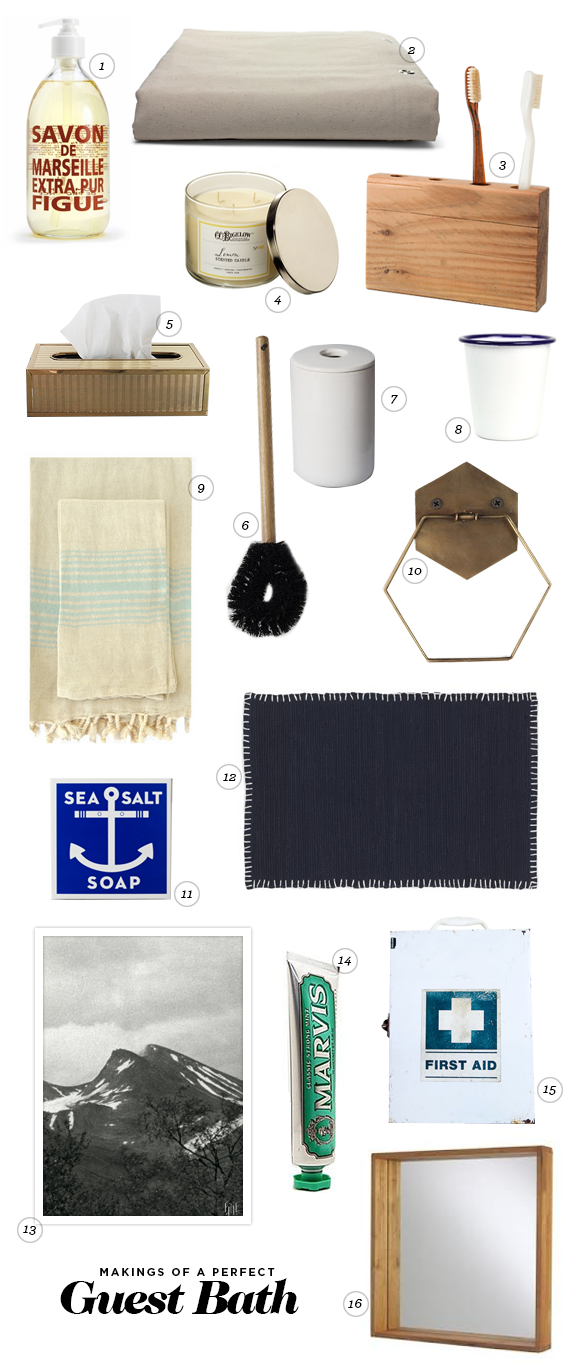
the things great bathrooms are made of
now that we have TWO bathrooms, (COUNT THEM PEOPLE… TWO!) i am weighing out what pretty stuff goes in what bathroom. do i pretty up the one i look at first or the one the non existent guests do? tough one. maybe the best way to do this is make BOTH OF THEM PRETTY. oh what.

