-
elsewhere…
Going to start collecting the linkable things I love on the internet every week. Okay here goes.
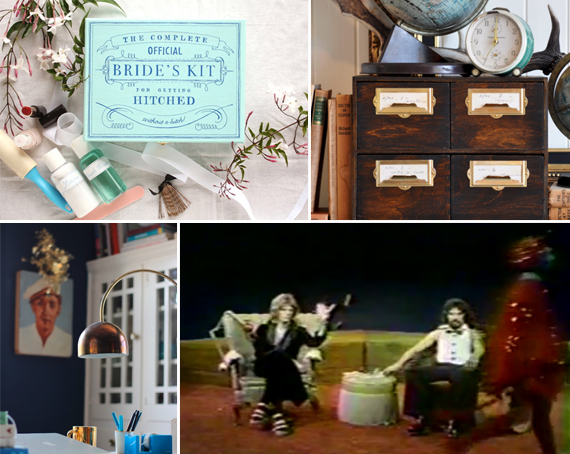
(clockwise) Bride Kit DIY by Oh Happy Day done with temporary tattoo paper and a craft box! / Card Catalog drawers hacked from Ikea Moppe Drawers by the Painted Hive / Hall & Oates made this promotional video for “She’s Gone” in 1976. It is truly unbelievable. / Emily Henderson’s office makeover. So so so pretty.
-
making this: recipe box redo
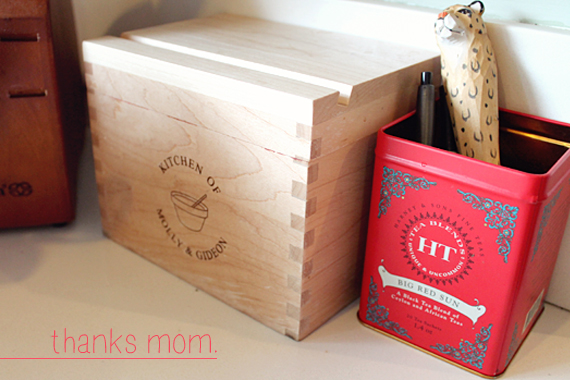
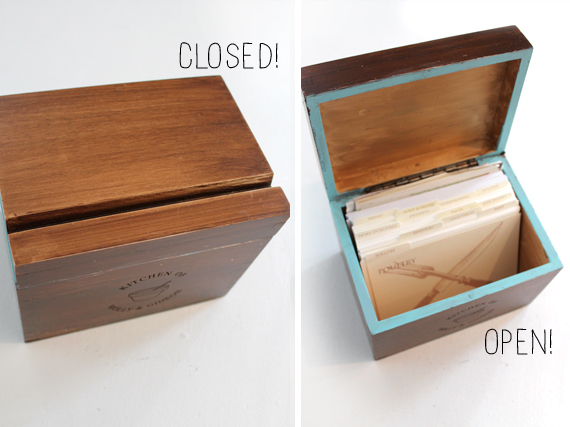
For Christmas, my mom got us a custom recipe box and embosser from Williams Sonoma. I love it. But after sitting on our counter for half a year, I decided it would look a little prettier in a darker stain. Sorry mom. Thanks mom!
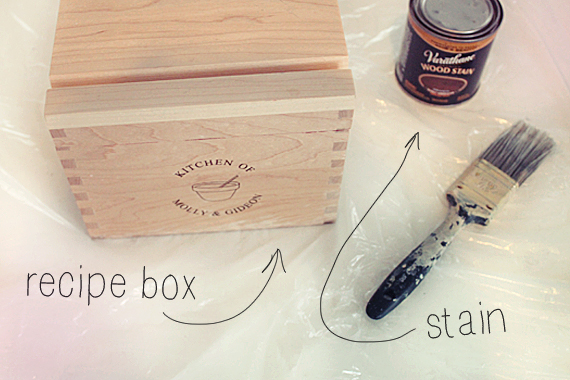
I didn’t take any in between photos because I must have gotten distracted, but here it is before I stained it:
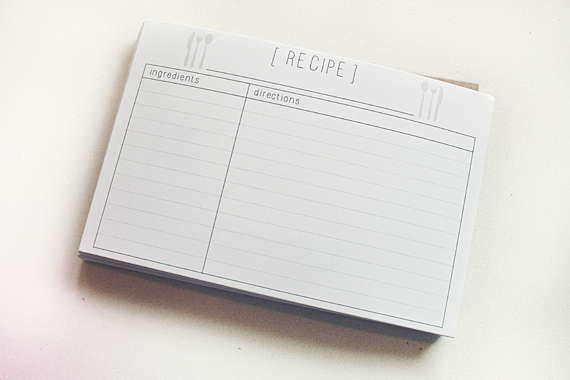
During the staining, I designed these recipe cards to go inside.
I was planning on putting white paint in the engraved part and wiping it off, but after finishing the staining process, I opened the box and there were splatters of stain all over the inside. So I decided to paint the inside with a gold glaze. And then went a little crazy and did a blue trim. I probably should have just left it alone. Now I’m worried about doing anything else to it. OH WELL! Way better, right?
-
cute cat stuff roundup
So yesterday I witnessed this.
My best friend Nicole’s UNSPAYED therefore slutty cat had kittens. Five of them! It was a pretty crazy thing to experience. Now my friend is insisting we take one of the little guys. I’m not a cat person, but boyfriend is. He’s into this idea. So naturally, I’ve been researching all that stuff you need for a cat and finding some cute things!
one – do cats actually sleep on their bed the way a dog does? / two – modern litter box, cleaning this will be boyfriend’s job / three – a teeny tiny cute little chevron striped collar / four – this cat toy looks like something i’d stick on a bookshelf. i’m sold / five – cats need mats right? don’t know why but this one is cute / six – custom cat tag in lowercase / seven – hungry and thirsty bowls, love these! / eight – a scratch pad that i would totally be ok looking at
-
lauren’s guest room / office
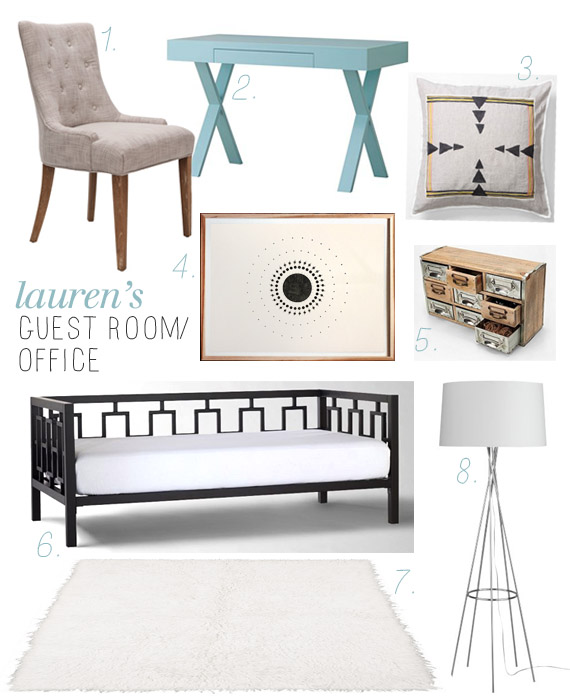
Lauren’s guest room slash office has been slowly collecting dust while waiting to be finished. She asked me to devise a plan for how to make it comfy enough that it wouldn’t feel like her house guests were crashing her office. So I picked out a relaxed office chair that could double as an occasional chair for guests, a daybed so it wouldn’t feel too guest-roomy for the office double duty, and a snug flokati rug to maximize all over room comfort and ease.
one: dining chair that seems way less formal when sitting at a desk / two: a fun pop of color for the desk which would double as the nightstand for the daybed (and she can keep her laptop inside!) / three: neutral but whimsical linen bedding / four: graphic and easy conversational art / five: a vintage inspired card catalog for the desk so that all her supplies can be hidden / six: a modern day bed that feels relaxed and loungey / seven: soft flokati rug for everyones feet to be happy / eight: an industrial style floor lamp that works for the office, and mood lighting for the guest.
-
making this: diy camera case
When I bought a camera, I scoured the internet for the cutest accessories. UM. I just bought a damn camera. I’m still planning on buying a flash. I will not be spending hundreds on bags and straps. So I decided to make my own (for now).
These are all very pretty. None of them cost less than a hundo. ( 1 / 2 / 3 / 4 / 5 )
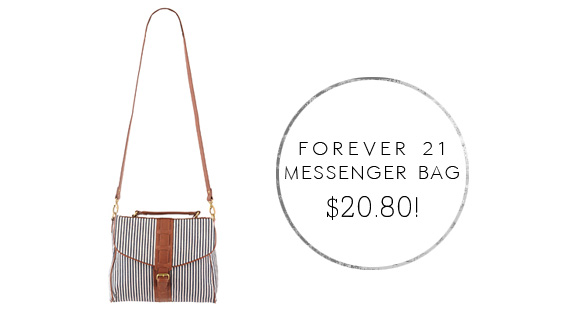
Anyone that knows me knows I am fruGAL. And that I love Forever 21. SOOO… I went ahead a bought this bag.
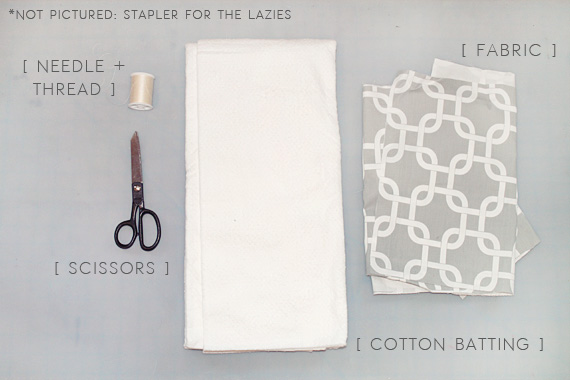
Ok. Bought. Now the hard part. Making a camera insert for it. You need this stuff. (you could also use foam instead of batting, but I thought batting would be more flexible)
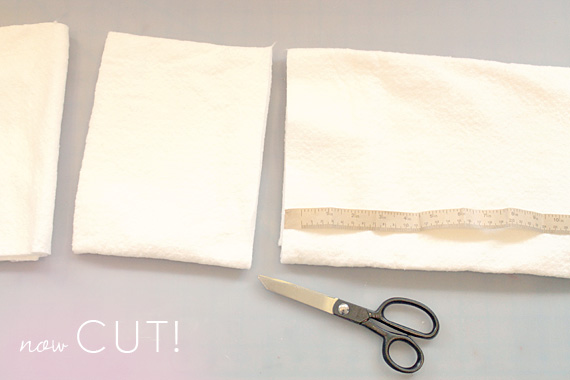
step one. Measure the bottom piece according to the size of the camera. then measure the four sides out and CUT that batting up!
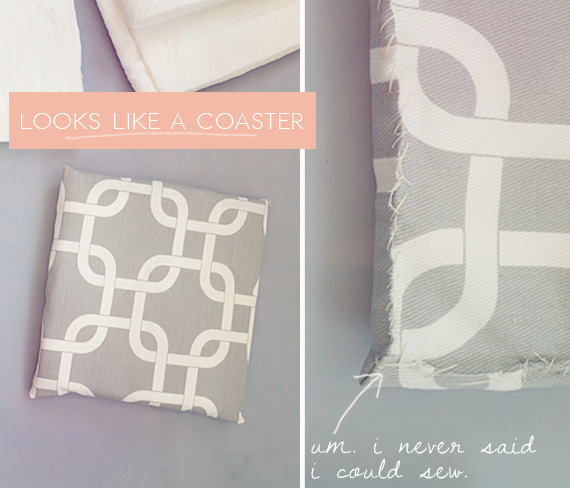
step two. Start sewing the fabric around the panels of batting. Mine sucks.
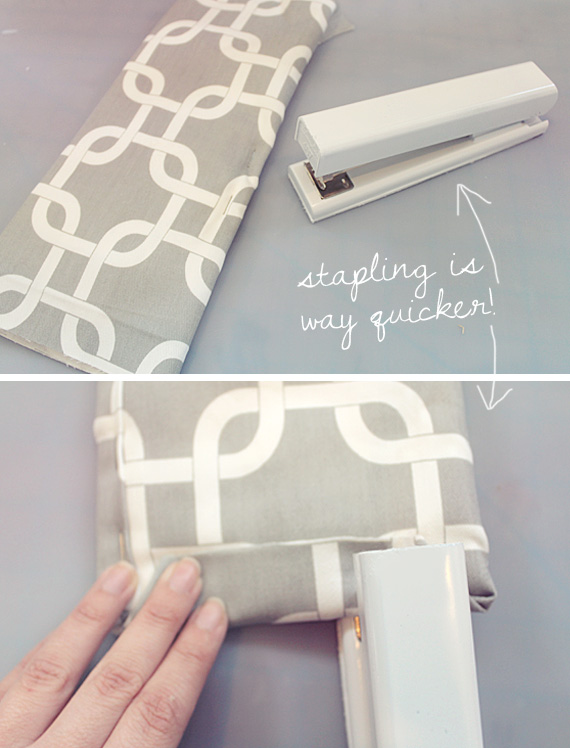
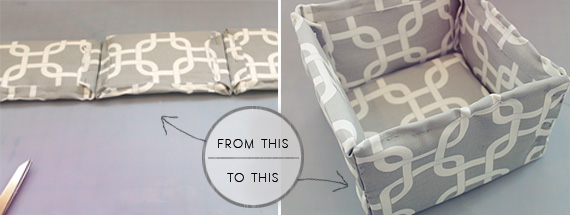
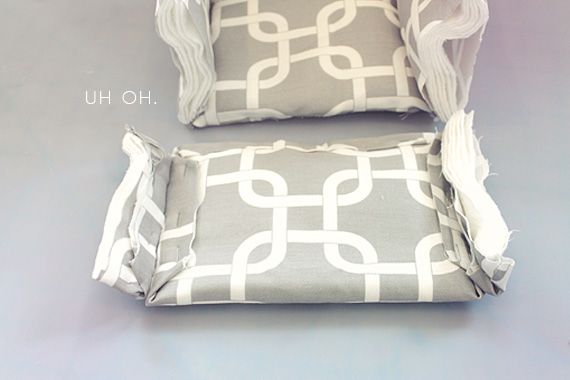
step three.Here is where I realized step two was too hard. The geometric print was not staying in place because of the batting moving around while I sewed, no matter how much I pinned in place. I suck at sewing. That’s fine. So I resorting to stapling the remaining panels.step three. When all the panels are ready (sewn or stapled, watch your fingers), it’s time to attach them to each other, making sure they fold and fit on the bottom piece properly. I’d recommend sewing the sides and NOT STAPLING. Okay, so mine fits. Awesome.
SHIT! Hiccup #2. This is way too square. It refuses to fit into the bag. So if you’re like me and mess stuff up, here is where you’d do…
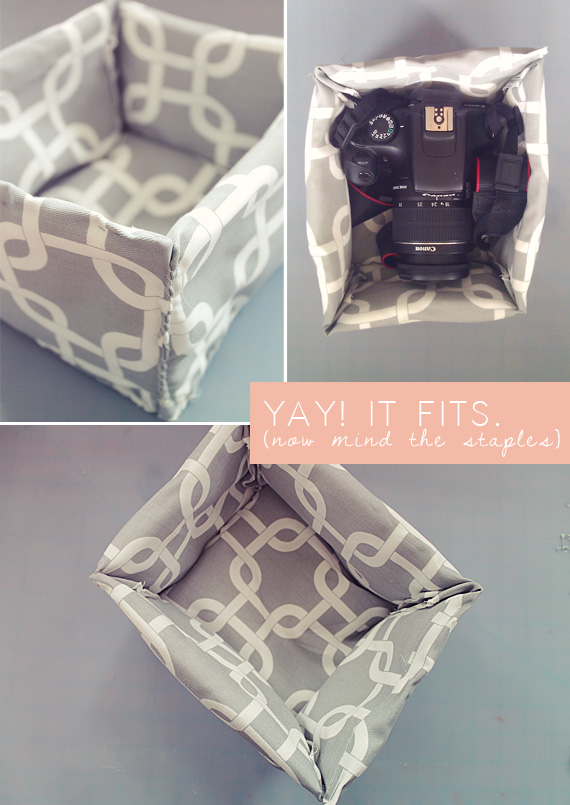
step 3 1/2. Fix the panels. Make it the correct size for the camera. (HINT: a rectangle)
step four. Admire. Make sure the camera fits inside comfortably. You’re done. Admire more.
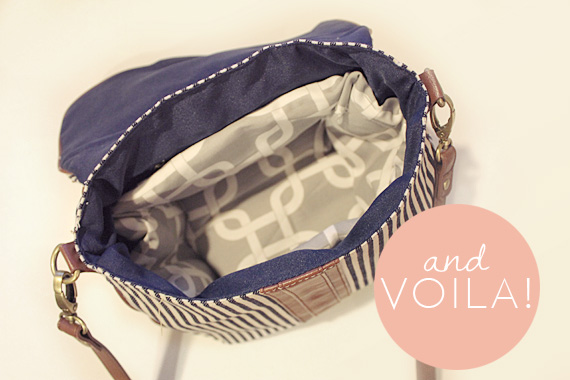
step five. Fit that case right in that bag. Now go to the zoo with it or something.
-
eating this: chocolate chess pie
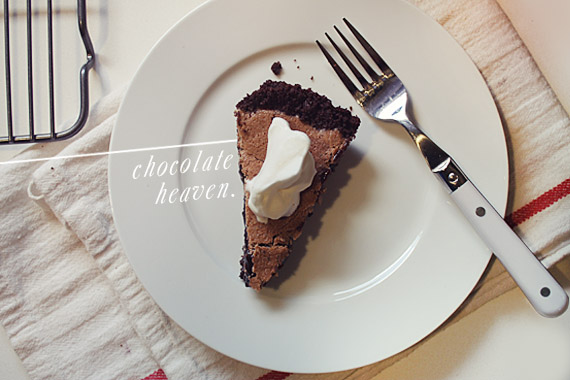
Ever since trying out this recipe, this has been my favorite chocolate indulgence. And everyones that I’ve ever made it for. It’s like the richest, fudgiest brownie ever. And the best part – it’s a no fail recipe.
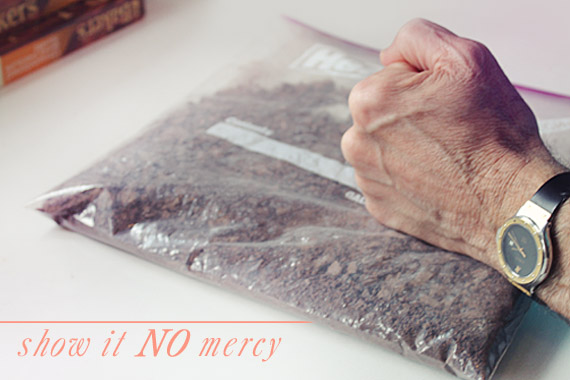
My chocolate-obsessed dad was visiting town so I wanted to make it with him. I had him do the labor intensive job of smashing up the chocolate graham crackers for the crust.
A quick warning about this recipe is that most grocery stores around me have seemed to stop carrying chocolate graham crackers. I noticed this a few months ago when I made it for a dinner party, we drove to four stores trying to find them, and were told by everyone that they were discontinued. We used chocolate teddy grahams for that version (WHICH WAS MUCH HARDER!) Weeks later, my boyfriend came home from the store with 4 boxes of chocolate graham crackers he found at Pavilions (Vons/Safeway). Safeway store brand seems to be the only one still in production.
Chocolate Chess Pie
(adapted from the Kitchn)The recipe is originally for a 9 inch pie pan, but I like to use my 9.5 version because it’s the easiest for cutting out the slices. So I make extra pie crust and then we cut the top of it off when it’s done cooking. (I’d rather have too much crust than too little)
for the crust
1 ½ sleeves chocolate graham crackers
1 ½ stick butter, melted
1 tablespoon sugarfor the filling
1 stick butter
1 (1 oz) square of unsweetened chocolate
1 cup sugar
2 eggs, lightly beaten
1 tsp vanilla extract
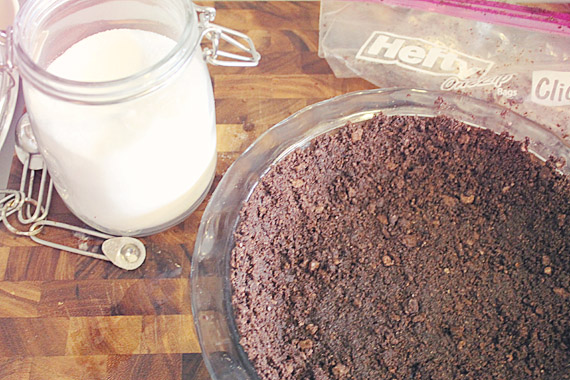
¼ teaspoon kosher saltPreheat the oven to 350°. To make the crust, place the graham crackers into a large ziploc bag. Now smash! You can use instruments such as a rolling pin or you can just make a man smash it with his hands. Once it’s powdery, add the melted butter and sugar and mix until well combined. Press into the pie pan and cook for 8 minutes. Remove from oven and chill for an hour until crunchy and firm.
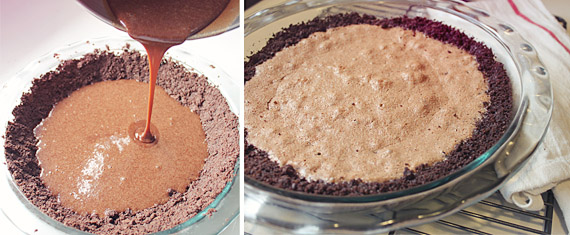
Now heat the oven to 325°. To make the filling, heat the chocolate and butter in a saucepan until melted and smooth. Remove from burner and transfer to a mixer, add sugar and mix until well combined. Stir in the lightly beaten eggs, vanilla, and salt. Pour into the pie crust and cook for 40-45 minutes until the center is just set. I normally cook for about 42. I like it gooey.
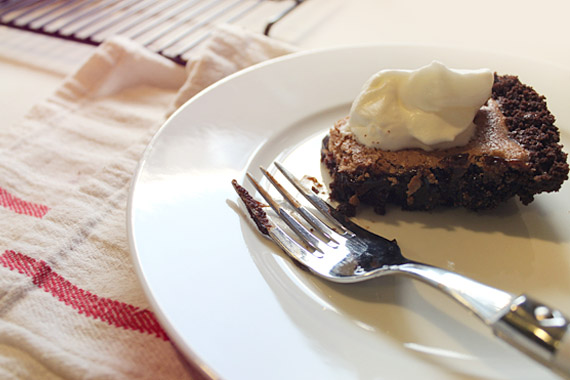
Remove pie from the oven, and let cool for 20-30 minutes. Keep at room temperature and serve with freshly whipped cream (which I make while I’m waiting ANXIOUSLY for the pie to cool!)
-
if i lived in restaurants…
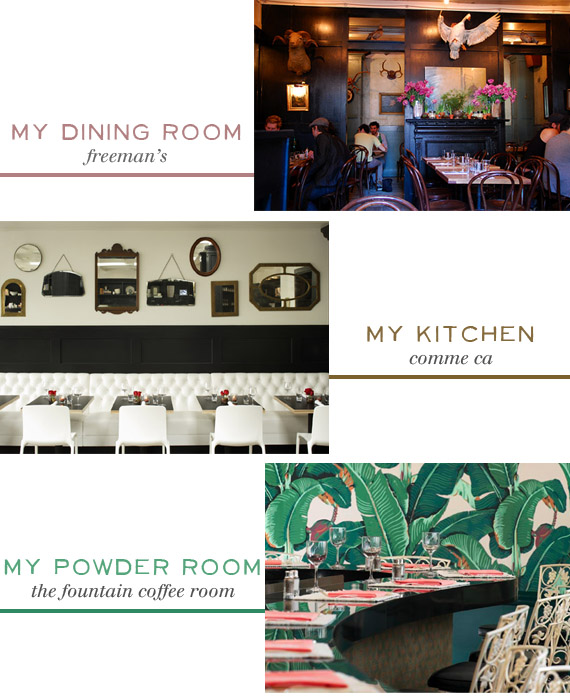
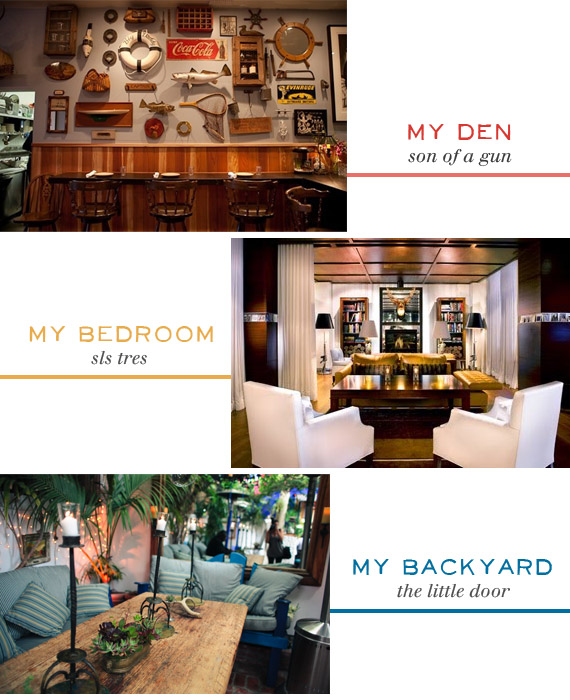
The most design inspiration I usually get while out is from well designed restaurants (and hotels!). If I could live in a dream house made from restaurants, this would be that dream home.
[ restaurants ] freeman’s (ny), comme ca, the fountain coffee room, son of a gun, sls tres, the little door

