-
wood chairs
i’m really into natural wooden chairs right now. maybe sitting on wood isn’t the most comfortable thing to sit on – but it look real niiiice.
i’ve always loved and wanted the pioneer chair ( # 05 ) and have spent a year telling gideon it’s more comfortable than it looks i’m sure. fingers crossed.
-
fried shrimp tacos
i am really really really into tacos. we eat tacos in our house a few times a week. sometimes a few times a day. i mean, we live near about 45 good taco places. and sometimes, we make tacos at home. and then SOMETIMES… i decide to share my absolute favorite taco recipe with you.
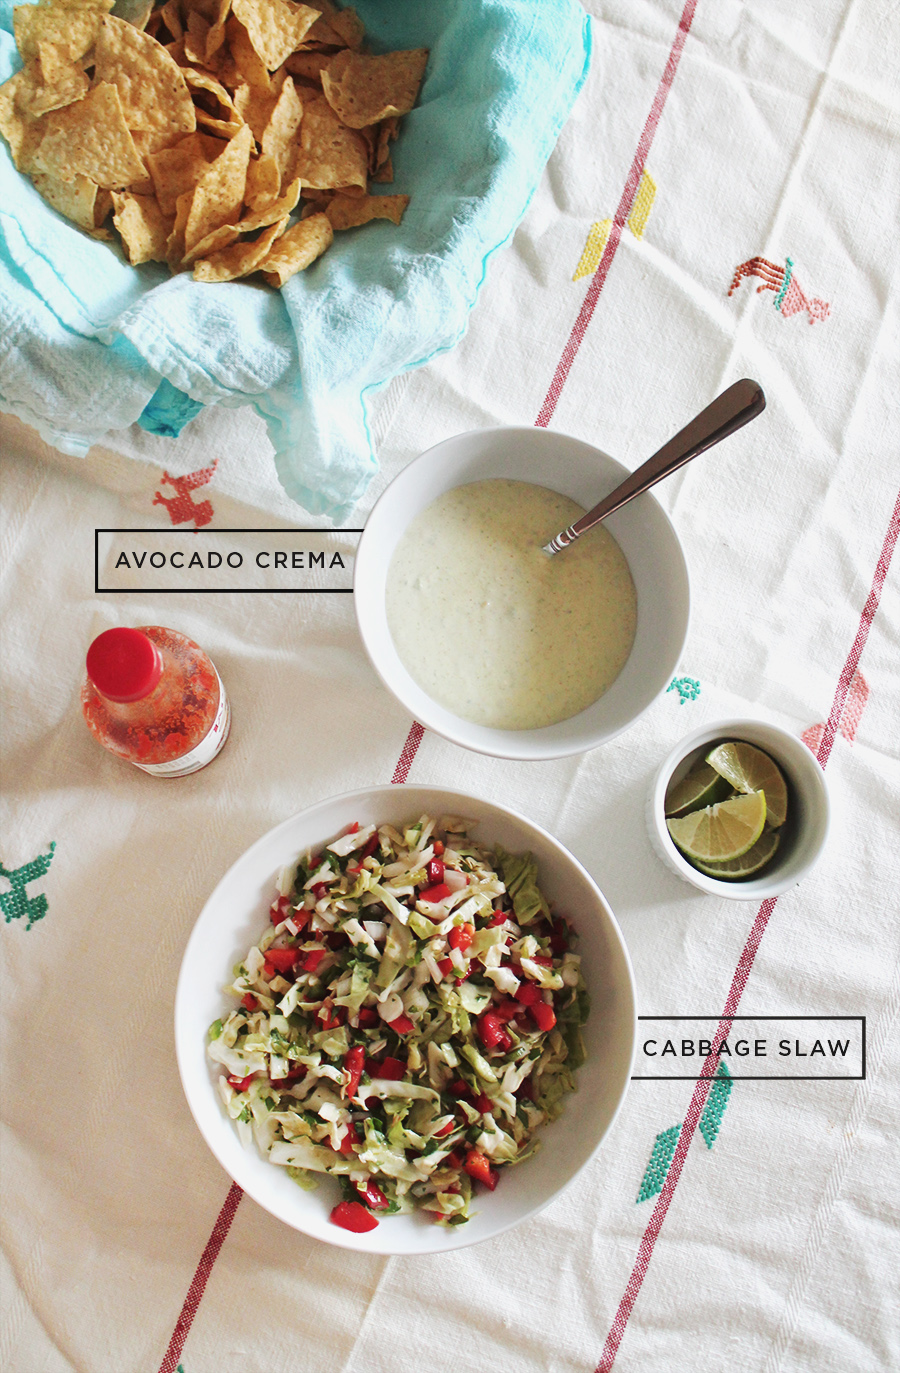
it takes a little time and a lot of mess to make these, you have to bread and pan fry the shrimp, make the cabbage slaw, and make the crema, but you will impress your taco enthusiast or just taco enjoying guests and i SWEAR it.
INGREDIENTS
for the crema & slaw
1 ripe avocado
1 cup crema
2 tsp. plus 2 tbs. fresh lime juice
1 1/4 tsp. ground cumin
1/2 tsp. salt, plus more, to taste
2 cups shredded savoy cabbage or green leaf lettuce
1/2 cup diced english cucumber
1/2 cup diced red bell pepper
1 serrano chili, seeded and minced
3 tbs. chopped fresh cilantro
2 tbs. minced onion
freshly ground pepper, to tastefor the shrimp
12-16 ounces peeled and deveined shrimp with tails removed
3/4 cup flour
2 tsp salt
1 tsp cumin
1 tsp greek seasoning
2 tsp garlic powder
1 tsp cayenne
1 tsp black pepper
2 eggs, beaten
canola oil for frying
flour tortillas
* 1 ripe limeAVOCADO CREMA
halve and pit the avocado and scoop the flesh into a food processor. add the crema, the 2 tsp. lime juice, 3/4 tsp. of the cumin and 1/4 tsp. of the salt. blend just until smooth. transfer the crema to a bowl, cover and refrigerate for up to 2 days.CABBAGE SLAW
in a large bowl, combine the cabbage, cucumber, bell pepper, the 2 tbs. lime juice, 1 tbs. of the olive oil, the chili, cilantro, onion, the remaining 1/2 tsp. cumin and the remaining 1/4 tsp. salt. stir to mix well. cover the slaw and refrigerate for 1 to 6 hours.SHRIMP TACOS
rinse the shrimp with cold water and pat dry with a paper towel. mix the flour and spices together in a shallow bowl.in a second shallow bowl, beat the eggs. dredge the shrimp in the flour, then in the egg wash, then back into the flour and coat well. place on clean plate.
cook shrimp in batches on a hot skillet with oil over medium high heat. the shrimp take about 1 1/2 – 2 minutes per side.
cook tortillas straight on another burner on medium heat for about 30 – 45 seconds per side, carefully flipping with tongs.
once the shrimp are all cooked, assemble the tacos with 3 – 4 shrimp per tortilla and liberally add the slaw and crema.
* FINAL AND MOST IMPORTANT STEP : squeeze limes on top. i can’t stress this enough, but ANY item of mexican food you eat will be better when it’s covered in lime juice. whether it’s tacos, burritos or tortas – they all taste that much better when limed. my boyfriend taught me this and changed my life. do not forget the lime.
(adapted from honest cooking and williams sonoma)
-
the blog got a makeover
-
r. kelly’s ignition : breaking bad remix
ok this is just CRAZY. but amazing.
-
payday wishlist
so hopefully this weekend – i’ll be getting the site prettier than ever. stay tuned on that.
cotton net bag | pillow | sunglasses | dress | hanging planter | shoes
+ hope you have a great weekend!
-
i link you
i’ve decided it’s time for me to start sharing my favorite links of the week. because the internet is FUN.
THIS WEEK
corey feldmans birthday party (and life) are just as awkward as you might imagine (via vice)
i’ve never had the urge to make gazpacho… but add some strawberry and i’m intrigued (via spoon fork bacon)
25 weird ways to explore los angeles. i must say i’ve done quite a few. (via timeout)
super exciting news : how bubbly can boost brain power (via forbes / image via)
an appreciation of six feet under on it’s 8th anniversary (via flavorwire)
this rope covered extension cord DIY is perfect and simple (via thevow.tumblr.com)
peter dinklage hula hooping at a gay bar (via warmingglow)
-
an office update
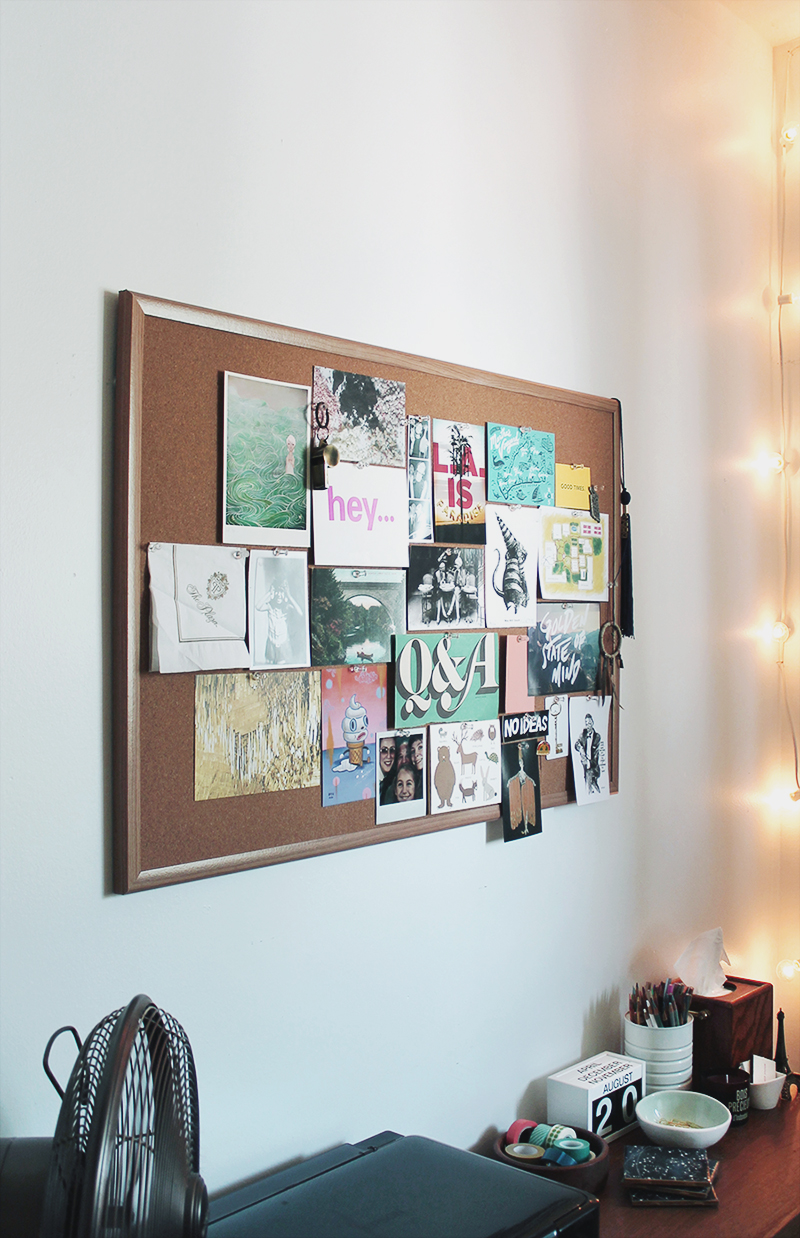
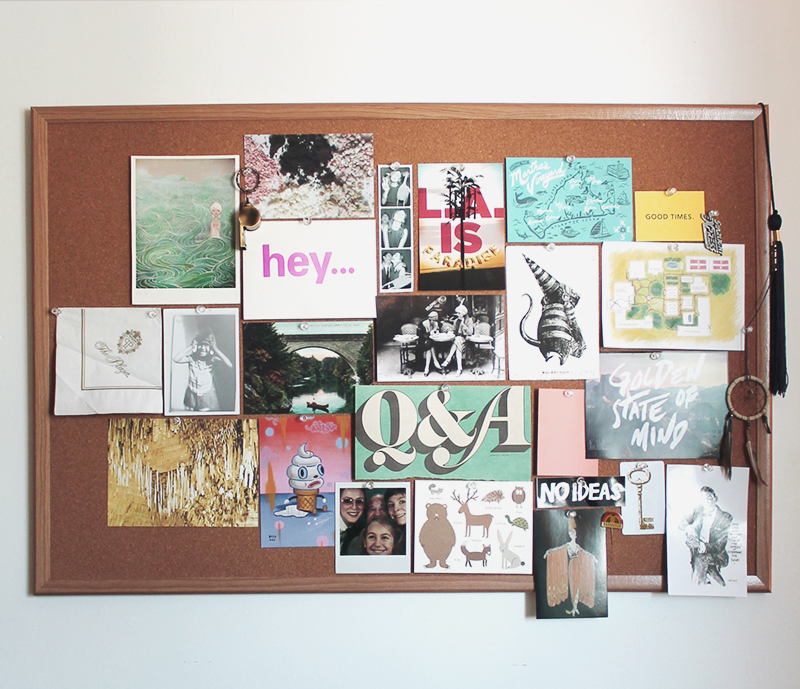
like i was saying last week – i’ve spent almost zero time fixing up or organizing the office since we moved in. but last weekend, i bought a bulletin board from target and it already makes a huge difference.
i’ve been having so much fun pinning up memories and inspiration. like too much fun.
and speaking of too much, you know you’re a huge dork when you are ecstatic about your new screensaver. OMG. i love my new screensaver you guys.
-
taking criticism with lots of grains of salt
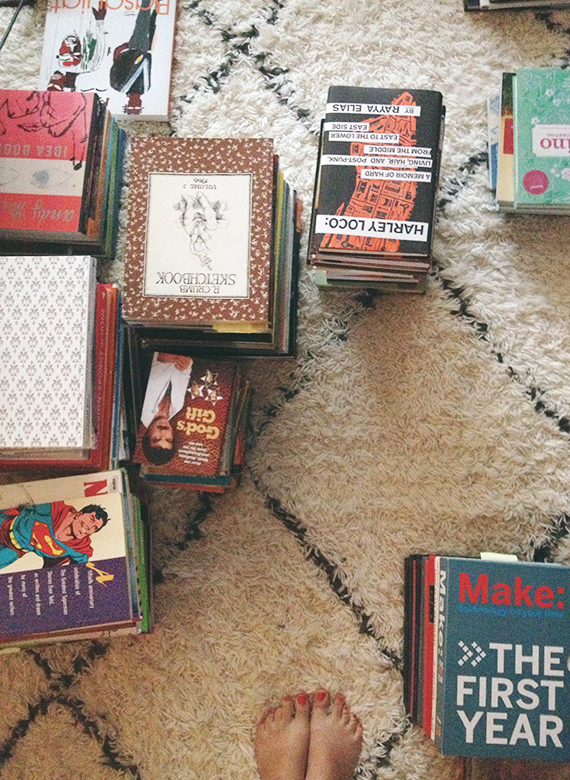
you might remember we built these shelves for our apartment. we lack storage and have a thousand books, so we thought it was a good idea for us. well last week apartment therapy posted the shelves! oh yay!
NOT SO FAST. i noticed they’d posted and was excited for about 10 seconds until i scrolled down and read the comments. the nasty un-constructive comments saying how they’re ugly and cluttered and styled oh so badly. and then i got super upset…
here’s my personal favorite:
tishinottawa wrote :
“Personal opinion, you ruined a beautiful clean look. Some gorgeous black and white photography on the wall would have framed that fireplace, and then perhaps some wicker baskets and interesting old boxes and trunks along the floor for odds and ends. And find somewhere else for the books.
But since you’ve gone to the effort, at least style the bookcases better. The books should be grouped by size, colour.”
… barf. i think these haters are the people who do this :
shudder. oh and how about this…
oh hell no.
now why was i so upset? i never said i was a decorator or a stylist. i certainly don’t want to style the shelves like i’m living in country home but i also didn’t know they were styled hideously. they hold all the books in our apartment. you know, like the definition of a bookshelf : a shelf on which books can be stored. my biggest challenge with decorating is always worrying that things look decorated. maybe not apartment therapy commenters. so anyway i read these comments and was like “wtf fuck those fucks” and then i did this. OOPS.
shit. i made our apartment a disaster for the next three days because of some stupid comments. i even considered moving the shelves into the office and getting some simple white cabinets for the living room instead. but i didn’t – thank god. i reorganized the shelves a little and took the next few days to try to not give a shit about what people think. even though that’s basically impossible, i obviously need to get more used to criticism because people on the internet say mean things all the time and i need to thicken my skin.
if rebecca black can handle it i can handle it.
ignore all those cords. we setup the wii. i’m really not sure if the shelves look any better or any different, but it was actually kind of rewarding taking everything down and having it be cleaner once i finished.
the moral of the story is that people are as mean on the internet because they can be. and from now on – i’ll try not to read comments.
+ how do you deal with criticism?
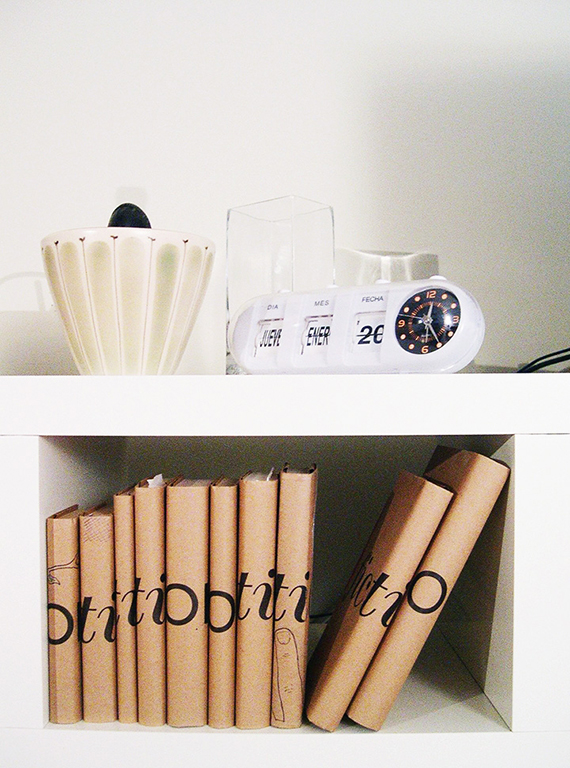
images : colored coded books / kraft paper books
*** this has been reposted due to technical difficulties. the original comments are MIA. but thanks for them and i wish i could see them again so i could write you big thank yous.
-
ugh.
if you’ve visited the blog this week, you might be wondering wtf is happening to it.
well – i’ve been having some serious tech problems over here. basically, the blog has been up and down and like many of you have noticed, monday’s blog post disappeared, but i will be reposting it asap.
i’ve spent the week on the phone with tech guys and crying and stressing and it has SUCKED. but the blog is now working properly. you may also notice it looks like crap but will be getting a facelift asap! so good will come of this nightmare.
please bear with me. and thank you for your amazing comments on the shelving post. i never realized how much i like blogging until i wasn’t able to. i like it so much! and i like you.
-
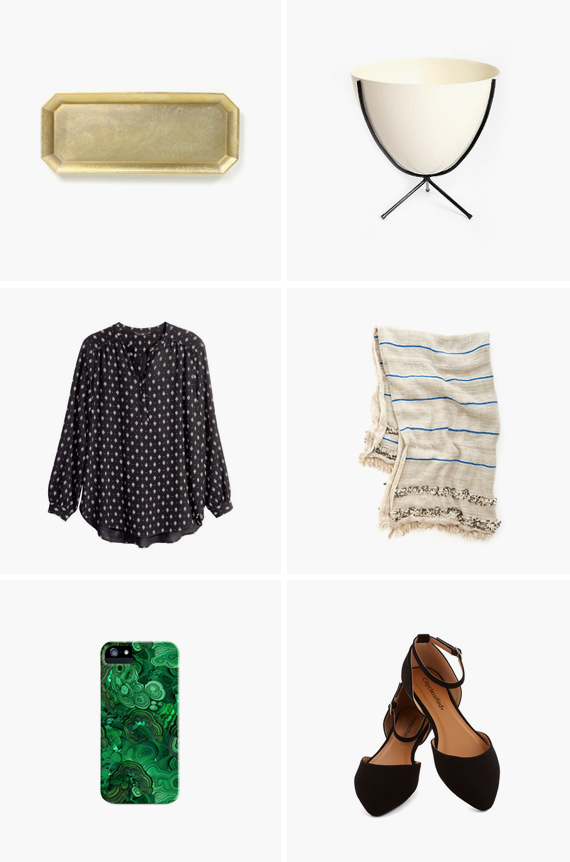
payday wishlist
i can’t believe urban is selling bullet planters now. this is cray. now if only i could convince my boyfriend to stop thinking they’re hideous.
one . brass tray
two . bullet planter
three . blouse
four . blanket
five . malachite iphone case
six . flatswell it’s been a kind of a tough week over here! hopefully you weren’t affected but the blog had all sorts of problems yesterday and i spent the day stressed and on the phone with my hosting company. that and i haven’t slept. i go through these partial insomnia phases you could say, where for about a week i’ll get less and less sleep every night. i’ve been up since 3am today! it’s usually due to way too much in my mind. this weekend i am going to take it super easy and maybe try to drink a lot before bedtime. hope you have a great weekend!


