making this: rub ‘n buff gold lamps
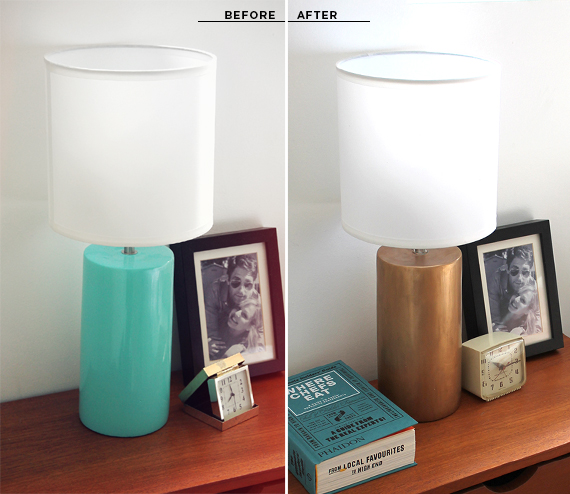
the other day when i did this bedside lamps under $100 post, i realized that buying TWO lamps is expensive. i really was thinking of sconces, but i figured some cheap lamps would be much easier. the next day i happened to be shopping at target and found these $20 lamps. they’re kind of a cute color, but i have a hard time living with bright colors, so i bought them with the intention of changing the color since they were sooo cheap. (i also skipped that heinous lampshade and got the white ones)
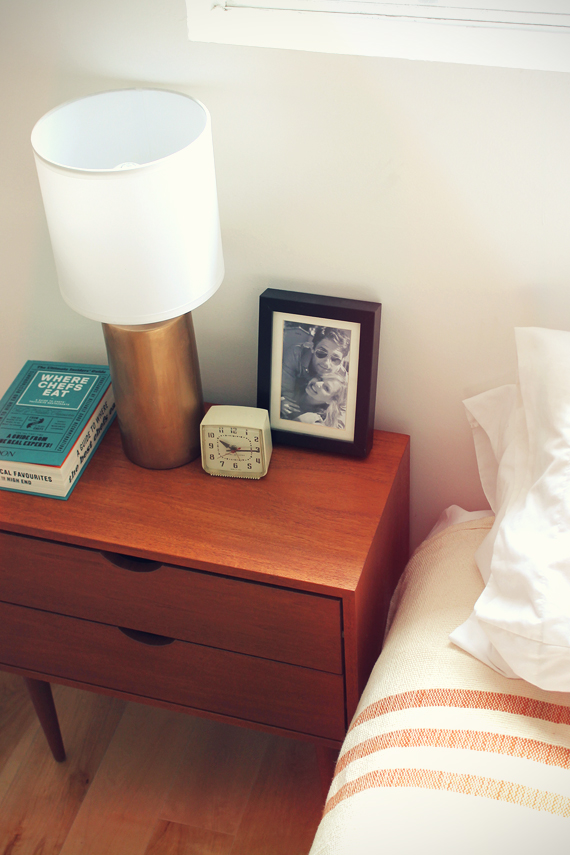
instead of spray painting them, i bought some rub ‘n buff to give it more of a bronzed finish.
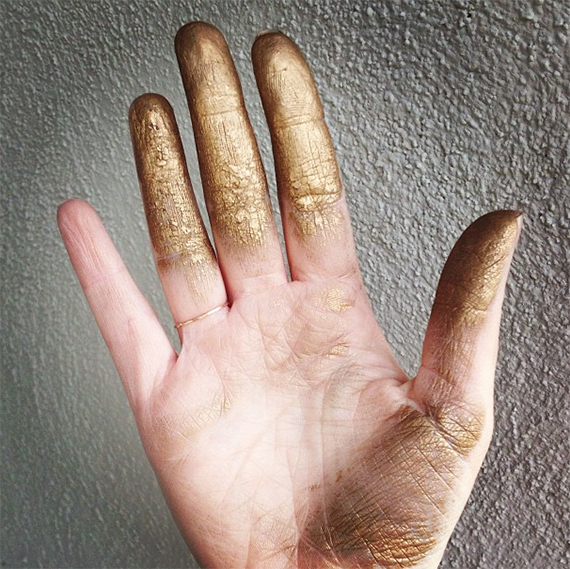
i don’t have many process shots, but it took about two hours and tons of strength and energy. and i used my bare hands, so they looked like this.
basically, you need to apply very thinly. NO. even thinner than that. use all your wrist power to buff and spread it all over to try to get it as even as you can. which is pretty hard, especially when you’re working with a glossy finish like the lamp. it’s blotchier than i hoped in some spots, but i’m pretty happy with the finish.
if you do it thicker than you like, gently sand down thick spots and try to fix with thin coats.
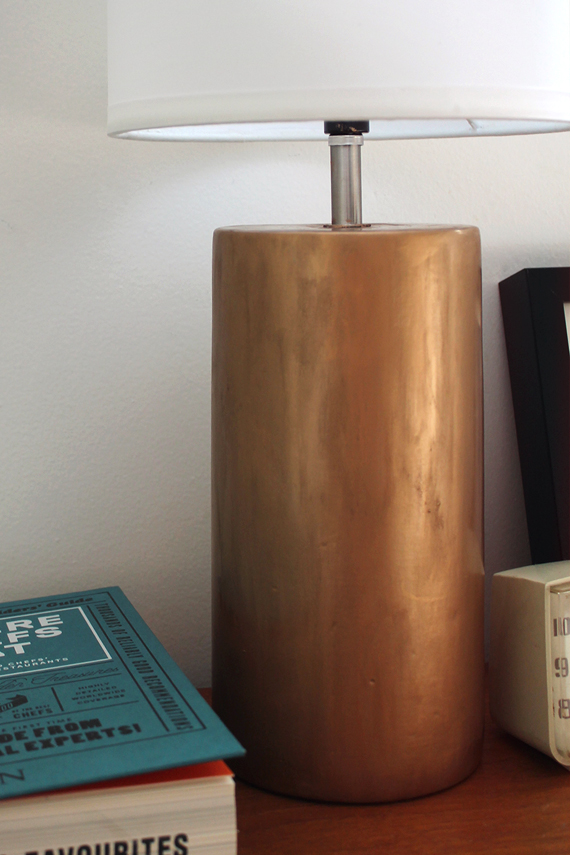
here’s what it looks like up close:
nice texture!
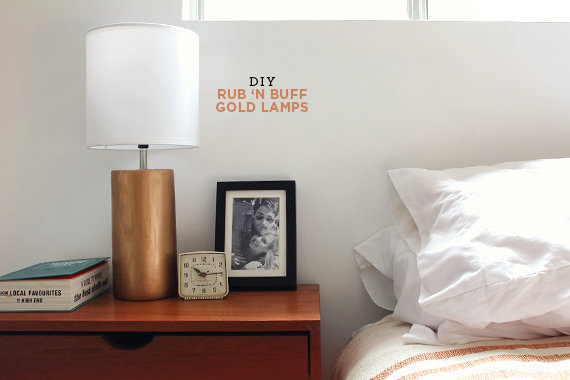
they work WAY better in our room than the teal. and i think i love them a lot.
(nightstand is vintage, clock is vintage for sale in the shop here, diamond blanket from joinery nyc)








Amazing! I love how uneven they look in spots, it makes it look more authentic, like an old penny 🙂 one question, what color did you use of the rub n buff? Thanks…
+ thank you bre! i know, that uneven texture is what i love. i used antique gold.
This is a beautiful update! Also, my heart fell when I saw that the nightstand is vintage. Awesome for you, not so much for covetous me.
+ haha i know the feeling ! my heart drops every time i love something online that turns out to be vintage. thank you for the compliment!