-
eating this: heirloom tomato salad with burrata
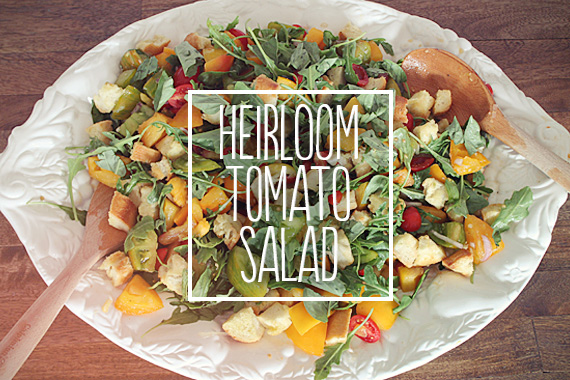
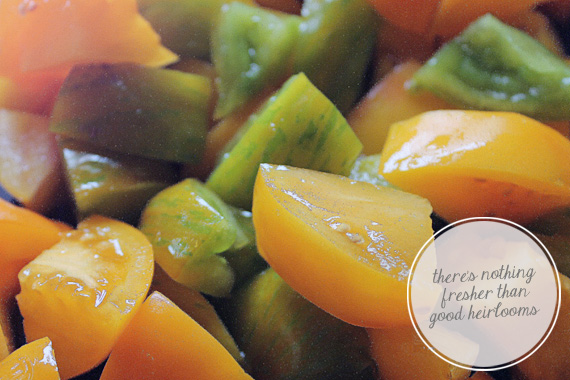
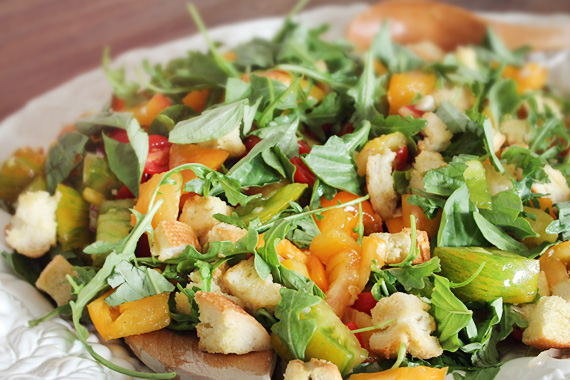
I made this incredibly fresh and summery salad for a dinner at my boyfriend’s parents house. So because I traveled with it, the photos show the salad undressed and uncheesed. You can use your imagination.
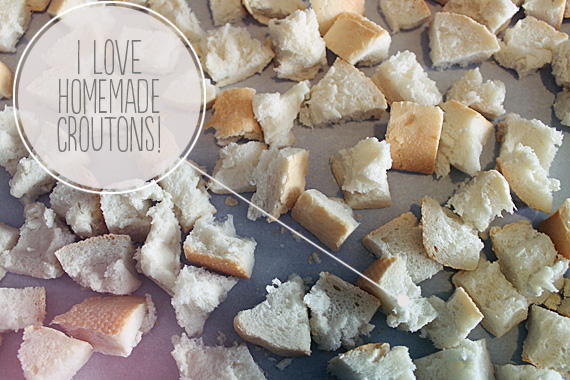
My favorite ingredient for a homemade salad is fresh croutons. Because bread is better than everything.
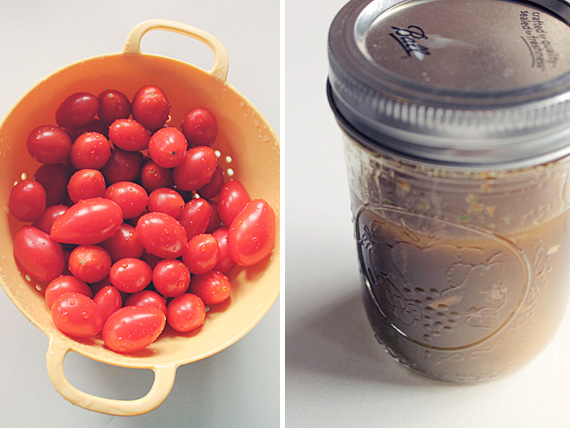
Although tomatoes seem a little iffy for an on-the-go salad, the held up well and I brought the dressing in a jar.
I made this for a huge group of people. And everyone went nuts for it!
Heirloom Tomato Salad with Burrata and Torn Croutons (from Sunday Suppers at Lucques)
1/3 pond country white bread
1/2 cup extra-virgin olive oil
1 tb fresh oregano leaves
1/2 garlic clove
3/4 tsp kosher salt
1 1/2 tsp red wine vinegar
1 tb balsamic vinegar
1/2 pint cherry tomatoes
3 pound heirloom tomatoes in assorted sizes, shapes, and colors
1 tsp fleur de sel
freshly ground pepper, to taste
1 pound burrata cheese
1/2 cup thinly sliced shallots
2 – 3 tb fresh basil leavesPreheat an oven to 375°F.
Cut the crust off the bread and tear the remaining loaf into 1-inch pieces. Using your hands, toss with 2 Tbs. of the olive oil, squeezing the bread to help absorb the oil. Toast on a baking sheet, stirring a few times, until the croutons are golden brown, 12 to 15 minutes.
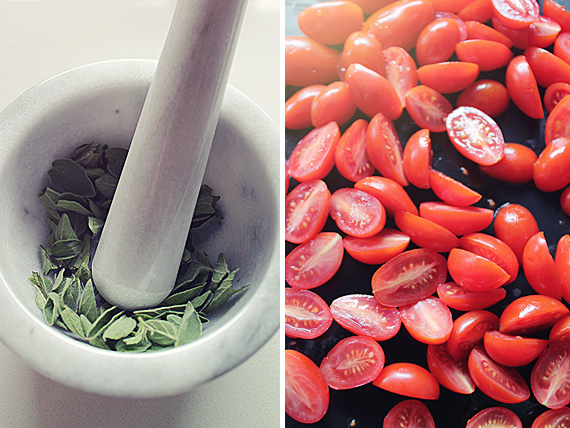
Using a mortar and pestle, pound the oregano, garlic and 1/4 tsp. of the kosher salt to a paste. Transfer to a bowl and whisk in the vinegars and the remaining 6 Tbs. olive oil. (Here’s where you can set it aside in a jar if you’re traveling with it)
Stem the cherry tomatoes and cut in half. Core the heirloom tomatoes. Cut half into wedges and set aside; slice the rest 1/4 inch thick. Season with the fleur de sel and pepper. Cut the burrata into 12 slices. Arrange the tomato slices and burrata on a large platter. Drizzle with a little vinaigrette. But I skipped that whole part. We added the cheese at the very last minute.
Toss the heirloom wedges and cherry tomatoes gently in a large bowl with the shallots, the remaining 1/2 tsp. kosher salt, a pinch of pepper and 3 tb of the vinaigrette. Taste for seasoning, adding more vinaigrette if desired. Add the croutons and gently toss.
Pile the salad in the center of the platter. Scatter with the basil leaves.
-
happy 4th of july!
Hope you’re dressing festive and blowing something up today!
I’ll be posting some 4th photos tomorrow, we bought an insane amount of fireworks so they might turn out good!
-
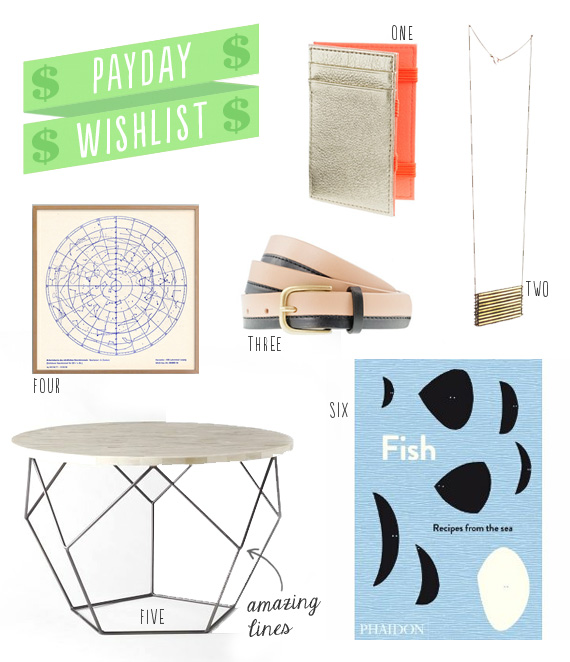
payday wishlist
-
payday wishlist
-
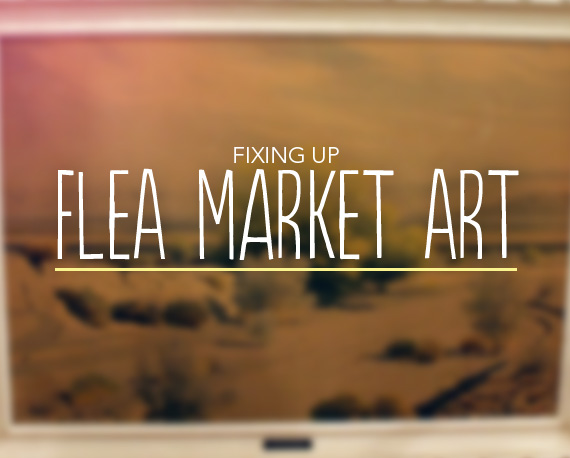
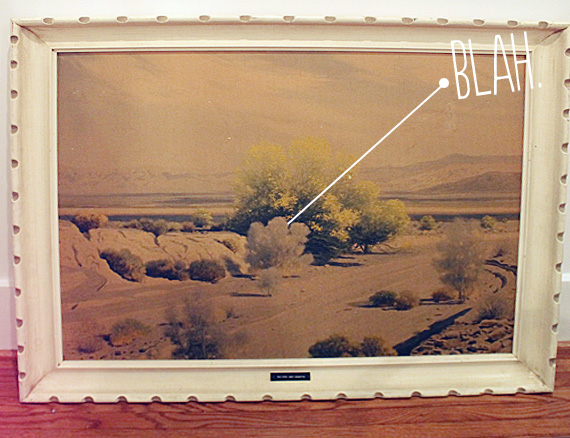
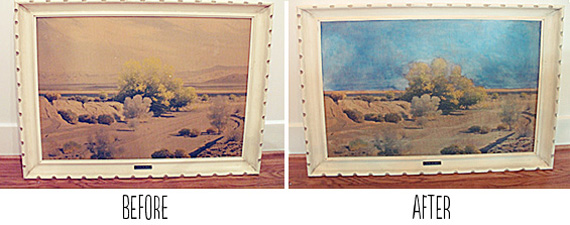
fixing up flea market art
When I moved in with Gideon, this was pretty much the only art he owned (besides his own). I was like yeah, ok that’s kinda cool. It’s all washed out and – vintagey.
But after a year of it on our bedroom dresser plus our lack of color in the room, I started asking him if we could color it up a little.
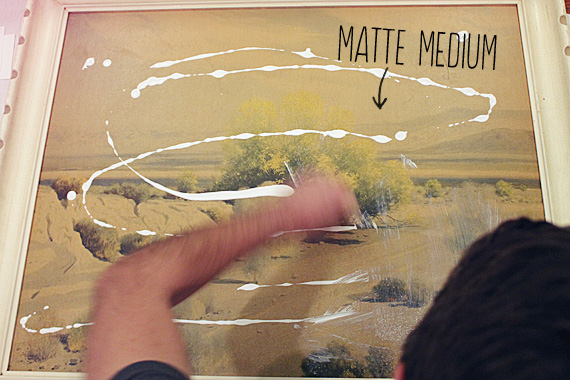
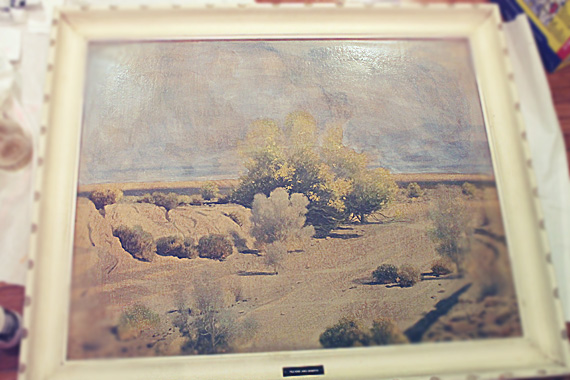
He covered the thing in matte medium. Then he slowly added washed out blue.
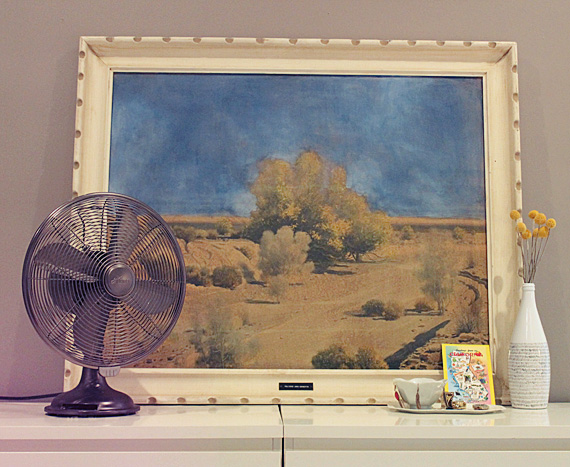
Then he went to bed and I went BLUE CA-RAZY on it. I don’t think he was as happy with the results but look how vibrant it is now! I am noticing now we covered the mountain horizon lines. I promise, I didn’t see those in person.
So did we mess it up or what?
-
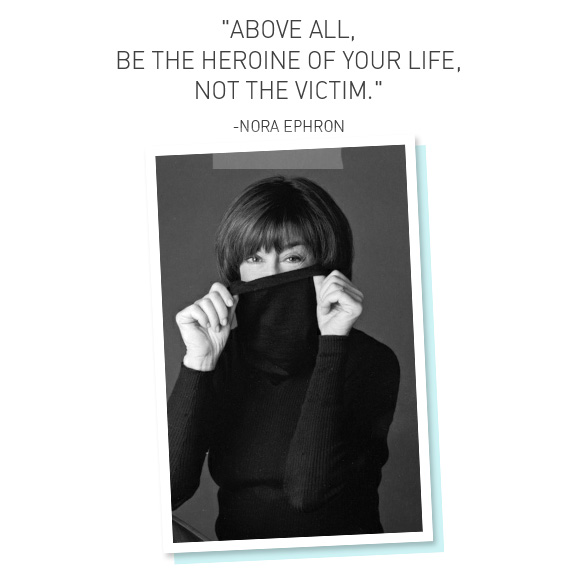
rip nora
I don’t know about you – but when I heard the news of Nora Ephron’s death, I really felt like I lost a friend. I’m gonna miss her work so much. She had so much to do with my balanced passion for love and for food.
-
rip nora
I don’t know about you – but when I heard the news of Nora Ephron’s death, I really felt like I lost a friend. I’m gonna miss her work so much. She had so much to do with my balanced passion for love and for food.
-
dreamy outdoors

