-
eyes + ears // 12
-
eyes + ears // 12
-
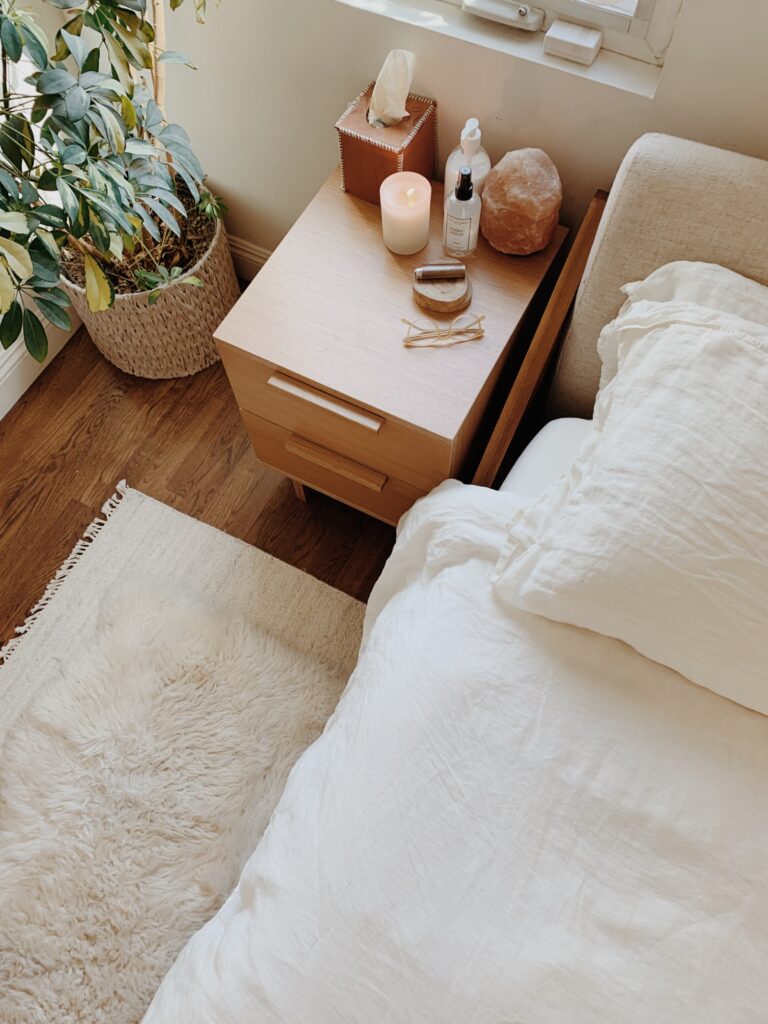
roundup : entryway
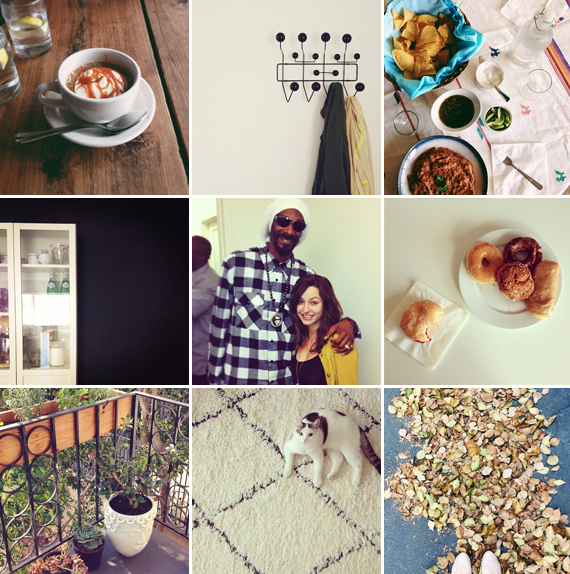
i’ve yet to pull the trigger on a coat hook and gideon’s starting to revolt. jackets are everywhere. it’s chaos. maybe the entryway is something that needs to be tackled early, even when you only have a little corner nook.
(click through for sources)Read More
-
eating this : valentine’s day strawberry cupcakes
people love getting valentines. but they probably like eating even better. give someone you like a cupcake and they’ll be super nice, promise.
i saw this pin and was like oh man yes – trying that right now. and i did. and it worked! put some food coloring in a bowl, dip white cupcake liners into the food coloring for 10 seconds or so, let dry, you have custom cupcake liners. oh man yes.
THEY’RE PINK!
STRAWBERRY CUPCAKES
(from martha stewart)*i halved the original recipe and pureed the strawberries. i’m not part of bake sale.
3/4 cup all-purpose flour
3/4 cup cake flour (not self-rising
3 tsp baking powder
1/2 tsp salt
1 stick unsalted butter, room temp
3/4 cup plus 2 tb sugar
2 large eggs
1 tsp pure vanilla extract
1/2 cup plus 2 tb milk
5 ounces strawberries, stems chopped and pureedpreheat oven to 350. line a cupcake pan with your beautiful paper liners. set aside.
rinse, chop, and puree your strawberries in a food processor.
in a medium bowl, sift together flours, baking powder, and salt. set aside.
in a mixer with the paddle attachment, beat the butter and sugar until light and fluffy, 3 to 4 minutes, scraping down the sides of the bowl as needed. beat in eggs, one at a time, and then beat in vanilla. with the mixer on low speed, add the flour mixture in three parts, alternating with the milk and beginning and ending with the flour; beat until combined after each addition. fold in strawberries.
divide the batter evenly among the cups to about two-thirds full. bake for about 20 minutes, until they’re golden brown and a toothpick comes out clean in the center. transfer to a wire rack to cool for 5 minutes. remove cupcakes from pan and cool completely on wire rack.
STRAWBERRY CREAM CHEESE FROSTING
(from food.com)*the frosting tastes really good, but is a tad runny. refrigerate for a few hours and it solidifies up.
5 1/3 ounces cream cheese, softened
1/4 cup butter, softened
2 – 2 1/3 cups powdered sugar
1/3 cup pureed strawberries
red food coloringblend together the cream cheese and butter using an electric mixer on low speed until combined, about 30 seconds.
add 2 cups powdered sugar, gradually, and the strawberries; blend frosting again on low speed until the sugar is incorporated, 1 minute.
increase mixer speed to medium and blend frosting until fluffy, 30-45 seconds more, adding up to 1/2 cup more sugar and food coloring to make desired spreading consistency.
-
diy fauxdenza
we have a wall that is shaped like an L.
and it’s right there when you walk in. like first thing you see.
first anna on door sixteen did it. then the brick house added really good wood to hers. well i wanted one too.
a fauxdenza is ikea kitchen cabinets mounted onto the wall, which then becomes a floating credenza.
see the weird wall? after some planning, the math said we could fit two 36×18″ cabinets with 6″ on either side. i would have liked to fit 10 more, but this still adds a good amount of storage.
FAUXDENZA
2 akurum wall cabinets (36″ x 18″)
4 applad doors
integral hinges
1 akurum suspension rail
a really long piece of woodanyway – all you do is mount the cabinets onto the wall following ikea directions.
our suspension rail was about 4 inches too long i think, so it had to be sawed down to the correct length.make sure the cabinets sit level while shimming to correct any non-wall-flushing-ness. as much as you can anyway. our wood covered the imperfections.after some serious wood drama for a few WEEKS, we went with a really nice piece of walnut from house of hardwood. they had to custom order us a piece that was long and deep enough (13″ sounds easier to find than it is.) we had them cut the three pieces for us at something crazy like 71 29/32″ long and the side pieces 17 3/4″.
i danish oiled the wood and it turned out super rich and preeeetty.
boyfriend then drilled some pilot holes into the inside before attaching six 1″ screws on the sides to keep it in place while i helped tremendously by holding the side pieces in place for the butt joint.
check that thing OUT.
… when we finally finished, we were both like this:
-
the ikea rast campaign hack ⋅ update
i get a ton of emails asking about the rast hack hardware and why the source of the hardware yells at you.
now let me start by apologizing to ansaldi & sons. i know your site said surface mount and i didn’t care. but back then, there wasn’t this totally scary hostile warning either! (i think i may have directed too many people to them for this project)
ok! i am sorry you don’t like it mounted onto the wood. but because i wasn’t using it heavily, i thought it’d be ok to just mount the thing right on there.
now if you are attempting to hack your rast in this fashion, you must be willing to ignore the warning. can you do that? ok good.
i could have gotten serious about it and cut holes for the hardware, but i didn’t. so i just drilled them right on top. as you can see, they protrude slightly but in person, it’s honestly not that noticeable.
here it is from the top. see? not so bad, right?
and here’s my little rast. in it’s new home. with some shelving around it that i will be posting as soon as i get my shit together.
i took these new semi-better pictures of it so that if you wanted to pin it, you could you pin these instead of those really shitty photos i took with my cell phone.
i’m still here to answer any questions and i want to see how yours turn out!